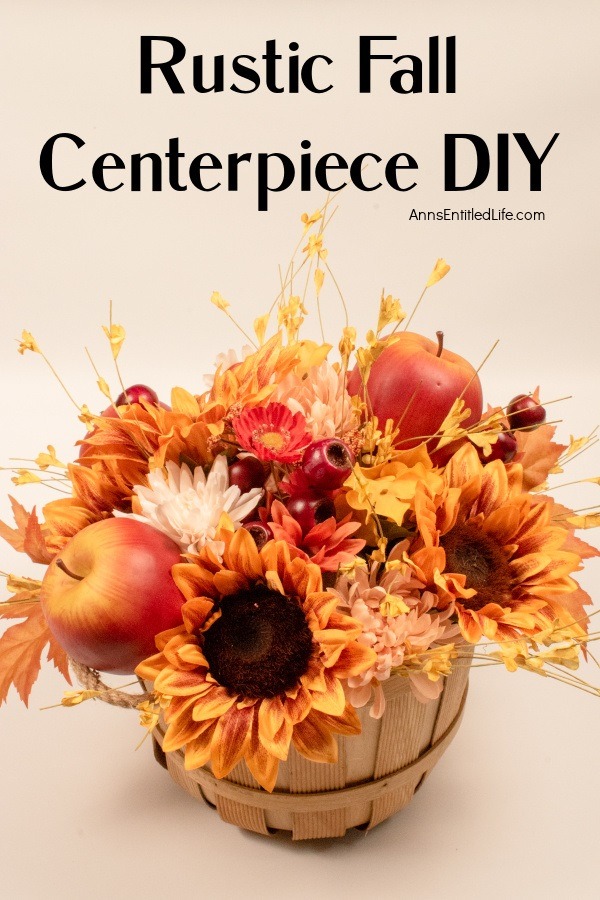
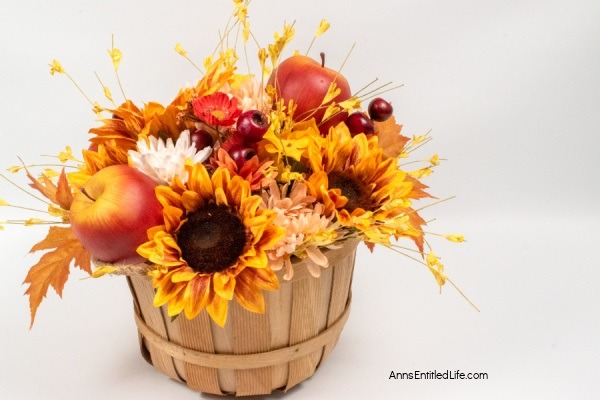
This beautiful fall table centerpiece is a must-make for those who like farmhouse decor! If you are looking for a seasonal centerpiece, make this easy rustic fall centerpiece by following these step-by-step instructions.
Rustic Fall Centerpiece
Fall centerpiece ideas are not just for special occasions. They can be used anytime during the season from every day to a Thanksgiving centerpiece. This simple centerpiece is perfect for a farmhouse kitchen table, or rustic dining room table setting, this DIY fall centerpiece is simple to make.
Making your own floral arrangements is a great way to save money, match your home decor, and get the exact look you would like in your seasonal decor.
Pair this on your dining table, kitchen table, or console table with a burlap table runner or tablecloth. Add some pillar candles, votive candles (different sizes), faux fall leaves, faux fall foilage, faux fall flowers, faux greenery, corn cobs, faux pumpkins, velvet pumpkins, or these no-sew yarn wrapped pumpkins for visual interest, and you have a beautiful centerpiece and tablescape. Fill some stacked glass containers with mini pumpkins or fairly lights to keep it contained. You may want to pair it with this fall lantern swag decorations.
Some people like to incorporate natural elements in their tabletop decor. Small real pumpkins, gourds, and seasonal favorite blooms as a great variety of colors. Do not be afraid to match real with faux for the perfect look at your dinner table.
While this is a fall centerpiece for a table, it can also be set on a corner stair indoors, or on a foyer floor. If you use waterproof materials or do not mind tossing at the end of the season, it would also make great fall front porch decor.
For more DIY fall decorations, you may want to check out the DIY centerpieces:
● Dollar Store Craft: Fall Centerpiece
● Vintage Copper Jello Mold Centerpiece
Tips and variations for making this fall lantern decoration:
● The exact amount of sprays, picks, and bushes you need depends upon the size basket you are using. The one used in this craft was small, hence the materials used. If you use a medium basket, make sure you make adjustments to the materials used.
● None of the flowers or colors here need to be used for your autumn centerpiece. Make it to match your color scheme or other autumn decors.
● No matter how monochrome your home decor is, a touch of color is just the thing to love up your fall table decor. Don’t be afraid to use vivid yellows, reds, and oranges on your DIY centerpieces.
● In addition to apples and berries, pine cones, mini pumpkins, and acorns are great for rustic fall decor.
● Use the leaves that come on any of your filler or picks to fill any holes in the arrangement.
● All items for this craft, including the lantern, can be purchased at your local craft stores such as Joann, Michaels store, or Hobby Lobby.
● A bow was not used but you can certainly add ribbon around the basket and make a bow to match. Or, buy a bow! Or, use a bow-making machine.
● Rotate your piece 360 to make sure you have covered much of the rim of the basket.
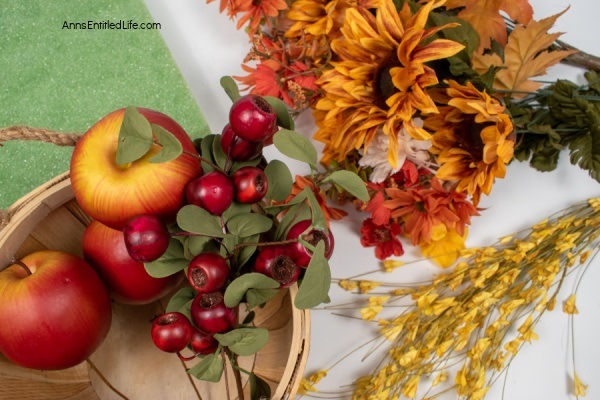
Rustic Fall Centerpiece Materials:
● Floral Foam
● Floral Tape
● Small “Bushel” Basket
● 2 Fall Sprays or 3-4 Coordinating Flower Bushes
● 3 Apple Picks
● 3 Coordinating Berry Picks
● 1 Filler Bush
● Hot Glue
Rustic Fall Centerpiece Tools:
● Hot Glue Gun
● Wire Cutters
● Floral Wire
Rustic Fall Centerpiece Instructions:
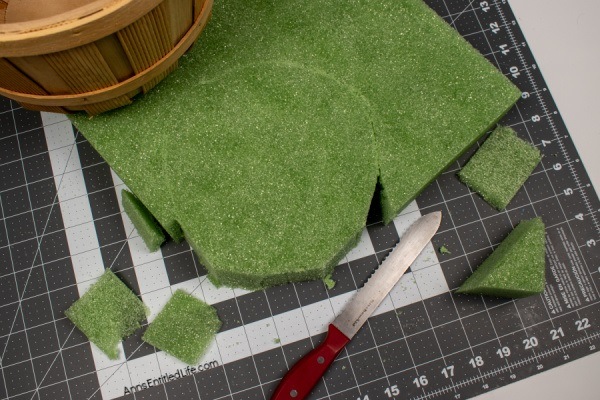
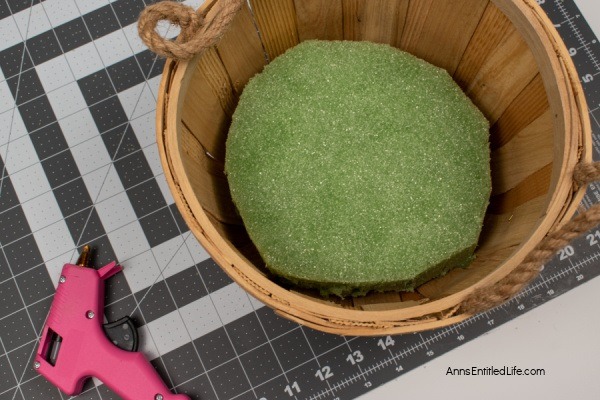
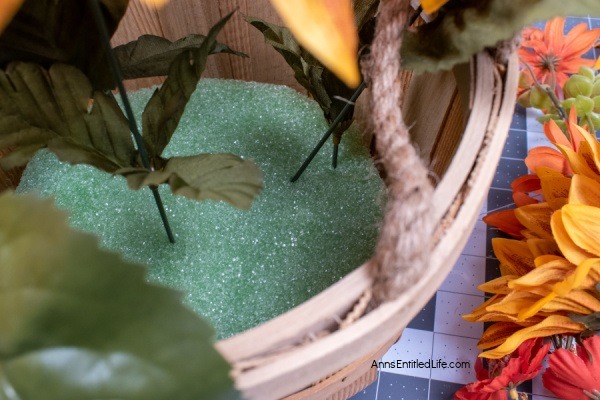
1. Cut foam to the size of your basket, place the foam in the basket, and hot glue it into place.
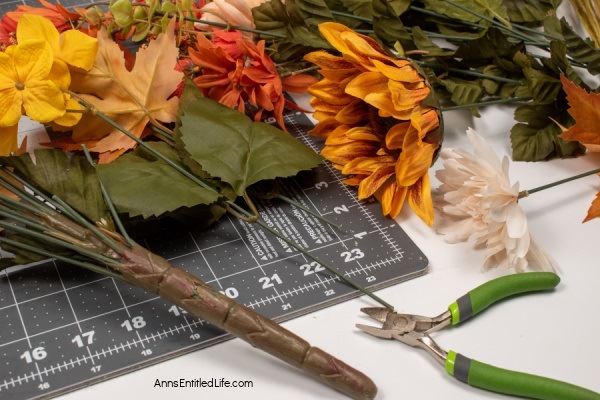
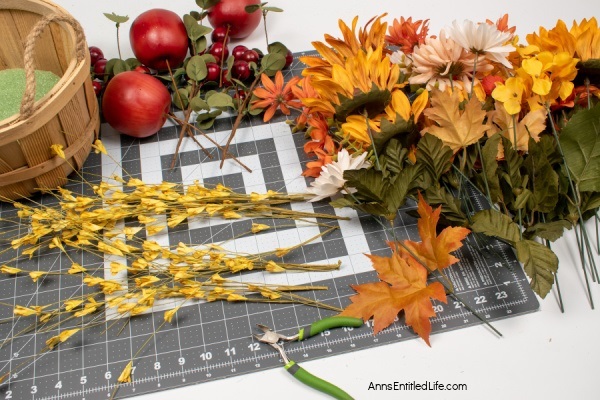
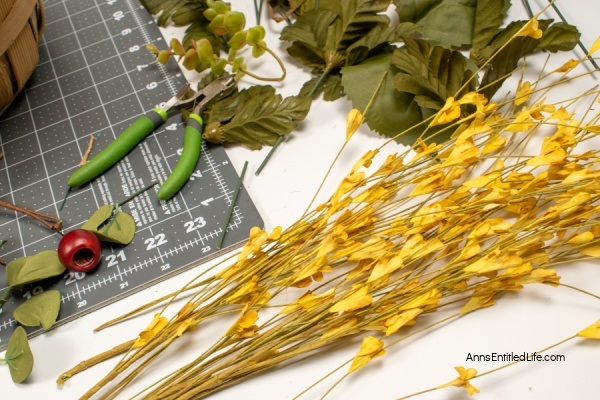
2. Using wire cutters, separate each flower and filler stem. Cut the stems longer than you think you will need. You can always cut them shorter later.
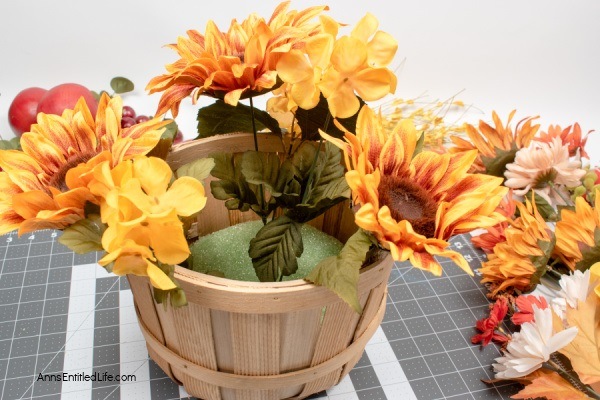
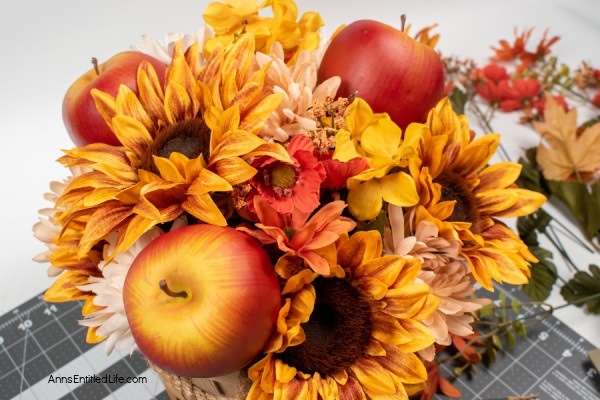
3. Start arranging the flowers by poking the ends into the foam. I did not use glue for this because I will just be using it in my home, but if you plan to sell or gift your arrangement, or want this season after season, add hot glue to the stems when pressing into the foam. You can come back and do the gluing later once you have the arrangement set if you aren’t confident with your placement. I like to work with one type of flower at a time so I can visualize the arrangement as it is coming together and make sure the placement is even. I do not want to have a bunch of the same flowers clustered together.
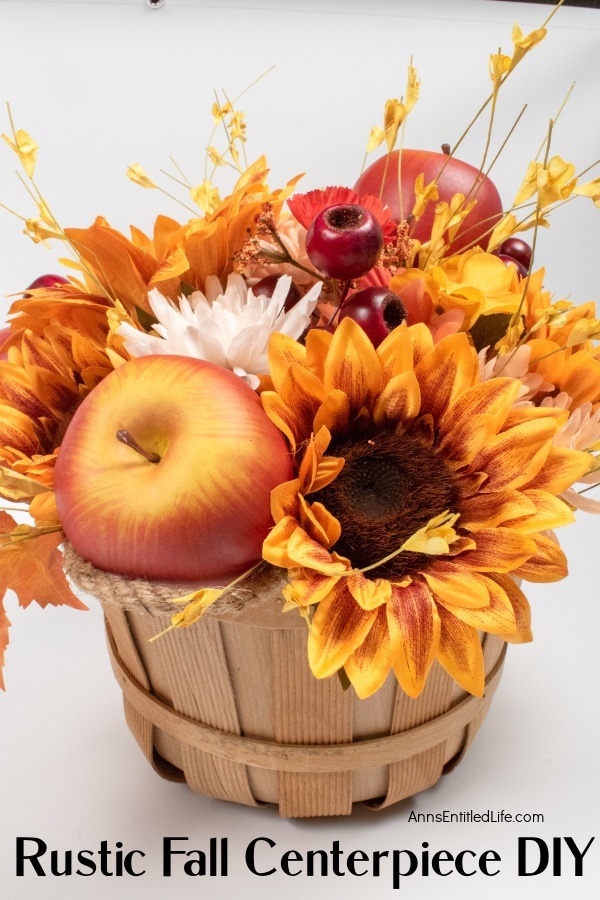
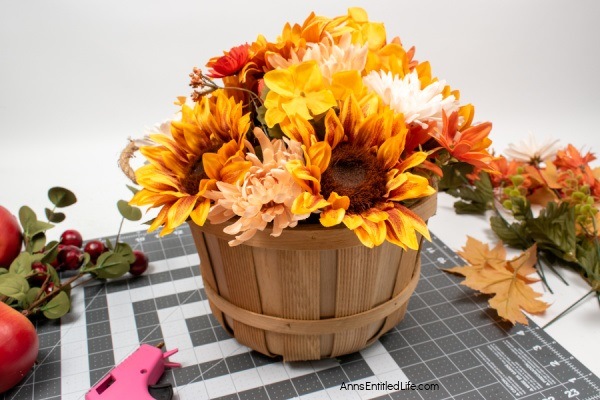
4. For this arrangement, you will want the stems in the center to be the tallest, and the ones toward the outside to be shorter and placed on an angle to create a dome shape in the final arrangement.
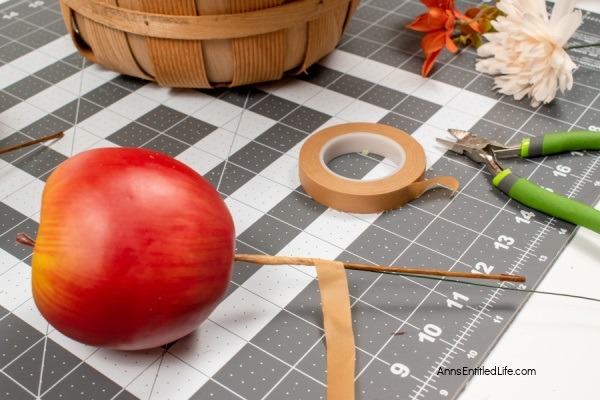
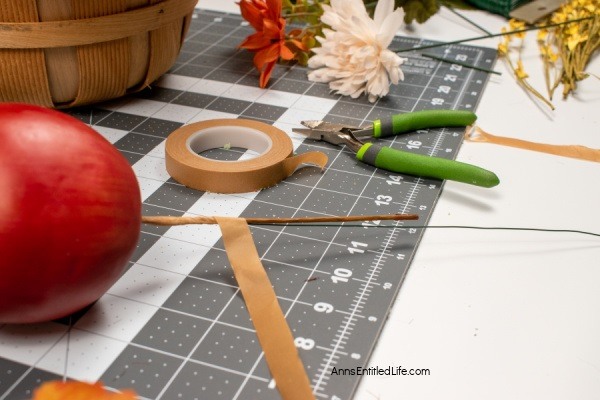
5. Once your flowers are placed, add the fruit picks in the same manner. If your stems are too short to reach the foam, you may need to make them longer by wrapping another piece of wire against the original stem with some floral tape.
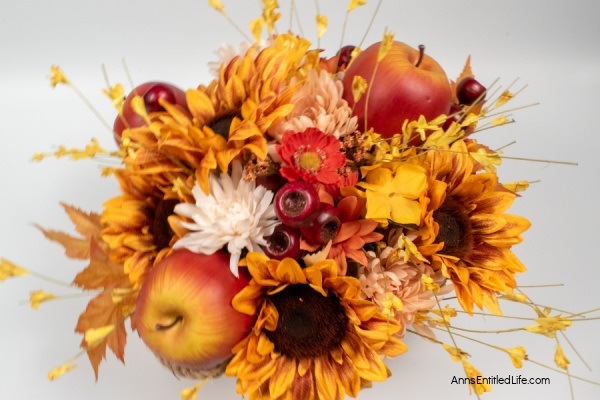
6. Lastly, add some leaves and fillers to make the arrangement seem airier. This will help it look full but not overcrowded. Add some spray to give the arrangement an airy height without making it tall.
7. Display as desired.
Rustic Fall Centerpiece
Rustic Fall Centerpiece. This beautiful fall table centerpiece is a must-make for those who like farmhouse decor! If you are looking for a seasonal centerpiece, make this easy rustic fall centerpiece by following these step-by-step instructions.
Materials
- Floral Foam
- Floral Tape
- Small "Bushel" Basket
- 2 Fall Sprays or 3-4 Coordinating Flower Bushes
- 3 Apple Picks
- 3 Coordinating Berry Picks
- 1 Filler Bush
Tools
- Hot Glue Gun
- Hot Glue Sticks
- Wire Wutters
- Floral Wire
Instructions
- Cut foam to the size of your basket, place the foam in the basket, and hot glue it into place.
- Using wire cutters, separate each flower and filler stem. Cut the stems longer than you think you will need. You can always cut them shorter later.
- Start arranging the flowers by poking the ends into the foam. I did not use glue for this because I will just be using it in my home, but if you plan to sell or gift your arrangement, or want this season after season, add hot glue to the stems when pressing into the foam. You can come back and do the gluing later once you have the arrangement set if you aren’t confident with your placement. I like to work with one type of flower at a time so I can visualize the arrangement as it is coming together and make sure the placement is even. I do not want to have a bunch of the same flowers clustered together.
- For this arrangement, you will want the stems in the center to be the tallest, and the ones toward the outside to be shorter and placed on an angle to create a dome shape in the final arrangement.5. Lastly, add some leaves and fillers to make the arrangement seem airier. This will help it look full but not overcrowded.
- Once your flowers are placed, add the fruit picks in the same manner. If your stems are too short to reach the foam, you may need to make them longer by wrapping another piece of wire against the original stem with some floral tape.
- Lastly, add some leaves and fillers to make the arrangement seem airier. This will help it look full but not overcrowded. Add some spray to give the arrangement an airy height without making it tall.
- Display as desired.
Notes
Before beginning any craft project make certain your work surface is covered against burns, spills, or cuts.
Recommended Products
As an Amazon Associate and member of other affiliate programs, I earn from qualifying purchases.
● For more Craft posts on Ann’s Entitled Life, click here.
● If you enjoyed this post, be sure to sign up for the Ann’s Entitled Life weekly newsletter, and never miss another article!


Rebecca Payne says
So Pretty. Great job!