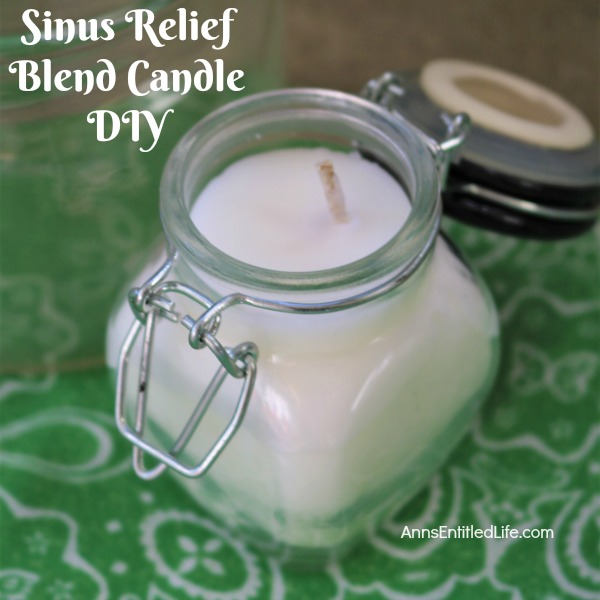
Sinus Relief Blend DIY Candle
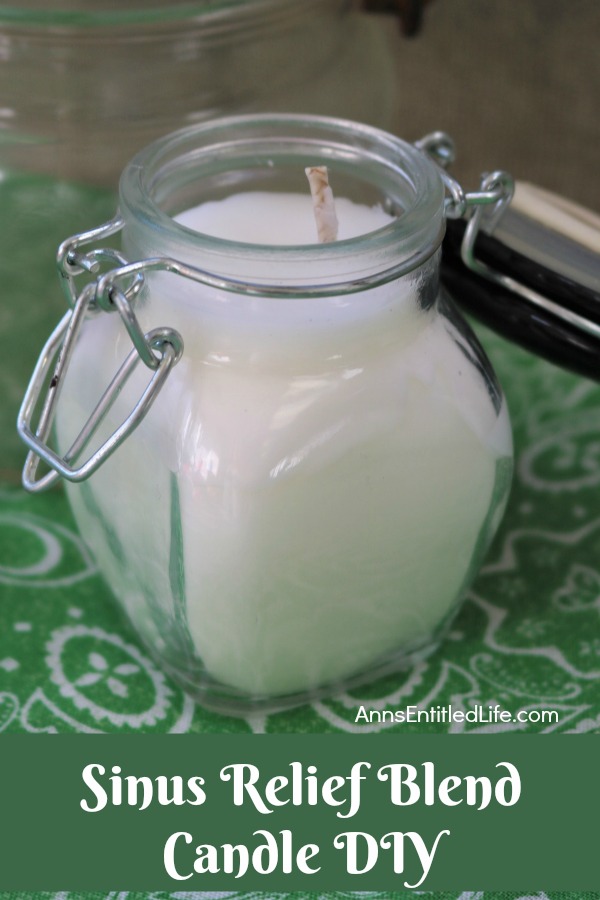
This candle recipe is designed with the breathing and allergy sufferers in mind and has a great combination of four essential oils that all have a wonderful scent and (possible) health benefits. Breathing them in should help open up airways and helps relieve sinus pressure, so if we use them already to help with these things, why not make a candle scented with them as well to take it a little further in our household?
If you are missing one of these oils, you can just add a couple more drops of the others to make up the difference.
Unlike so many of my candles, this one is made with paraffin. If you prefer soy wax, give it a go! (I have not done so, but truly it should work). If you are interested in candle making, you may also like one of gthese DIY candle recipes: Homemade Vanilla Sugar Candle (oh so pretty!), Homemade Mason Jar Soy Candle (I love this one! So simple to make!), Homemade Coffee Bean Soy Candle (if you like the smell of fresh brewed coffee, this candle is for you!), How to Make a Candy Corn Candle (a fun candle to make!), Homemade Autumn Spice Soy Candles (probably my favorite on the blog), Homemade Cinnamon and Spice Candles (simple, simple, simple!)
Sinus Relief Blend DIY Candle Materials:
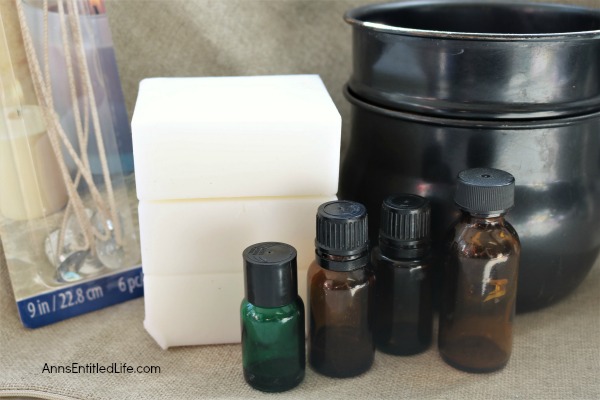
● Glass Jar (4-8 ounce size)
● 15 drops Pure Eucalyptus Essential Oil
● 12 drops Rosemary Essential Oil,
● 15 drops Peppermint Essential Oil
● 10 drops Pure Lemon Essential Oil
● 1 Brick Paraffin Wax (preformulated)
● 1 Candlewick (with a weighted bottom)
● Wax Adhesive (if desired)
● Double Boiler
● Thermometer
Sinus Relief Blend DIY Candle Directions:
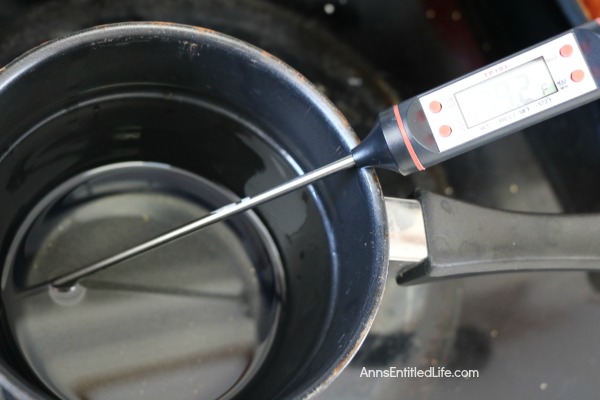
● Fill the bottom half of a double boiler to about one-third full and set the stove temperature to medium to high heat.
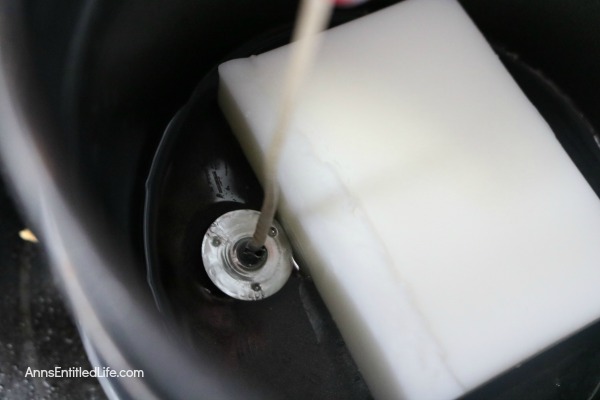
● Place the wax brick in the top half and let it melt. This type of paraffin wax is preformulated and will melt easily. You should not need to stir it more than once or twice until you are adding the oils. You do not want to overheat the wax, so keep a close watch on the water in the bottom pot and once it begins to boil, just turn your flame down to low heat. It should take about 10 minutes or so to melt.
● Read the directions that came with the wax for tips on the heat setting, and place the thermometer into the wax so you can keep an eye on that (this said about 150 degrees.)
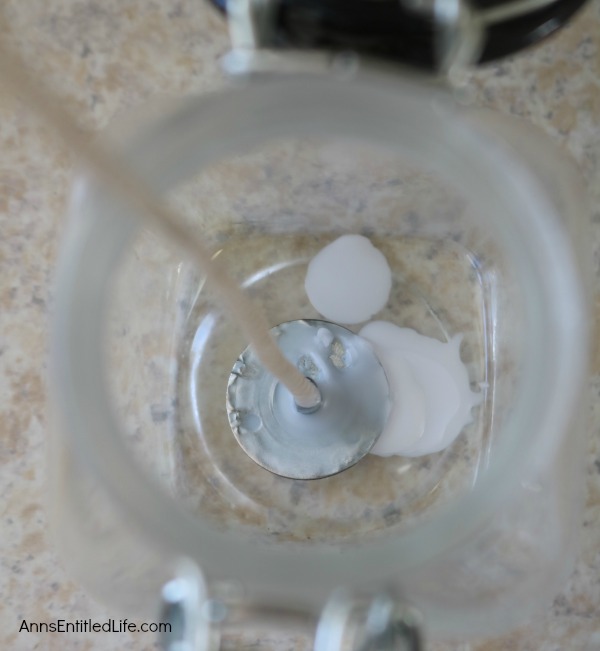
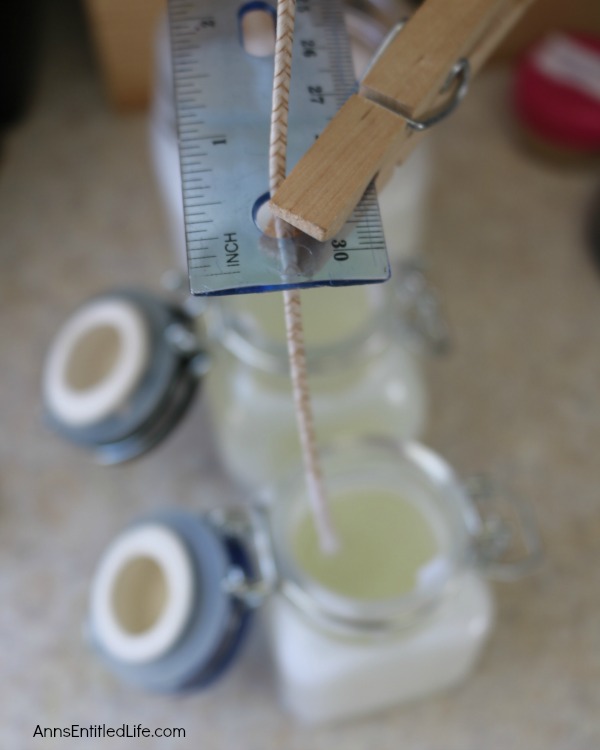
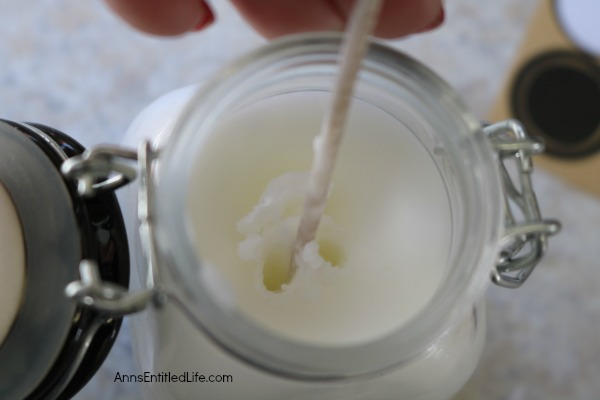
● Attach the wick to the bottom of the glass jar so it is all ready to go when the wax is ready to pour. You have two options for this: Either use wax adhesive, which is sold in the craft store near the paraffin wax, or you can place a few drops of the hot wax from the pan into the bottom of your jar (seen in photo) and set the clip down in it, holding it in place for a few seconds to secure it on. (You can do the pencil trick to hold it in place, and readjust after you pour your wax mixture, or use a ruler and clothes pin as seen in the photo. Loop the wick around the pencil or ruler to hold it in place.)
● Once the wax has melted and is nice and clear in color, check the temperature with a thermometor to see if it is good, as per the directions listed on the package. It may need to cool a bit before adding the essential oils.
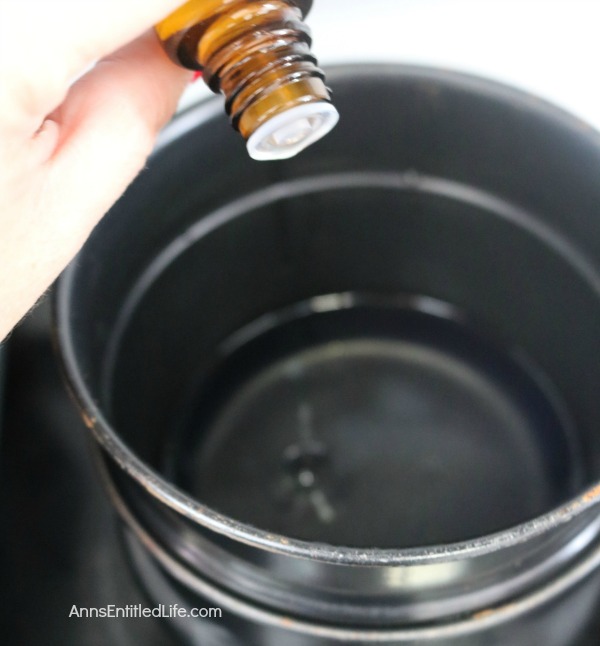
● Add in your essential oils to the melted wax and stir.
● Pour the wax mixture into the jar, until it is approximately ¾ full. You will need more wax later to top off the candle, so reserve some (keep it from the heat, and just turn off the heat for now).
● Adjust your wick if it moved from center.
● Allow your candle to cool for approximately 20 minutes or so, and using a sharp object poke a hole a few times in the wax, (I used the end of my thermometer), close to the wick itself, to remove the trapped air that gets in when you fill it.
● Reheat the reserved wax over medium heat and when it has reached the right temperature again, pour it over the holes in the top of the candle, filling them in and topping the rest of the candle off till the jar is full.
● Allow the sinus candle to cool off for a few hours. The bottom center of the jar should feel cool to the touch when it is ready.
● Trim your wick to approximately ¼” in length.
● Light and enjoy!
Safety tip: never leave a lit candle unattended!
● To print the Sinus Relief Blend DIY Candle instructions, click here.
Note: None of this is meant as medical advice. I am not a doctor, and do not play one on the internet. Please consult a physician if you have any questions about using essential oils so your doctor can better explain to you the benefits, possible side effects, and any warnings about essential oils.
● Disclosure: the links in this post may be affiliate links.
● For more DIY Beauty on Ann’s Entitled Life, click here.
● For more Craft posts on Ann’s Entitled Life, click here.
● If you enjoyed this post, be sure to sign up for the Ann’s Entitled Life weekly newsletter, and never miss another article!
Whitney Mullennex says
Ahhhhh I love this idea! Super way to make precious essential oils last so much longer. And as a chronic sinus pressure sufferer, I am constantly on the search for new natural ways to ease my sinus pain and prevent future headaches. Thanks for sharing this wonderful idea!
Roseann Hampton says
I need to make one of these for my husband to help his seasonal allergies!
mary felix says
I need to use soy wax…how much should I use please?