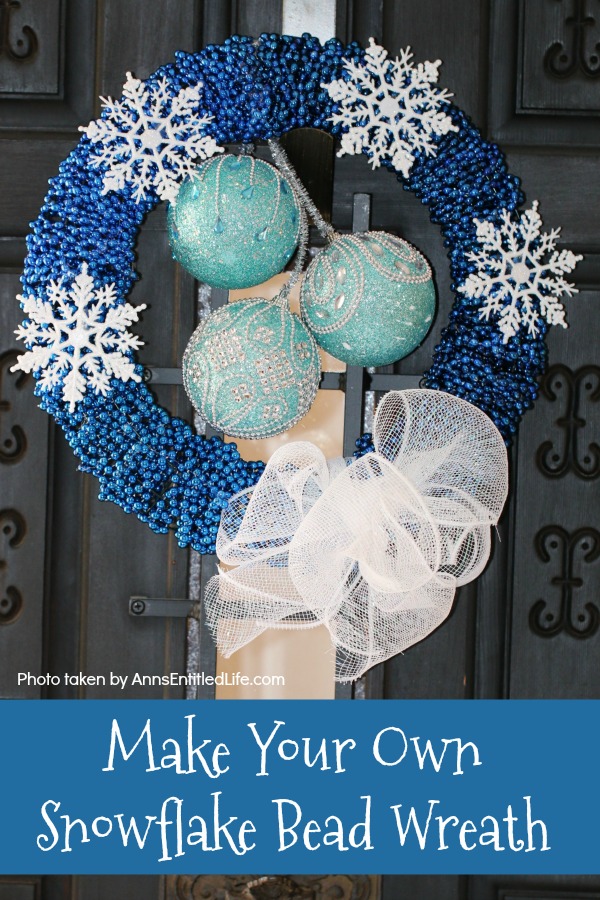
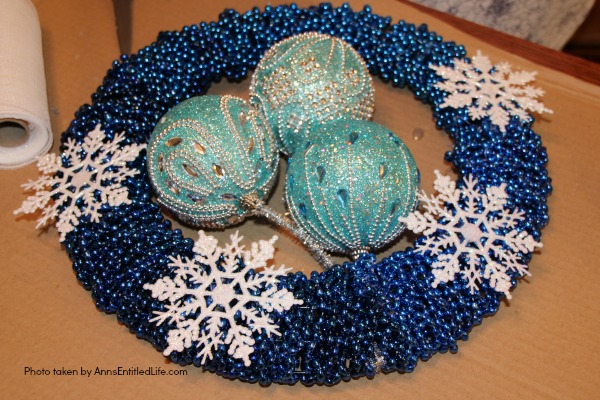
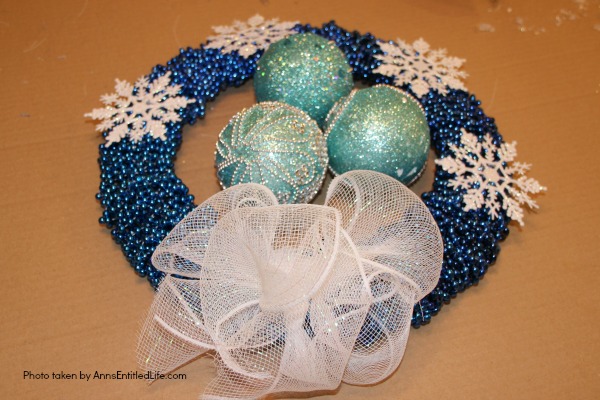
This is a beautiful snowflake wreath that is perfect for door decor in the chilly winter months. You can fully customize this snowflake bead wreath for color, and ornaments. Simple to make, this lovely Snowflake Bead Wreath Craft is a real conversation piece.
Snowflake Bead Wreath Craft DIY
A few notes on this wreath:
● Why braid? You want coverage. The beads are too skinny on a single string to cover the wreath frame.
● This is one heavy wreath. Keep that in mind if you need to add a ribbon for a hanger instead of slipping this over a wreath-hanger. The larger the wreath frame you choose, the heavier it will be.
● Look at a dollar store or party city for the beads. There are different lengths, so keep that in mind (the ones used in this craft are 30″ and 31″ long – bought at two different stores)
● You can use large ornaments, small ornaments, snowflakes, etc. to dangle from the middle. The larger the ornament, the less dangling involved (the ones used in this craft barely move).
● This is one of the simplest wreaths you will ever make! You can change the colors to red for Valentine’s Day, Pink and Purple for Easter, Gold, Purple, Green and Black for Mardi Gras… the color combinations and decoration ideas are limitless.
If you are looking for other winter wreaths, you may want to make one of these:
● The Grinch Inspired Wreath DIY Tutorial – if you are a fan of The Grinch, this is the wreath for you!
● Golden Swan Wreath DIY – This stunning wreath takes only 15 minutes to make! Perfect for so many holidays, winter door décor, party functions (think bridal or shower), or as a year-round wreath with a bit of bling, this unusual swan wreath is lovely wall décor or door décor!
● This beautiful Cranberry Holly Winter White Wreath is a simple rustic wreath that appears time-consuming, but actually comes together in under 30 minutes! Follow these easy step by step directions to make your own lovely custom Christmas door hanger wreath.
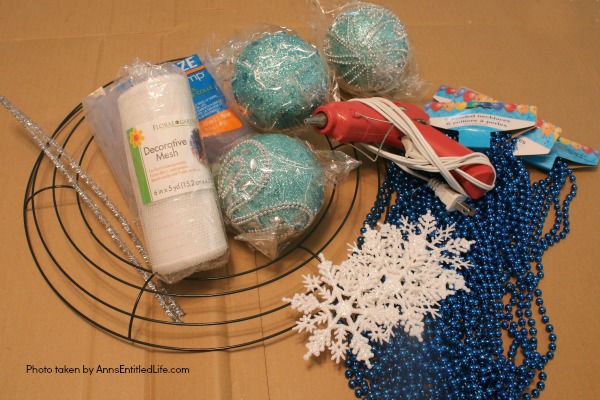
Snowflake Bead Wreath Craft Materials:
● 14″ Wire Wreath Frame
● 45 Bead Necklaces, 30-31″ in length
● Glue Gun
● Hot Glue Sticks
● Scissors
● 4-5 Snowflake Ornaments
● 3 Round Ornaments
● 2 Pipe Cleaners
● Ribbon for Bow (or a Premade Bow)
Snowflake Bead Wreath Craft Directions:
● Cover your work surface with cardboard or cloth.
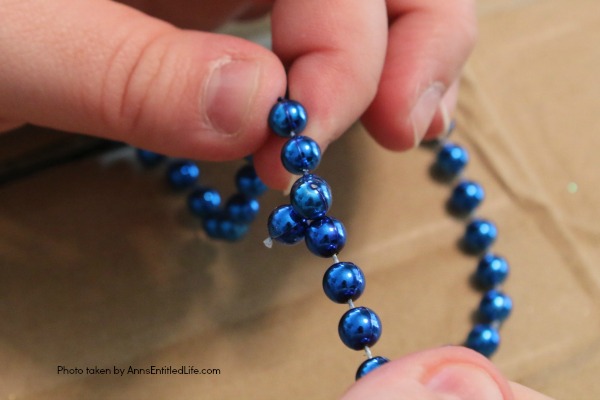
● Pop the ends off your beads. If your beads do not have a separator, simply pick a spot on the necklace and cut.
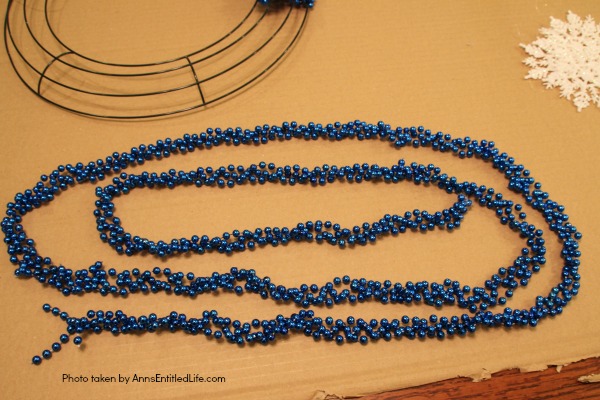
● Twist beads to connect. Use three or four bead necklaces per strand.
● Twist the ends of three long strands together. Braid. It is easier if someone holds the “dummy end” and someone else braids. You can do it yourself though – just tuck one end under your chin.
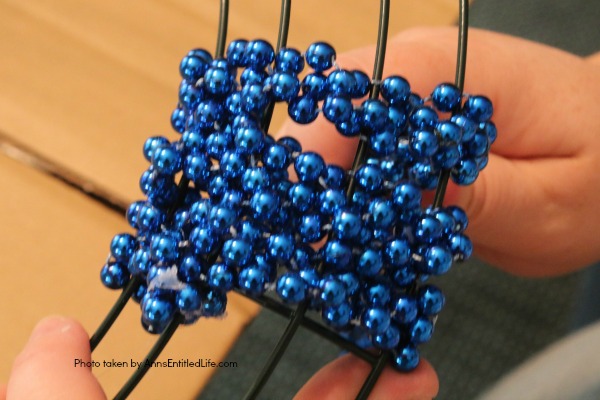
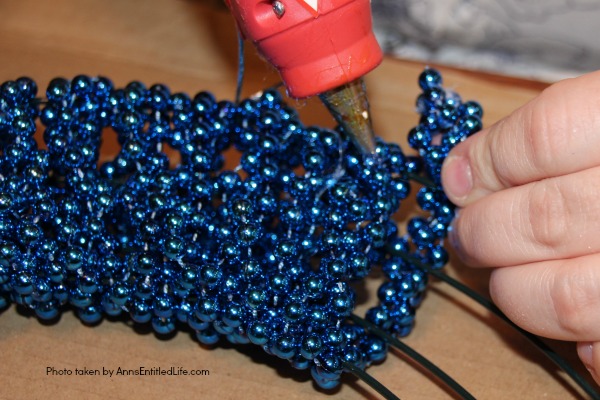
● Attach one end of the braid to the wreath frame. Hot glue in place. Wrap the braid around the entire wreath frame, flipping through until the entire braid is around the frame. Holt glue in place.
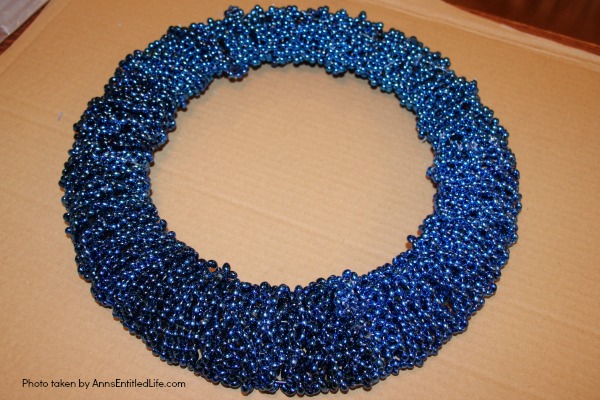
● Continue until the entire frame is covered. 45 bead necklaces were braided together and used to cover this 14″ frame.
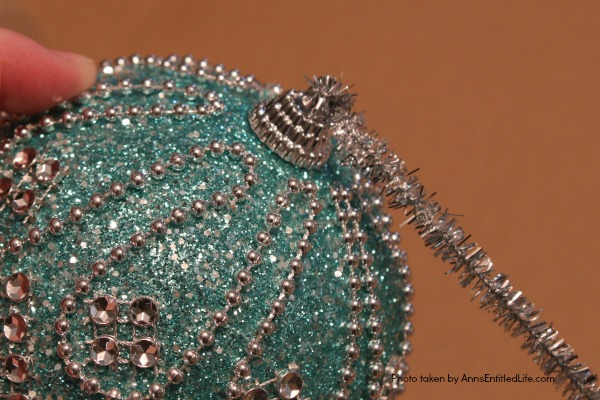
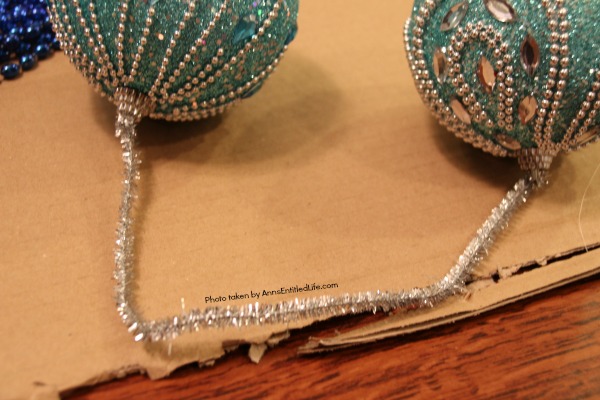
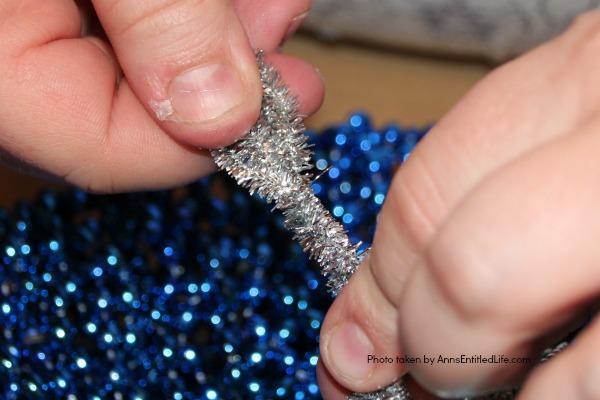
● Thread pipe cleaner through the ends of your ornament. Attach one to one end, and the other end of the pipe cleaner to a second ornament. A third ornament is attached to the end of a different pipe cleaner. Generally, an odd pairing will look better than an even pairing.
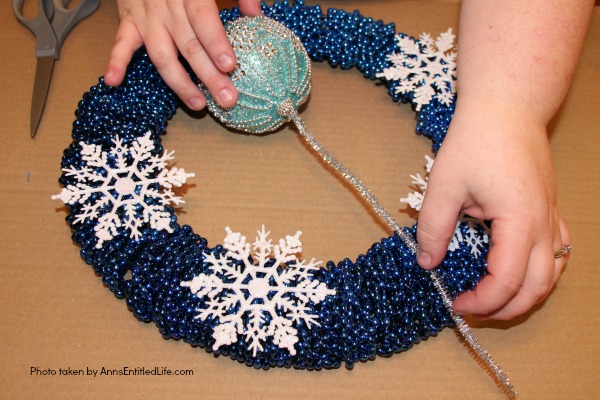
● Bend the pipe cleaner with two ornaments in half (or slightly off half). Twist the top of the single pipe cleaner to the middle (or slightly off middle) of that bend. Twist the two pipe cleaners together, so the ornaments dangle.
● Clip off any wire hangers on your snowflakes.
● Layout the snowflakes on the wreath for placement, adjust accordingly. If you plan on adding a bow, keep in mind where it will be placed on the wreath.
● Hot glue snowflakes in place.
● Twist to the back of the wreath frame, and hot glue in place.
● Add a bow to the top or bottom of the wreath. This wasn’t easy to glue in place, so we added a second length of ribbon to tie the bow to the frame (hot glue underneath), and fluffed. It worked beautifully! The bow looked fuller and stayed where we wanted it.
● Check to be certain all your beads or laying flat. Hot glue down if they are not.
● Add a ribbon for hanging if desired. This is a heavy wreath so it will need to be a thicker ribbon with a very secure knot. I didn’t bother with one due to the weight, just hooked it over a wreath-hanger on the door.
● Hang where desired.
Snowflake Bead Wreath Craft DIY

This is a beautiful snowflake wreath that is perfect for door decor in the chilly winter months. You can fully customize this snowflake bead wreath for color, and ornaments. Simple to make, this lovely Snowflake Bead Wreath Craft is a real conversation piece.
Materials
- 14″ Wire Wreath Frame
- 45 Bead Necklaces, 30-31″ in length
- 4-5 Snowflake Ornaments
- 3 Round Ornaments
- 2 Pipe Cleaners
- Ribbon for Bow (or a Premade Bow)
Tools
- Glue Gun
- Hot Glue
- Scissors
Instructions
- Cover your work surface with cardboard or cloth.
- Pop the ends off your beads. If your beads do not have a separator, simply pick a spot on the necklace and cut.
- Twist beads to connect. Use three or four bead necklaces per strand.
- Twist the ends of three long strands together. Braid. It is easier if someone holds the “dummy end” and someone else braids. You can do it yourself though – just tuck one end under your chin.
- Attach one end of the braid to the wreath frame. Hot glue in place. Wrap the braid around the entire wreath frame, flipping through until the entire braid is around the frame. Hot glue in place.
- Continue until the entire frame is covered. 45 bead necklaces were braided together and used to cover this 14″ frame.
- Thread pipe cleaner through the ends of your ornament. Attach one to one end, and the other end of the pipe cleaner to a second ornament. A third ornament is attached to the end of a different pipe cleaner. Generally, an odd pairing will look better than an even pairing.
- Bend the pipe cleaner with two ornaments in half (or slightly off half). Twist the top of the single pipe cleaner to the middle (or slightly off middle) of that bend. Twist the two pipe cleaners together, so the ornaments dangle.
- Clip off any wire hangers on your snowflakes.
- Lay out the snowflakes on the wreath for placement, adjust accordingly. If you plan on adding a bow, keep in mind where it will be placed on the wreath.
- Hot glue snowflakes in place.
- Twist to the back of the wreath frame, and hot glue in place.
- Add a bow to the top or bottom of the wreath. This wasn’t easy to glue in place, so we added a second length of ribbon to tie the bow to the frame (hot glue underneath), and fluffed it. It worked beautifully! The bow looked fuller and stayed where we wanted it.
- Check to be certain all your beads or laying flat. Hot glue down if they are not.
- Add a ribbon for hanging if desired. This is a heavy wreath so it will need to be a thicker ribbon with a very secure knot. I didn’t bother with one due to the weight, just hooked it over a wreath-hanger on the door.
- Hang where desired.
Recommended Products
As an Amazon Associate and member of other affiliate programs, I earn from qualifying purchases.
-
 Tesadorz Dark Green Craft Project 14" Wire Wreath Frame (Pack of 2)
 -
 Plastic Snowflake Ornaments,4inch 36pcs Sparkling White Iridescent Glitter Snowflake Ornaments on String Hanger for Decorating, Crafting,wedding and Embellishing(White, 4 Inch)
 -
 33 inch 07mm Round Metallic Royal Blue Mardi Gras Beads - 6 Dozen (72 necklaces)
● For more Holiday posts on Ann’s Entitled Life, click here.
● For more Craft posts on Ann’s Entitled Life, click here.
● If you enjoyed this post, be sure to sign up for the Ann’s Entitled Life weekly newsletter, and never miss another article!


Super Mom - No Cape! says
What a pretty wreath!