Snowman Garland Craft
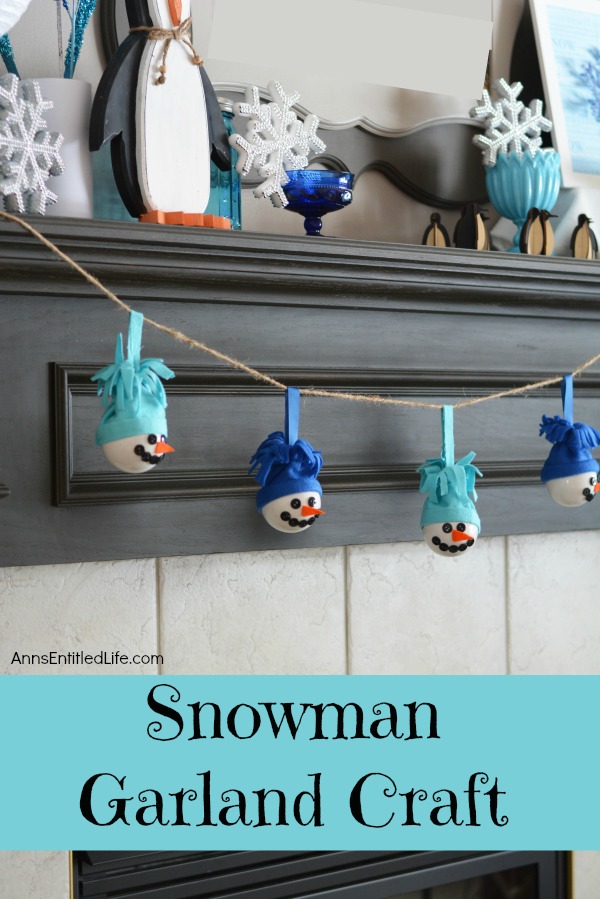
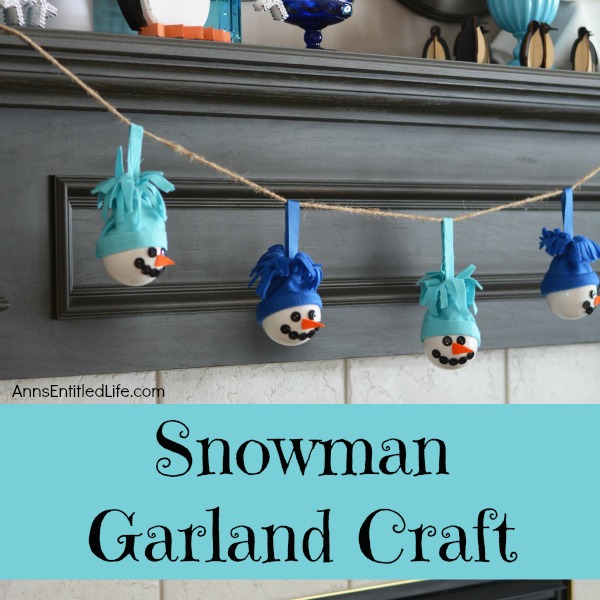
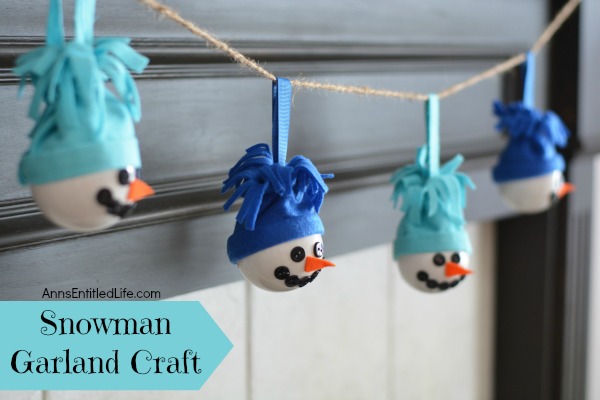
Make this easy snowman garland craft; a fun seasonal decoration! Decorate your fireplace, your wall or a window with this Snowman Garland this winter. Very versatile, you can make this garland any color, and any length, to fit that perfect spot in your house!
The snowman are so cute! You can use them as ornaments on tour tree, and then when you are taking you tree down after Christmas, string the snowman ornaments for snowman garland – a wonderful wintertime decor craft! You can choose any color to fit the scheme of your room… blue was used in this tutorial, but since the bulbs are white, make green hats, red hats, purple hats… whatever you like! You can alternate colors (as shown), make them all one color, or make a rainbow of colors for your garland – it is completely up to you.
If you like snowman crafts, you might also like these DIY Wine Glass Snowman or Make Your Own Snowman Window Cling! Compliment that with these snowflake window clings! Perfect for December, January and February room and window decor.
So here is how to make the snowman garland craft…
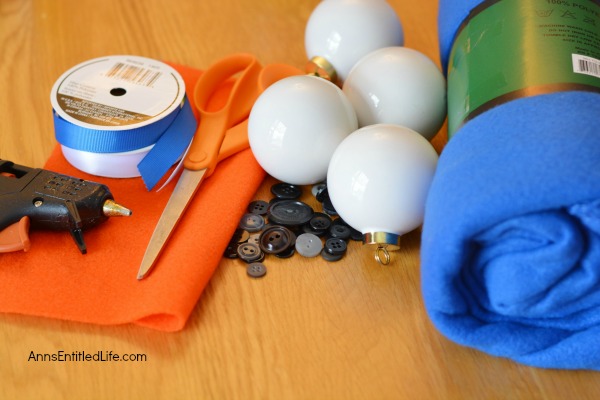
Snowman Garland Craft Materials:
● 12″ Ribbon or Yarn
● White Ceramic Christmas Bulbs (how many will depend on the spacing you envision for your garland)
● Black Buttons
● Orange Felt
● Fleece Fabric (color of your choice, how much will depend on how many snowman ornaments you are making)
● Scissors
● Glue Gun
● Glue Sticks
● Twine (to hang)
Snowman Garland Craft Directions:
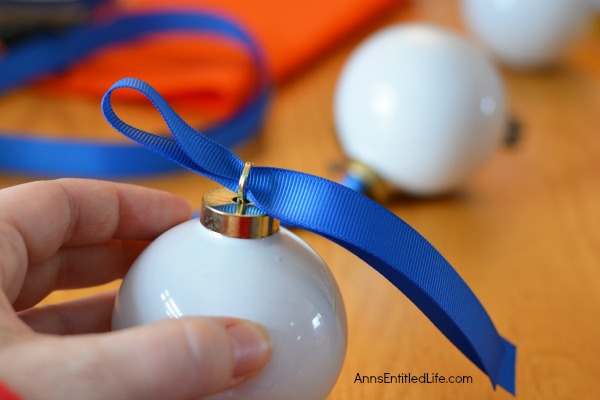
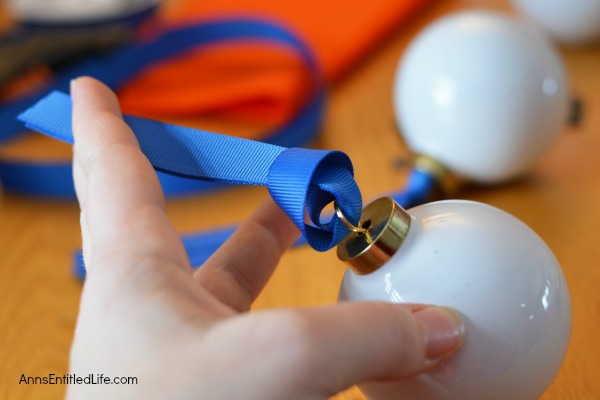
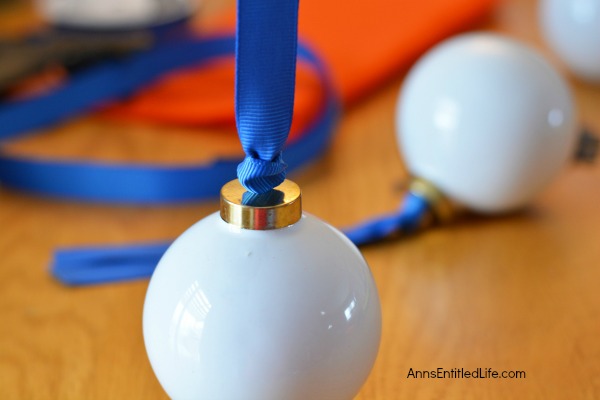
● Cut a piece of ribbon or yarn 12″ in length.
● Fold the ribbon in half and make a slip knot in the hanger portion of the bulb.
● Pull tight.
*If you cannot find matching or coordinating ribbon for the hanging portion, use a piece of the fabric, about 3/8″ wide x 12″ long.
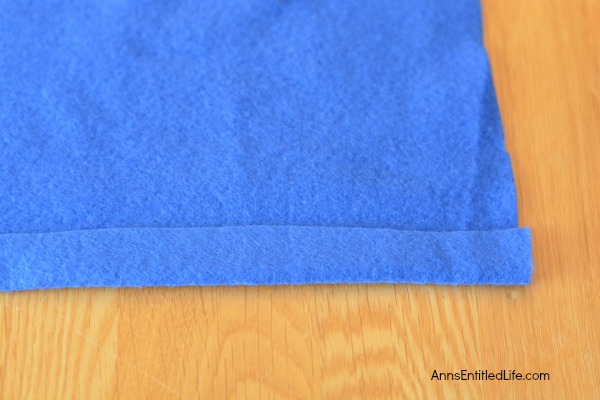
● Cut a piece of fabric into a 6.5″ wide x 9″ long rectangle.
● Fold the fabric about 3/8″ over on the long edge and tack with hot glue.
● Roll up once more and tack with hot glue.
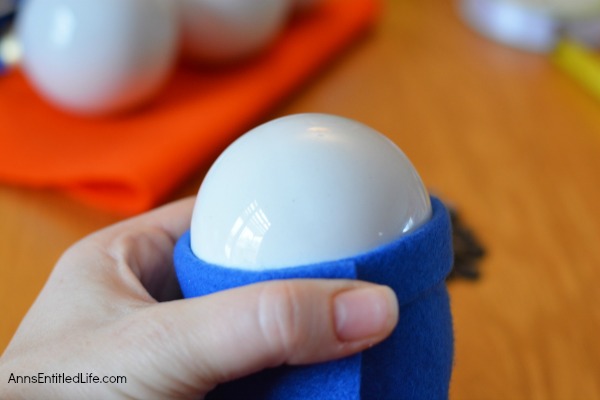
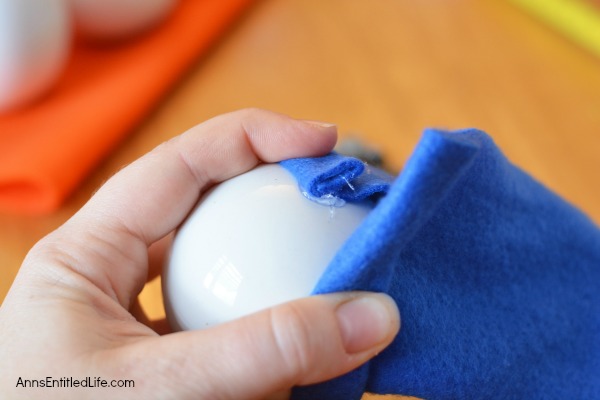
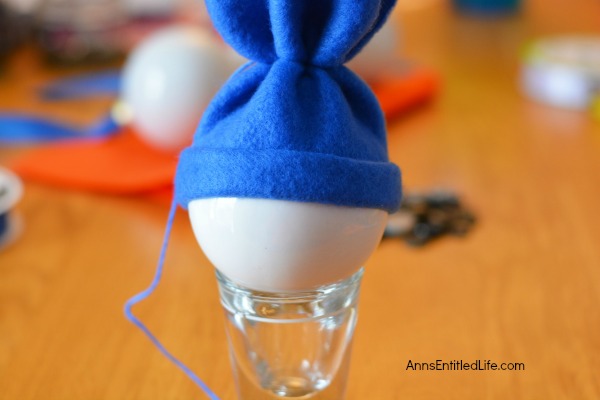
● Wrap the fabric-hat around the bulb, making sure the folded end covers the bulb.
● Affix the ends to the bulb with hot glue.
● Using another piece of thread or yarn, tie a string around the fabric to create a hat. Double knot it.
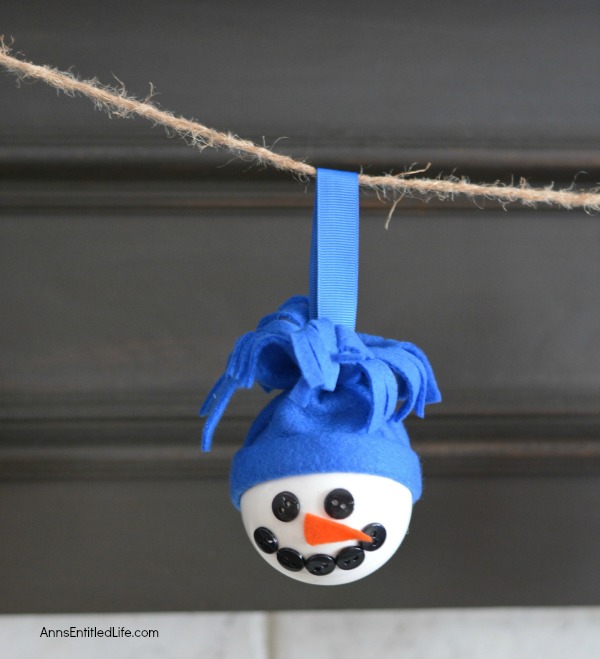
● Trim the top fabric by cutting it vertically being careful not to cut the hanging ribbon/yarn.
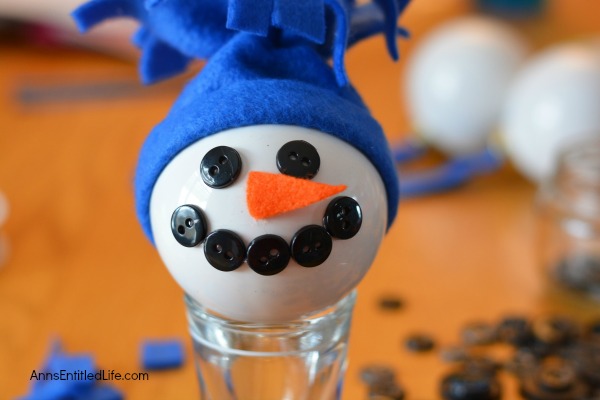
● When working on the face, lay the bulb on a glass or shot glass to hold it in place while you attach the facial features.
● Cut out a small triangle nose out of the orange felt.
● Attach two black button eyes to the ornament using hot glue.
● Attach a button mouth with hot glue (see photo).
● Attach the orange triangle nose to the bulb using hot glue.
● Glue the two pieces of ribbon together on the ends.
● Fold them over and glue the end to the ribbon about 2″ from the fold, creating a loop.
● If hanging on a tree, use an ornament hook or simply loop the ribbon on a branch so the ornament does not fall off.
● If hanging as garland, slip the loops of the ribbon on the snowman ornaments through a piece of twine and hang where desired!
● To print the Snowman Garland Craft instructions, click here.
● Disclosure: the links in this post may be affiliate links.
● For more Craft posts on Ann’s Entitled Life, click here.
● For more Holiday posts on Ann’s Entitled Life, click here.
● If you enjoyed this post, be sure to sign up for the Ann’s Entitled Life weekly newsletter, and never miss another article!
Didi says
Cute!!
*Jennifer says
I intend on making this with my 4 yr old grandson for his Mommy for Christmas!! So cute!!
Victoria @DazzleWhileFrazzled says
I love snowmen! Maybe ’cause I’m a January birthday?! Very cute!! Visiting from Merry Monday.
Emily says
These are darling!! Love that you turned them into a garland. Thanks for sharing at Merry Monday; I’m going to include them in my Party Features for our next party.
Beth says
LOVE these ADORABLE snowmen, Ann!! We will be featuring you starting Wednesday at the Creative Crafts Linky Party! Pinned and shared
Creatively, Beth