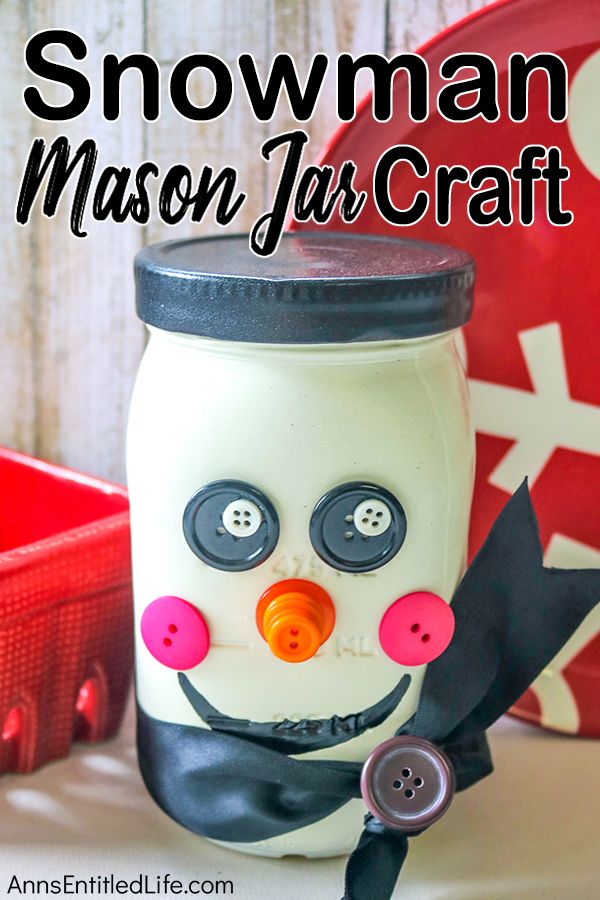
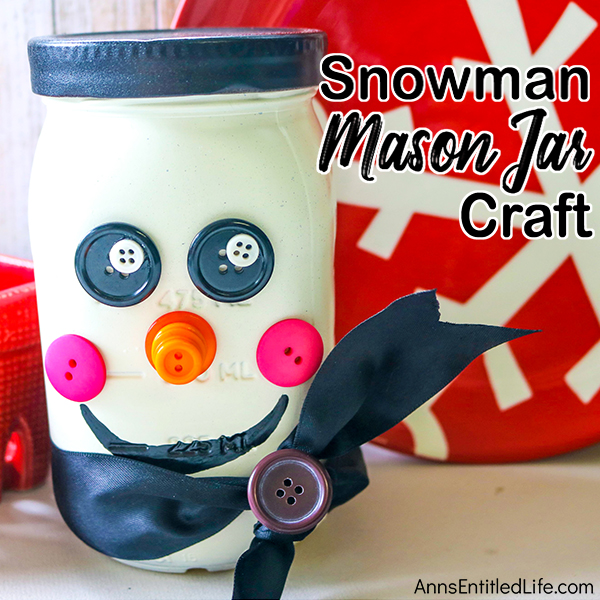
If you are looking for a fun, easy to make winter craft, this simple step-by-step Snowman Mason jar tutorial will fit the bill! Highly customizable, this straightforward winter craft is inexpensive to make, and can be made by nearly anyone.
If you do not have a Mason jar, you can make this using a small glass jar, like a salsa or maraschino cherry jar, or a mayo jar for a larger snowman. Make different sizes for a mama, papa, and baby snowman!
Snowman Mason Jar Craft DIY
If you like Mason Jar crafts, you may want to consider making these:
● Thanksgiving Turkey Jar Craft
● Sugar Skull Mason Jar Craft – perfect for Day of the Dead or Halloween
● Halloween Witch Jar DIY – a simple to make Halloween craft!
Notes:
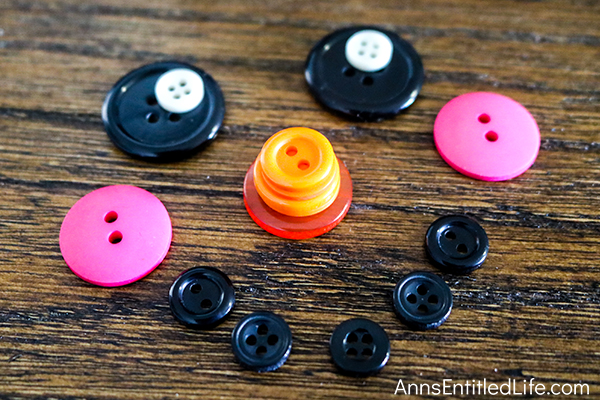
● Any buttons that you will be using for eyes or cheeks need to be a match, so figure on a set of 2 for those.
● Another way to do the cheeks would be to paint on pink circles with acrylic paint instead of using the buttons, use a round circle pounder to make it easier.
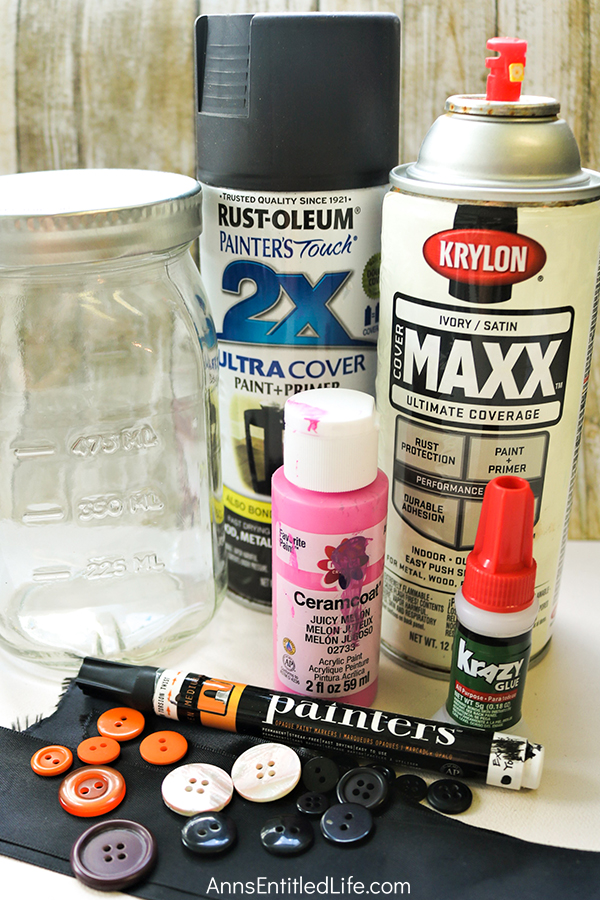
Snowman Mason Jar Craft Materials:
● Glass Mason Jar with lid (16oz+ size)
● Black Matte Spray Paint
● White Matte Spray Paint
● Black Acrylic Paint or a Black Paint Marker
● Ribbon
● Scissors
● Buttons
● Goop, Super Glue or Glue Gun (and Hot Glue Sticks)
Snowman Mason Jar Craft Directions:
● Lay down a covering to protect your work surface.
● Wash and dry jar and lid.
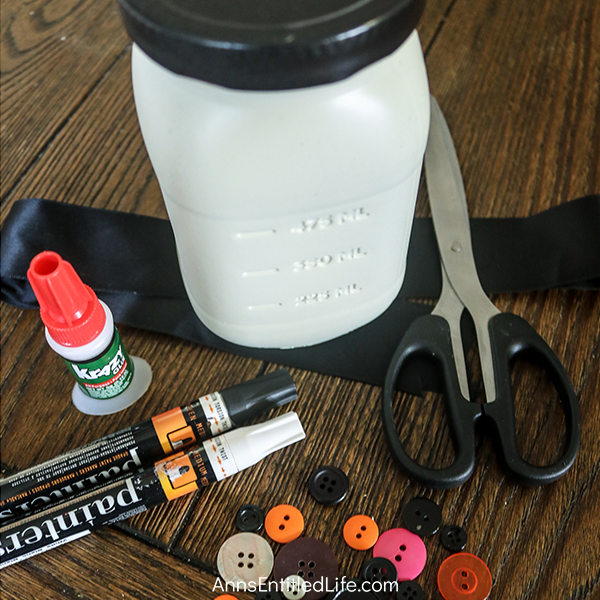
● Once the jar is dry, spray paint the entire outside of the jar white. Spray at least a few inches down on the inside too.
● Allow to dry completely. If you need a second coat, spray again, and allow to dry completely.
● Spray paint lid black.
● Allow to dry completely. If you need a second coat, spray again, and allow to dry completely.
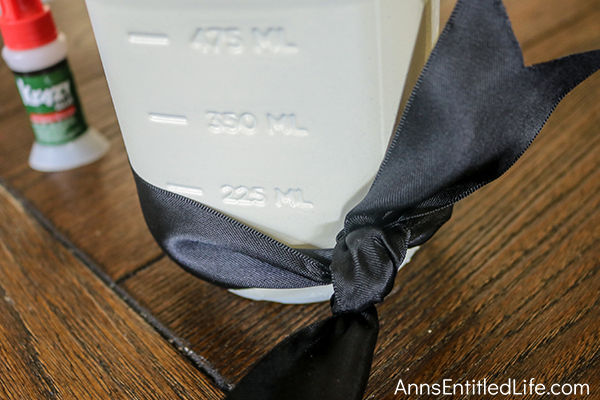
● If adding a ribbon scarf, do that now (it is optional). You will adjust your eye, nose, etc placement based on the amount of space left after you add a ribbon scarf.
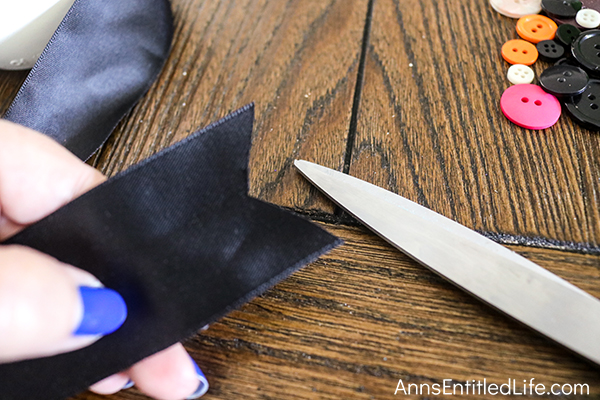
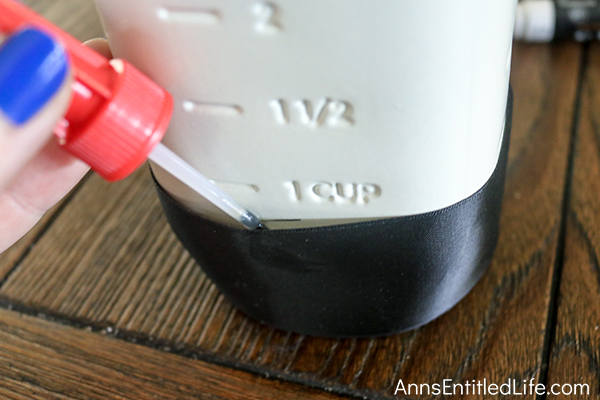
● Measure the ribbon around the jar and loosely tie it, to make sure you cut the right amount. Then, go ahead and cut the ends. If you like the dove-tail ends, fold the end of the ribbon in half, and cut a “V” shape into it to get that look. Tie the ribbon in place, and then glue to hold.
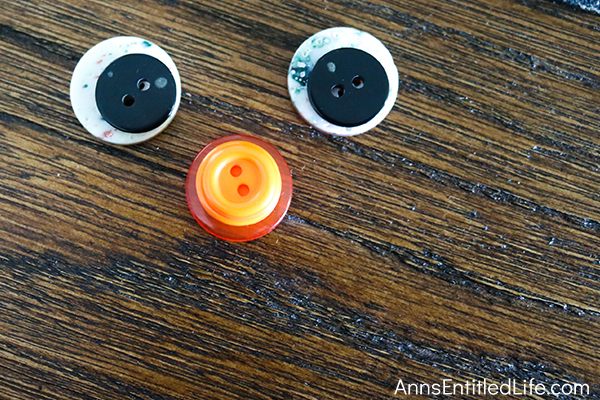
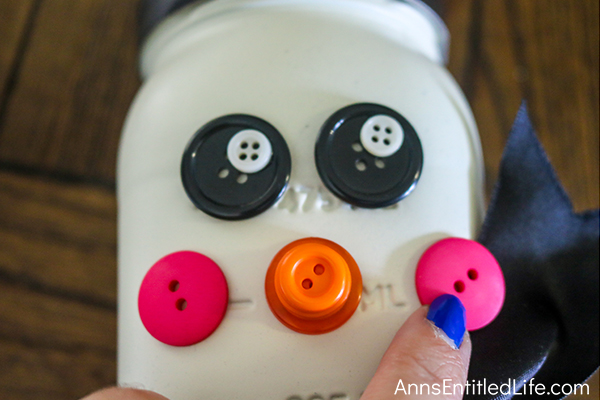
● Arrange the face buttons. These are layered for depth and interest. Start with a large black button as the base, then layer a white button on top of the eye.
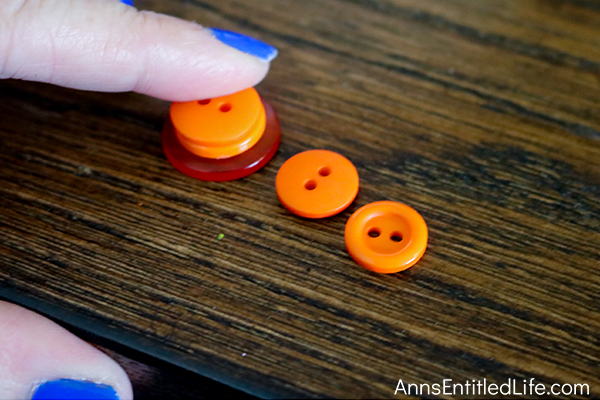
● For the nose, go from largest to smallest and glue them carefully on top of each other. This was done in orange (you could use pink, red, etc)
● If you are painting on pink cheeks and not gluing pink buttons on, do that first. The pink-painted-cheeks may need a second coat, too.
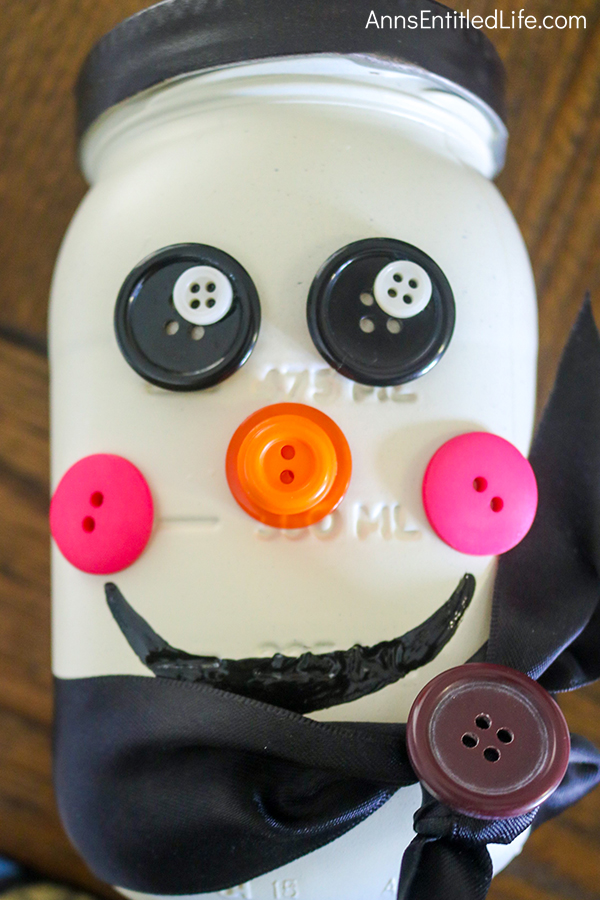
● Glue the eye buttons on. Choose where exactly you want them to go, and lay them on, but then just glue on one at a time. Hold the button in place, pressing down to let the glue set up. Repeat the process until all the buttons are on.
● Glue the nose on, and the cheeks (assuming you did not paint pink cheeks).
● Paint a mouth using a black paint marker. Make sure you shake first, then start the marker on a piece of scrap paper to get the paint flowing. You could also paint a mouth with a think paint brush and black acrylic paint.
● Double check for any loose buttons, ribbon, and make sure your paint job is complete!
● Allow everything to dry, display as you like!
● Disclosure: the links in this post may be affiliate links.
● For more Craft posts on Ann’s Entitled Life, click here.
● If you enjoyed this post, be sure to sign up for the Ann’s Entitled Life weekly newsletter, and never miss another article!
Joleisa says
When I saw this and the other two craft ideas in your recent newsletter, I thought I must check it out. Loving all of these ideas that look so amazingly good when finished! I am definitely going to try the wreath. That one was my favourite. Well done on continuing to inspire us with super cute ideas. Love from the girls here too.
Ann says
Thank you so much, Joleisa!! I hope all is well with you and yours and that you have a wonderful holiday season.
Ann