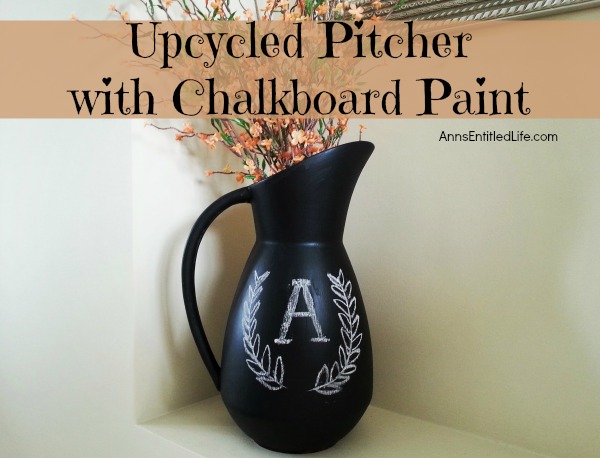
Upcycled Pitcher with Chalkboard Paint
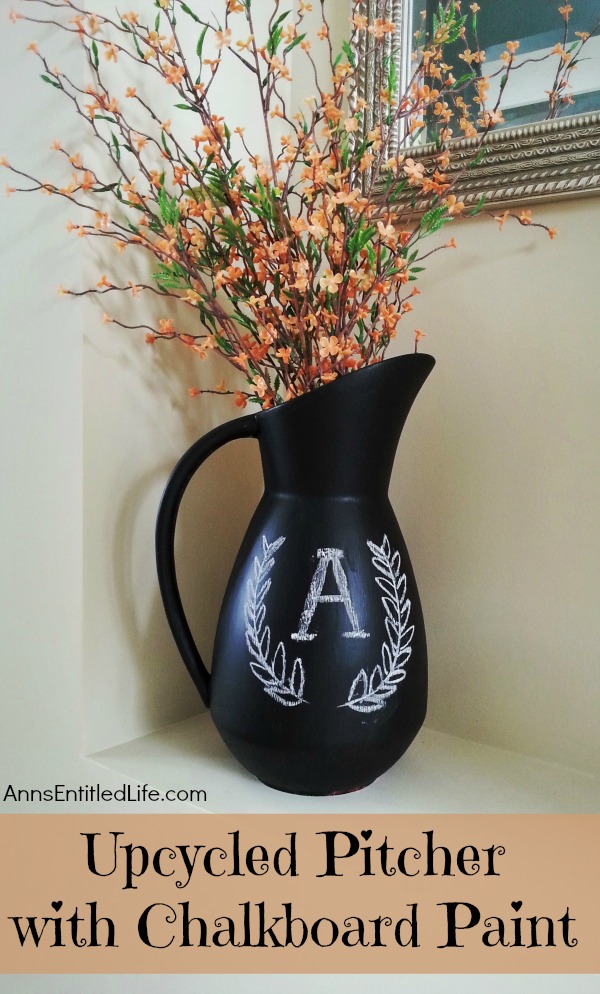
Upcycle old ceramic pitchers, jars, vases and more with chalkboard paint for fun, and versatile décor! This easy step by step tutorial will show you how to make fabulous upcycled art with chalkboard paint very inexpensively.
Do you have any old ceramic containers just laying around that you may not find as attractive as you once did, no longer match your home decor, or possible you inherited or found at a garage sale for cheap and would like to remake them into something fabulous? Why not join the chalkboard paint crazy? With chalkboard paint, you can simply paint over that old ceramic do-dad, write on it with chalk (seriously) and change up the look and feel of your old containers.
● Note: this project did not require priming. If you feel you would like to prime before using chalkboard paint, use a latex primer.
Allow your latex primer
to dry for a minimum of 2 hours before applying chalkboard paint.
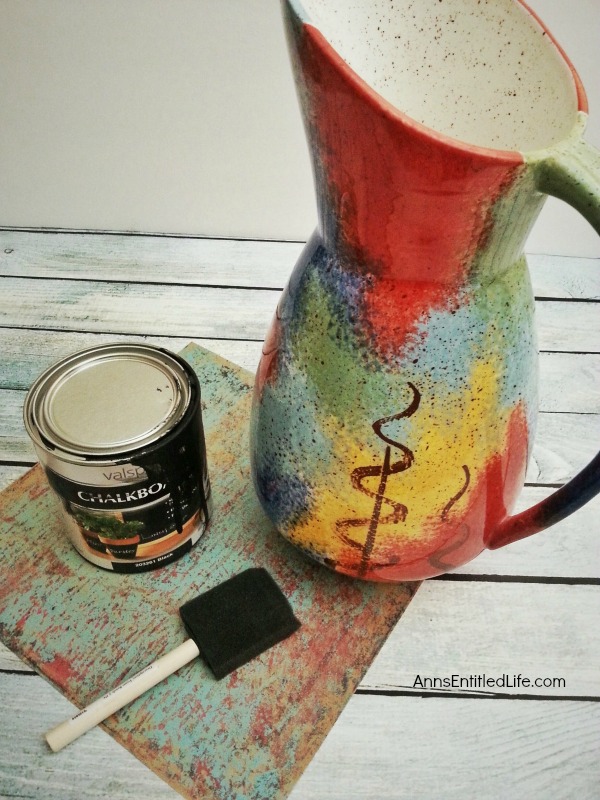
Upcycled Pitcher with Chalkboard Paint Supplies Needed:
● Old Ceramic Pitcher, Jar, Vase, etc
● Chalkboard Paint
● Paint Brush
● Chalk
Upcycled Pitcher with Chalkboard Paint Directions:
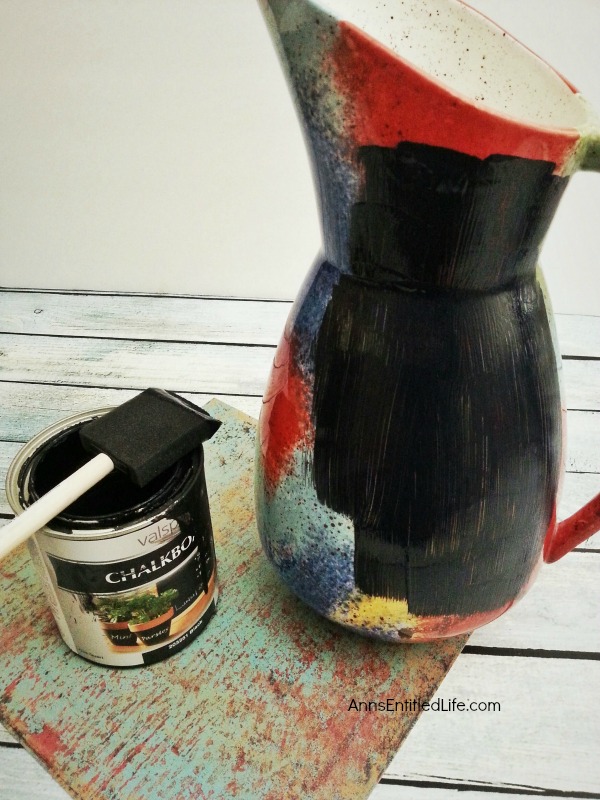
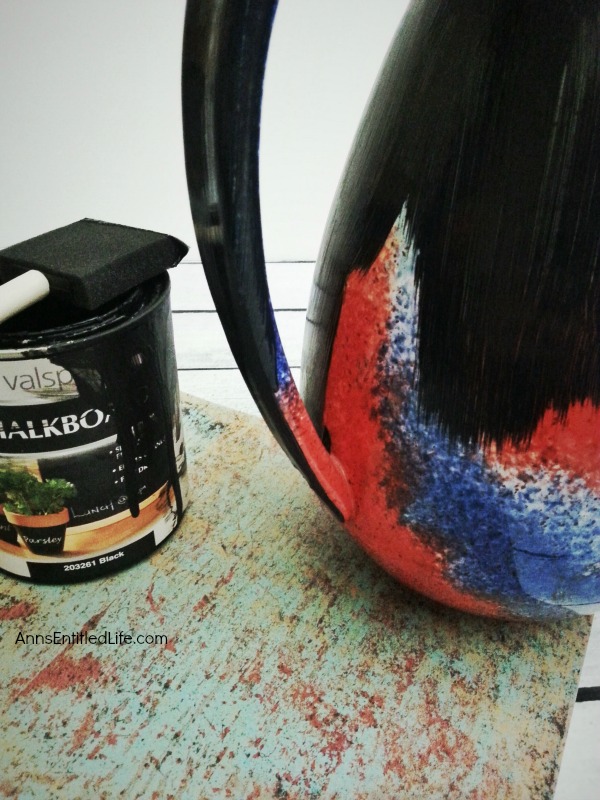
● Stir your chalkboard paint with your paintbrush. Do not stir too much or too hard as you could cause the elements that allow you to draw on the chalkboard paint to breakdown.
● Using a foam brush (you can use a regular paintbrush if you like, just be hyper-aware of brush marks), paint the chalkboard paint onto the pitcher using even strokes. Make sure to apply uniformly, no drips or marks. Make sure you overlap all your brush strokes to reduce the chance of brushstrokes or marks.
● Make sure to paint the spout and handle!
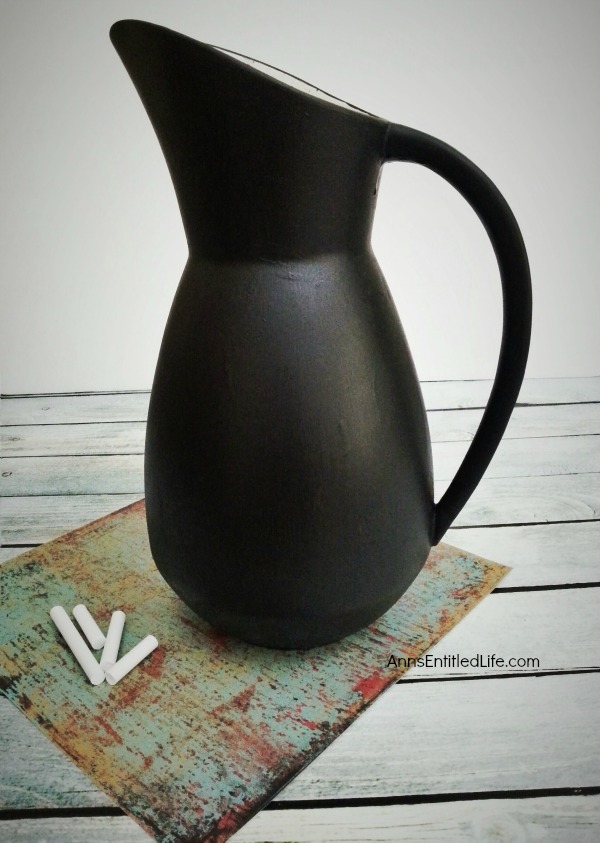
● Apply three coats of chalkboard paint. Allow to dry for a minimum of 4 hours between coats (overnight would be better). If you need more than three coats for coverage, that is fine. Sometimes the use of a latex primer
– especially a tinted latex primer
– should be considered. Usually with a primer, three coats of chalkboard paint.
is enough.
● Note: the inside of this vase was not painted.
● Allow your pitcher to dry completely before chalking.
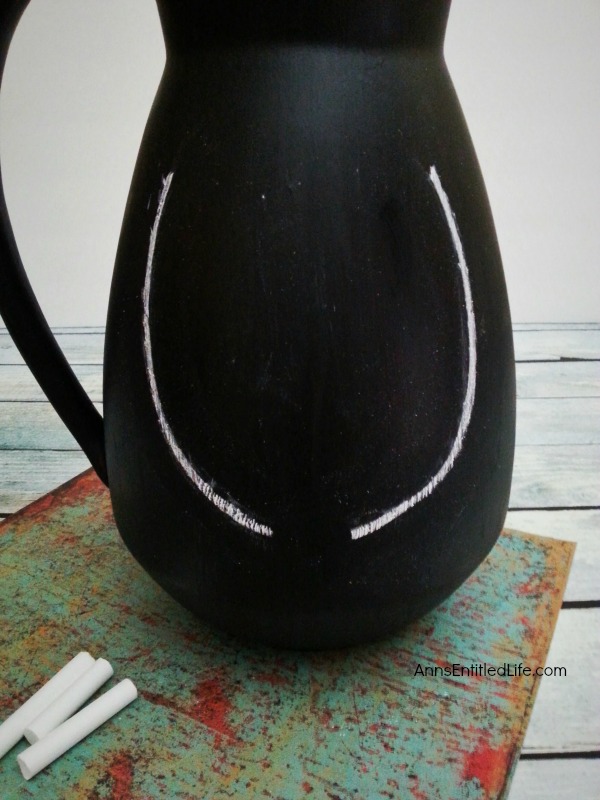
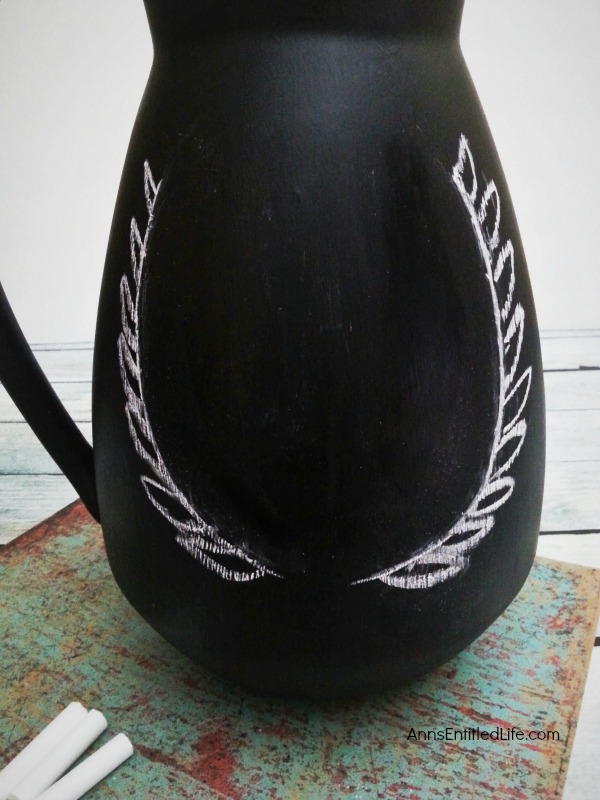
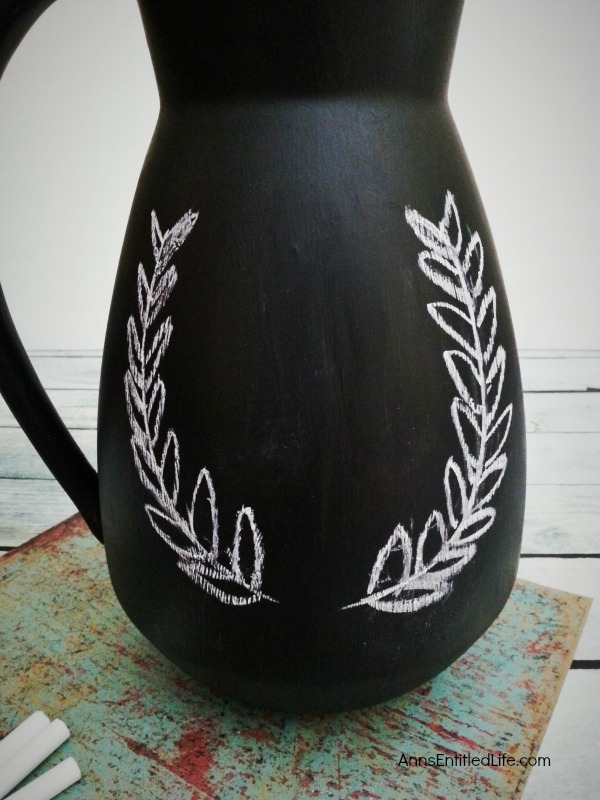
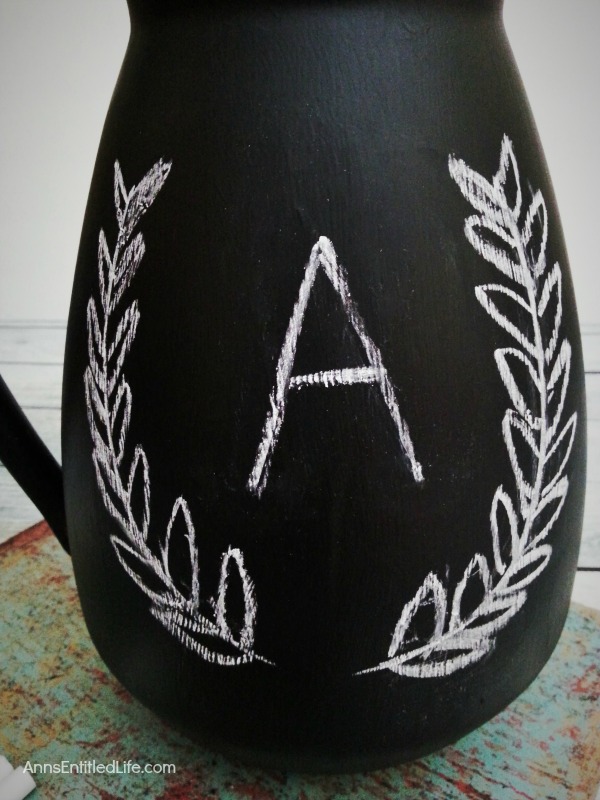
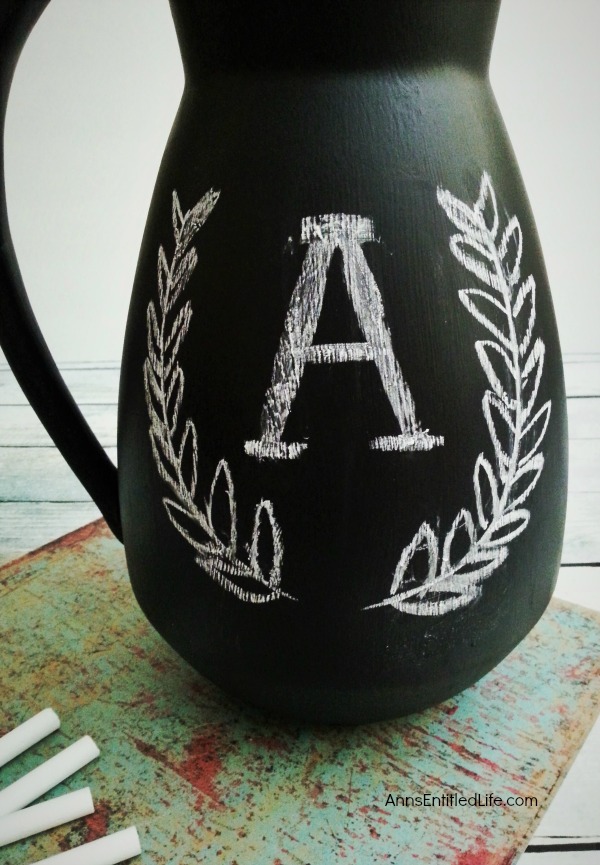
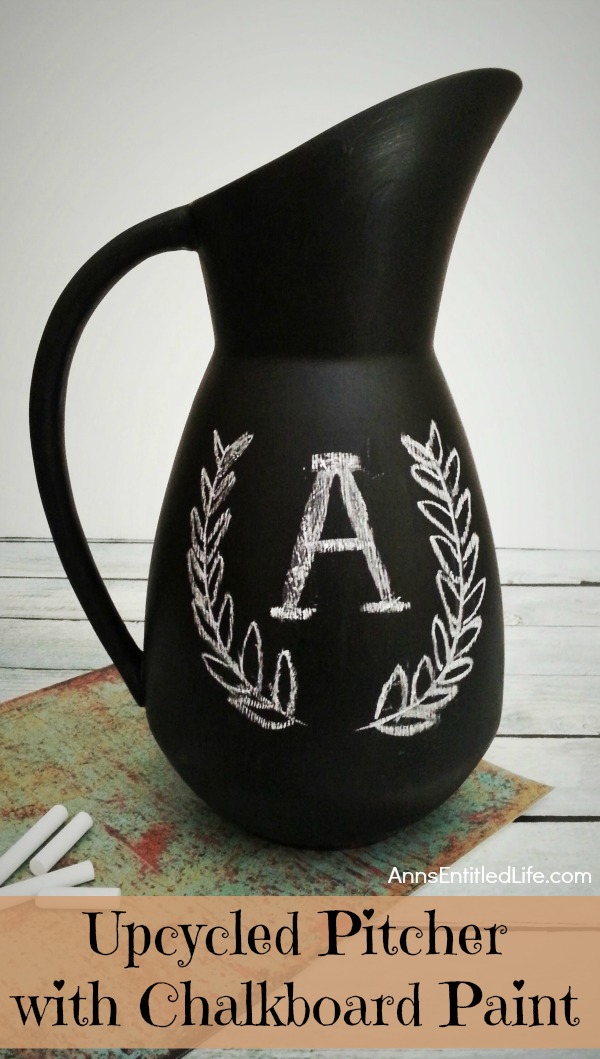
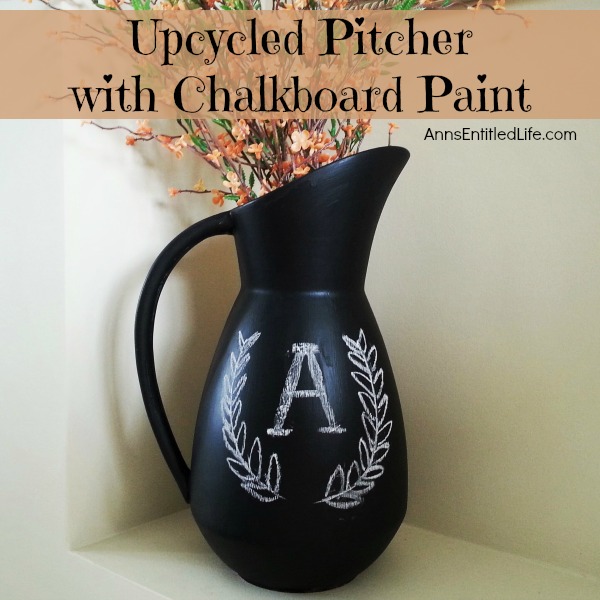
● The chalk design on this pitcher is simple:
● Draw a horseshoe shape with a break in the middle on the bottom.
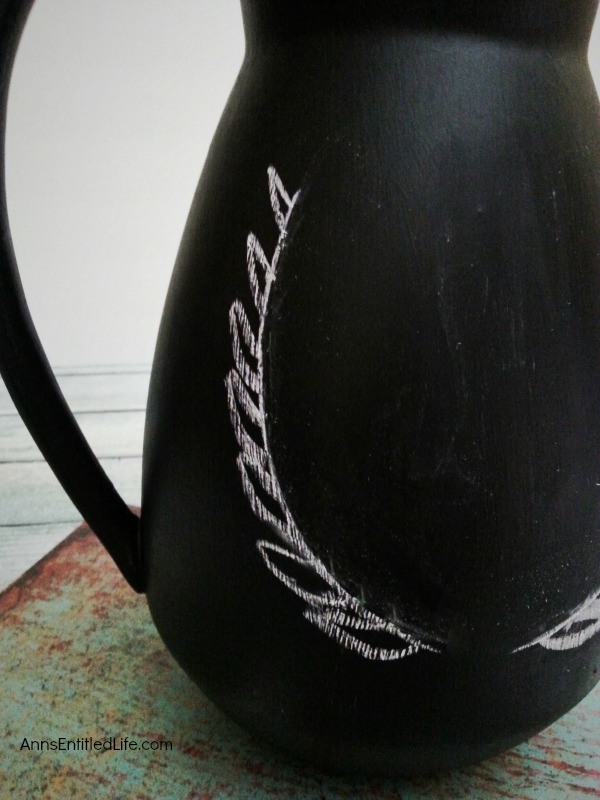
● Then, draw small leaf shapes on the inside and outside of the line.
● Fill in the horseshoe shape with a simple letter, making it thicker and adding perpendicular lines on the “ends” of the letter.
● You can draw anything onto the pitcher, it doesn’t have to be letters or horseshoes, and the chalk does not have to be white!
Draw what works with your home decor, your children’s rooms, your outdoor patio, etc. Draw what fits your lifestyle, area, and personal preference!
To paint over chalkboard paint:
● If you eventually decide to paint over your chalkboard paint … say a different color perhaps, you will need to rough up the previously applied chalkboard paint using 180 grit sandpaper.
● Then, wash the area you roughed up with soap and water.
● Allow to dry.
● Apply a latex primer
● Allow to dry for at least 2 hours.
● Repaint.
● Disclosure: the links in this post may be affiliate links.
● If you enjoyed this post, be sure to sign up for the Ann’s Entitled Life weekly newsletter, and never miss another article!
● For more Craft posts on Ann’s Entitled Life, click here.
Alyssa @Living on Cloud Wine says
This is so pretty! And it goes great with so many styles! Saving this for sure 🙂
Mary-the boondocks blog says
This is such a cute idea Ann. It looks absolutely nothing like the before. And chalkboard paint is so versatile . I am hosting a new link party, Sweet Inspiration and would love to have you join us. It runs Friday till Tuesday.
Dee says
I love the new look! I actually have an old pitcher that needs a makeover, so thanks for sharing your inspiration with us at Merry Monday. 🙂
Betsy says
This is going to sound like a bizarre question but I’m trying to make over a vase to look like your “before” picture of this pitcher. Do you have any thoughts of how to achieve that look? Sponge on various colors over a base color?
Ann says
Betsy, that is ceramic, so it was glazed and fired. I think you could do it at home (I am sure there is a youtube video), or an easier way would be taking a ceramics class where they’d have the clasy molded, and the teacher could tell you how to achieve the look. They’d also have the kilns and the glazes and colors, scrapers, etc for you to buy there.
It has been a LONG time since I took a ceramics class, but I did some pretty complicated stuff back in the day. A vase like this would be super easy to achieve. Just show the teacher that photo, and I am sure they’d know how to make it.
Ann