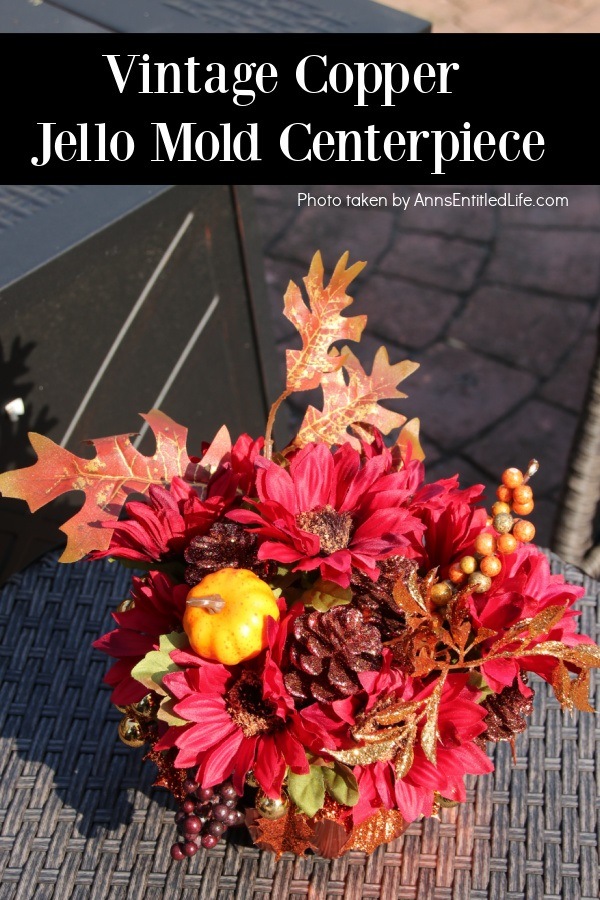
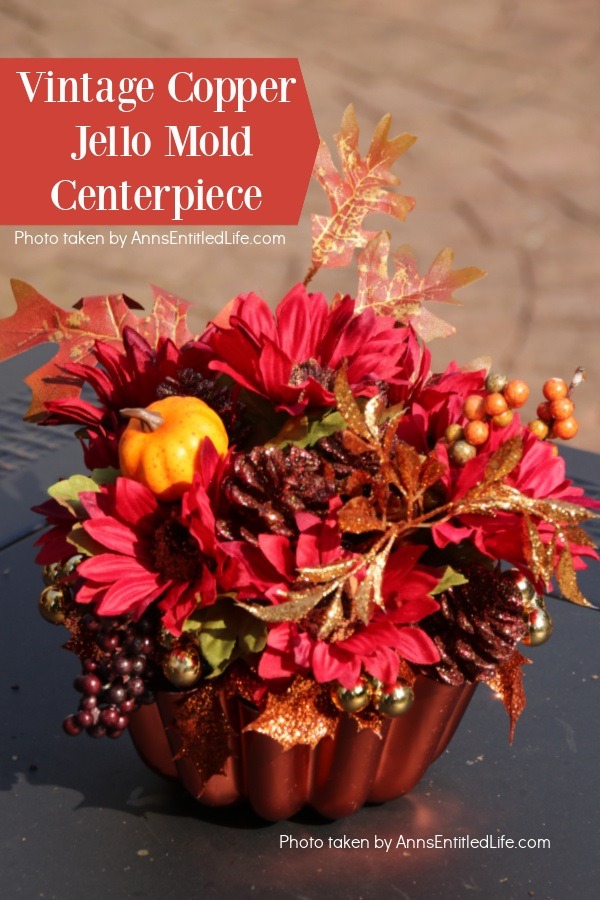
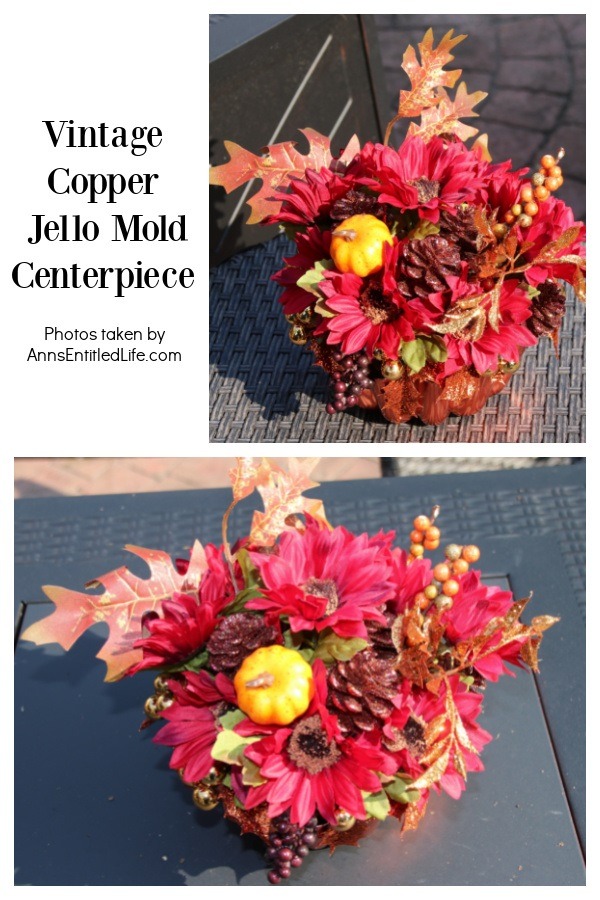
Using an old copper jello or baking mold as the base, make this beautiful centerpiece, perfect for your kitchen table or side table. Follow the step-by-step instructions to make this terrific centerpiece in about 15 minutes. You can fully customize this floral arrangement to match any decor or season.
This is a nice way to repurpose an old jello or baking mold, especially if the mold was used frequently to make a holiday jello or baked good. In addition, this serves as a reminder of happy times with the family when the vintage copper jello mold was being used at dinners and parties.
Vintage Copper Jello Mold Centerpiece
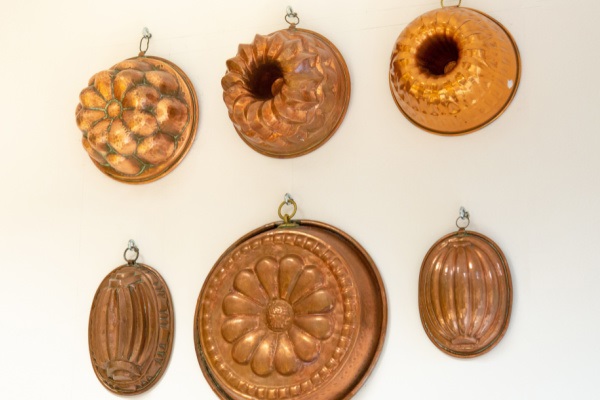
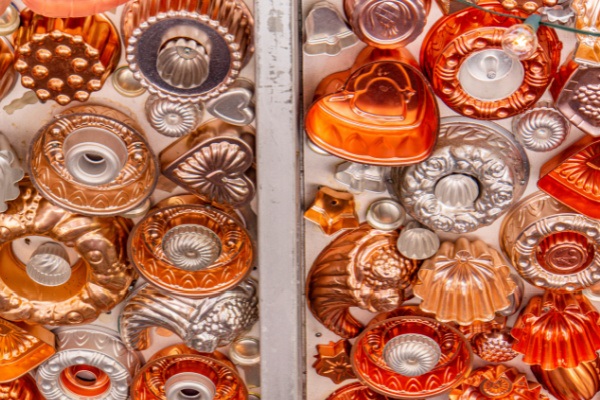
Do you have an old copper jello mold lying around down the basement or stashed in the back of a cupboard? Perhaps it was your mother’s or grandmother’s or even your great-grandmother’s old jello mold? Many people used to hang them in their kitchen as decorations (about the sink or stove), and some people actually used them to make jello molds! Imagine that? This History of Copper Jello Molds article is very interesting!
Over the years, easier molds came into being as holding the pan in warm-hot water to loosen the jello and hoping it came out in one piece fell out of favor to simply being able to press a plastic mold (after only 10 seconds in warm water) from the bottom.
A lot of the old molds were genuinely beautiful pieces of art on their own. And some are worth a great deal of money these days. For this craft, we used one of my grandmother’s old molds that would not fetch $20 if a buyer could be found. I do not advise using a copper jello mold that has great monetary value on this project.
However, a mold with sentimental value? Sure! That was why we made this vintage jello mold centerpiece, so we could recall the good times with my grandmother and wax nostalgic about old family dinners and get-togethers.
Tips and variations for making this vintage copper jelo mold centerpiece:
● This is decorated for fall. You can choose to make this work for any season by choosing appropriate faux foliage for the season. For example, sunflowers and greens for summer, ice blue roses, holly, and icicles for winter, or perhaps faux tulips for spring.
● If you choose not to hot glue down the foam to the bottom of the mold, you can simply pull it out entirely to change seasons. I do not recommend that though, as it would have to be wedged in tightly in order to not move with the weight of the faux foliage.
● You can use dollar store flowers if you like, and it makes it cheap to swap out.
● Accent with a bow if you like.
If you like to make your own centerpieces, check out these homemade centerpiece tutorials:
● Dollar Store Craft: Fall Centerpiece
● Dollar Store Craft: Lighted Thanksgiving Centerpiece
● Winter Pear and Floral Table Centerpiece
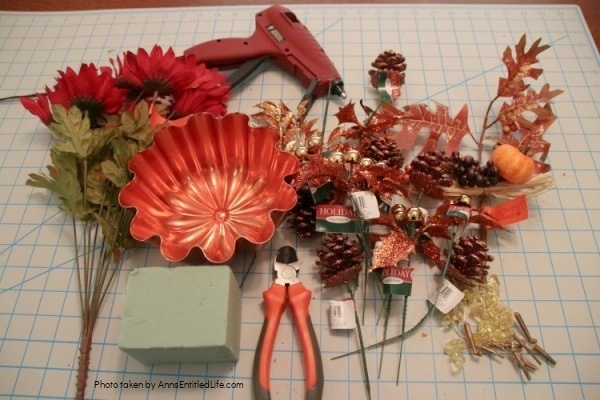
Vintage Copper Jello Mold Centerpiece Materials:
Look to your favorite craft store such as Joann, Michaels store, or Hobby Lobby for the supplies needed to make this terrific craft, escluding the vintage copper mold, of course.
● 1 Vintage Copper Jello Mold (used was a mold 6.75″ diameter x 2.75″H)
● 1 Bush Dahli Faux Flowers
● 8 Sparkly Picks
● 6 Sparkly Pine Cone Picks
● 1 Sparkly Leaves Bush
● 1 Fall Foliage
● Floral Foam
Vintage Copper Jello Mold Centerpiece Tools:
● Knife
● Hot Glue
● Glue Gun
● Wire Cutter
Vintage Copper Jello Mold Centerpiece Directions:
1. Cover your work area against cuts and burns.
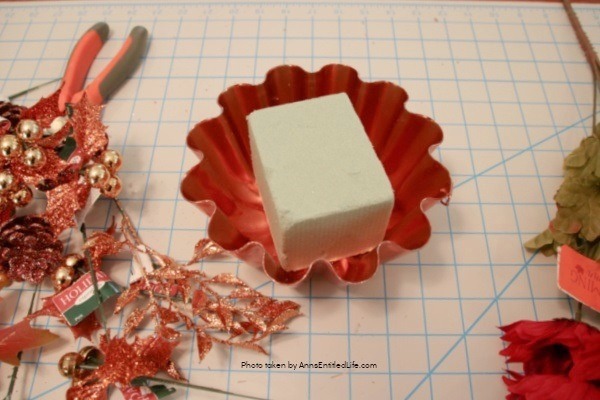
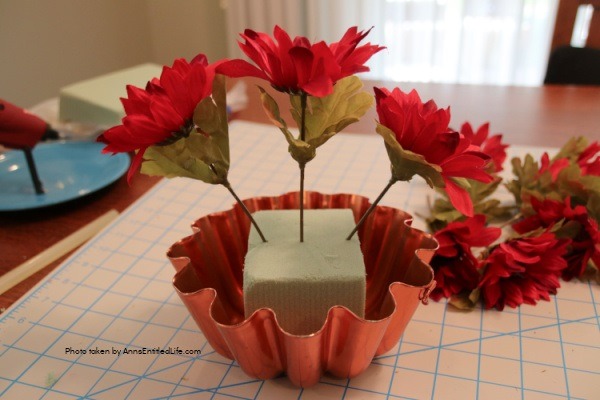
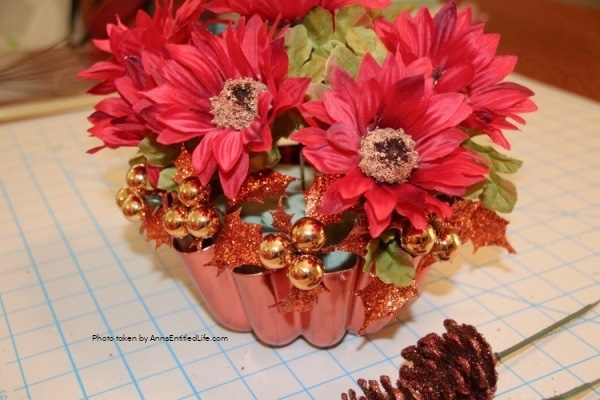
2. Fit and then hot glue a piece of floral foam to the bottom of the jello mold. No need to fit the foam in perfectly as the floral will cover any empty spaces.
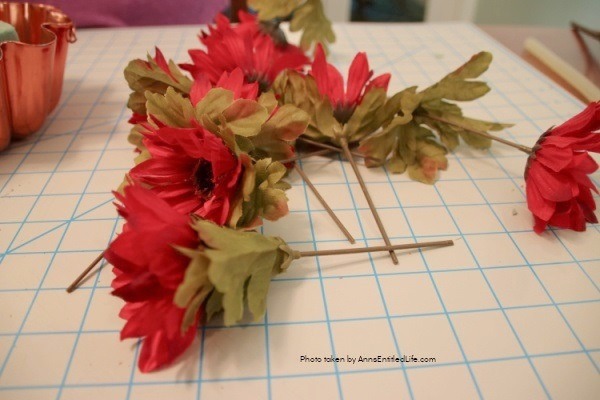
3. Clip down flower bush.
4. Insert three flowers across the foam.
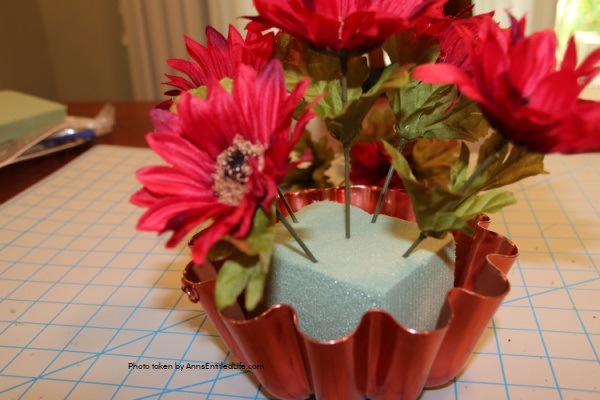
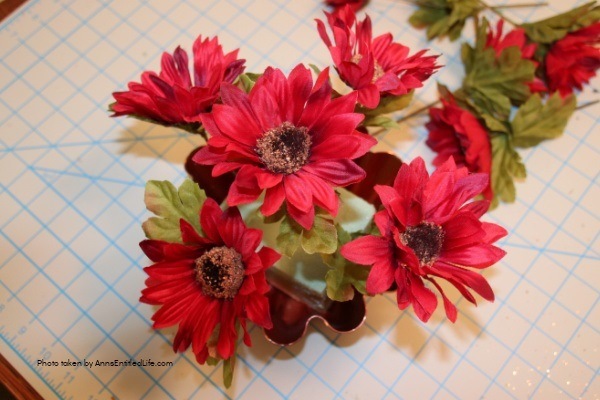
5. Fill in two more flowers on the open sides. It will look like a + in the middle. Hot glue flowers in place by dabbing a bit of hot glue at the base of the stem and re-inserting into the floral foam (optional).
6. Fill in the open spaces with the sparkly picks at the bottom of the arrangement. Hot glue flowers in place by dabbing a bit of hot glue at the base of the picks and re-inserting them into the floral foam (optional).
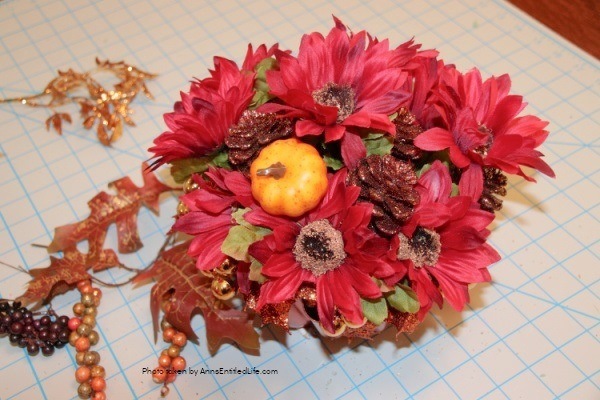
7. Use the pinecone picks to fill in spaces near the flowers and near the sparkly picks. Hot glue flowers in place by dabbing a bit of hot glue at the base of the picks and re-inserting them into the floral foam (optional).
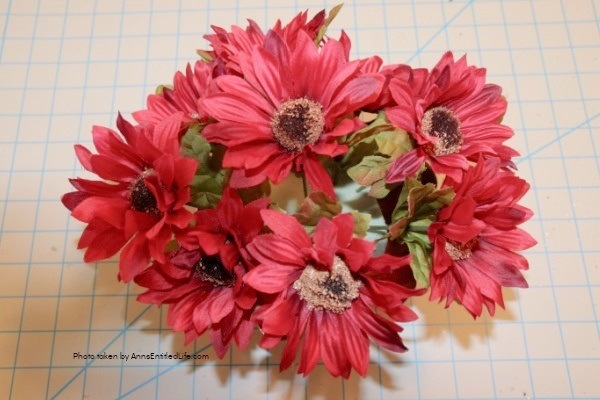
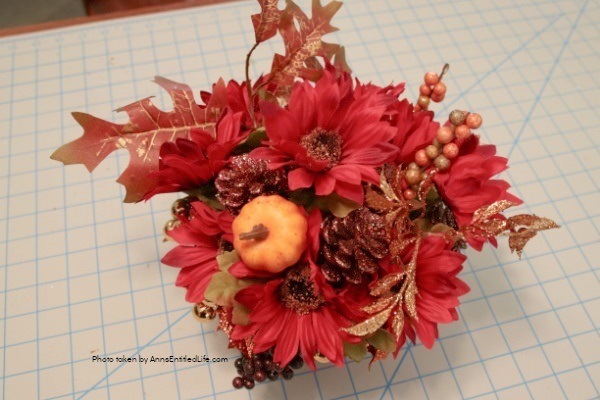
8. Take apart the leaves bush and insert the leaves into the holes. You are going for a dome of flowers, so keep that in mind. Hot glue flowers in place by dabbing a bit of hot glue at the base of the stem and re-inserting into the floral foam (optional).
9. Pick up the arrangement and turn it around. Fill in any holes with leaves.
10. Display as desired.
Vintage Copper Jello Mold Centerpiece
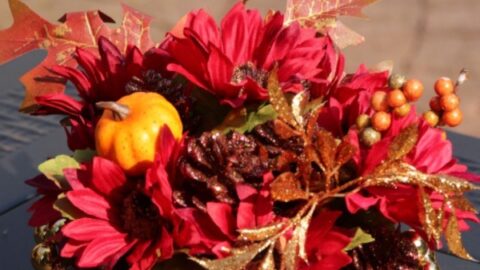
Vintage Copper Jello Mold Centerpiece. Using an old copper jello or baking mold as the base, make this beautiful centerpiece, perfect for your kitchen table or side table. Follow the step-by-step instructions to make this terrific centerpiece in about 15 minutes. You can fully customize this floral arrangement to match any decor or season.
Materials
- 1 Vintage Copper Jello Mold (used was a mold 6.75” diameter x 2.75” H)
- 1 Bush Dahli Faux Flowers
- 8 Sparkly Picks
- 6 Sparkly Pine Cone Picks
- 1 Sparkly Leaves Bush
- 1 Fall Foliage
- Floral Foam
Tools
- Knife
- Hot Glue
- Glue Gun
- Wire Cutter
Instructions
- Cover your work area against cuts and burns.
- Fit and then hot glue a piece of floral foam to the bottom of the jello mold. There is no need to fit the foam in perfectly as the floral will cover any empty spaces.
- Clip down flower bush.
- Insert three flowers across the foam.
- Fill in two more flowers on the open sides. It will look like a + in the middle. Hot glue flowers in place by dabbing a bit of hot glue at the base of the stem and re-inserting into the floral foam (optional).
- Fill in the open spaces with the sparkly picks at the bottom of the arrangement. Hot glue flowers in place by dabbing a bit of hot glue at the base of the picks and re-inserting them into the floral foam (optional).
- Use the pinecone picks to fill in spaces near the flowers and near the sparkly picks. Hot glue flowers in place by dabbing a bit of hot glue at the base of the picks and re-inserting them into the floral foam (optional).
- Take apart the leaves bush and insert the leaves into the holes. You are going for a dome of flowers, so keep that in mind. Hot glue flowers in place by dabbing a bit of hot glue at the base of the stem and re-inserting them into the floral foam (optional).
- Pick up the arrangement and turn it in. Fill in any holes with leaves.
- Display as desired.
Recommended Products
As an Amazon Associate and member of other affiliate programs, I earn from qualifying purchases.
-
 ZAJ Artificial Plants Fake Flowers Centerpieces - Faux Silk Flowers Bonsai in Retro Ceramic Vase, Vintage Artificial Silk Rose Flowers Bouquets Set for Home/Bedroom/Office/Wedding Decorative Swags
 -
 LZL Artificial Flowers in Vase - Real Touch Rose Flowers Bonsai, Faux Silk Flannel Rose Bouquets in Vase, Fake Flowers Centerpiece for Home/Office/Wedding Party (Size : Set3)
 -
 JOYGOOD Artificial Flower Faux Flowers Artificial Flowers in Vase Artificial Indoor Plants Living Room Dining Table Coffee Table Decoration Flower Figurine Hotel Entrance Simulation Flower Set
● For more Craft posts on Ann’s Entitled Life, click here.
● If you enjoyed this post, be sure to sign up for the Ann’s Entitled Life weekly newsletter, and never miss another article!


Niki says
I love upcycling older items to bring new life into them! This is adorable, and a great way to remember your grandmother. Also- I absolutely love decorating for fall, so I have chosen your post as my feature on this week’s Happiness is Homemade on LIfeasaLEOWife.com. Keep sharing those home decor projects, our readers (and I!) love them!