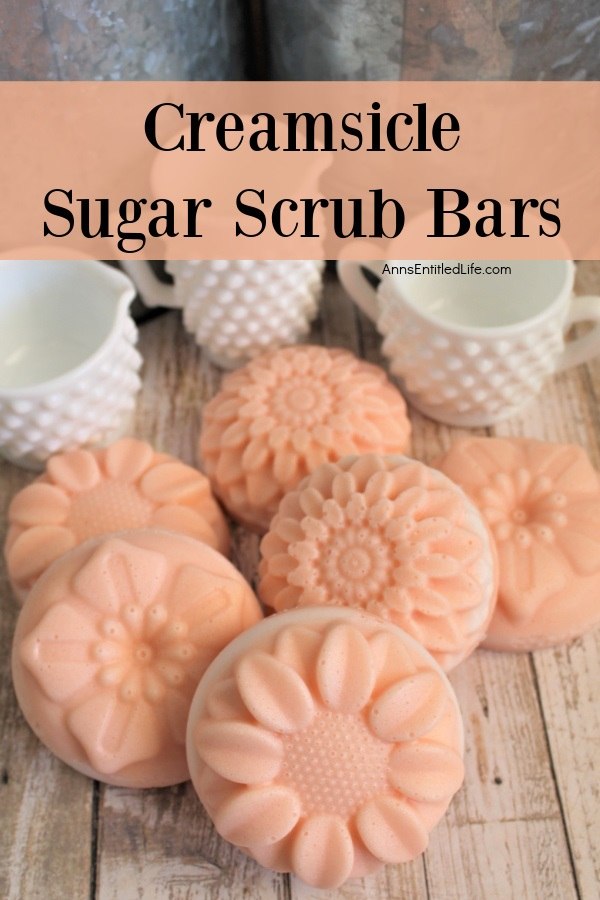
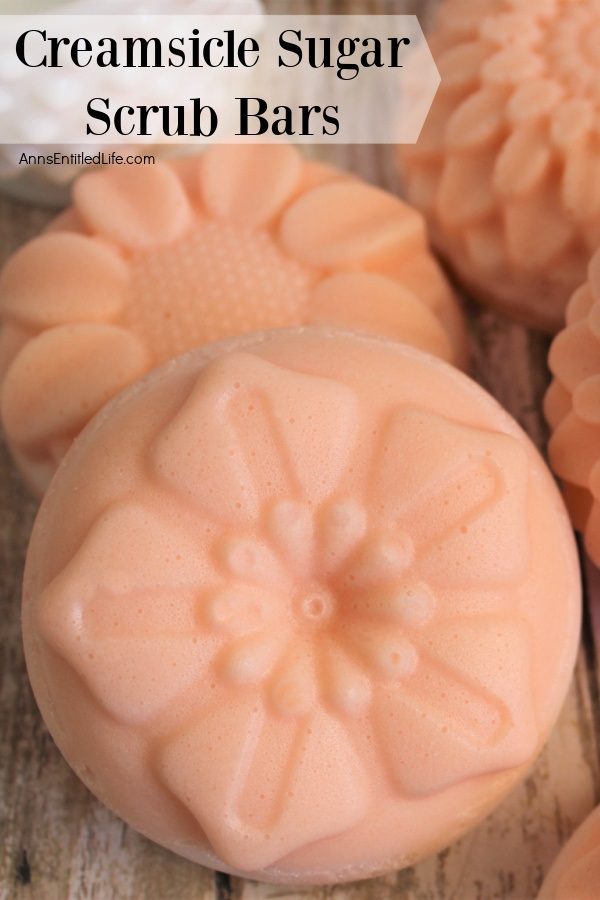
This easy sugar scrub recipe is a convenient body scrub as it is soap based. Made with natural ingredients, this sugar scrub soap makes great hostess gifts, Christmas presents, or keep for personal use! It is easier than you think to make a homemade body scrub, so follow these simple step-by-step to make creamsicle sugar scrub bars.
If you are anything like me and are a fan of making your own body products, there’s a good chance that you have made a sugar scrub or two before. Sugar scrubs are an easy do-it-yourself product that works wonderfully for moisturizing and exfoliating. A simple sugar scrub recipe that you love is worth its weight in gold. You can tweak the scents of a basic sugar scrub recipe for personal preference. A natural sugar scrub is fun to make and the possibilities of scents and combinations are endless.
Creamsicle Sugar Scrub Bars
This recipe takes the best of sugar scrub and adds it with a bar of soap and it is far less messy to use; plus you get a better cleansing effect as well to remove dead skin cells and reveal new skin. It will start with a soap base that you melt down then, you add in sugar, sweet almond oil, vanilla extract, and essential oils of three citruses for an awesome combination of a soothing, and yummy-smelling aroma.
The soap base is goat’s milk which helps leave your skin nice and soft. Add sugar to that and you get an exfoliator, too. But what do the essential oils add other than scent? The answer may surprise you so read all the contents and disclaimers carefully before making your selection. Please do use pure oils only and not the types that are intended for room scent, as those might be loaded with additives and may not be good for your skin.
All citrus oils are good for cleansing. We are using grapefruit, orange, and tangerine in this recipe.
I kept the scent on the milder side, as creamsicle would be, but you can kick up the orange oil by 5 to 8 more drops if you want it a bit stronger in scent.
One more thing to note is that there is a soap colorant used in this recipe that is truly optional. If you prefer the soap to be totally natural, it won’t affect the texture of the soap to just leave it out. If you do want to use the same one I did, this is the link. Do not use food coloring to color your soaps, scrubs, or lotions.
Tips and variations for making this creamsicle sugar scrub recipe:
● The soap base sets up very quickly so you will need to have your additional ingredients prepared for the next steps or you may have to pop it back in the microwave another time or two in order to get the scrub well mixed.
● Check and clean your molds to make sure they are free of debris. Silicone tends to be sticky once it has been used and it likes to grab on to little bits of things.
● Place the mold in an undisturbed area to cool off at the end of the process.
● The carrier oil in this recipe is almond oil. There are other carrier oils you might consider such as jojoba oil, coconut oil, or avocado oil, but I have not used them to make this recipe.
● The best tool to use for mixing the soap is a rubber spatula. Take that and stir the soap base, turning and scraping it well to see if there are any lumps in it. A lot of times there will be a few and they can stick to the bottom easily.
● Pour the sugar in slowly as it will be easier to stir.
● The soap is formed using a silicone mold. This recipe makes 6 bars in a standard bar size, but if you have different-sized molds you prefer to use, just adjust the recipe to fit your needs.
● I do not store my soaps in an airtight container or glass jars, although you can. I leave my soaps on an open shelf. It allows them to cure harder and adds a very nice scent to the linen closet.
● Apply a sugar scrub in a circular motion. Since these are sugar scrub soaps, that is a lot easier to do than a handful of scrub.
● The sugar: some people like coarse sugar, organic sugar, raw sugar, superfine sugar, coconut sugar, turbinado sugar, you name it, people have tried it. None of those kind of sugar are bad or wrong. A lot of this comes down to personal preference, what feels best against your skin. If you have sensitive skin or dry skin, or a known allergy, you may want to consult your physician before making any homemade sugar scrub recipe, natural body scrub, or homemade soap recipe.
If you like DIY sugar scrub recipes, try these fun sugar scrub recipes. These are full-body sugar scrub recipes:
● Grapefruit Sugar Scrub
● Spearmint Sugar Scrub Cubes
● Apple Pie Sugar Scrub
Sugar Lip Scrubs:
● Strawberry Daiquiri Lip Scrub
● Spearmint Lip Scrub
● How to Make Brown Sugar Lip Scrub
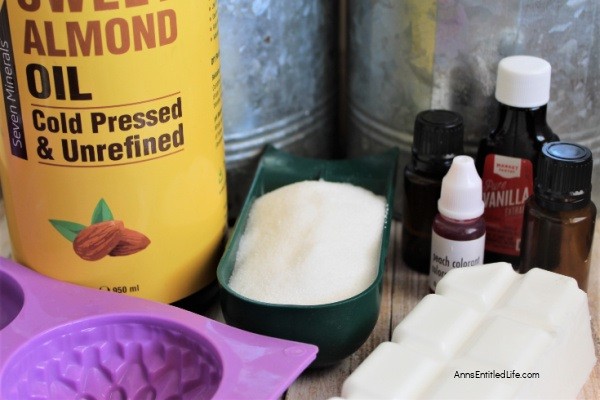
Creamsicle Sugar Scrub Bars Ingredients:
● 1.5 cups (or 12 cubes) Goat’s Milk Soap Base
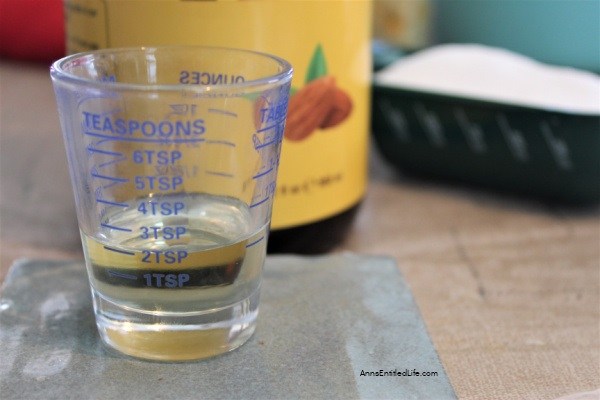
● 2 teaspoons Sweet Almond Oil
● 1.5 cups White Sugar
● 1 Tablespoon of Vanilla Extract
● 20 drops of Grapefruit Essential Oil
● 16 drops of Tangerine Essential Oil
● 16 drops of Orange Essential Oil
● 10 drops of Peach or Orange Soap Colorant
Creamsicle Sugar Scrub Bars Mise en Place:
● Large Measuring Cup
● Measuring Spoons
● Rubber Spatula
● Small Bowl
● 6 bars Silicone Soap Mold
Creamsicle Sugar Scrub Bars Directions:
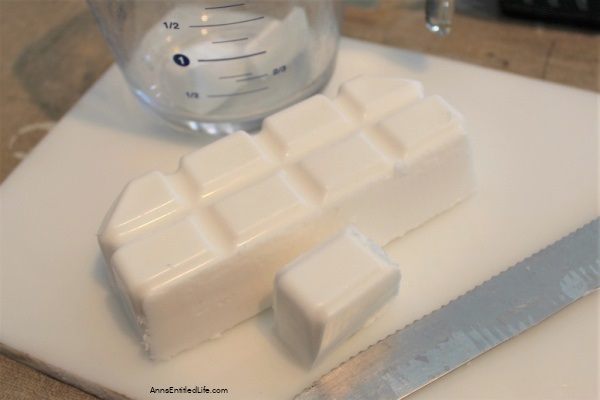
1. Melt down the soap base by cutting it into squares so it can be melted easily. Most of this type of soap base comes in a pre-scored block that is divided into squares. If yours is like this, it makes it so much easier to measure. You will want to cut out 12 of those squares. If it is not already scored, cut out a slice around 1″ thick and cut that into 1” squares. Start the melting process by adding about 8 of those squares into a large glass measuring cup and microwaving them for 90 seconds in 30-second increments, stirring frequently.
2. Check next to see if you need more cubes to reach your cup and a half of soap. Cut those and add-in, and then add in the sweet almond oil as well.
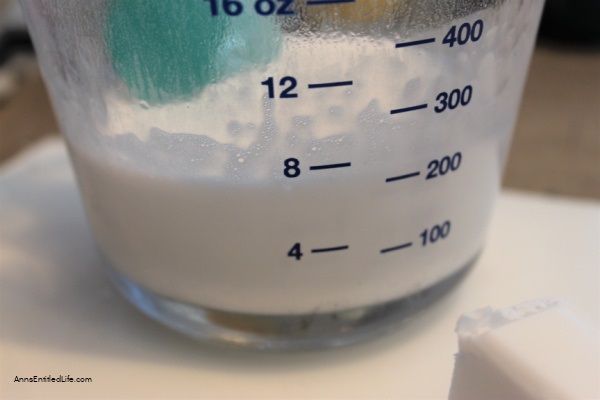
3. Stir well, scrape sides and bottom and then place back into the microwave for 30-45 seconds. Give it another stir and turn again to check for lumps and then repeat another 20 seconds or so if you find any.
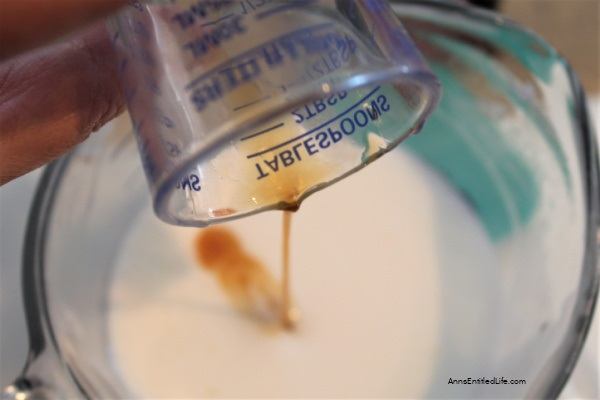
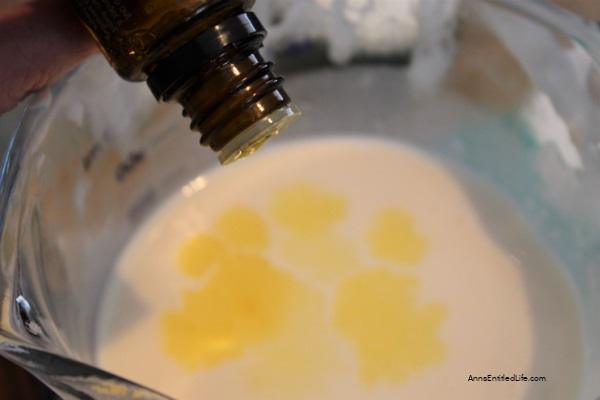
4. Add the vanilla extract and the essential oils. Measure the extract out, add in and stir. Then add each essential oil, one at a time, stirring as you drop them in. All three of these oils are thin consistency, so be careful as you count out your drops.
5. Prior to adding the sugar make certain the soap is fully liquefied and smooth. It tends to thicken quickly so it may have done so during the addition of the oils and you will notice if so. Scrape any thick bits on the sides of the bowl, the edges, or the top of the soap mixture, put it back into the mix, and then microwave for 20-30 seconds.
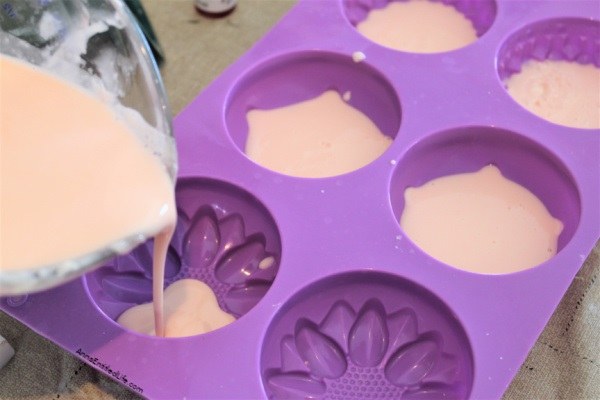
6. Measure the sugar half a cup at a time, and then slowly add it to the soap. Once all of your sugar is added, check to see if you have a smooth soap with no lumps and if so you are ready to pour. (If you do not, put it into the microwave for about 20 to 30 seconds and stir, then repeat if still needed.) Take your time and use the spatula to scrape and mash any lumps you may see before they go into the molds, or use it to hold any lumps back while you pour the rest.
7. If you are adding colorant, stir it in now.
8. If you will need to move your sugar scrub bars to an undisturbed location after pouring, place a baking sheet or movable cutting board under the soap mold before pouring the sugar scrub bars.
9. For best results, fill the molds about ¾ full until you have the 6 bars, and then go back and top them off. This will allow your soaps to be uniform.
10. Note: If you have thickened soap left on your measuring cup microwave it for about 10-15 seconds, then scrape and pour on top of the soap in the molds to use up all the sugar scrub soap.
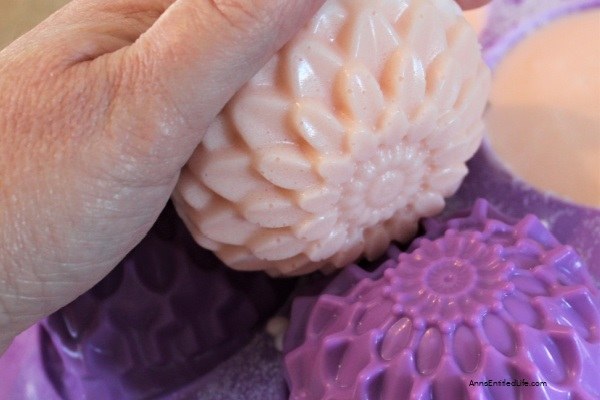
11. Allow your soap to cool. Keep the molds in one, undisturbed place after pouring or they can easily spill and mess up your bars. Allow them to cool for a few hours at room temperature and then feel the centers and bottom to see if they are at a consistent, cooled temperature. Once they are, you can carefully remove your soap by peeling back the molds and pulling soap out. I prefer to give them another few minutes with the tops out in the air too, to be sure any moisture evaporates before moving them more.
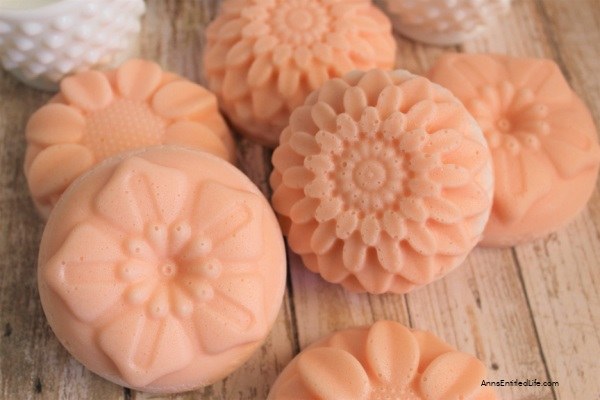
12. Your sugar scrub bars are now ready for use. Use them in the shower or as a hand soap by the sink.
Creamsicle Sugar Scrub Bars
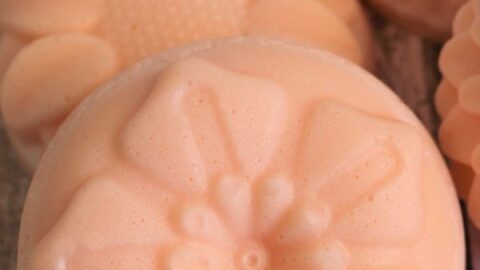
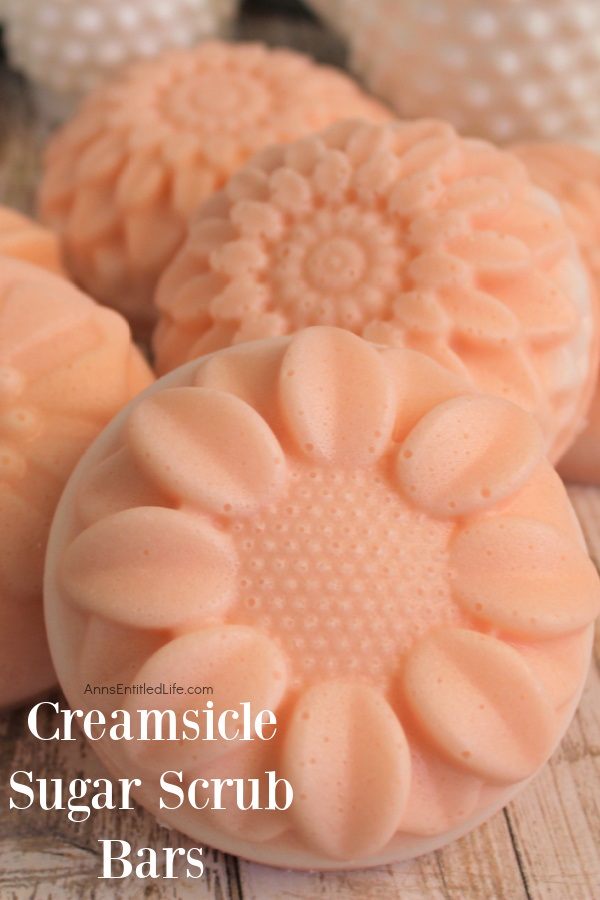
Creamsicle Sugar Scrub Bars. This easy sugar scrub recipe is a convenient body scrub as it is soap based. Made with natural ingredients, this sugar scrub soap makes great hostess gifts, Christmas presents, or keep for personal use! It is easier than you think to make a homemade body scrub, so follow these simple step-by-step to make creamsicle sugar scrub bars.
Materials
- 1.5 cups (or 12 cubes) Goat's Milk Soap Base
- 2 teaspoons Sweet Almond Oil
- 1.5 cups White Sugar
- 1 Tablespoon of Vanilla Extract
- 20 drops of Grapefruit Essential Oil
- 16 drops of Tangerine Essential Oil
- 16 drops of Orange Essential Oil
- 10 drops of Peach or Orange Soap Colorant
Tools
- Large Measuring Cup
- Measuring Spoons
- Rubber Spatula
- Small Bowl
- 6 bar Silicone Soap Mold
Instructions
- Melt down the soap base by cutting it into squares so it can be melted easily. Most of this type of soap base comes in a pre-scored block that is divided into squares. If yours is like this, it makes it so much easier to measure. You will want to cut out 12 of those squares. If it is not already scored, cut out a slice around 1" thick and cut that into 1” squares. Start the melting process by adding about 8 of those squares into a large glass measuring cup and microwaving them for 90 seconds in 30-second increments, stirring frequently.
- Check next to see if you need more cubes to reach your cup and a half of soap. Cut those and add-in, and then add in the sweet almond oil as well.
- Stir well, scrape sides and bottom and then place back into the microwave for 30-45 seconds. Give it another stir and turn again to check for lumps and then repeat another 20 seconds or so if you find any.
- Add the vanilla extract and the essential oils. Measure the extract out, add in and stir. Then add each essential oil, one at a time, stirring as you drop them in. All three of these oils are thin consistency, so be careful as you count out your drops.
- Prior to adding the sugar make certain the soap is fully liquefied and smooth. It tends to thicken quickly so it may have done so during the addition of the oils and you will notice if so. Scrape any thick bits on the sides of the bowl, the edges, or the top of the soap mixture, put it back into the mix, and then microwave for 20-30 seconds.
- Measure the sugar half a cup at a time, and then slowly add it to the soap. Once all of your sugar is added, check to see if you have a smooth soap with no lumps and if so you are ready to pour. (If you do not, put it into the microwave for about 20 to 30 seconds and stir, then repeat if still needed.) Take your time and use the spatula to scrape and mash any lumps you may see before they go into the molds, or use it to hold any lumps back while you pour the rest.
- If you are adding colorant, stir it in now.
- If you will need to move your sugar scrub bars to an undisturbed location after pouring, place a baking sheet or movable cutting board under the soap mold before pouring the sugar scrub bars.
- For best results, fill the molds about ¾ full until you have the 6 bars, and then go back and top them off. This will allow your soaps to be uniform.
- Note: If you have thickened soap left on your measuring cup microwave it for about 10-15 seconds, then scrape and pour on top of the soap in the molds to use up all the sugar scrub soap.
- Allow your soap to cool. Keep the molds in one, undisturbed place after pouring or they can easily spill and mess up your bars. Allow them to cool for a few hours at room temperature and then feel the centers and bottom to see if they are at a consistent, cooled temperature. Once they are, you can carefully remove your soap by peeling back the molds and pulling soap out. I prefer to give them another few minutes with the tops out in the air too, to be sure any moisture evaporates before moving them more.
- Your sugar scrub bars are now ready for use. Use them in the shower or as a hand soap by the sink.
Recommended Products
As an Amazon Associate and member of other affiliate programs, I earn from qualifying purchases.
-
 BUSOHA Massage Bar Soap Molds - 4 Cavities 4.5oz Massage Bar Silicone Soap for DIY Soap, Chocolate, Candle,Polymer Clay,Handmade Soap,Nonstick & BPA Free
 -
 Longzang Dragonfly Art Silicone Craft DIY Handmade Soap Molds (S002)
 -
 Silicone Molds Rose, Craft Art Rose Silicone Soap Mold, Love Rose Craft Molds DIY Handmade Soap Molds - Soap Making Supplies by YSCEN
Note: None of this is meant as medical advice. I am not a doctor and do not play one on the internet. Please consult a physician if you have any questions about using sugar scrubs so your doctor can better explain to you the benefits, possible side effects, and any warnings about sugar scrubs.
● For more DIY Beauty posts on Ann’s Entitled Life, click here.
● If you enjoyed this post, be sure to sign up for the Ann’s Entitled Life weekly newsletter, and never miss another article!


Meagan Trento says
These came out so cute. I have always wanted to try. I think you have inspired me to do so. This would make excellent Christmas gifts. Thanks for sharing. have a good week.
Rachelle says
These are beautiful and must smell wonderful! I would love to try this and make them as gifts.
Allyson @ Southern Sunflowers says
Oh, I bet those smell good! They look pretty in the creamsicle color. Your scrub will be one of my bonus features for Happiness is Homemade tomorrow on my blog. (You’re link will be correct this time!) Hope to see you drop by!
Karren Haller says
Your sugar scrub soaps look and sound amazing, I love the mold you have used and to store them in a linen closet would be really nice.