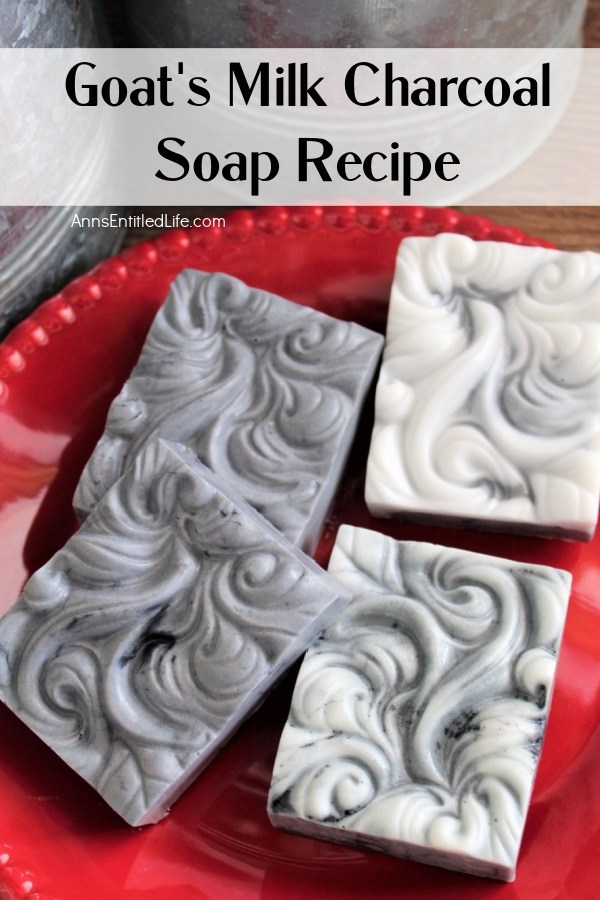
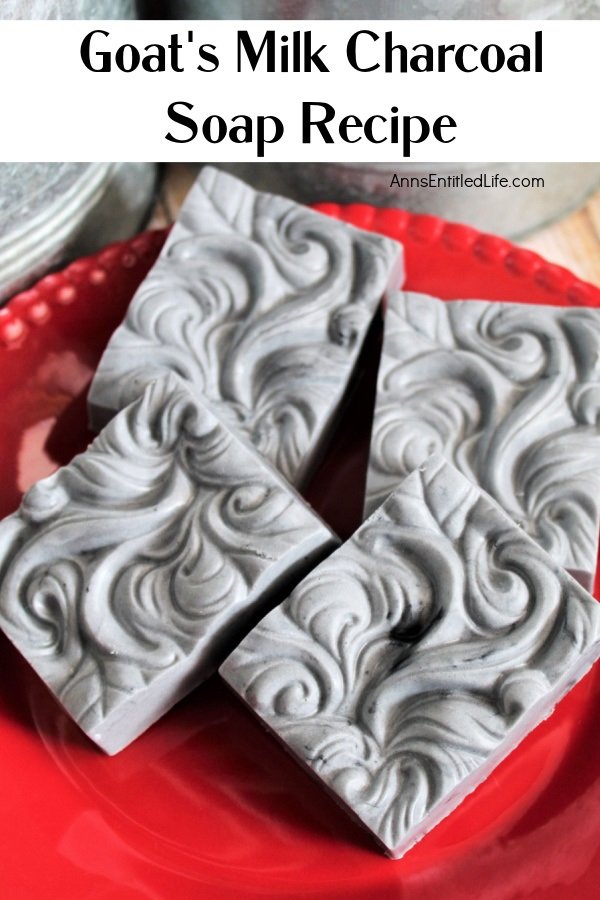
Make goat’s milk charcoal soap by following these step-by-step instructions. You will feel fresh and clean with this terrific activated charcoal soap recipe. We use this particular bar soap for face soap, as well as a hand soap, and love it.
Activated charcoal cleanses the skin and removes deep impurities and toxins. Toxins and dirt stick to the charcoal molecules and help them wash away. It unclogs the pores and gets rid of dead skin cells. It helps to leave the skin nice and smooth and leaves it feeling fresh. It also helps the skin tone become more even and clear.
Goat’s Milk Charcoal Soap Recipe
A big trend in the past few years in natural body products has been the use of activated charcoal. It is good for many things related to your health, from gut to teeth benefits, but for the skin, it does several things, including removing excess oil, helps treat acne-prone skin, dry skin, and is a wonderful charcoal face soap great for nearly all skin types. This makes it a great addition to your homemade soaps.
This particular recipe uses a goat’s milk soap base instead of shea butter, along with lemongrass and spearmint essential oils instead of tea tree oil, in addition to the activated charcoal for a nice addition to your homemade beauty products. Just 4 ingredients for an easy soap-making DIY but one that works really well and has awesome benefits for your skin. Making your own soap has never been easier!
The goat’s milk base soap helps to nourish the skin and moisturize it, and the two essential oils I chose to bring their own benefits too. Spearmint is a fresh, uplifting scent that makes you feel invigorated when you wash, and it has been shown to help flush out old skin layers and increase the elasticity of the skin. It is cleansing and helps to relieve dryness and even itchy skin, and is a nice fragrance oil.
Lemongrass is one of the soapmaking oils you will see used in body products a lot, for a good reason. It has a light scent that blends well with mints, citrus, and herbal oils without being overpowering. It purifies the skin, has anti-oxidants, and helps to clear blemishes and oily skin. It also is known to be a stress-relieving scent. So you can see how well these ingredients will work together to make a great bar of soap and I think you will find that making it is a breeze, too.
Tips and variations for making this activated charcoal goat’s milk soap:
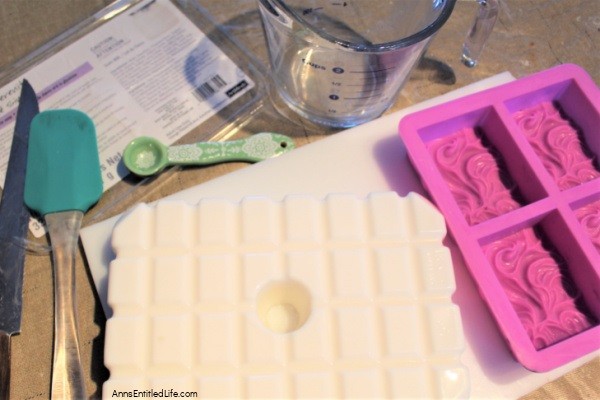
● You will need a cutting board, a good knife, and a large glass measuring cup to start. The soap base is designed to melt easily and comes in a large brick as shown. Most of these types are scored into cubes already, which makes it easy to measure once you know how many to use. If your base is pre-scored, you will need 12 cubes. If it is not, I suggest starting with a large slice across the brick, cut that into small cubes, and fill the measuring cup to over the 1.5 cup mark to begin.
● I like to allow my soap to harden so they will last a long time, so I keep them unwrapped on a shelf in the linen closet. The closet smells pretty good too! The scent will dissipate this way, so add more if you plan to store your soap open on wire racks (shelving).
● You can use any silicone soap molds for this in a standard soap-sized bar, the one I used has 4 bars to the mold and this recipe makes the full four soap bars.
● Spray the top of the soap with rubbing alcohol to remove any bubbles if you like.
● I use a microwave to melt the base soap instead of a double boiler as it is faster.
If you enjoy making homemade soap for your skincare routine, try these terrific natural soap recipes:
● Hippy Dippy Soap: Homemade Soap Recipe
● Best Essential Oil Mosquito and Bug Repellent Recipes
● Homemade Exfoliating Loofah Soap
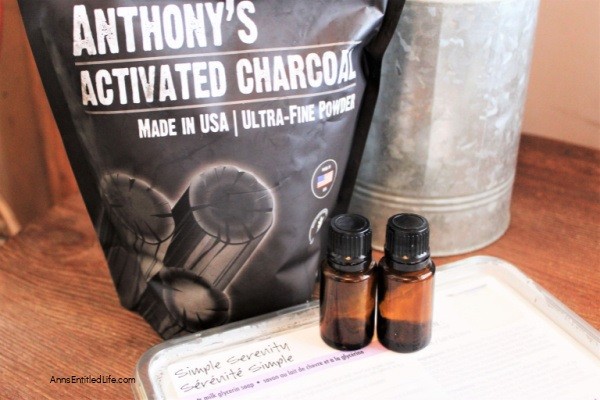
Goat’s Milk Charcoal Soap Ingredients:
● 1.5 cups Goat Milk Soap Base (or 12 cubes)
● 1 tsp Activated Charcoal (Double this for a darker black soap color)
● 20 drops Spearmint Essential Oil
● 16 drops Lemongrass Essential Oil
Charcoal Goat’s Milk Soap Tools:
● Cutting board
● Knife
● Measuring Cup
● Measuring Spoon
● Soap Mold (3.5oz cavities were used)
● Silicone or Rubber Spatula
● Toothpick
Charcoal Goat’s Milk Soap Directions:
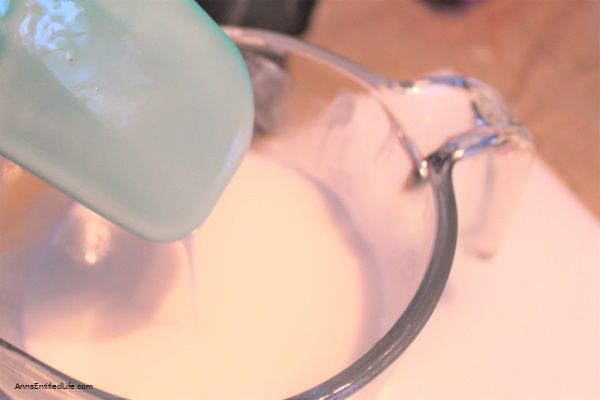
1. Microwave the goat’s milk soap base cubes for 90 seconds. Then use a rubber spatula to scrape and stir the soap to check for any clumping. Sometimes a few of the cubes will stick to the bottom and stay together, not melting with the rest. If it needs more melting time, return it to the microwave in 30-second intervals until the soap base is smooth.
2. While that is heating, get your mold ready to go, checking to be sure it is nice and clean so no little debris sticks to the soap when it is done.
3. Take out your melted soap base and stir well, then see if you have a cup and a half, and if not, you will need to cut a few more cubes and melt them to reach that amount.
4. Once you have the right amount of soap that is smooth and melted, the next step is to add in the essential oils. Both of these oils are thin ones, and they will run out of the bottle quickly once they get going, so take it slow and cautiously as you count the drops. Stir the oils in well. I like to stir as I drop to make sure they are dispersed all through the soap.
5. The soap will start to thicken and set up as it cools and the top layer especially will do this fast. Once you have added your oils give the whole mixture a good stir and scraping all around the glass and then microwave for 15 to 30 seconds to get it all back to smooth again.
6. Add the charcoal. I have done two different options for the final look of the soap so I will explain how to do each one and you can make the one you prefer, or a few of both.
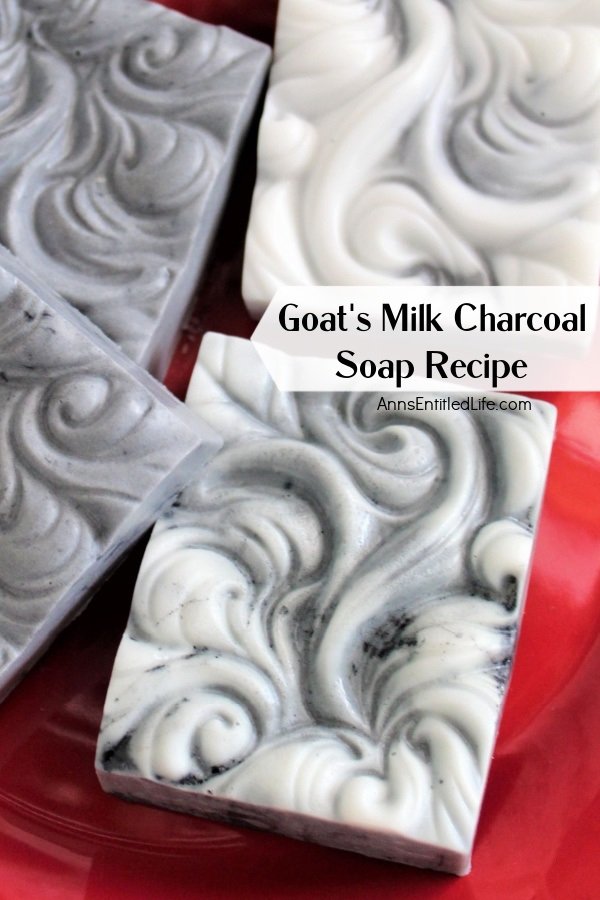
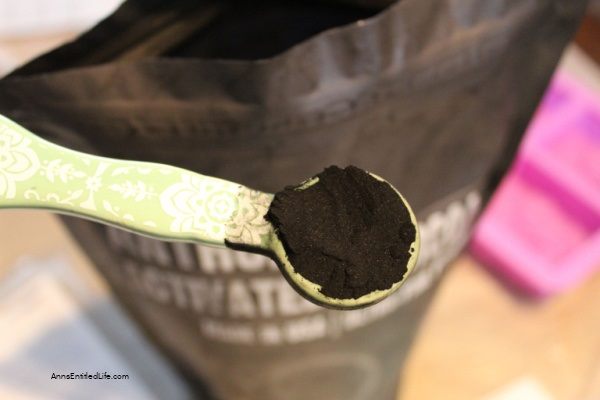
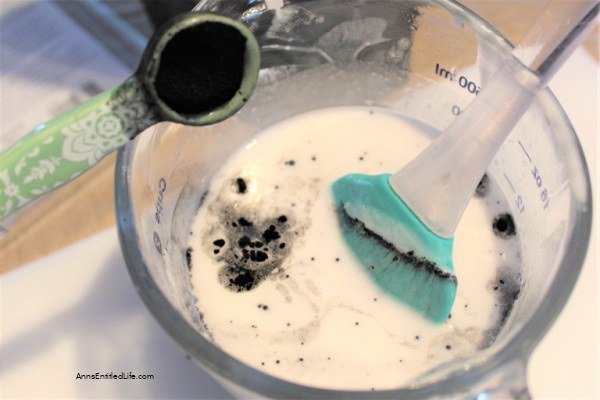
7. To make the gray-toned bar, you will be mixing the charcoal right into the soap mix. Measure out the teaspoon (Or more if you chose to double it to make it more black in color), and then slowly sprinkle it into the soap, stirring as you do until you have a fully gray mix. If you see any white, keep going.
If the soap is thick again or you have some hardened parts, peel them and add them back into the soap and heat back up for about 15-20 seconds before pouring.
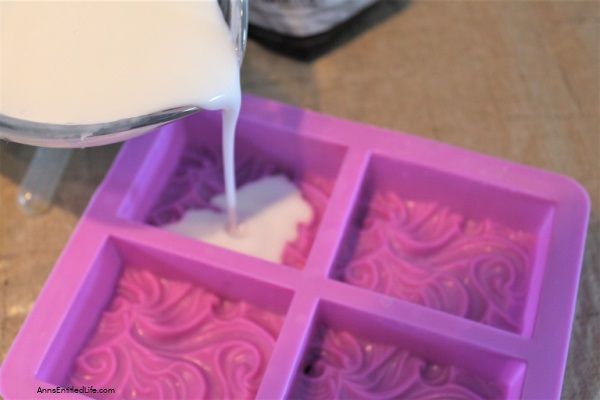
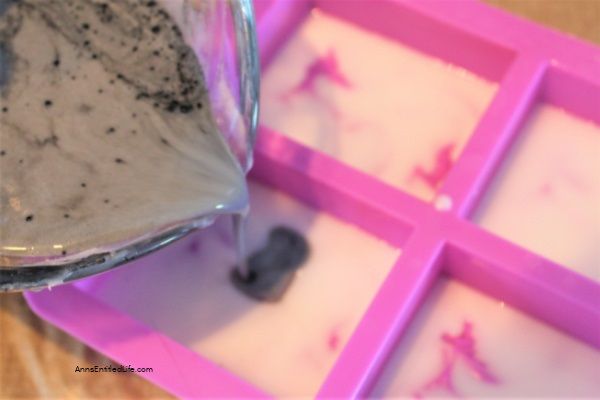
8. To make the marbled bar you will first need to pour a little of the white soap mix into the molds, just enough to coat close to the bottom layer of the mold. Then, go back to the rest of the mixture and add in the charcoal as described above, to the rest of the soap that is left.
Heat if needed to liquefy fully and then you are ready to pour your soap into the molds.
9. If you see little bits of the charcoal not mixed in yet, you can stir them or mash them down with the spatula, or you can leave them as they are – they make for cool little black designs in the soap, but it is up to you what you prefer. Some people would rather have the soap be all one consistent tone and if that is you, you will want to mix them in.
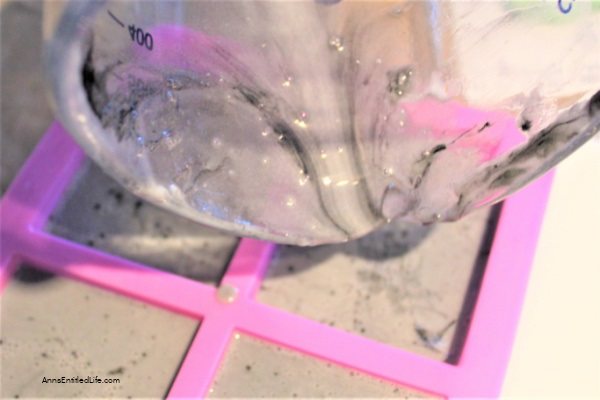
10. Pour the soap into the mold a little past 2/3 of the way full, then go back and top off each bar with a small amount of soap until you have made them all about the same fullness.
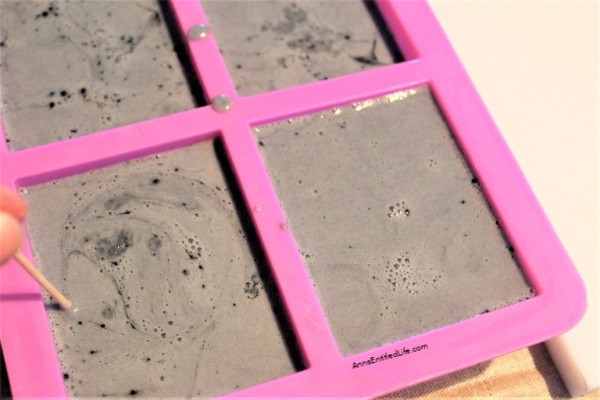
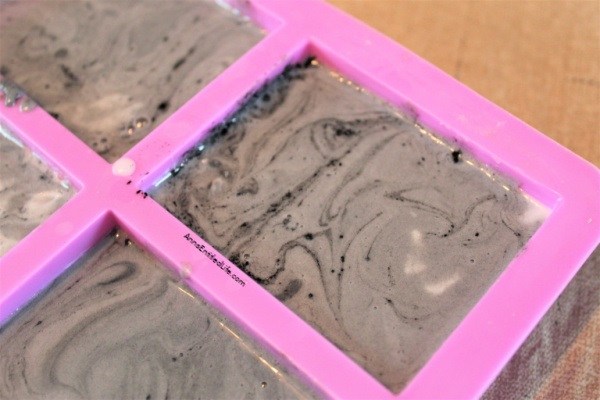
11. Prior to cooling, take a toothpick and stir the top surface of the soap to swirl the charcoal into a marbled finish. This just helps get the loose charcoal that may be clumped up to mix in more and it gives the soap a more finished look on the back.
12. Allow the soap to fully cool for a few hours, leaving it still so it does not spill and ruin the design.
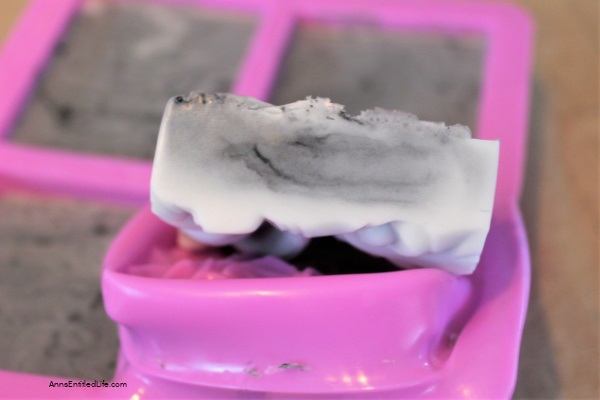
13. Feel the molds in the center and bottoms to see if they are cooled thoroughly, and once they are, you can remove them from the molds. Just peel them carefully, bending back the silicone with one hand as you do, and they should pop out easily.
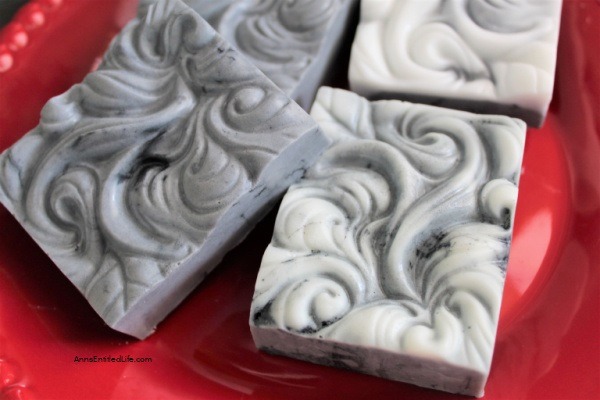
14. Allow the soap for a few more minutes at least with the top part facing up so it can dry out if needed and once you do that, your soaps are ready to be used.
Note: None of this is meant as medical advice. I am not a doctor and do not play one on the internet. Please consult a physician if you have any questions about making homemade soap so your doctor can better explain to you the benefits, possible side effects, and any warnings about making homemade soap.
Goat's Milk Charcoal Soap Recipe
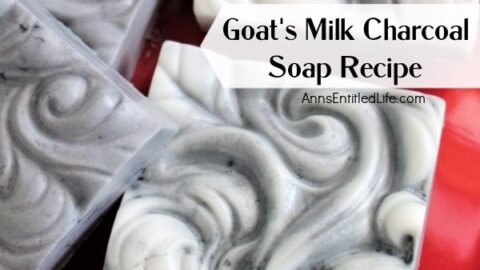
Goat's Milk Charcoal Soap Recipe. Easily make goat's milk charcoal soap by following these step-vt-step instructions. You will feel fresh and clean with this terrific activated charcoal soap recipe. We use this particular bar soap for face soap, as well as a hand soap, and love it.
Materials
- 1.5 cups Goat Milk Soap Base (or 12 cubes)
- 1 tsp Activated Charcoal (Double this for a darker black soap color)
- 20 drops Spearmint Essential Oil
- 16 drops Lemongrass Essential Oil
Tools
- Cutting board
- Knife
- Measuring CupMeasuring Spoon
- Soap Mold (3.5oz cavities were used)
- Silicone or Rubber
- Spatula
- Toothpick
Instructions
- Microwave the goat's milk soap base cubes for 90 seconds. Then use a rubber spatula to scrape and stir the soap to check for any clumping. Sometimes a few of the cubes will stick to the bottom and stay together, not melting with the rest. If it needs more melting time, return it to the microwave in 30-second intervals until the soap base is smooth.
- While that is heating, get your mold ready to go, checking to be sure it is nice and clean so no little debris sticks to the soap when it is done.
- Take out your melted soap base and stir well, then see if you have a cup and a half, and if not, you will need to cut a few more cubes and melt them to reach that amount.
- Once you have the right amount of soap that is smooth and melted, the next step is to add in the essential oils. Both of these oils are thin ones and they will run out of the bottle quickly once they get going, so take it slow and cautiously as you count the drops. Stir the oils in well. I like to stir as I drop to make sure they are dispersed all through the soap.
- The soap will start to thicken and set up as it cools and the top layer especially will do this fast. Once you have added your oils give the whole mixture a good stir and scraping all around the glass and then microwave for 15 to 30 seconds to get it all back to smooth again.
- Add the charcoal. I have done two different options for the final look of the soap so I will explain how to do each one and you can make the one you prefer, or a few of both.
- To make the gray-toned bar, you will be mixing the charcoal right into the soap mix. Measure out the teaspoon (Or more if you chose to double it to make it more black in color), and then slowly sprinkle it into the soap, stirring as you do until you have a fully gray mix. If you see any white, keep going.
If the soap is thick again or you have some hardened parts, peel them and add them back into the soap and heat back up for about 15-20 seconds before pouring. - To make the marbled bar you will first need to pour a little of the white soap mix into the molds, just enough to coat close to the bottom layer of the mold. Then, go back to the rest of the mixture and add in the charcoal as described above, to the rest of the soap that is left.
Heat if needed to liquefy fully and then you are ready to pour your soap into the molds. - If you see little bits of the charcoal not mixed in yet, you can stir them or mash them down with the spatula, or you can leave them as they are – they make for cool little black designs in the soap, but it is up to you what you prefer. Some people would rather have the soap be all one consistent tone and if that is you, you will want to mix them in.
- Pour the soap into the mold a little past 2/3 of the way full, then go back and top off each bar with a small amount of soap until you have made them all about the same fullness.
- Prior to cooling, take a toothpick and stir the top surface of the soap to swirl the charcoal into a marbled finish. This just helps get the loose charcoal that may be clumped up to mix in more and it gives the soap a more finished look on the back.
- Allow the soap to fully cool for a few hours, leaving it still so it does not spill and ruin the design.
- Feel the molds in the center and bottoms to see if they are cooled thoroughly, and once they are, you can remove them from the molds. Just peel them carefully, bending back the silicone with one hand as you do, and they should pop out easily.
- Allow the soap for a few more minutes at least with the top part facing up so it can dry out if needed and once you do that, your soaps are ready to be used.
Recommended Products
As an Amazon Associate and member of other affiliate programs, I earn from qualifying purchases.
-
 Longzang Dragonfly Art Silicone Craft DIY Handmade Soap Molds (S002)
 -
 MoldFun Sun and Moon Face Soap Mold Silicone Mold for Handmade Bath Bomb, Lotion Bar, Polymer Clay, Wax, Crayon
 -
 Silicone Molds Rose, Craft Art Rose Silicone Soap Mold, Love Rose Craft Molds DIY Handmade Soap Molds - Soap Making Supplies by YSCEN
● For more DIY Beauty posts on Ann’s Entitled Life, click here. (Soaps, bath bombs, personal care products, haircare, salt scrubs, sugar scrubs, lip scrubs and more!)
● Enjoy this post? Sign up for the Ann’s Entitled Life FREE Weekly Newsletter to stay connected.


Natasha says
Thanks for sharing . It looks beneficial for the skin….i would certainly love to try it. ..keep up the good Work that u do,its certainly not in vain. Thanks again..bye.
Jeannie says
Thank you for this recipe. I love this soap recipe much better than the charcoal soap I buy. The results are wonderful
Jennifer says
Hi, I was curious would I use the same amount of goats milk if I were using fresh goat milk from my girls? Thanks for your answer.