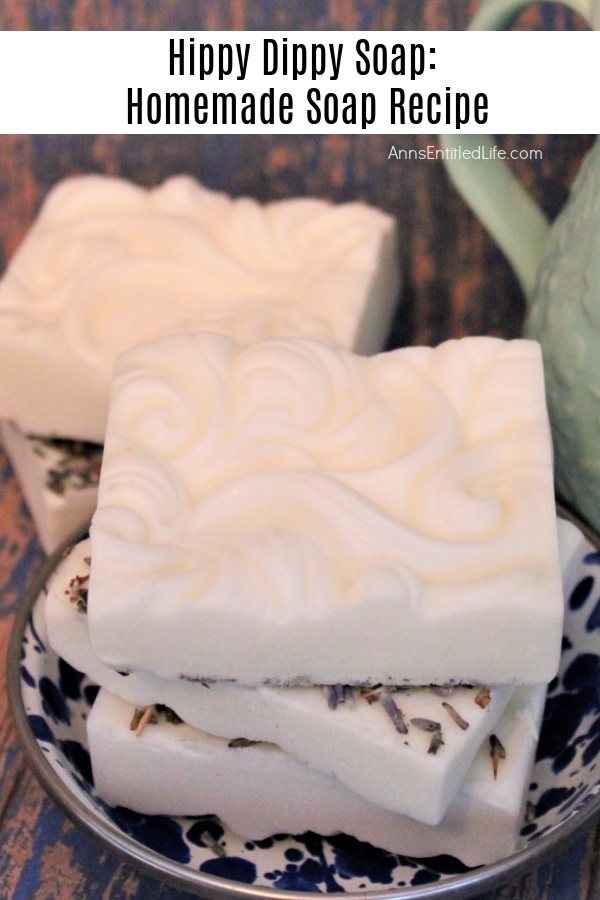
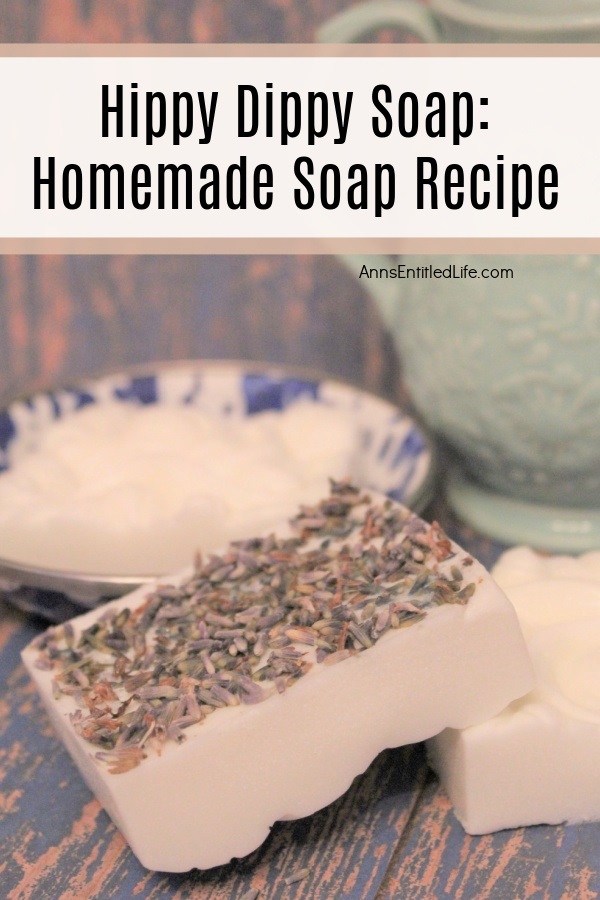
Making soap at home can be a fun and rewarding experience. This is a great starter soap recipe; earthy, floral, and sweet at the same time while having nice exfoliation. Making soap is easier than you think. Control the ingredients that touch your skin, and make this hippy-dippy soap recipe today!
Hippy Dippy Soap: Homemade Soap Recipe
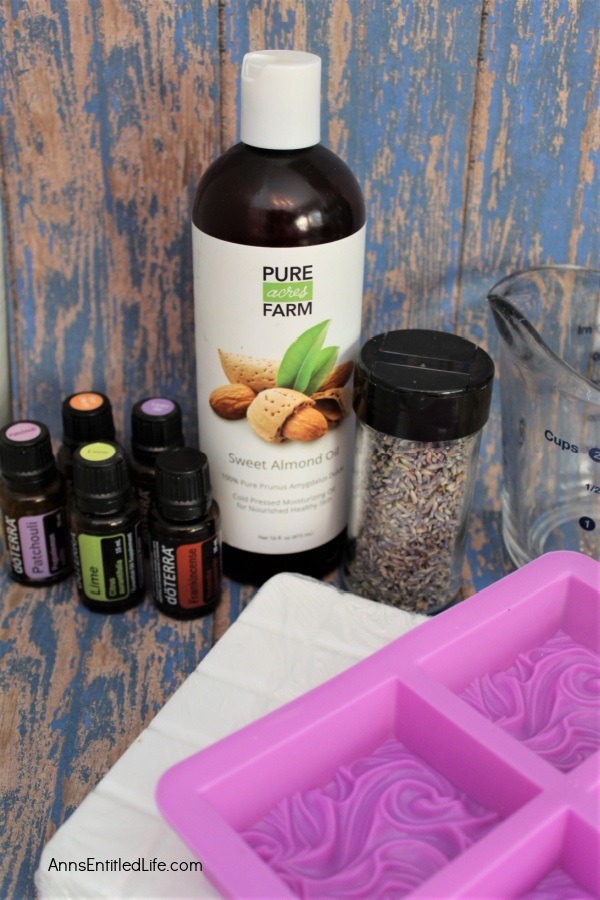
The scent for this blends the classic hippie scent of patchouli with lavender, frankincense, and two citrus oils: lime and orange, which gives it an earthy smell but nicely balances with the floral of the lavender and the sweet citrus.
These essential oils used were chosen for their scents, of course, but they all are amazing oils with fantastic health benefits. This should make you feel great about making this soap and sharing it with others too.
Frankincense is a powerful oil that can be used for so many things. It has been used for treating the skin and in beauty products for centuries. It is anti-inflammatory, calming, anti-aging, rejuvenating to the skin, and is wonderful for cellular health.
Patchouli is a heavy hitter like frankincense is as well and is great for lightening the mood, calming, helping to reduce stress and clear the mind, and on top of those, it helps clear the skin, moisturize, relieve cracking and flaky skin.
Lime is a versatile oil that is a cleanser, being an antiseptic, helps to lighten the skin, breaks down cellulite, and helps clear blemishes.
Orange oil is similar to lime, but it also helps you feel cheerful, is anti-inflammatory, soothing, and helps reduce blemishes and skin issues.
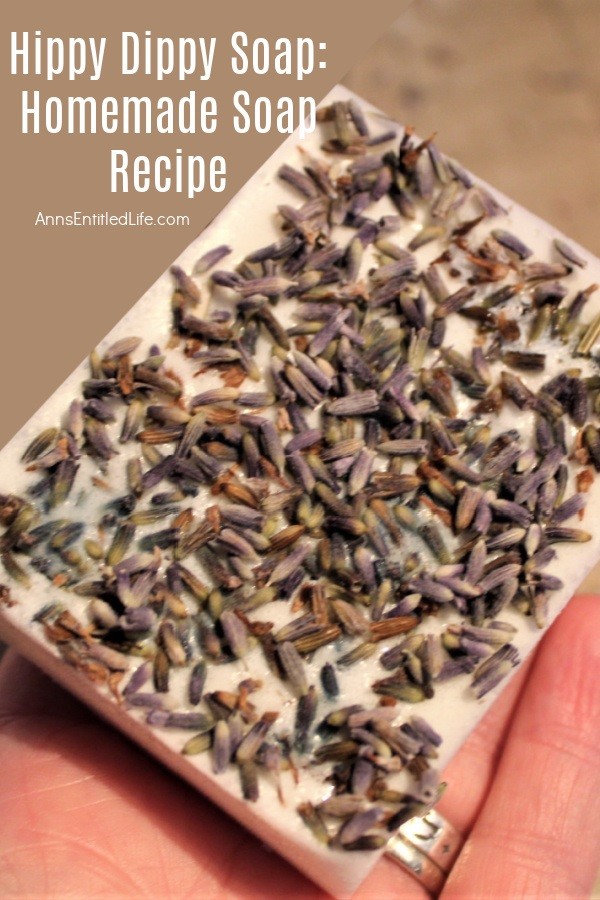
Lastly, Lavender is used in two ways in this soap – one is organic lavender petals, which add exfoliation to the bar and help add scent. (Plus, it looks so pretty!)
Tips and variations for making this Hippy Dippy Soap
● If you do not have orange oil you can substitute it with another citrus, but choose a sweeter one like grapefruit or bergamot. The lavender and patchouli with the orange are the main scents in this soap recipe. If you choose to leave out frankincense and lime, you would still have a great smelling soap.
● A full-sized soap bar mold was used when making this soap recipe, and it will make three bars. You can use smaller molds if you like, and it will make more bars depending on the size of your mold (this is 3.5oz).
● The base of the soap is shea butter, a soap base that is very easy to use. It also makes for a nice moisturizer. Shea butter is fantastic for the skin and has a lotion feel that keeps the soap from being a drying type.
● I have found that the easiest way to make this is to do it all in one container. Use a microwavable glass mixing bowl or measuring cup.
● Make certain you have a silicone or rubber spatula or scraper, as you will need to remove the soap from the sides several times as you go.
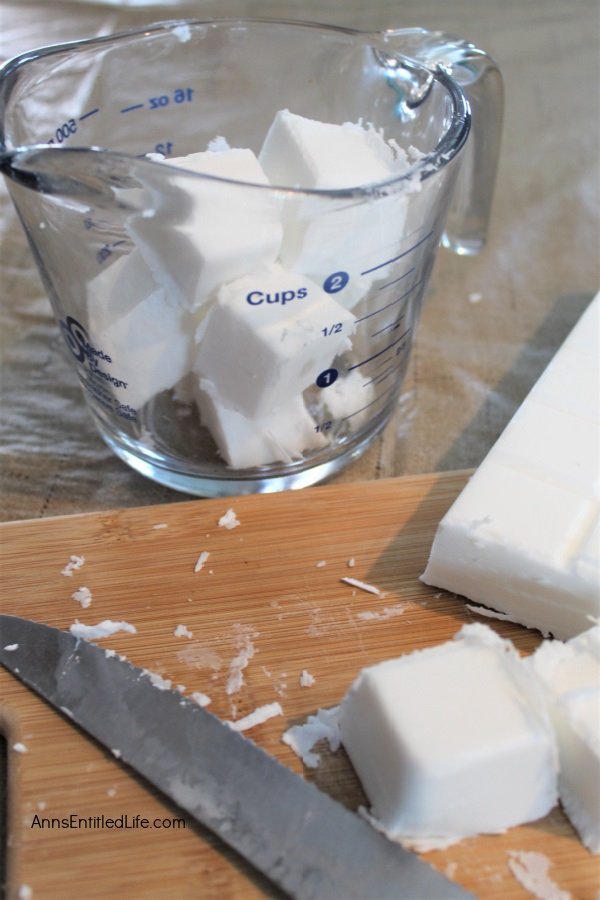
● The soap base comes in a brick, usually two or five-pound size, and it is pre-scored into cubes. You will need to cut out 8 cubes for this recipe. Use a good sturdy knife as it does take a little muscle.
If you also enjoy making your own soap, you may be interested in these homemade soap recipes:
● Make Your Own Orange Creamsicle Soap
● Ombre Soap DIY Tutorial
● DIY Lemon Poppy Seed Soap: Homemade Soap Recipe
Hippy Dippy Soap: Homemade Soap Recipe Ingredients:
● 8 cubes Shea Butter Soap Base,
● 2 TBSP Sweet Almond Oil
● 20 drops Patchouli Essential Oil
● 12 drops Lime Essential Oil
● 16 drops Orange Essential Oil
● 20 drops Frankincense Essential Oil
● 16 drops Lavender Essential Oil
● 1/8 cup Organic Lavender Petals
Hippy Dippy Soap: Homemade Soap Recipe Tools:
● Knife
● Cutting Board
● Microwave Safe Bowl
● Silicone or Rubber Spatula
● Soap Mold
Hippy Dippy Soap: Homemade Soap Recipe Directions:
1. Cut 8 cubes of soap base from the slab.
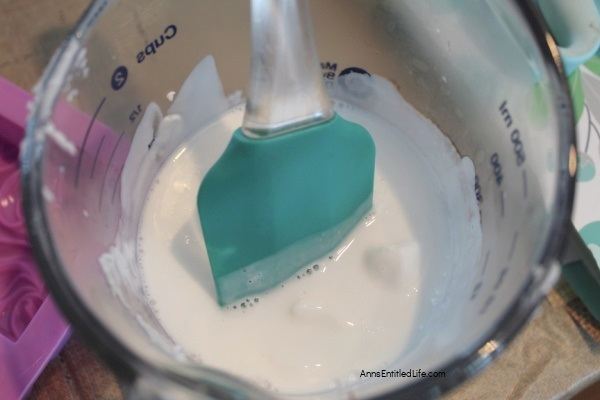
2. Place the soap cubes into the mixing bowl and microwave for one minute in 30-second bursts. Stir to facilitate melting. Stir and scrape the sides and bottom of the bowl, making sure to free up any of the lumpy cubes that are not fully melted, and then place back in the microwave for thirty seconds.
3. Add the almond oil to the melted soap base and stir well to disperse it throughout.
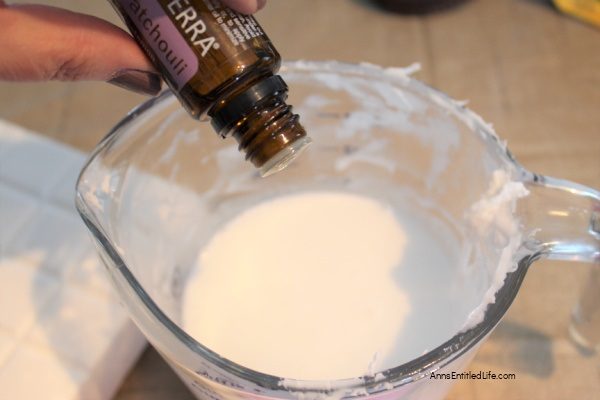
4. Add in the patchouli, lime, orange, frankincense, and lavender essential oils. The patchouli is a thick oil, and it will take a minute to get started, so do not think your bottle is clogged; this is normal. The other oils used are very thin in comparison and will run out fast, so add those drops carefully. It is good to give the soap a stir between each oil since the soap will be starting to set up some. Turn the underneath warmer layer to the top to help.
5. Place the soap base back into the microwave for thirty more seconds.
Note: Because your bowl is now fairly hot and the bottom of the soap is too, you do not want to put it in the microwave for any more than thirty-second intervals, or it can overflow easily. (I speak from experience.)
6. Check the soap to see if smooth or has any lumps left. Likely the top edge or sides of the bowl will have some hardening on it, so scrape those well and return to the center, and place back into the microwave for about fifteen seconds if needed. The soap should be a smooth liquid.
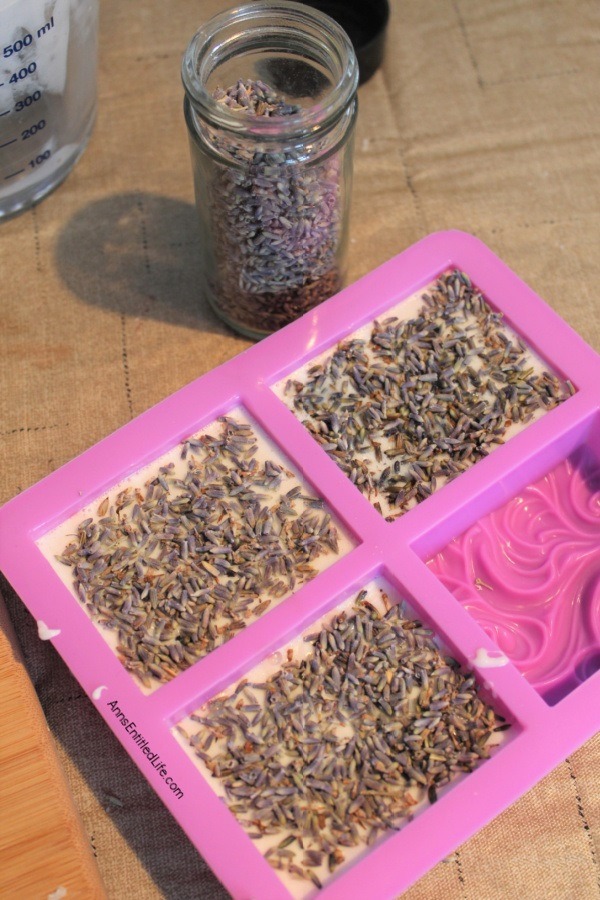
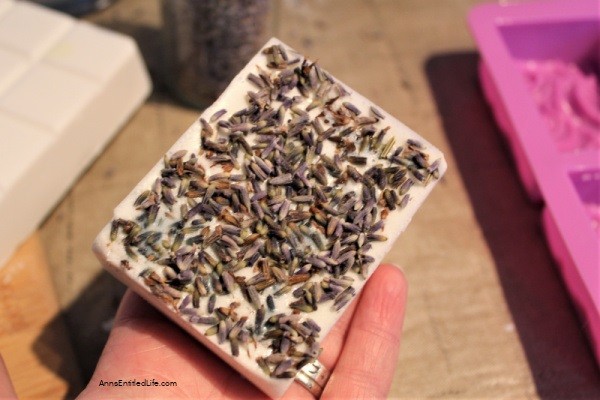
7. You have two options with the lavender petals: You can add them into the soap mix and disperse them throughout (Microwaving yet another time if so.) Or you can add them to the back of the bar like I did, which looks really pretty but is a tad harder than the first option.
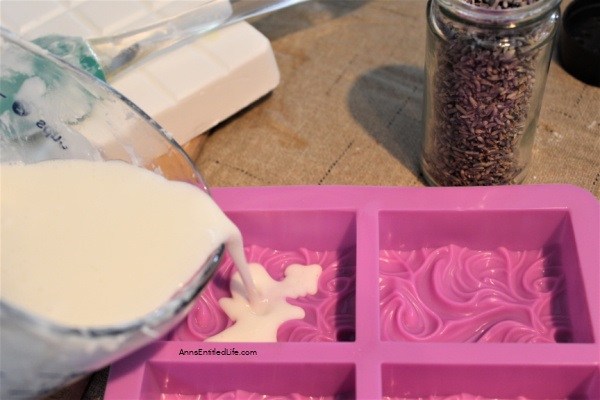
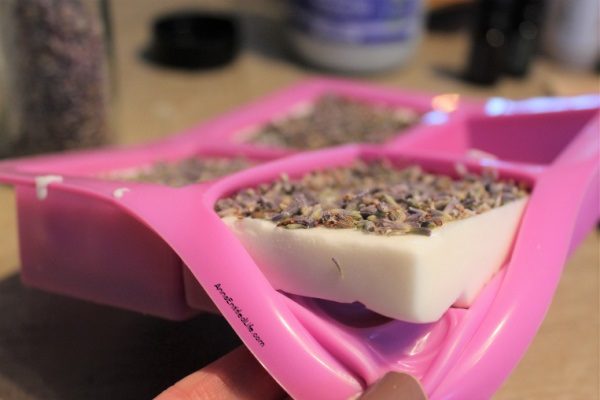
If you choose to add them to the back of the soap, you need to work quickly. Pour your soap into the molds, leaving a small space at the top, and while the soap is still nice and warm, go ahead and carefully pour on the lavender petals across the bars, and then take some in your fingers to fill in where there are gaps. Push the petals down slightly into the soap, so they stick well but are not fully submerged in the soap.
If you chose to mix them into the liquid soap, simply pour the liquid soap into the molds once they are mixed in well.
8. Leave the molds sitting where they are to cool, as they can splash and mess up the design if you try to move them. Cooling takes an hour or two, and you want to be sure it is fully cooled so the soap does not get messed up when you start to move it.
9. Feel the center of the soap on the top and bottom to check if it is consistently at one temperature. Then, if it is ready, go ahead and carefully peel the soap from the molds and shake off any excess lavender petals that are loose. Sometimes the soap will have a little moisture around the edges, so I let it sit out a little while after this to let that evaporate.
Hippy Dippy Soap: Homemade Soap Recipe
Hippy Dippy Soap: Homemade Soap Recipe. Making soap at home can be a fun and rewarding experience. This is a great starter soap recipe; earthy, floral, and sweet at the same time while having nice exfoliation. Making soap is easier than you think. Control the ingredients that touch your skin and make this hippy-dippy soap recipe today!
Materials
- 8 cubes Shea Butter Soap Base
- 2 TBSP Sweet Almond Oil
- 20 drops Patchouli Essential Oil
- 12 drops Lime Essential Oil
- 16 drops Orange Essential Oil
- 20 drops Frankincense Essential Oil
- 10 drops Lavender Essential Oil
- 1/8 cup organic Essential Oil
Tools
- Knife
- Cutting Board
- Microwave Safe Bowl
- Silicon or Rubber Spatula
- Soap Mold
Instructions
- Cut 8 cubes of soap base from the slab.
- Place the soap cubes into the mixing bowl and microwave for one minute in 30-second bursts. Stir to facilitate melting. Stir and scrape the sides and bottom of the bowl making sure to free up any of the lumpy cubes that are not fully melted, and then place back in the microwave for thirty seconds.
- Add the almond oil to the melted soap base and stir well to disperse it throughout.
- Add in the patchouli, lime, orange, frankincense, and lavender essential oils. The patchouli is a thick oil and it will take a minute to get started, so do not think your bottle is clogged; this is normal. The other oils used are very thin in comparison and will run out fast, so add those drops carefully. It is good to give the soap a stir between each oil since the soap will be starting to set up some. Turn the underneath warmer layer to the top to help.
- Place the soap base back into the microwave for thirty more seconds.
Note: Because your bowl is now fairly hot and the bottom of the soap is too, you do not want to put it in the microwave for any more than thirty-second intervals, or it can overflow easily. (I speak from experience.) - Check the soap to see if smooth or has any lumps left. Likely the top edge or sides of the bowl will have some hardening on it, so scrape those well and return to the center, and place back into the microwave for about fifteen seconds if needed. The soap should be a smooth liquid.
- You have two options with the lavender petals: You can add them into the soap mix and disperse them throughout, (Microwaving yet another time if so.) Or you can add them to the back of the bar like I did, which looks really pretty but is a tad harder than the first option.
If you choose to add them to the back of the soap you need to work quickly. Pour your soap into the molds, leaving a small space at the top, and while the soap is still nice and warm, go ahead and carefully pour on the lavender petals across the bars, and then take some in your fingers to fill in where there are gaps. Push the petals down slightly into the soap so they stick well, but are not fully submerged in the soap.
If you chose to mix them into the liquid soap, simply pour the liquid soap into the molds once they are mixed in well. - Leave the molds sitting where they are to cool, as they can splash and mess up the design if you try to move them. Cooling takes an hour or two, and you want to be sure it is fully cooled so the soap does not get messed up when you start to move it.
- Feel the center of the soap on the top and bottom to check if it is consistently at one temperature. Then, if it is ready, go ahead and carefully peel the soap from the molds, and shake off any excess lavender petals that are loose. Sometimes the soap will have a little moisture around the edges, so I let it sit out a little while after this to let that evaporate.
Notes
None of this is meant as medical advice. I am not a doctor and do not play one on the internet. Please consult a physician if you have any questions about making homemade soap so your doctor can better explain to you the benefits, possible side effects, and any warnings about making homemade soap.
Recommended Products
As an Amazon Associate and member of other affiliate programs, I earn from qualifying purchases.
-
 Silicone Molds Rose, Craft Art Rose Silicone Soap Mold, Love Rose Craft Molds DIY Handmade Soap Molds - Soap Making Supplies by YSCEN
 -
 Silicone Soap Molds, 2Pcs Flower Homemade DIY Silicone Soap Mold Cupcake Baking Mold Muffin Pan, 4 Cavity Soap Making Mold Supplies
 -
 Longzang Dragonfly Art Silicone Craft DIY Handmade Soap Molds (S002)
Note: None of this is meant as medical advice. I am not a doctor and do not play one on the internet. Please consult a physician if you have any questions about making homemade soap so your doctor can better explain to you the benefits, possible side effects, and any warnings about making homemade soap.
● For more DIY Beauty posts on Ann’s Entitled Life, click here. (Soaps, bath bombs, personal care products, haircare, salt scrubs, sugar scrubs, lip scrubs and more!)
● Enjoy this post? Sign up for the Ann’s Entitled Life FREE Weekly Newsletter to stay connected.


Leave a Reply