DIY Christmas Coasters
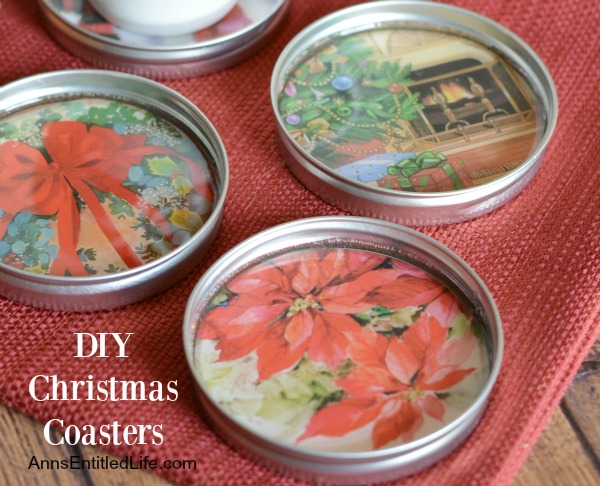
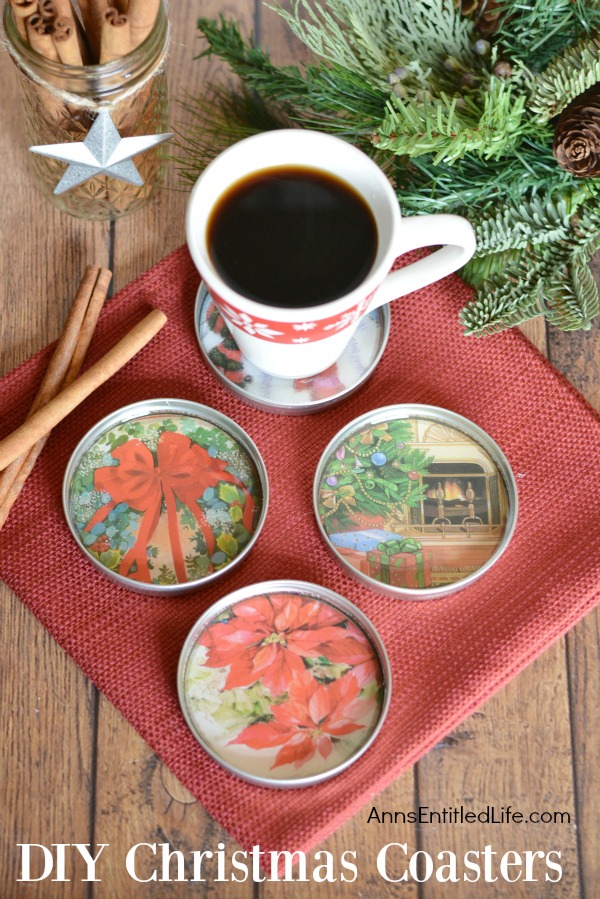
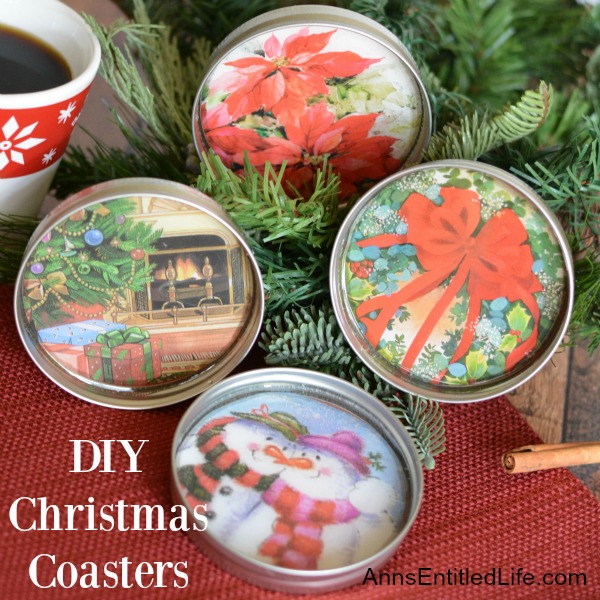
These DIY Christmas Coasters are cute and quite simple to make. This is a fantastic project to reuse old Christmas cards and to make a wonderful homemade gift for friends and family. These easy to make Christmas Coasters are unique, but usable. Plan ahead though because they do take time to cure.
● To print the DIY Christmas Coasters Instructions, click here.
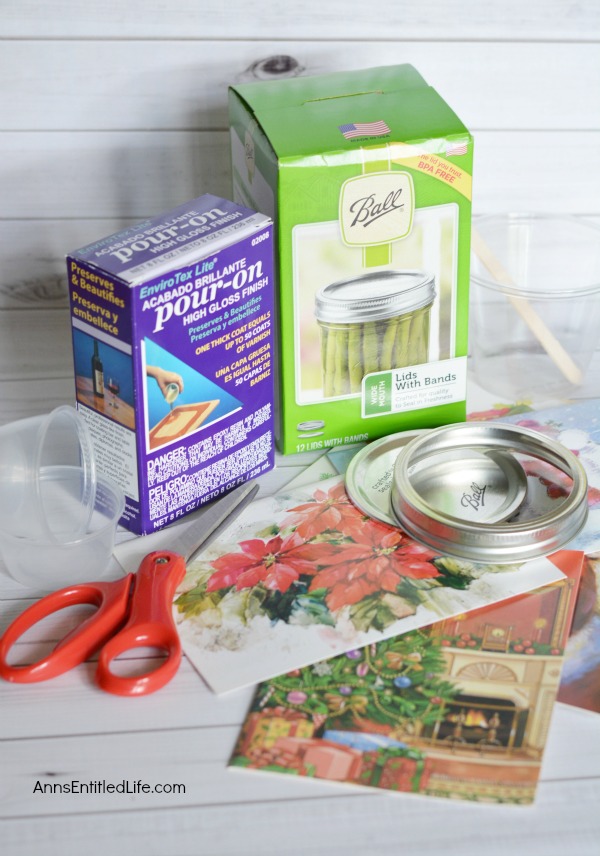
DIY Christmas Coasters Materials: enough to make 4 Christmas Coasters
● Enviro Tex Lite Pour On High Gloss Finish
● 4 Wide Mouth Canning Jar Lids and Bands
● Christmas Cards
● 4 Plastic Cups with smooth sides
● Aluminum Foil
● Glue Gun
● Glue sticks
● Scissors
● Pencil
● Popsicle Stick
● Felt or Cork
● Ribbon
DIY Christmas Coasters Directions:
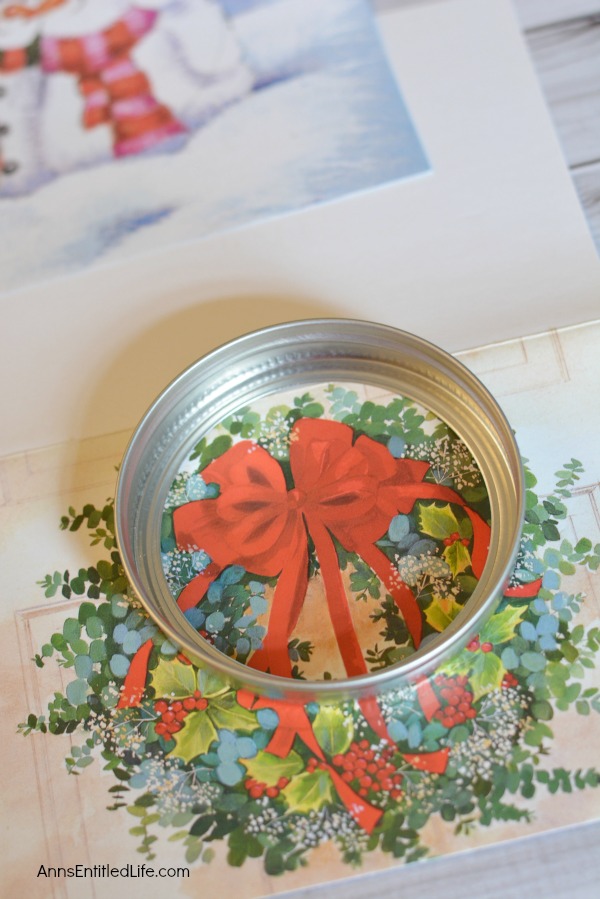
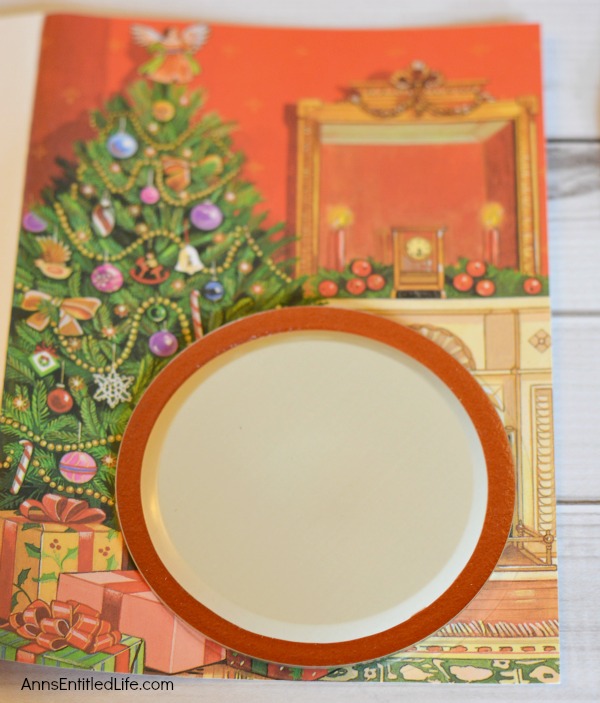
● Using a mason jar band, lay on your Christmas cards to see what part of the image you like best for your coasters.
● Use the mason jar lid as a template and trace the circle onto your card.
● Cut with scissors.
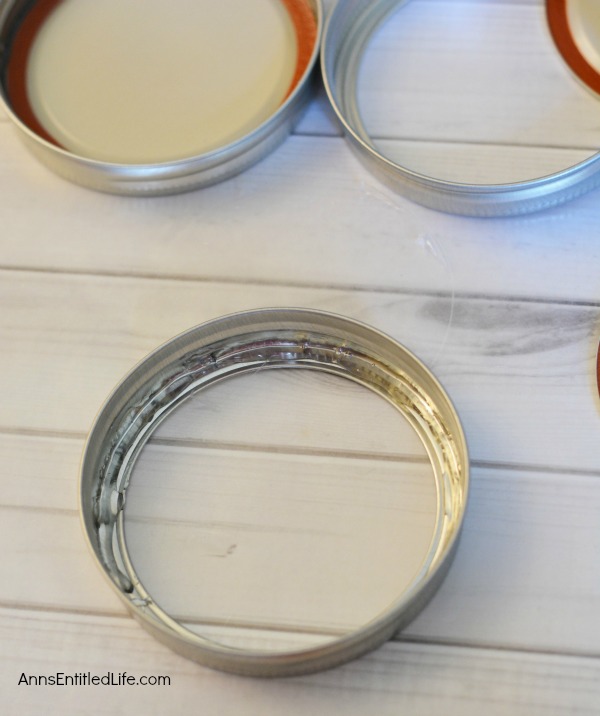
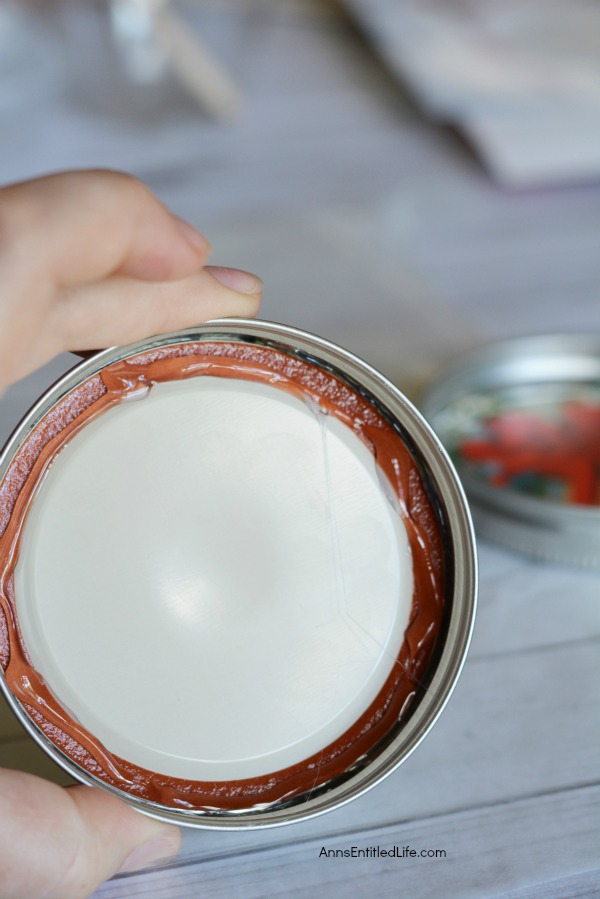
● On a flat surface, place hot glue all around the inside ring of the band – make sure you cover it ALL doing your best to seal any holes that you think may be there.
● Press a lid onto the ring.
● Place hot glue around the lid edges and affix the circle card onto it. Press firmly. Repeat for remaining coasters.
● Place aluminum foil on a flat surface – where you won’t be touching or moving it for a few days. Fold up the edges of your foil to create a tray. Place coasters, right side up, on foil tray.
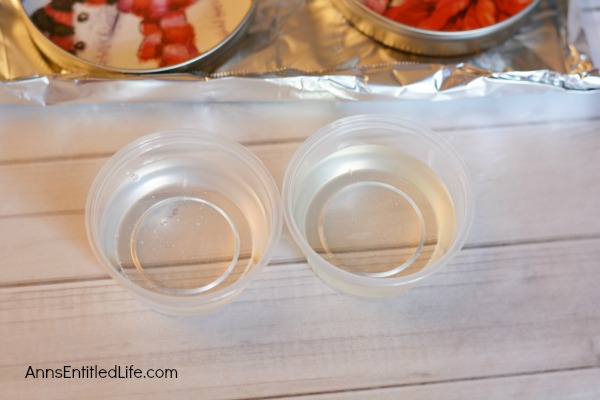
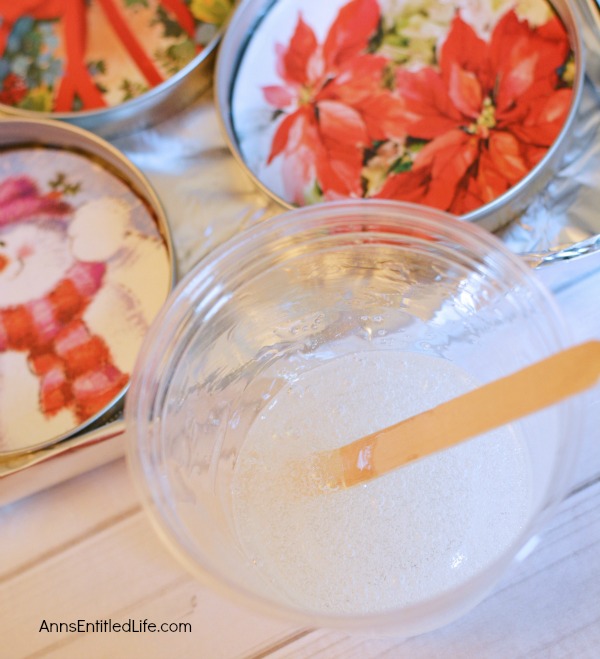
● Carefully following the directions on the resin package, mix your liquids.
● These coasters used 2 small 2 ounce cups. Fill equally with resin, and then added them both to a larger cup and stirred with a Popsicle stick.
● The resin directions stress flat sided cups, stirring carefully, for a few minutes at a time, etc.
● Follow the resin directions closely.
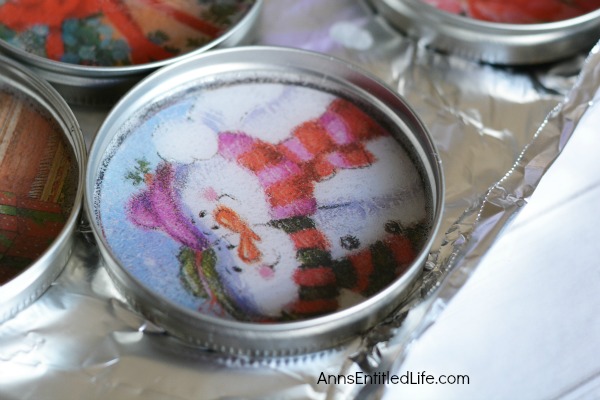
● Pour your resin over the coasters.
● Try to divide equally in four batches. You may need to use your stick to spread the resin hit all the corners.
● The resin will be bubbly.
● When all the coasters are covered with resin, let them sit for the recommended dry time and follow the directions on how to remove the bubbles by blowing on them and not tapping. These were blown on and the next morning all of the bubbles were gone!
● Let set for the recommended 72 hours to fully cure.
● Remove from your foil. You will now see how well you sealed your bands and lids together. One of these coasters did not seal well and the resin leaked out onto the foil. But the coaster was FINE! You can’t tell when you look at the coaster, but the resin was hard but peeled off the coaster bottom and side just fine.
● Cover the bottom with of your coaster with cork or felt (if desired, but recommended).
● Cut out a circle using the coaster as a template and hot glue the cork or felt to the bottom of the coaster. This will create a scratch resistant coaster and cover any dried leaky resin.
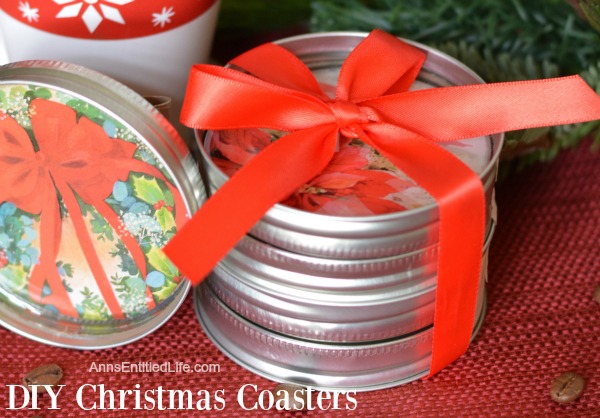
● To wrap your Christmas Coasters: stack them on top of each other and tie with a bow. This is challenging! There is an added bit of clear tape on the edges of the rings to help keep them together. Remove the tape after tying ribbon in place.
Enjoy these Christmas Coasters. They are heavy, and boy do they shine! These do not feel cheap, they feel durable and nice. This is one craft you will certainly be pleased to use in your home, or give as a present.
If you would like to make more DIT coasters, here are a few more homemade coaster tutorials:
● Tie Dye Coasters Tutorial – How to make your own tie dye coasters step by step tutorial. A fun, easy coaster craft perfect for home decor or as a housewarming gift!
● Easy DIY Autumn Coasters – These DIY Autumn coasters are simple to make. Instead of resin, they use a spray to form a heat resistant coating (to 500 degrees!) which seals and protects. Add a touch of fall decor to your living area with these easy to make autumn coasters.
● DIY Pine Moose Coasters – These DIY Pine Moose Coasters are cute and quite simple to make. This is a fantastic project to make using scrap wood, and can be finished very quickly. These easy to make Moose coasters are unique, and something fun for your rustic decor, a gift, or for use as holiday coasters!
● Disclosure: the links in this post may be affiliate links.
● For more Holiday posts on Ann’s Entitled Life, click here.
● For more Craft posts on Ann’s Entitled Life, click here.
● If you enjoyed this post, be sure to sign up for the Ann’s Entitled Life weekly newsletter, and never miss another article!
Virginia says
I love the coasters. And what a great use for leftover Christmas cards!
Linda at Mixed Kreations says
These are really cute! What a great way to reuse cards, and mason jar lids. I’ve never use resin before, but it all looks pretty simple. Thanks so much for sharing your tutorial. These would make awesome Christmas presents. Pinning!
Marie at The Interior Frugalista says
What a fabulous repurpose of old Christmas cards – love this idea!
Sherry says
What a clever idea! These are gorgeous. Thanks for linking up with us at Merry Monday.
Cyndee says
I love these coasters! Thanks for sharing on Idea Box link party. These will be featured on my blog Thursday!!
Raquel says
These are really cute Ann! Pinning!
Victoria @DazzleWhileFrazzled says
Such a cool idea! Will have to check out the resin product. Great hostess gift. Visiting from Inspiration Monday party.
adri says
What a creative idea! They are really tasteful and perfect for serving my special spiced wine when it gets colder again – thanks 🙂