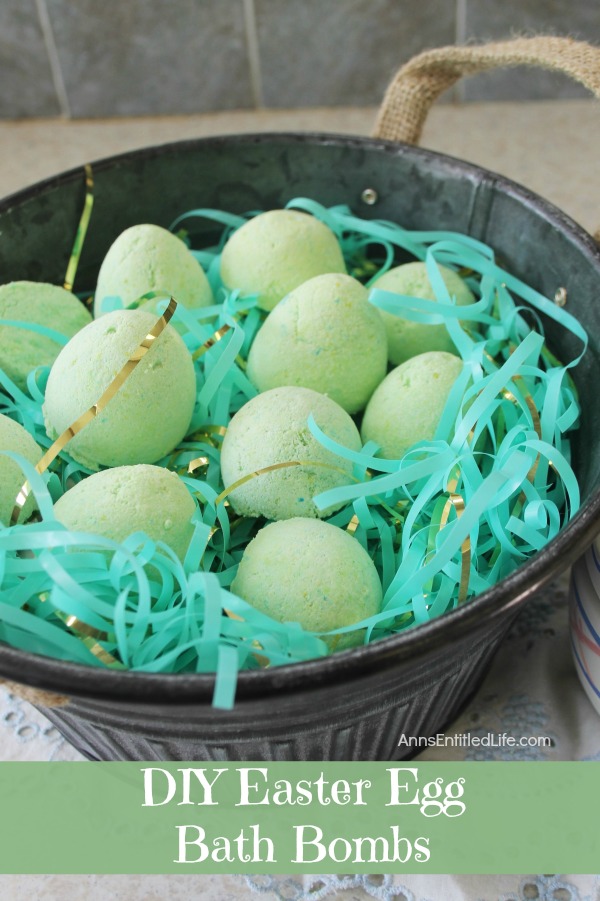
Make your children something different for their Easter baskets this year with this fun DIY Easter Egg Bath Bombs recipe. Simple to make, these DIY Easter Egg Bath Bombs don’t require many ingredients.
DIY Easter Egg Bath Bombs
The Easter Egg colors are fully customizable; choose any food coloring you like. You can also choose not to use food coloring and then the DIY Easter Egg Bath Bombs will just look like regular white eggs!! You use the plastic eggs you’ll be hiding around the yard or house for this project, so no need to buy any extras; the plastic eggs come clean after use and will be ready to go for hiding other non-candy Easter Basket items around the yard or living room.
Using the essential oils in the Easter Egg Bath Bombs is also a great way to get the added benefits essential oils bring in scent, and the orange and grapefruit combination is one that is uplifting and makes you smile when you inhale it. So get creative, have some fun – you can even involve your children in the DIY Easter Egg Bath Bombs creation of your children are older and follow instructions well. (Be sure to stash a few Easter Egg Bath Bombs for yourself, you know you deserve a nice, quiet bath…)
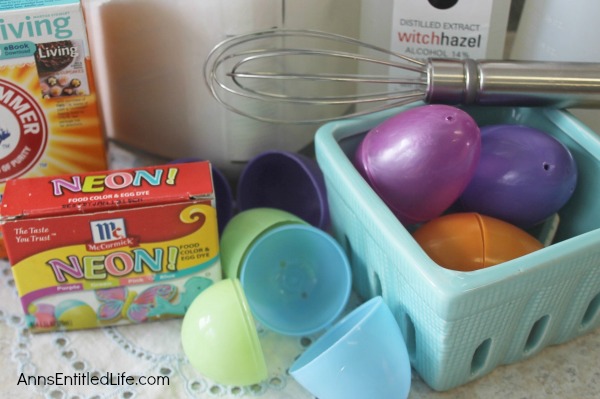
DIY Easter Egg Bath Bombs Mise en Place:
● Measuring Cups
● ½ cup+ Witch Hazel
● Spray Bottle
● Large Mixing Bowl
● Whisk
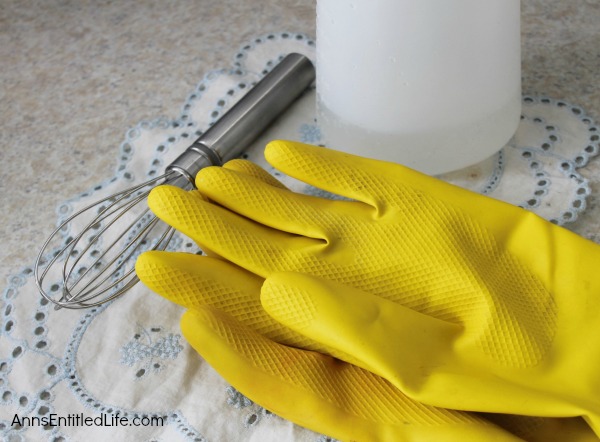
● Rubber Gloves
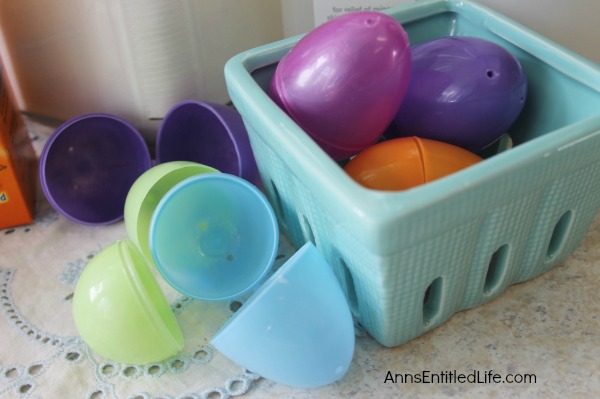
● 12 Plastic Easter Eggs
● Food Coloring (if you’d like colored eggs)
● 2 Large Plates
● Jar
DIY Easter Egg Bath Bombs Ingredients:
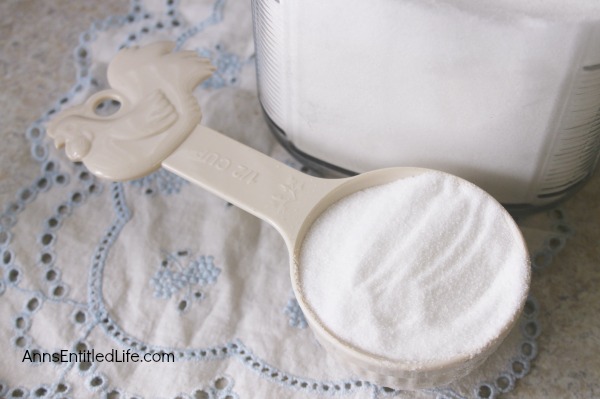
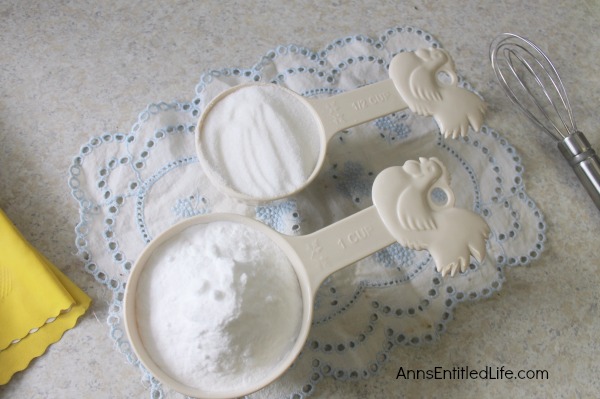
● 2 cups Baking Soda
● 1 cup Citric Acid
● 15 drops Pure Orange Essential Oil
● 15 drops Pure Pure Grapefruit Essential Oil
DIY Easter Egg Bath Bombs Directions:
● Place Witch Hazel in a spray bottle. You may need more as you use the spray bottle contents up, but at minimum you will need ½ cup of Witch Hazel.
● Put on the rubber gloves, because the citric acid is not good for the skin and can burn you or be irritating to the skin, especially if you have sensitive skin or any cuts.
● Mix the baking soda and citric acid in your mixing bowl well, making sure to remove any lumps before you begin the next step. Sometimes the citric acid can have some good size lumps in it.
● Tip: If you plan on using citric acid for other recipes, buy it online in a larger amount as it is much cheaper to purchase a large quantity than a small quantity. The little bottles you can buy at the local store do not have much in them and they are very pricey. Store your citrus acid in a glass jar to keep it fresh.
● Note: If you plan on making more than one egg color, you will need to divide up the mixture before putting in the food coloring. Decide now, or stick to one color.
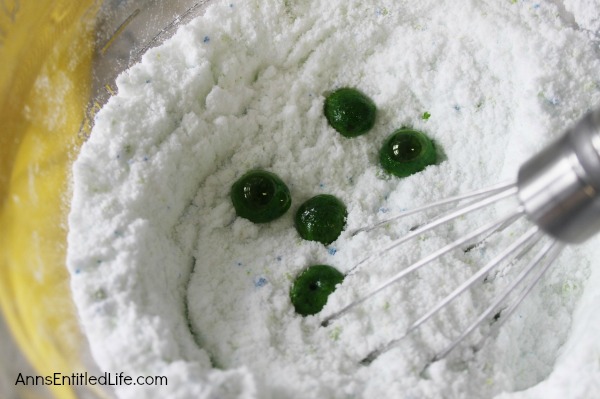
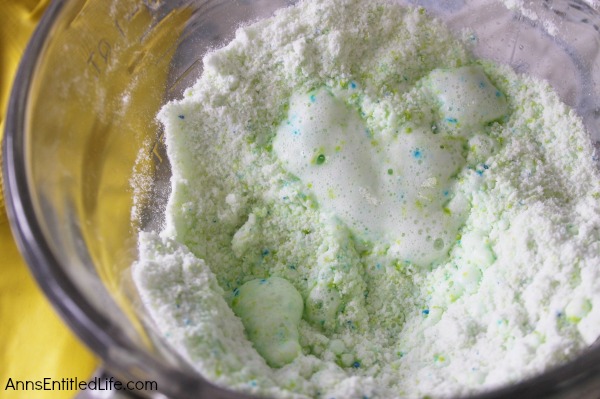
● Add your food coloring a few drops (2-4) at a time – because a little food color goes a long way. When you begin to wet the mixture with the witch hazel, the color will become brighter. Also, adding a lot of food coloring at once will actually activate the fizzing process which you don’t want.
● It WILL fizz some though, so don’t panic.
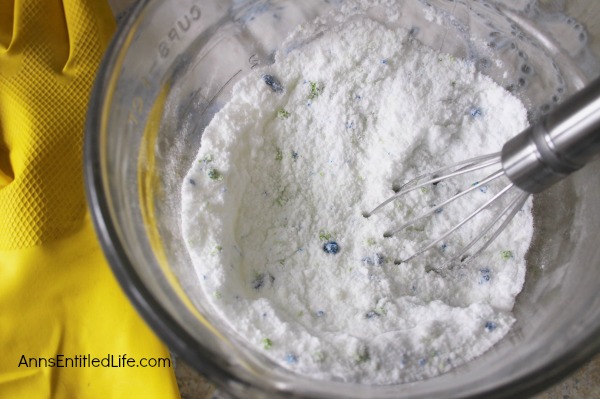
● Once your food coloring is mixed in nicely and you have an even coloring, add your essential oils. Mix well.
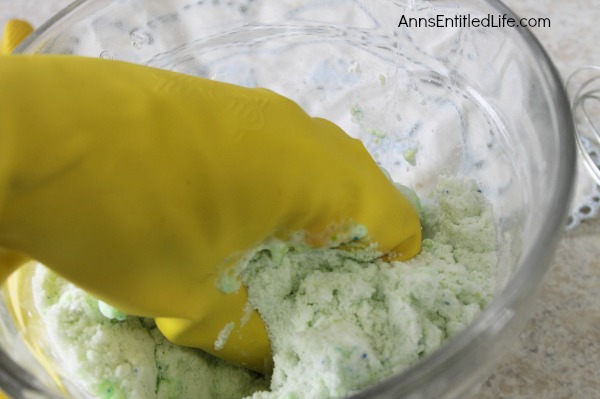
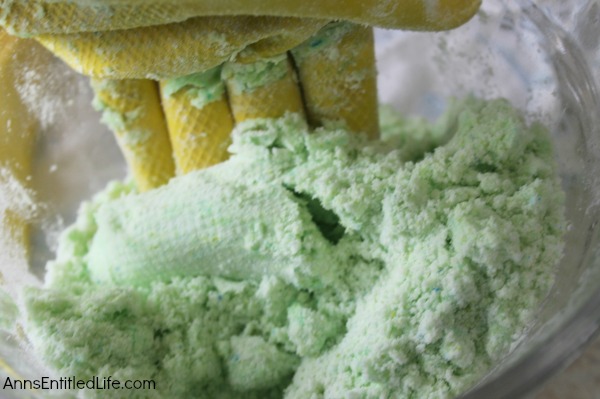
● The final mixing will be done with your hands (hence the gloves).
● Take Witch Hazel spray bottle and spray a few sprays into your mixture a few sprays at a time, and using your hands, start mixing the powder until it begins to clump up. Add more sprays as needed.
● Note: You don’t want your mixture to get it too wet or your mixture will fizz so spray slowly. The consistency is much like a dry snow. Your bath bomb mixture needs to stick together but not be dripping wet. Scrunch the mixture up in the palm of your hand and when it starts to stay together in a clump, then you know you’re getting close. (The mixture will actually get cold as you do this, and that is normal!)
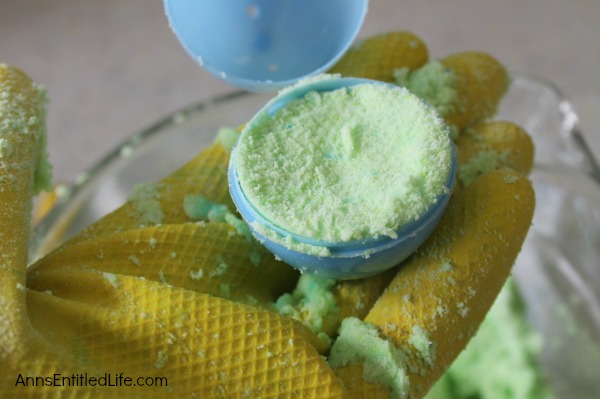
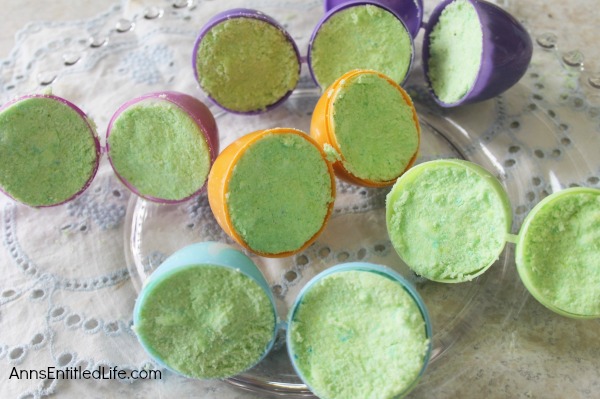
● Now you are ready to pack your mixture into the Plastic Easter Eggs. Make certain you push the bath bomb mixture all the way down into the egg and pack it in so you get a full, nice shape when it is done. Scrape off the top excess and add it back into the bowl and repeat until your eggs are full.
● Tip: If you end up with any extra bath bomb mixture and don’t have any more eggs to use, you can use silicone ice cube trays or candy trays for nice shapes too!
● Let the Easter Egg Bath Bombs sit in the eggs for at least 30 minutes or so to be sure they are set up nicely. If they are too dry, they will totally crumble when you flip the trays over. If this happens, just put them back in the bowl and wet the mixture a little more. That is a better option than having them be too wet, so don’t be discouraged. (You will know if they are too wet, because they will be fizzing some and will get sticky – if this happens, add in some more of the baking soda and citric acid.)
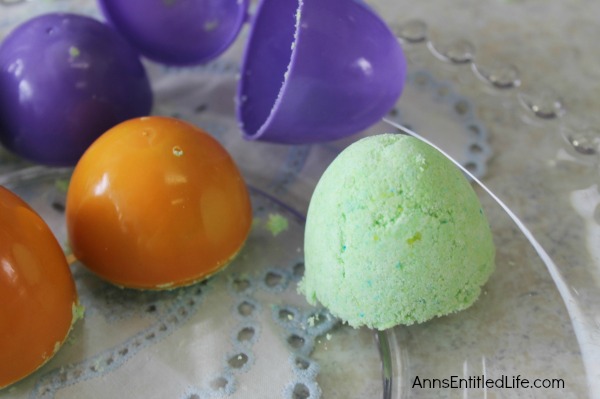
● To remove the Easter Egg Bath Bombs from the plastic eggs turn them carefully out onto your plates. Usually they will pop out fairly easily if you just squeeze the sides slightly.
● Leave on the Easter Egg Bath Bombs on the plates for a several hours so they get nice and dried out.
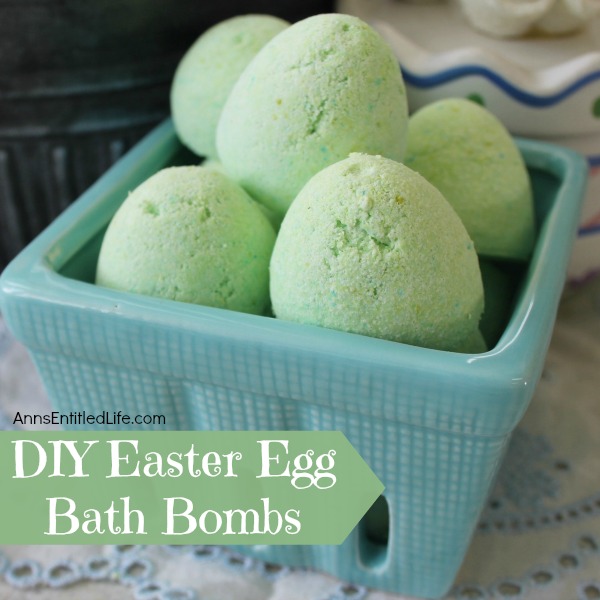
● Once dry, place in a cute jar and store the DIY Easter Egg Bath Bombs until you’re ready to use or put into Easter baskets.
● This recipe makes about 24 of the half – egg size bombs. Some are plastic eggs are larger than others, so sometimes you will get closer to 30 DIY Easter Egg Bath Bombs.
● To print the DIY Easter Egg Bath Bombs Instructions, click here.
Note: None of this is meant as medical advice. I am not a doctor, and do not play one on the internet. Please consult a physician if you have any questions about using essential oils or making your own bath bombs so your doctor can better explain to you the benefits, possible side effects, and any warnings about essential oils and making your own bath bombs.
● Disclosure: the links in this post may be affiliate links.
● For more DIY Beauty posts on Ann’s Entitled Life, click here.
● For more Craft posts on Ann’s Entitled Life, click here.
● For more Holiday posts on Ann’s Entitled Life, click here.
● If you enjoyed this post, be sure to sign up for the Ann’s Entitled Life weekly newsletter, and never miss another article!

Jolena @TheRubyKitchen says
This is such a fun idea and a wonderful alternative to expensive store-bought bath bombs!
Marie says
Yes, gloves! I never think of that kind of stuff until it’s too late. Lol. These look super cute! Thanks for sharing at Merry Monday this week!
Laura says
Hi Ann, what a clever idea! I absolutely love this and you were able to get the perfect shade of green. Great ideas on using the plastic Easter eggs to shape the bath bombs. I certainly wouldn’t mind getting a set of these for Easter! Thanks for sharing such a lovely idea.