Easter Egg Wine Glass DIY
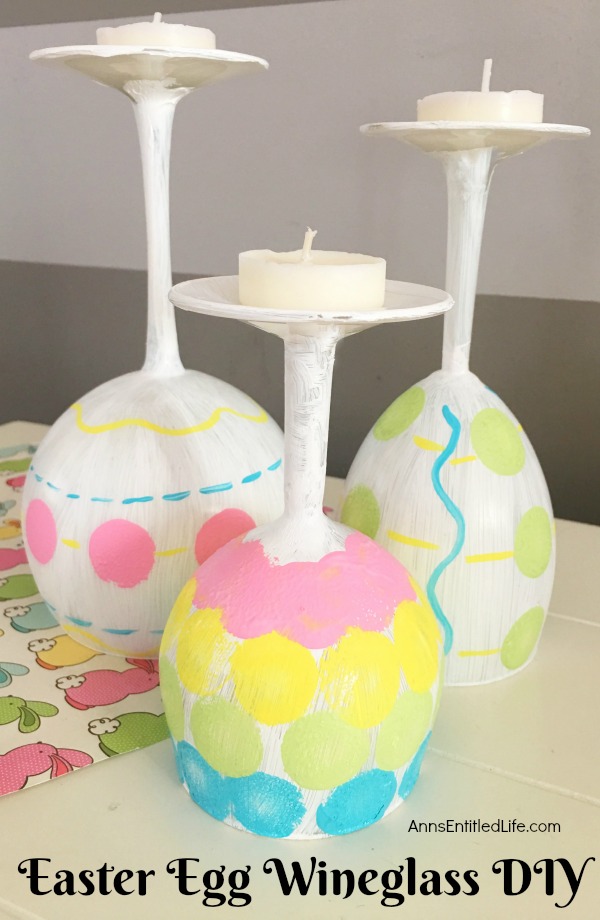
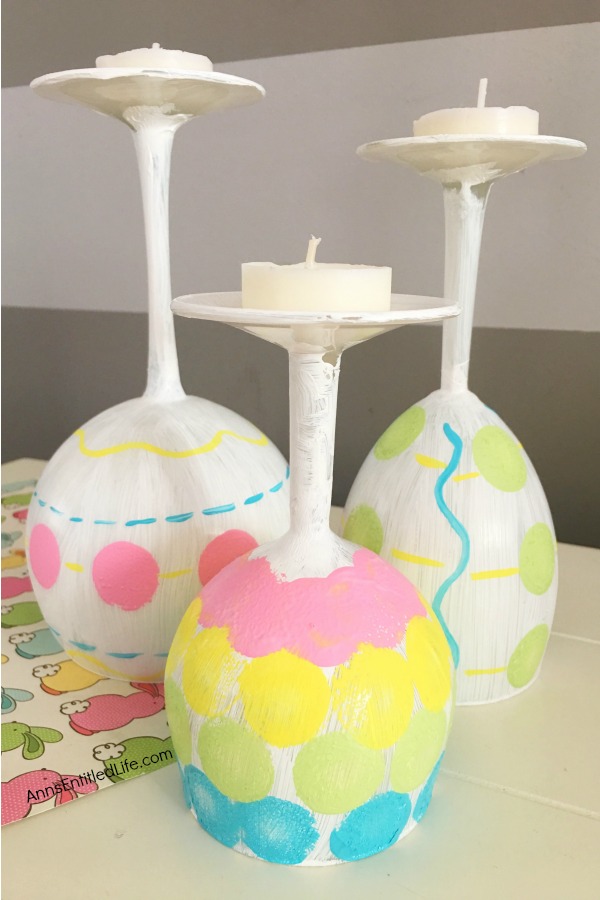
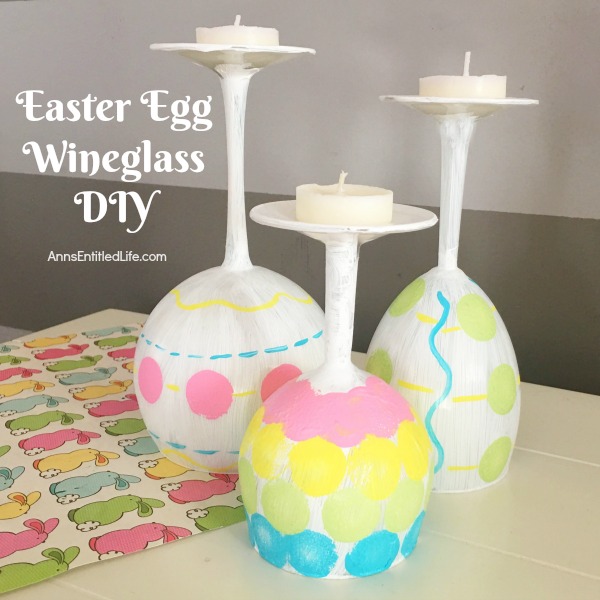
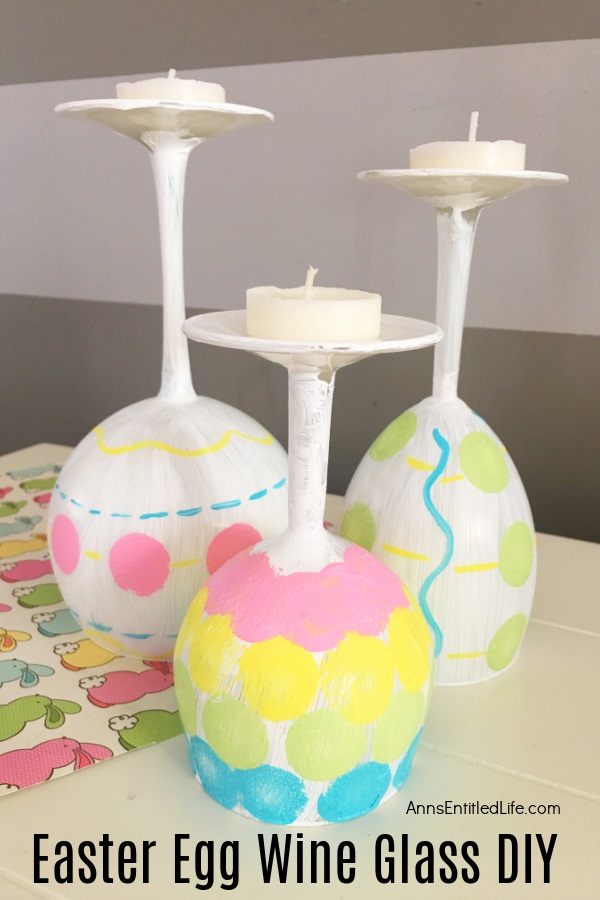
Make your own adorable Easter egg wine glasses! This easy step-by-step tutorial will show you how to easily make sweet Easter egg wine glass decor which is perfect for a centerpiece, mantel decor, or table decorations this Easter! This is an easy-to-make, delightful Easter season craft project.
You can make this any color and may want to vary it a bit (even with just different color yellows or blues or pinks for depth) if you are making three or more as part of a centerpiece or a bigger holiday table decoration. These also work for spring decorating, so keep that in mind too!
I really like painted wine glass decor, as you can see by the Yellow Chick Wineglass DIY (so, so cute! for Easter or spring), Love Bug Wineglass DIY (Valentine’s Day or Summer decor), Love Monster Wineglass DIY (Valentine’s Day or Halloween) Turkey Wine Glass DIY (Thanksgiving or Fall), DIY Wine Glass Snowman (Christmas or Winter), DIY Wine Glass Witch (Halloween) and the DIY Pineapple Candle Holder (anytime!) crafts I have shared in the past. But the truth is, these painted wine glass crafts are simple to make, fun, and are finished in no time flat. Truly just about any adult can make them.
Tips and variations for making this Easter egg wine glass:
● Use flameless tea lights.
● Use any Easter pastel colors to make these glasses: yellow, pink, light blue, purple, and lavender.
● On any of these painted wineglass decorations, if you feel one coat of paint is not enough coverage (even with painting the inside and outside), just allow the first coat of paint to dry completely, then add a second, thin coat for a more complete coverage. Allow the paint to dry completely.
Easter Egg Wine Glass DIY Materials:
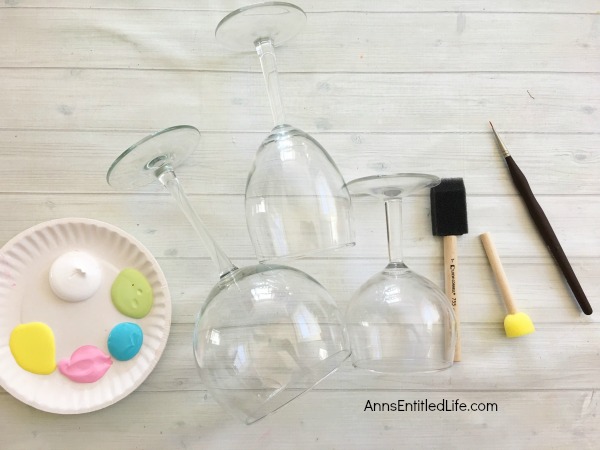
● Any Wine Glass(es) (shown are three staggered wine glasses for a centerpiece)
● Enamel Paint: white, pastel yellow, blue, green, and pink were used in this craft
● Tea Lights
Easter Egg Wine Glass DIY Tools:
● Foam Paint Brush
● Small Easel or Paper Plate
● Small Detail Paint Brush
● Round Sponge Painting Tool
Easter Egg Wine Glass DIY Directions:
● Lay down a covering to protect your work surface.
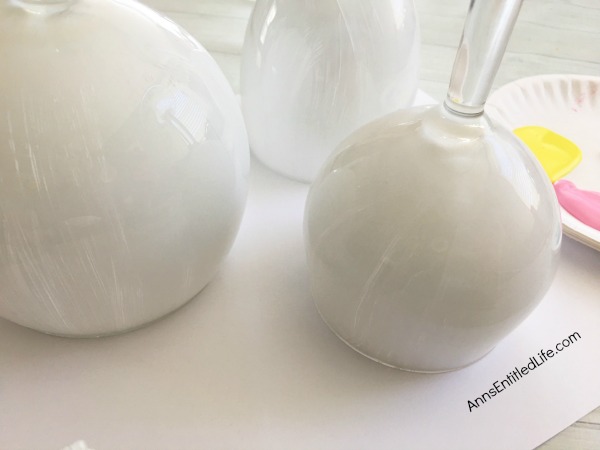
● Paint the inside of your wine glasses white with your foam paintbrush.
● Allow the paint to dry.
● Paint the outside of your wine glasses white with your foam paintbrush.
● Allow the paint to dry.
● Note: on any of these painted wine glass decorations, if you feel one coat of paint is not enough coverage (even with painting the inside and outside), just allow the first coat of paint to dry completely, then add a second, thin coat for more complete coverage. Allow the paint to dry completely.
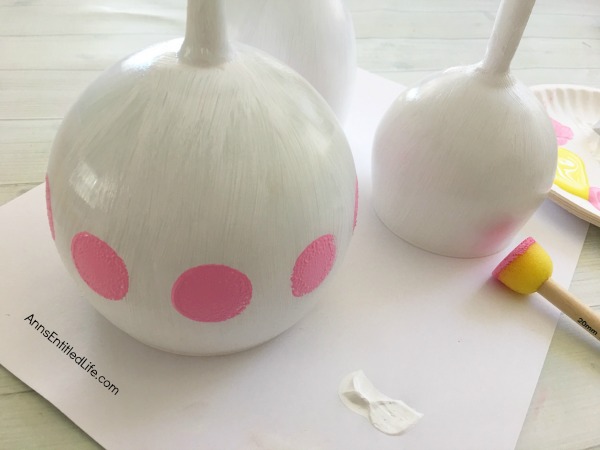
● Turn your glasses upside down and use your circle foam to dab into your paint and carefully press onto your painted wine glasses.
● Go all the way around your glass. You could do a straight line, a wave, close dabs of paint, spread out dabs.
● This tutorial used pink, blue, green, and yellow for the round dabs, but you could also use lilac, purple – any color that springy or Easter-ish.
● Allow the paint to dry.
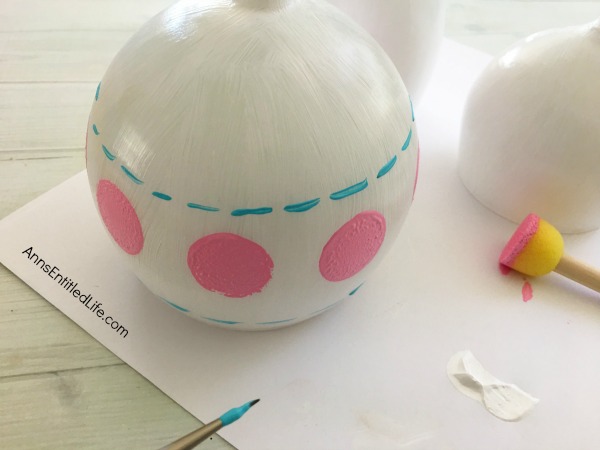
● Use a small detail paintbrush to make more detailed lines, dashes, and swirls. Make them your own.
● Allow the paint to dry.
● Top off with a tea light candle. If you want to use a flameless tea light, that would like lovely too.
● Set these cute little wine glasses in the middle of your table, on your fireplace mantel, or an end table for a great Easter decoration! Make the group of three in the same or in staggered height for a sweet little centerpiece.
Easter Egg Wine Glass DIY
Easter Egg Wine Glass DIY. Make your own adorable Easter egg wine glasses! This easy step-by-step tutorial will show you how to easily make sweet Easter egg wine glass decor which is perfect for a centerpiece, mantel decor, or table decorations this Easter! This is an easy-to-make, delightful Easter season craft project.
Materials
- Any Wine Glass(es)
- Enamel Paint: white, pastel yellow, blue, green, and pink were used in this craft
- Foam Paint Brush
- Tea Lights
Tools
- Small Easel or Paper Plate
- Small Detail Paint Brush
- Round Sponge Painting Tool
- Tea Lights
Instructions
- Lay down a covering to protect your work surface.
- Paint the inside of your wine glasses white with your foam paintbrush.
- Allow the paint to dry.
- Paint the outside of your wine glasses white with your foam paintbrush.
- Allow the paint to dry. Note: on any of these painted wine glass decorations if you feel one coat of paint is not enough coverage (even with painting the inside and outside), just allow the first coat of paint to dry completely, then add a second, thin coat for more complete coverage. Allow the paint to dry completely before continuing the craft.
- Turn your glasses upside down and use your circle foam to dab into your paint and carefully press onto your painted wine glasses.
- Go all the way around your glass. You could do a straight line, a wave, close dabs of paint, spread out dabs.
- This tutorial used pink, blue, green, and yellow for the round dabs, but you could also use lilac, purple – any color that springy or Easter-ish.
- Allow the paint to dry.
- Use a small detail paintbrush to make more detailed lines, dashes, and swirls. Make them your own.
- Allow the paint to dry.
- Top off with a tea light candle. If you want to use a flameless tea light, that would like lovely too.
- Display as desired.
Recommended Products
As an Amazon Associate and member of other affiliate programs, I earn from qualifying purchases.
-
 EAMBRITE Easter Centerpiece Tree 24IN 24LT White Birch Tree with Set of 10 Hanging Easter Egg Ornaments for Party Birthday Home Decoration Indoor Use
 -
 MAOYUE Easter Inflatables 5Ft Easter Bunny Inflatables with Eggs Easter Decorations Outdoor Easter Blow Up Decorations Built-in LED Lights with Tethers, Stakes for Outdoor Yard Lawn
 -
 Easter Hanging Bunny Ornaments Set of 10, Colorful Plush Bunny Gnomes Easter Gnomes Tree Ornament Decorations
● For more Holiday posts on Ann’s Entitled Life, click here.
● For more Craft posts on Ann’s Entitled Life, click here.
● If you enjoyed this post, be sure to sign up for the Ann’s Entitled Life weekly newsletter, and never miss another article!


Roseann Hampton says
What a great idea for Easter decorations!
Kim~madeinaday says
Very cute craft idea. I love the polka dots. Thank you for sharing on Merry Monday! Have a great week!
Kim
Linda says
This is so fun and will make a nice decor for Easter.
Marie - Interior Frugalista says
These are so adorable and a great idea to add to the Easter Dinner Table Centerpiece! Thanks for sharing them with us at the Snickerdoodle Party. I am featuring you this weekend!