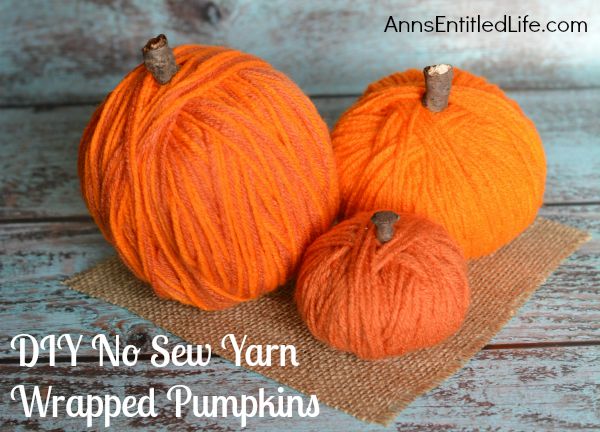
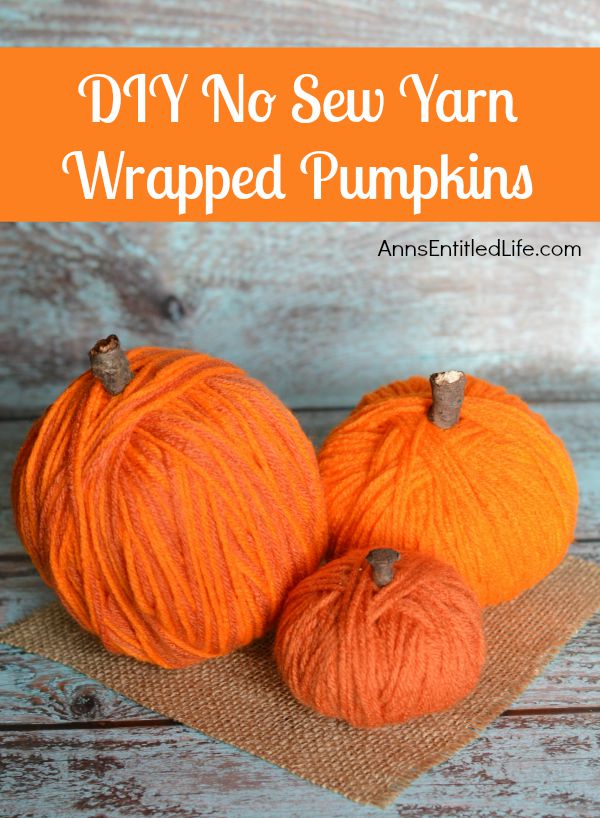
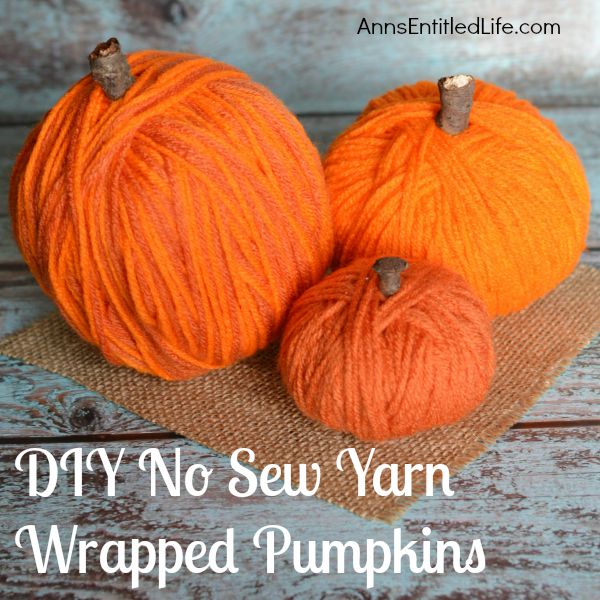
These No-Sew Yarn Wrapped Pumpkins are super easy to make, require no special crafting skills and are totally adorable. If you need a quick fall craft, or would like a (supervised) project for your children on a rainy weekend, these pumpkins are a terrific craft project.
Easy DIY No-Sew Yarn Wrapped Pumpkins
● To print the Easy DIY No-Sew Yarn Pumpkins Instructions, click here.
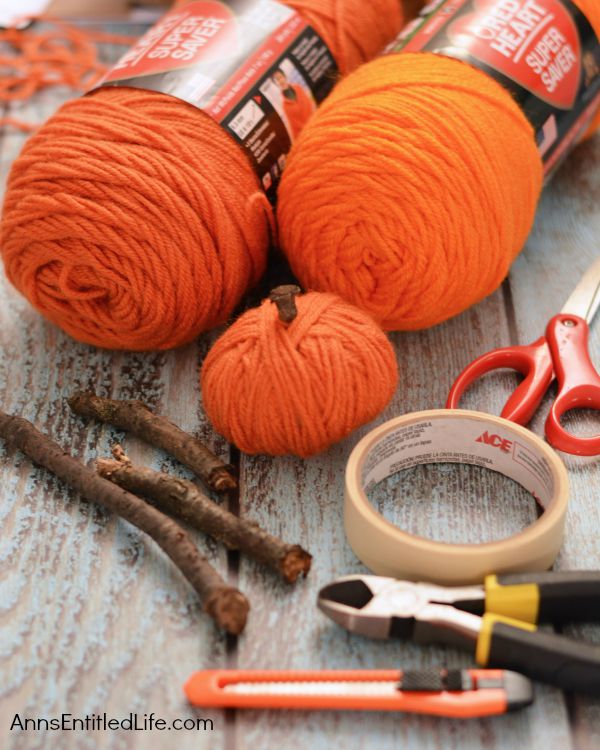
Easy DIY No-Sew Yarn Pumpkins Materials:
● Plastic Grocery Bags
● Masking Tape
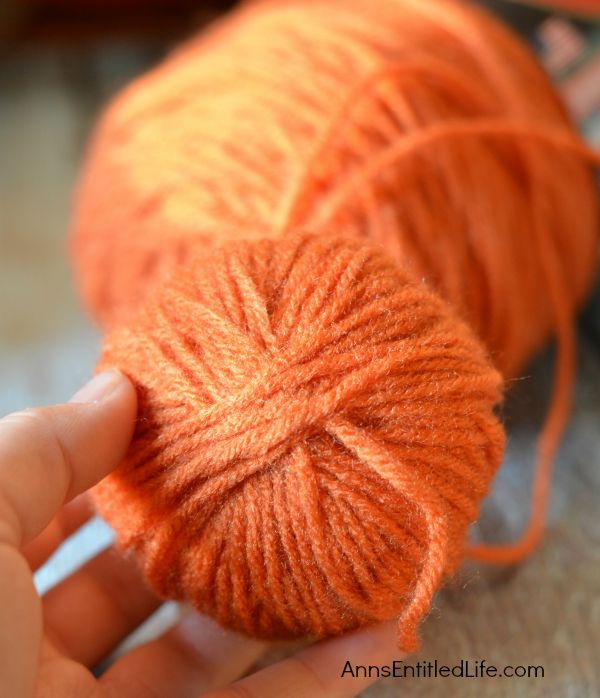
● Yarn – colors used were Red Heart Carrot and Pumpkin
● Utility Knife
● Scissors
● Sticks – short and stubby
● Wire Cutters – if necessary to trim stems
Easy DIY No-Sew Yarn Pumpkins Directions:
● The pumpkins shown use 1, 2 and 3 plastic bags respectively.
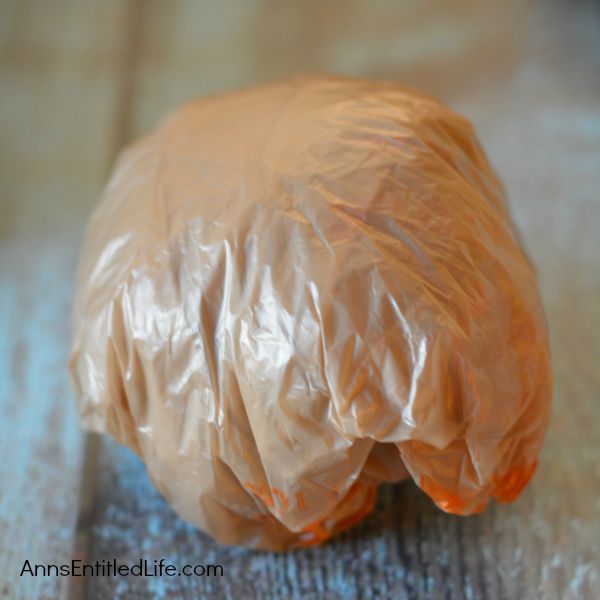
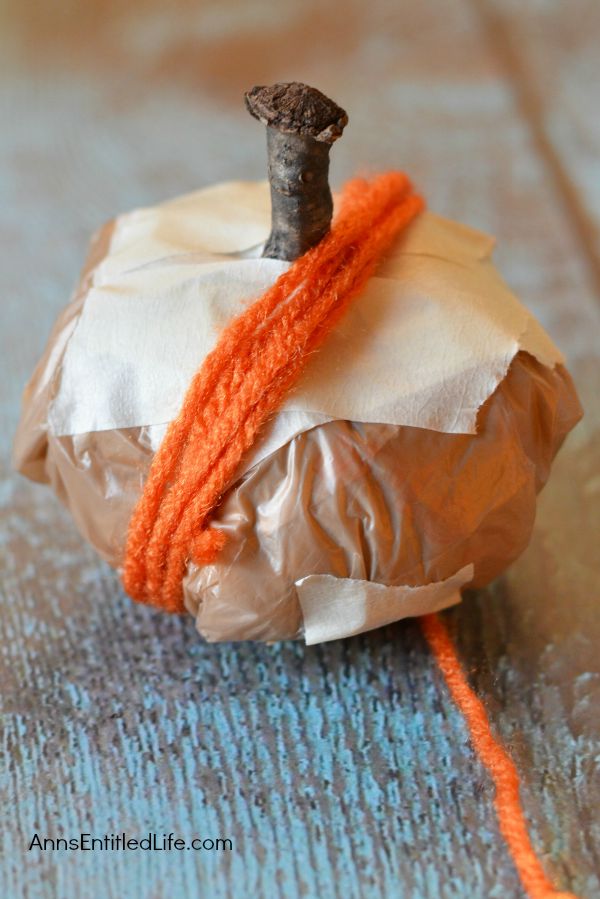
● To begin, ball up one plastic bag. You’ll want to flatten the bag and roll the ends into the center to create almost like a pouch.
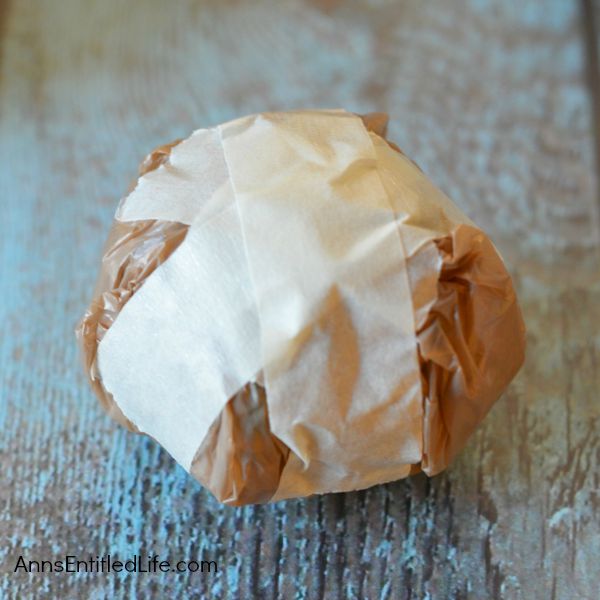
● Tape the plastic bag with masking tape and shape it to your liking.
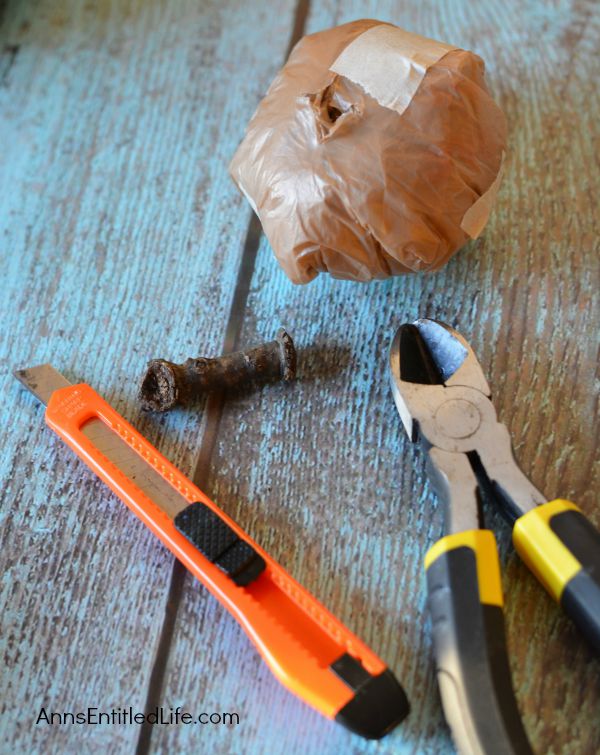
● Cut a slit into the top of the bag/pumpkin for the stem. When choosing a stem, pick a thicker stick so that it doesn’t break. All of these sticks were from dead trees so they can be brittle if very dry. You also want the stick sticking out farther than you think because you’ll be wrapping it with yarn which takes up space.
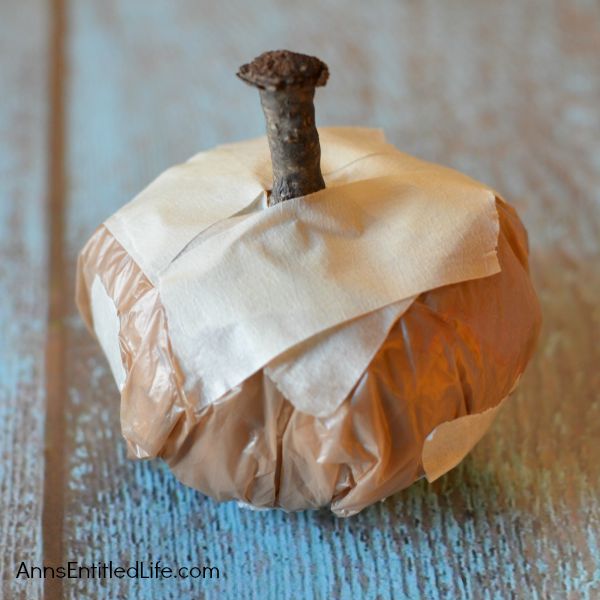
● Tape around the stick so it stays in place.
● Begin to wrap your yarn.
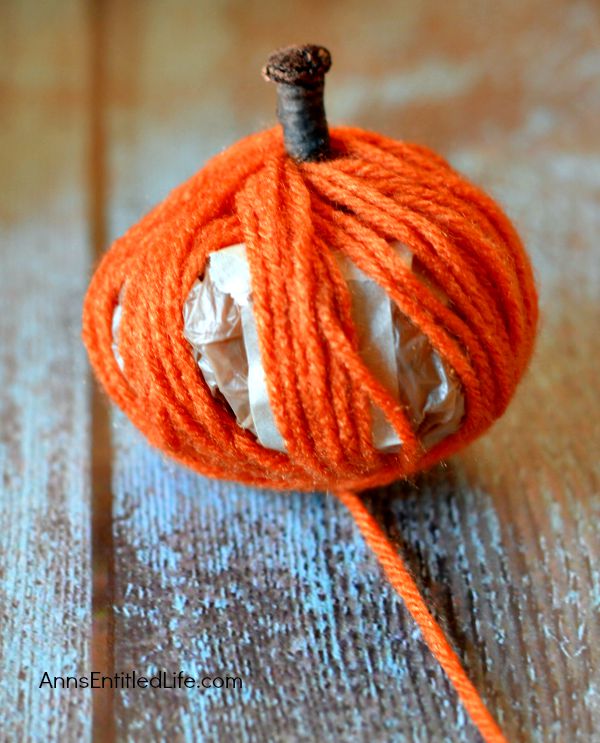
● Wrap it around the bag and tuck it under to stay in place. Continue to wrap the yarn, about 3-5 wraps before changing directions usually creates the best result, but you can really do anything. There’s no right or wrong way, just be sure to cover the bag. When you are happy with your results, tuck the string under another string at the bottom and trim.
● You can squish the pumpkin a bit to your liking. Just be careful because it will loosen the yarn. The tighter you wrap your yarn around the bag, the smaller your pumpkin will be.
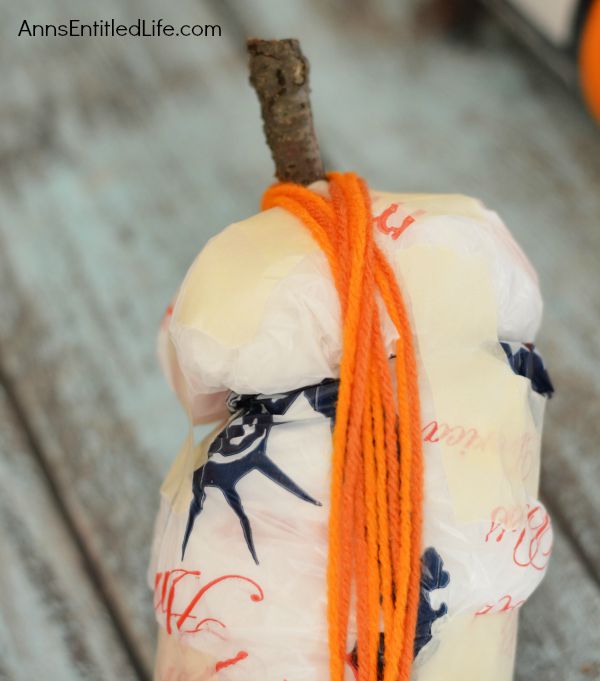
● To make the two bag pumpkin simply attach two bags with masking tape.
● This is wrapping a triple bag.
● To make the three bag pumpkin, attach three bags with masking tape as shown and use both colors of yarn and wrap the pumpkin at the same time.
● This is a super easy project! You can set up your kids (once you have trimmed the sticks) and after taped, allow them to wrap the bags, or do it yourself in no time flat!
● Disclosure: the links in this post may be affiliate links.
● For more Halloween posts on Ann’s Entitled Life, click here.
● For more Craft posts on Ann’s Entitled Life, click here.
● If you enjoyed this post, be sure to sign up for the Ann’s Entitled Life weekly newsletter, and never miss another article!
Stephanie K. says
I am SO making these when I get home!! I know I have some cute orange yarn that will be perfect. These are adorable! Great idea.
Ann says
Thanks Stephanie! I am glad you like them.
Ann
Didi says
You are just so creative, where in heaven’s name do you find the time Ann? They are adorable and now I have to make them too!!
Ann says
These are sooo simple, Didi that even I can do them!! For you, it should be a quick project.
Ann
Melinda says
So, so cute! Love easy!!! I can even do it! lol
Here from Inspire Me Monday
AnnMarie says
Very cute! I just sent your blog link to a friend who will be all over this!!
Gina says
This is such a fantastic craft! I’ve been looking for Halloween and October themed decor projects that I could do with supplies I had on hand. This one is right up my alley! Thanks for sharing!
Rose Garden Malevik says
woow. that is really clever an cute 🙂
You are welcome to join
SATURDAY SHOW OFF
Hugs from Håkan in Sweden
brooke says
I’m thinking this will be a great for a party we are having with a bunch of girls next week, do you have any idea how much yarn it took to cover these three pumpkins? Thanks!