Easy DIY Pine Cone Wreath
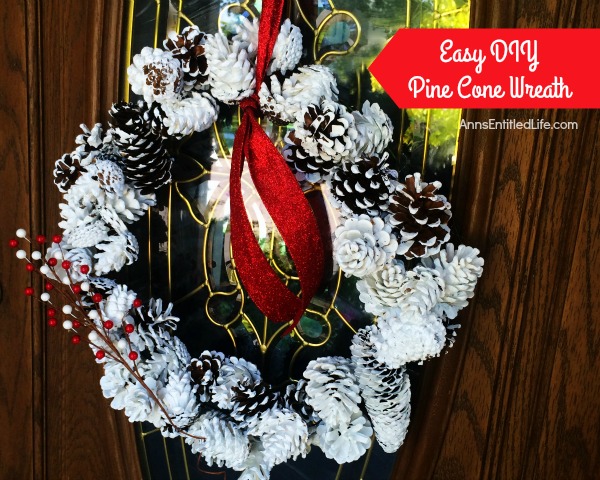
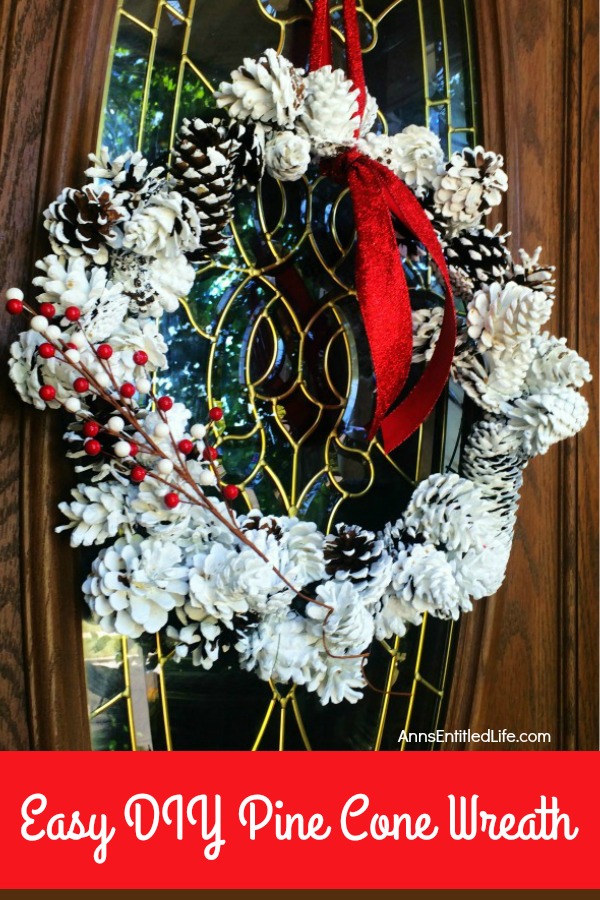
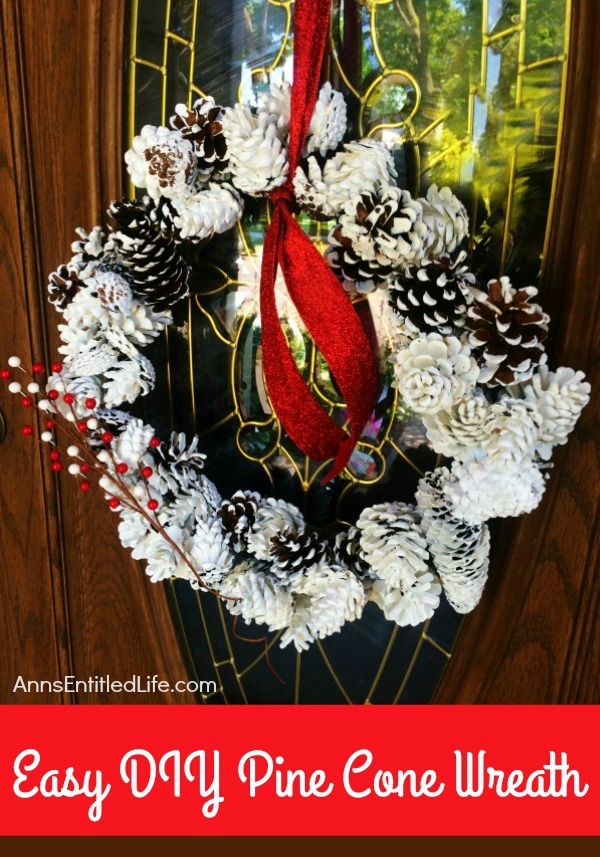
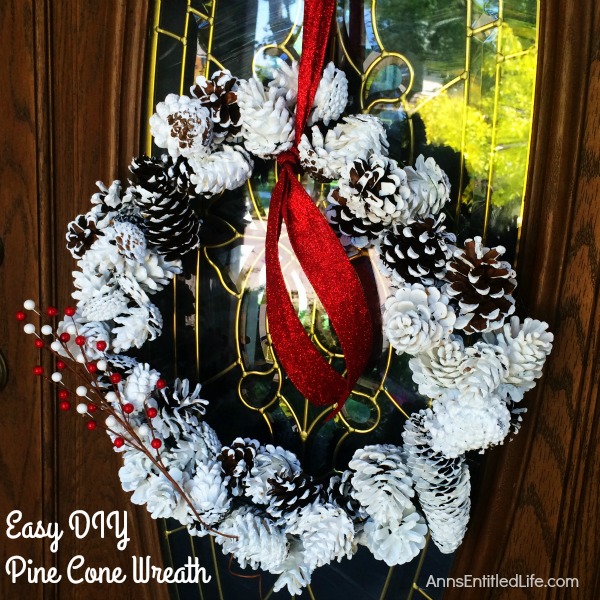
Create a beautiful wreath with painted pine cones. Fabulous as fall, winter or spring decor, this Easy DIY Pine Cone Wreath is highly customizable. Step by step instructions make the entire process simple. You will be thrilled with the results of this inexpensive craft project!
● To print the Easy DIY Pine Cone Wreath Instructions, click here.
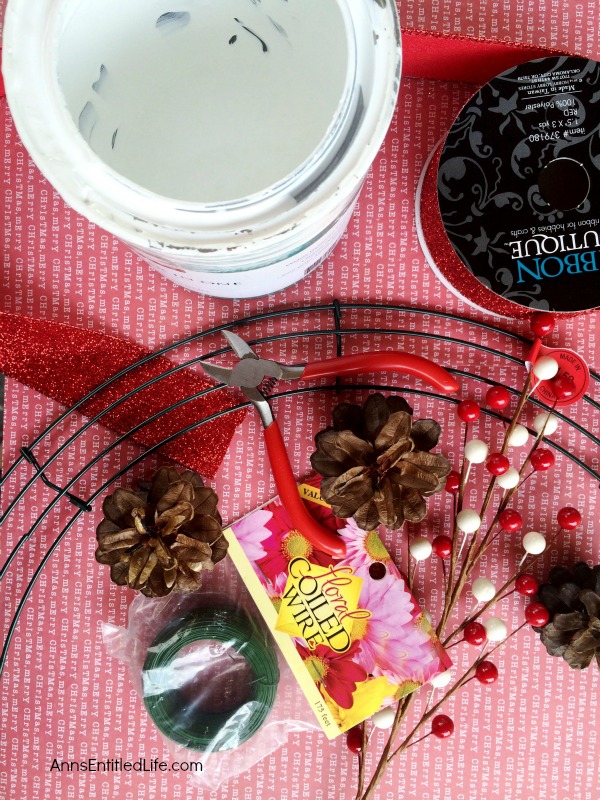
Easy DIY Pine Cone Wreath Materials
● Pine Cones (30 were used for this wreath, staggered sizes)
● Floral Wire
● Wire Cutters
● Metal Wire Wreath (12″ was used for this wreath)
● White Paint, pint
● Ribbon (3 feet)
● Accessories: this wreath has red and white berries
● Glue gun
● Glue sticks
Easy DIY Pine Cone Wreath Materials Instructions
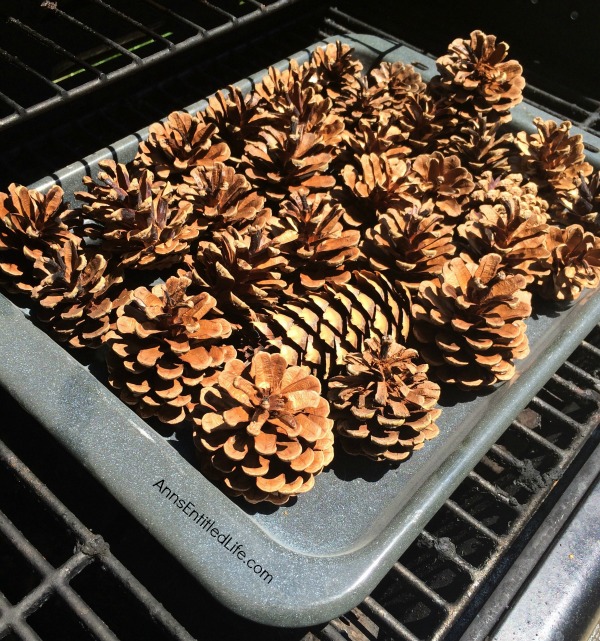
● If you have gathered your pine cones rather than buying them: Bake your pine cones on a pan lined with aluminum foil for 30 minutes at 250° or on medium on your grill for 30 minutes (many people prefer the grill because these pine cones can carry some gross bugs) *Keep an eye on these while cooking so they’d don’t get burnt and start on fire*
● Let your pine cones cool. Continue to the next step.
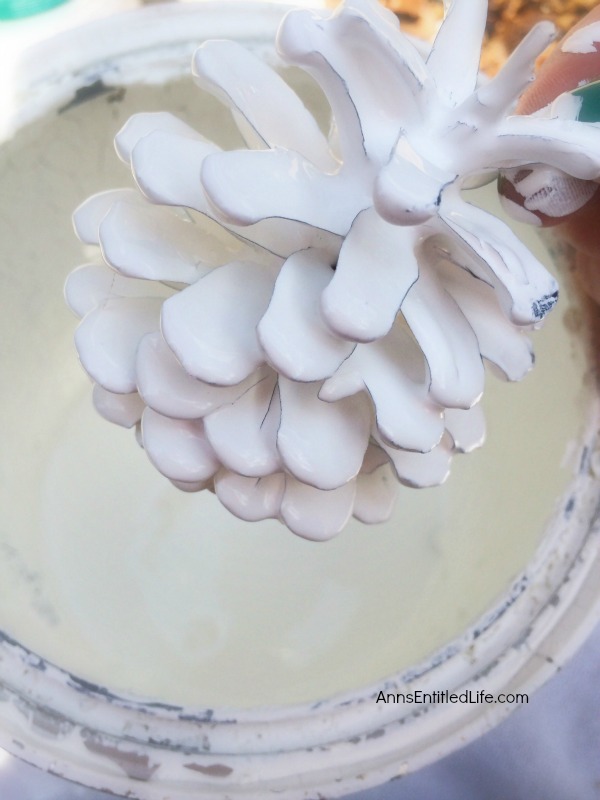
● If you have purchased pine cones, begin here: start dipping your pine cones in paint, some of them completely and some just roll around a bit so you can still see the pine cone color. You want some variance so your pine cones do not all look alike. This makes this craft very forgiving as there really are no “mistakes!”
● Let dry overnight.
● Cut your floral wire in 9″ pieces and wrap around each pine cone one at a time. Leave leftover wire to wrap around your wreath wires.
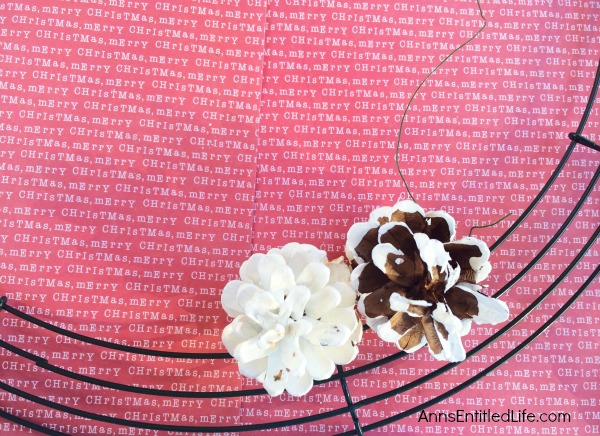
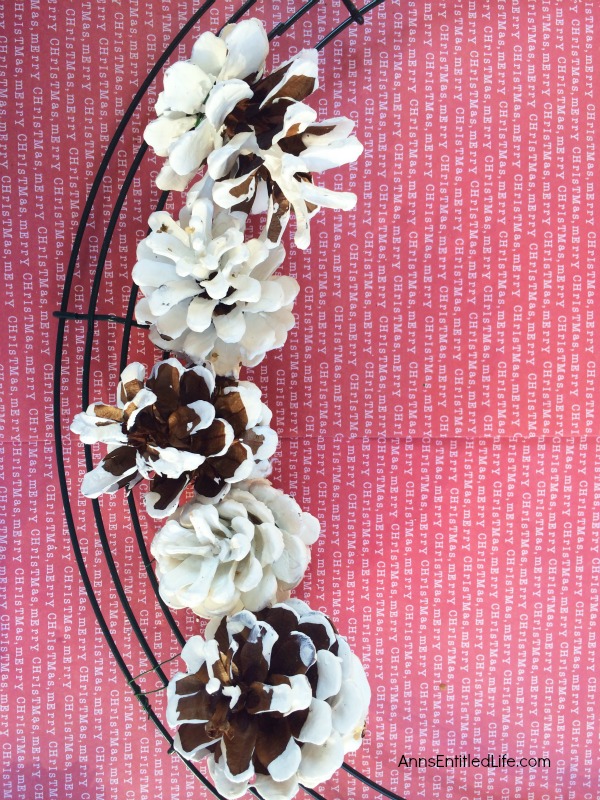
● Lay out your pine cones as you would like them on your wreath. Stagger fully painted pine cones with moderately painted pine cones for an attractive look.
● Wrap the floral wire “tails” onto the metal wreath frame. This will take some time, so be patient.
● Once you do your whole wreath, add several more pine cones to fill in any gaps.
● To add volume use any remaining pine cones and hot glue them on top of any spaces you could not get to with your floral wire.
● Now, take your ribbon (36″ or so piece) and tie is around your wreath to form a hanger.
● Hot glue any accessories you’d like on your wreath (this is very minimal with only red and white berries)
● Now your wreath is ready to hang!
If you like to make your own wreaths, you may want to check out these wonderful seasonal wreath DIYs:
● Cranberry Holly Winter White Wreath DIY – This beautiful Cranberry Holly Winter White Wreath is a simple rustic wreath that appears time-consuming, but actually comes together in under 30 minutes! Follow these easy step by step directions to make your own lovely custom Christmas door hanger wreath.
● Golden Swan Wreath DIY – This stunning wreath takes only 15 minutes to make! Perfect for so many holidays, party functions (think bridal or shower), or as a year-round wreath with a bit of bling, this unusual swan wreath is lovely wall décor or door décor!
● Snowflake Bead Wreath Craft DIY This is a beautiful snowflake wreath that is perfect for door decor in the chilly winter months. You can fully customize this snowflake bead wreath for color, and ornaments. Simple to make, this lovely Snowflake Bead Wreath Craft is a real conversation piece.
● Disclosure: the links in this post may be affiliate links.
● For more Holiday posts on Ann’s Entitled Life, click here.
● For more Craft posts on Ann’s Entitled Life, click here.
● If you enjoyed this post, be sure to sign up for the Ann’s Entitled Life weekly newsletter, and never miss another article!

Didi says
I’m absolutely loving this Ann! I’ve alway’s wanted to know how to make a wreath and was just seriously too nervous to attempt because you know me. I would get aggravated, throw the thing away…
These step by steps really helped and when I get home I will share as well! ♥
Julie says
Such a pretty wreath, and such clear instructions too. Great tips on how to get rid of the bugs as well – thanks.
Erlene says
Very pretty wreath. We have tons of pine cones around the neighborhood and I should try making a wreath like this. Thanks for sharing on Merry Monday.