Felt Wreath Ornament Craft
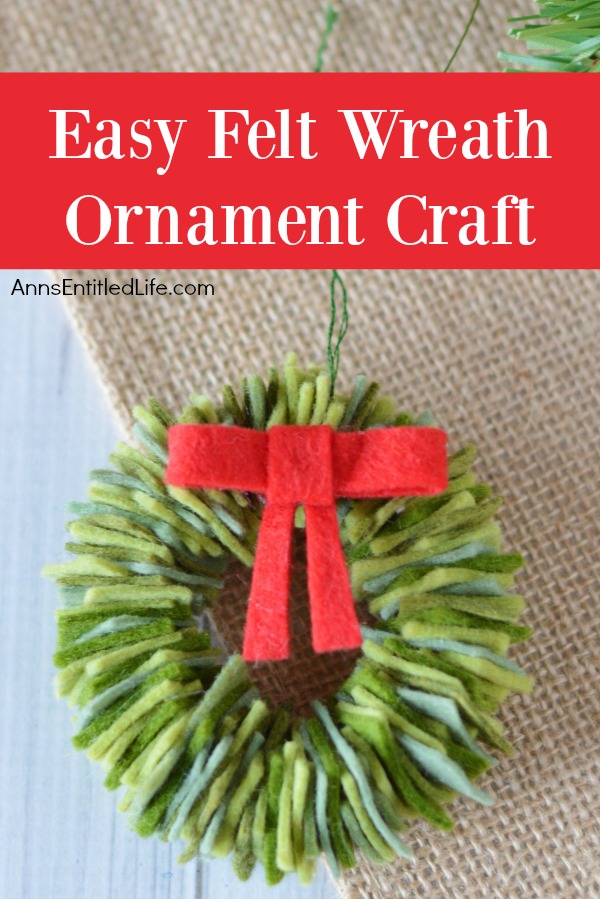
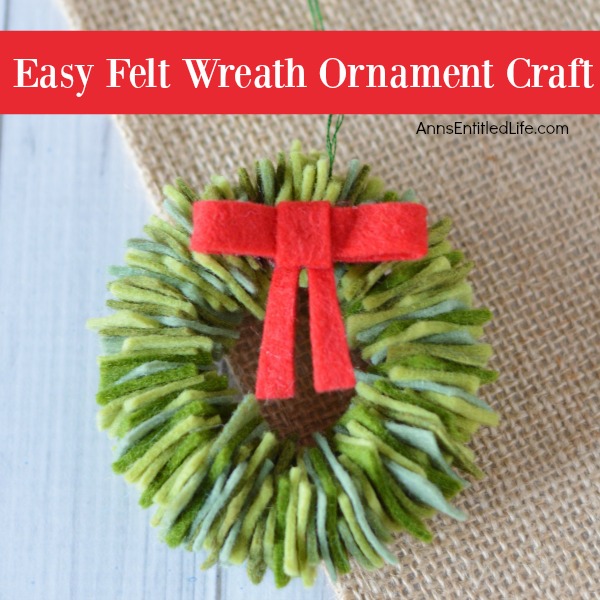
Homemade Christmas ornaments are special crafts to keep, and to give. These easy Felt Wreath Ornaments are simply adorable! Older children, under adult supervision, can also make these felt wreaths using the step by step tutorial photographs and instructions as guidance.
This is the easiest Christmas craft you could ever make! Truly simple, and yet so cute. The tutorial shows these wreaths using three different colors. My next door neighbor is a psychiatrist. Long ago he told me (in a conversation that had nothing to do with holiday decorations! or any decorations for that matter) that women prefer odd numbers, men prefer even numbers. I definite subscribe to the “rule of 3” as being most pleasing to the eye. In this case three different colors help add depth and character to these easy felt wreath ornaments. Saying that, there is nothing to say you must use three colors – one, two, five, etc. Whatever you have on hand for felt (shades of brown, red, blue would also work well), or can purchase in a coordinating bundle will work fine.
You may require more or less than 100 cut pieces of felt (104 pieces were used in making the wreath shown). It depends on how tightly you stack the pieces next to one another.
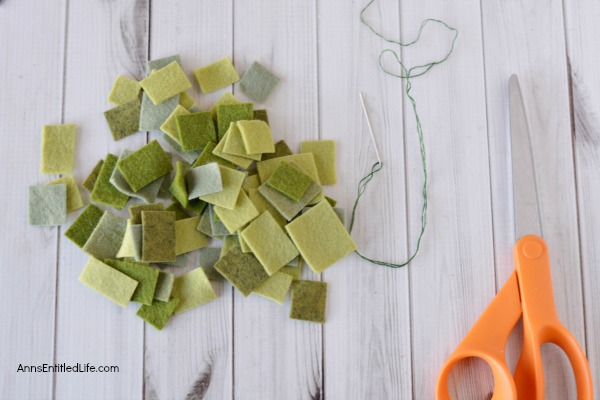
Felt Wreath Ornament Materials:
● Green Felt – 3 different shades (optional)
● Scissors
● Small Piece Red Felt
● Green Thread
● Hand Needle
● Glue Gun
● Glue Sticks
Felt Wreath Ornament Directions:
● Cut green felt into approximately 100 ¾” x ¾” squares or ¾” x 1″ rectangles (104 were used on the wreath shown). Use 3 different shades for depth. Stack felt on top of one another to save cutting time.
● Mark your felt, and use a ruler to draw a straight line with a pencil if you require a guide.
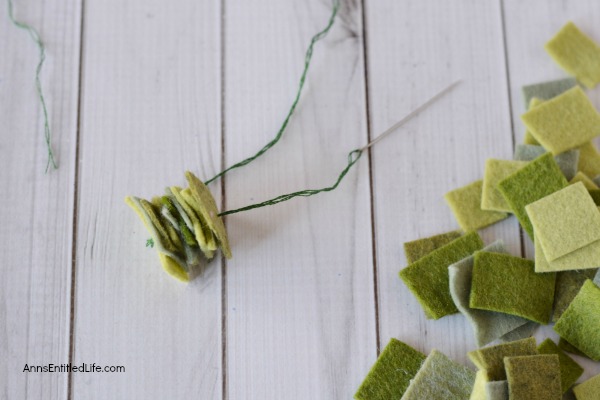
● Thread a needle with a 13″ to 14″ piece of green thread.
● If you are worried about possible breakage, double thread a needle with a 13″ to 14″ piece of green thread. To do this using a 26″ to 28″ piece of green thread, fold it in half. Push the looped end (where it is folded) through the eye of the needle. This will give your thread double strength. (This tutorial used a double threaded needle.)
● Slide the felt pieces down the thread, pressing them together. Alternate colors, or place two alike colors together.
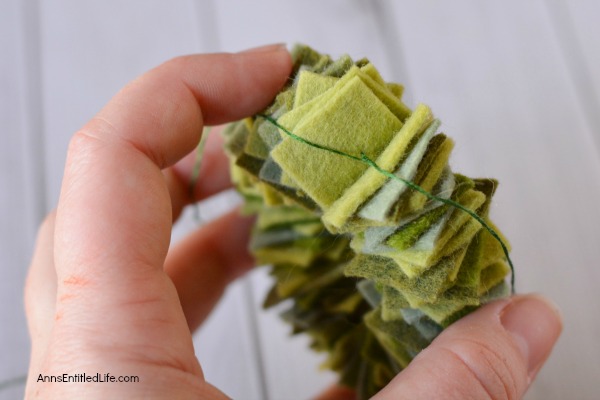
● Continue to add the green felt squares until you have about a 7″ length of felt on the thread, and about 6″ of thread leftover.
● Remove the needle.
● Tie the two pieces of thread together tightly and a circle will form. Double knot.
● Tie the remaining thread into a slip knot to hang.
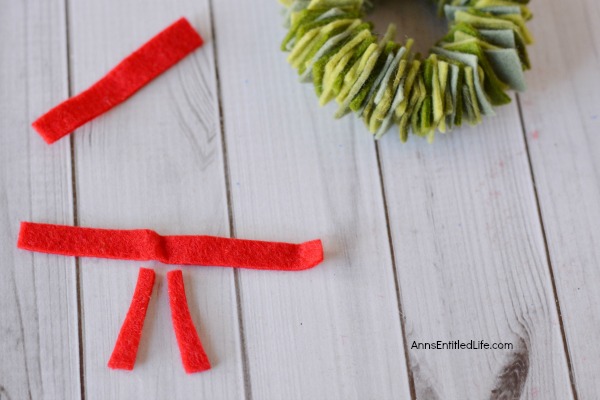
● Cut a piece of red felt 3.5″ x 0.25″.
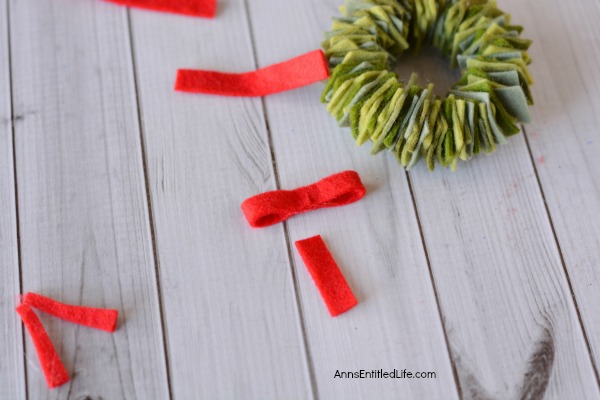
● Take that long piece of red felt and fold the ends into the center; affix with hot glue.
● Cut two smaller pieces of red felt, 2″ x 0.25″.
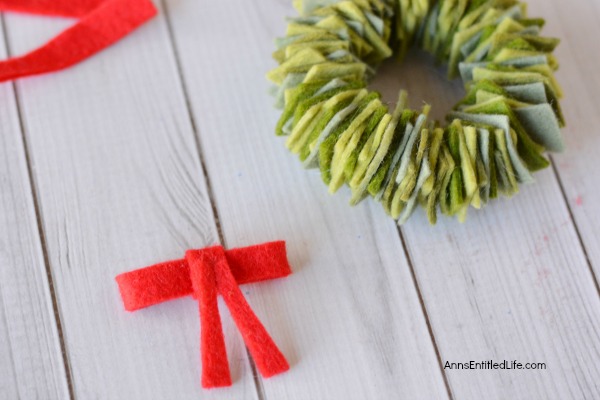
● Wrap one piece of that 2″ x 0.25″ red felt around the center of the bow and secure with hot glue. Trim the end.
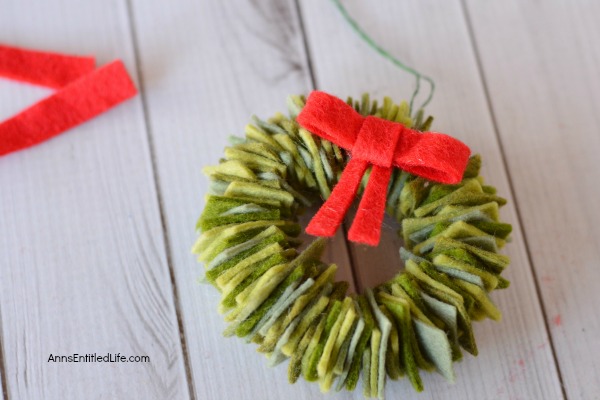
● Cut the other piece of 2″ x 0.25″ in half, and affix to the back of the bow with hot glue.
● Attach the red bow to the wreath using hot glue.
● Hang as desired.
● To print the Felt Wreath Ornament Craft instructions, click here.
● Disclosure: the links in this post may be affiliate links.
● For more Craft posts on Ann’s Entitled Life, click here.
● For more Holiday posts on Ann’s Entitled Life, click here.
● If you enjoyed this post, be sure to sign up for the Ann’s Entitled Life weekly newsletter, and never miss another article!
Leave a Reply