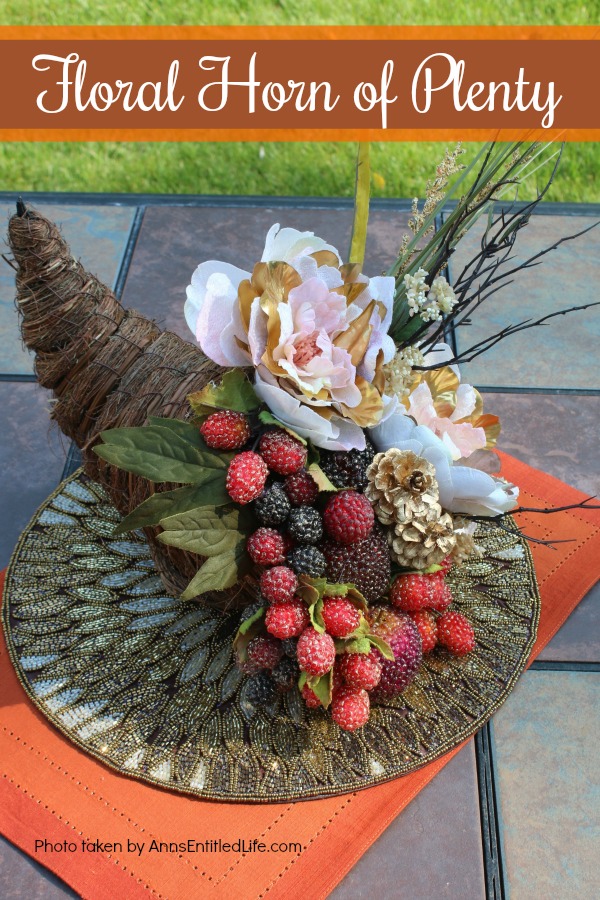
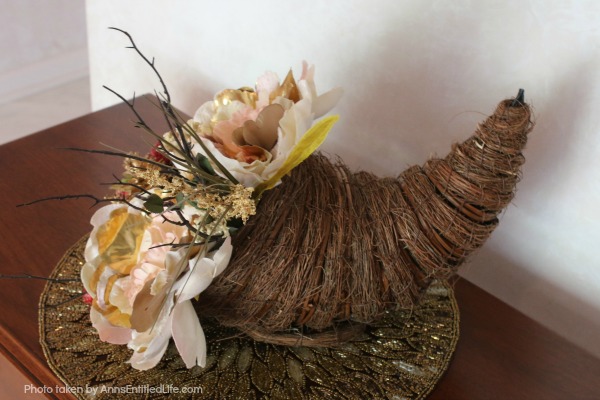
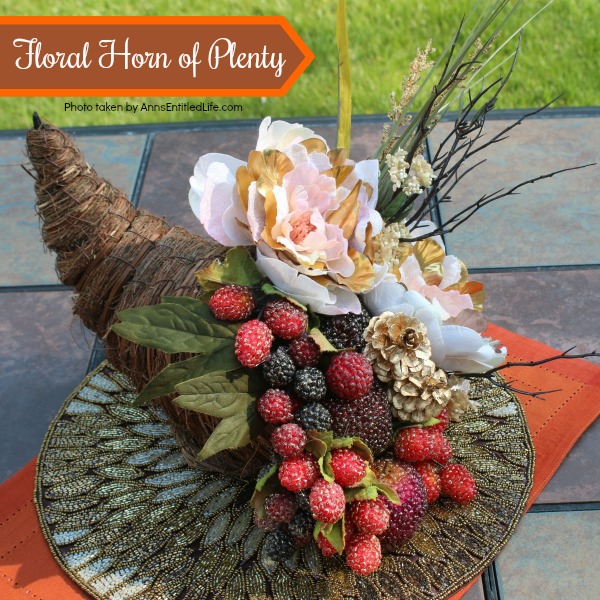
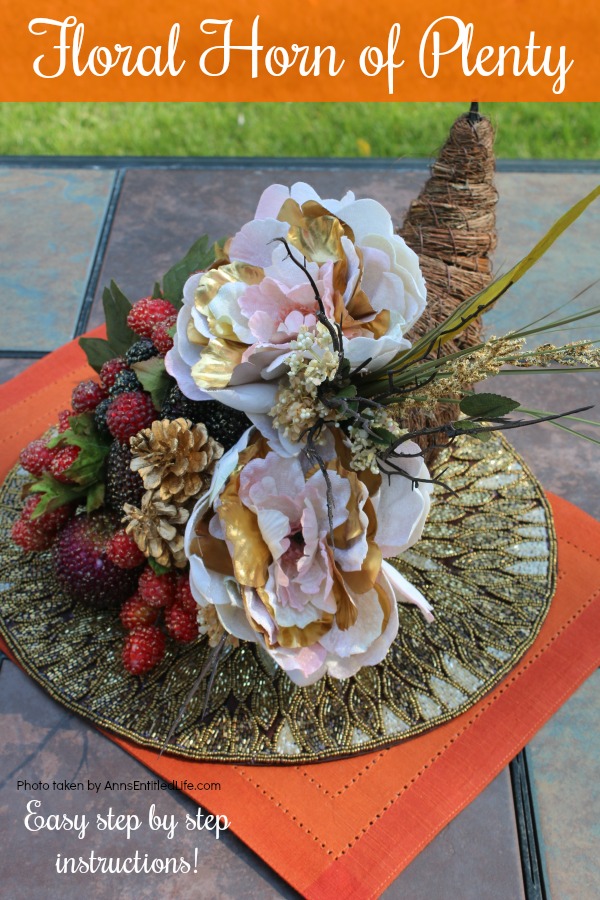
This beautiful floral horn of plenty is a wonderful centerpiece or end table decorative piece, perfect for the fall season. A lovely Thanksgiving decor accessory, this overflowing cornucopia is easy to make, and highly customizable.
Floral Horn of Plenty DIY
The definition of a cornucopia is a container shaped like a goat’s horn and an abundant supply of good things. We have come to associate a horn of plenty with Autumn and Thanksgiving. The harvest is plentiful. Cornucopias generally are overflowing with fruits, vegetables, nuts, and more.
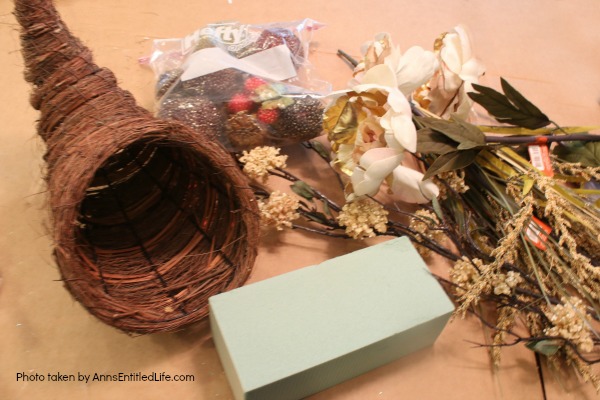
In this craft, we used a rustic grapevine cornucopia vessel, beaded fruit (the juxtaposition works beautifully), and some floral greenery to make this fabulous horn of plenty. You can definitely customize with a less rustic cornucopia, non-jeweled fruit, etc. Use pumpkins, gourds, pinecones, acorns, more flowers – the possibilities are endless!
A lot of the crafts we (that is the royal “we” – these are 95% my niece – I’m good for the cash and a little bit of input) make go home with my niece. She keeps them, gives them to friends, or saves some for gifts. This one didn’t leave my house. And she knew halfway through it was never leaving my house. It is freaking gorgeous. I have it in my foyer, and it is going to stay there through Thanksgiving. I have not decided if it will return afterward for the entire year, or only be a seasonal adornment, but it may stay out year-round.
My front hall is pretty nice… marble floors, lovely wood furniture – the walls were done by some decorator before we moved in, and we have not touched them since as they are simply gorgeous (gold on cream). If you are getting the idea it is pretty elegant; you would be correct.
So how does this rough cornucopia fit in? Well, very well indeed! This is rustic OR glitzy. Using beaded fruit is what made it work in my foyer. This would also work in my more rustic family room because the cornucopia is a grapevine. Keep this in mind when choosing what will go into your cornucopia. Do you want it to be shiny, muted, will it be rustic or ornate?
Floral Horn of Plenty Materials:
● Cornucopia
● Floral Foam (knife to cut ti fit)
● Floral (flowers, pinecones, pumpkins, gourds, acorns, etc)
● Wire Cutters
● Glue Gun
● Hot Glue Sticks
● Beaded Fruit
Floral Horn of Plenty Instructions:
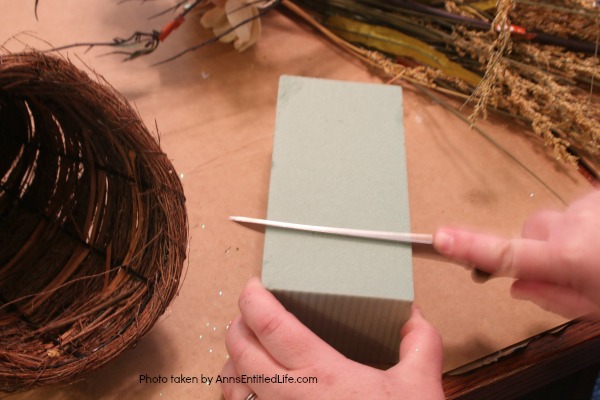
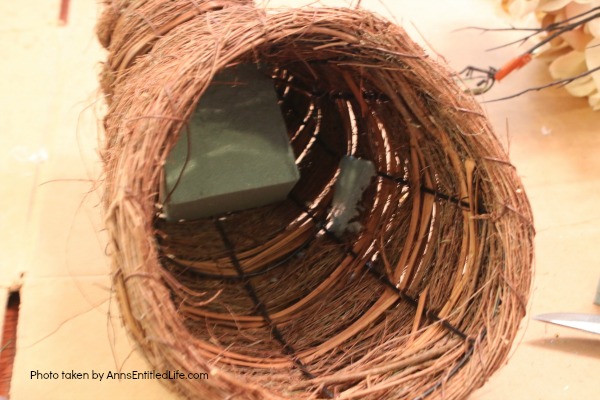
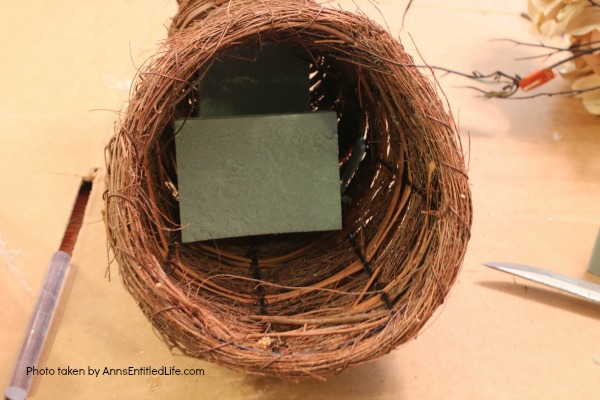
● Cut and fit floral foam inside the cornucopia. You will need to cut several pieces; however, do not fill the cornucopia as you need room for the fruit.
● Hot glue the floral form in place.
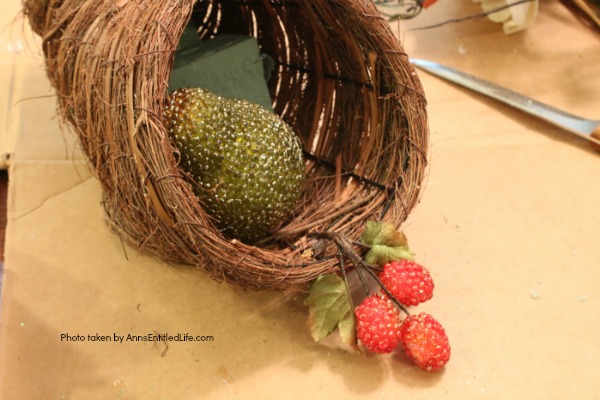
● Select a large piece of beaded fruit. Hot glue it into the cornucopia in front of the floral foam. The fruit is in the foreground of this craft.
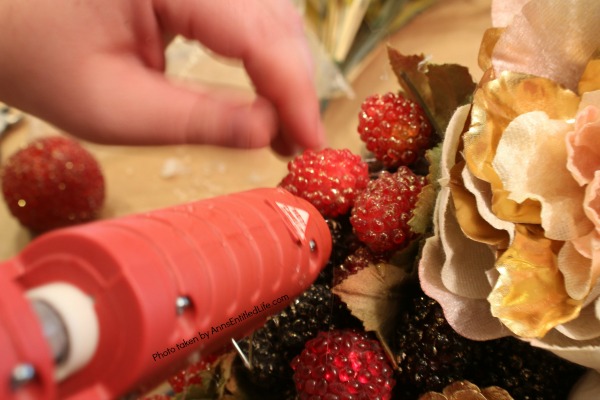
● Select a few pieces of fruit that “dangle”. Hot glue them in place. You are forming spillage. You want the abundance of the cornucopia to “spill out” from the horn.
● You are going to build on top of those bottom spills. The grapes were the easiest to work with plus they came in various colors (which helped!)
● Clip your flower stem(s) a bit longer as the stem needs to be inserted into the floral foam (which is not close to the front of the horn). Do not discard the leaves as you strip the flowers.
● Insert your flowers into the foam. You can hot glue in place.
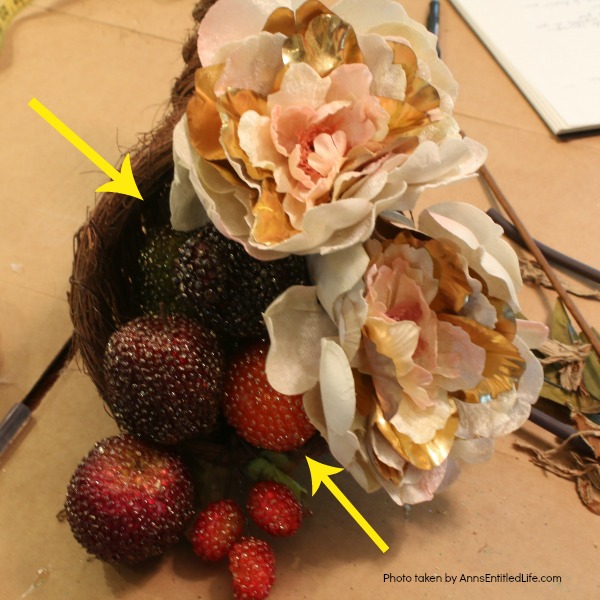
● You are going to have holes. That is fine. You will be filling them in.
● Every so often take a step back and see how your spillage looks. You want to keep a balance even if it is not symmetrical.
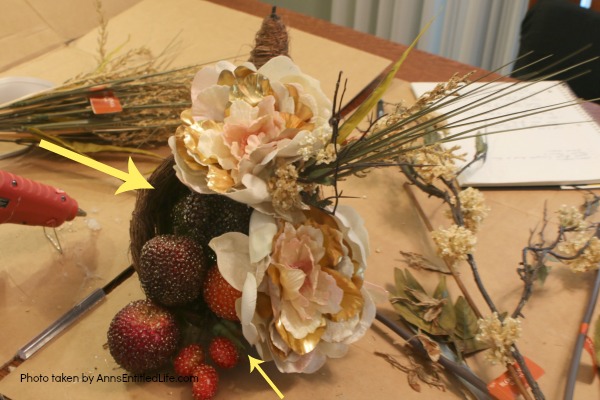
● Wisps were added to one side only of this cornucopia. You may choose to add them to both sides. You will see how we balanced it out later (it was my idea!! – hey, I needed to contribute something).
● You cannot overfill a cornucopia. More is better. If you layer flowers and fruit on top of each other, make certain you glue it in place, so it is stable, even if you are gluing it to another piece of fruit and not the horn.
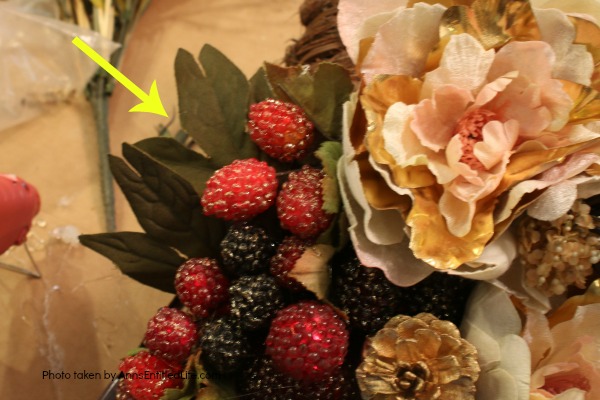
● When stripping your flowers to be inserted, do not toss away the leaves. You never know when they will come in handy. In this case, they were perfect to fill in that hole on the left after more fruit was glued in place.
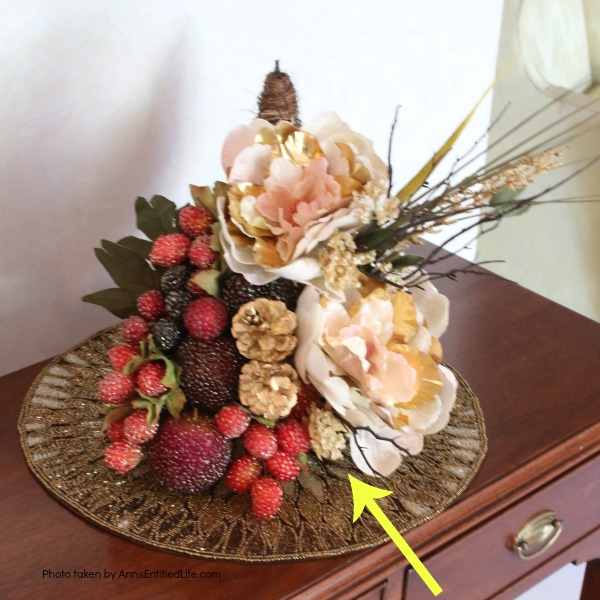
● And the front hole? One small twig was all it took to balance that out!
● A few pinecones were added. You might also want to consider acorns.
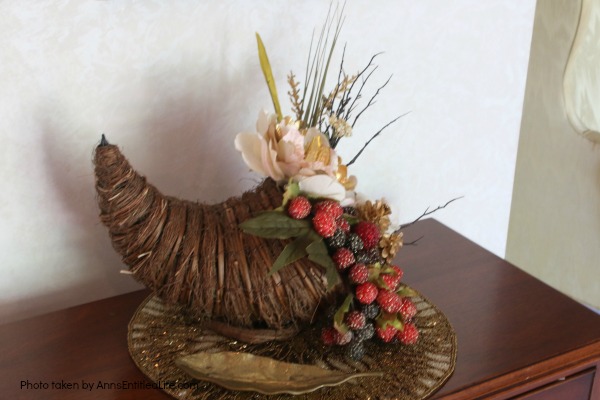
● This is the left side.
● This is the right side.
● This was a very simple piece to make. It took under 30 minutes, and no part of this craft was difficult to do. It was simply layering, and hot gluing!
If you are interested in more fall decor, you may want to consider:
● Sunflower Knot Wreath – probably the simplest wreath you will ever make! You can change the colors to make it other flowers rather than a sunflower.
● Rustic Fall Burlap Wreath DIY – less than an hour or so of your time results in a lovely autumn wreath that is highly customizable, and a lot less expensive than a store-bought wreath!
● Dollar Store Craft: Fall Centerpiece – this is abslutely adorable! I was shocked that everything came from the dollar store!
● For more Craft posts on Ann’s Entitled Life, click here.
● If you enjoyed this post, be sure to sign up for the Ann’s Entitled Life weekly newsletter, and never miss another article!
Leave a Reply