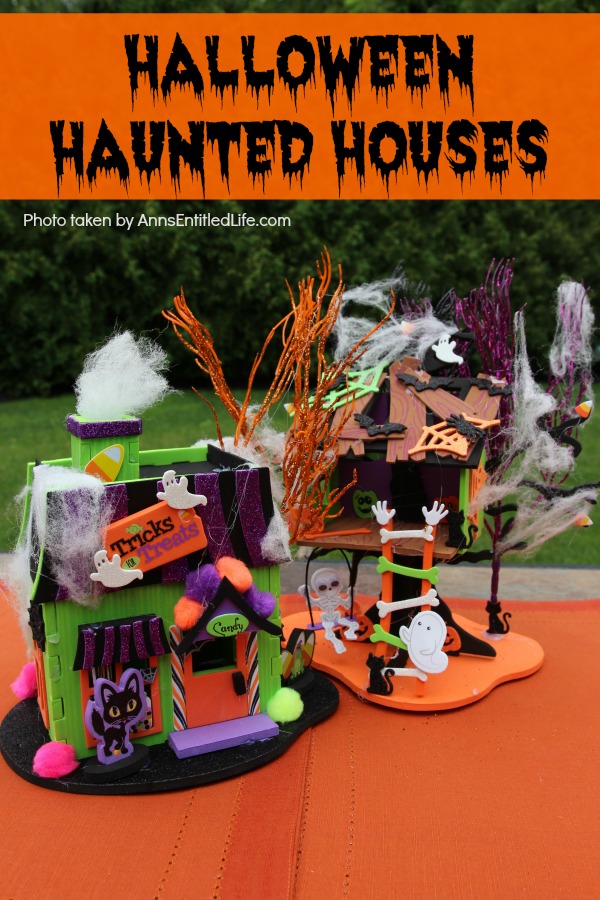
Your craft will really pop when you use these easy step-by-step haunted house directions! Just ten minutes of your time will upgrade your foam Halloween houses with these ideas.
These start with a foam house base. It is pretty cute without doing anything to it… but 10 minutes of your time REALLY make a difference in this craft. These Halloween Haunted Houses are great for table decor, a centerpiece or on top of your mantel.
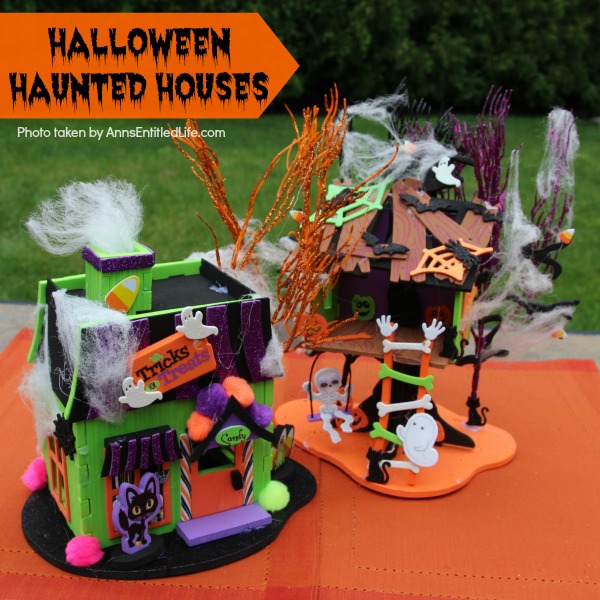
Halloween Haunted House
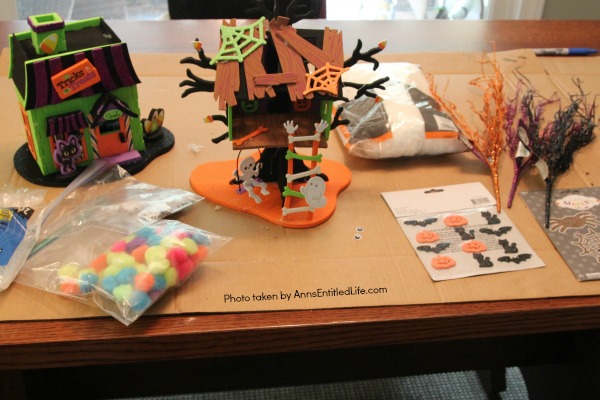
Halloween Haunted House Materials:
Note: except for the foam structure, everything else is “if you want it.” This is a highly personal crafting upgrade, so do what you like!
● 3D Foam Structure – I used this one and the tricks treats one. There are others you can choose from click here or click here.
● Glitter Branches
● Glow in the Dark Spider Web
● Googly Eyes
● PomPoms
● Pipe Cleaners
● Fiber Fill
● Glue Gun
● Hot Glue Sticks
● Scissors
Halloween Haunted House Ideas:
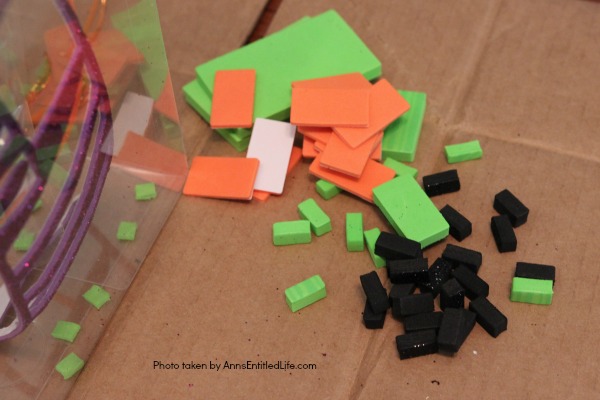
● Assemble according to box directions, do not discard the scraps. The box directions do not tell you to secure with glue. If you want to save this craft from year-to-year, be certain to hot glue the pieces in place.
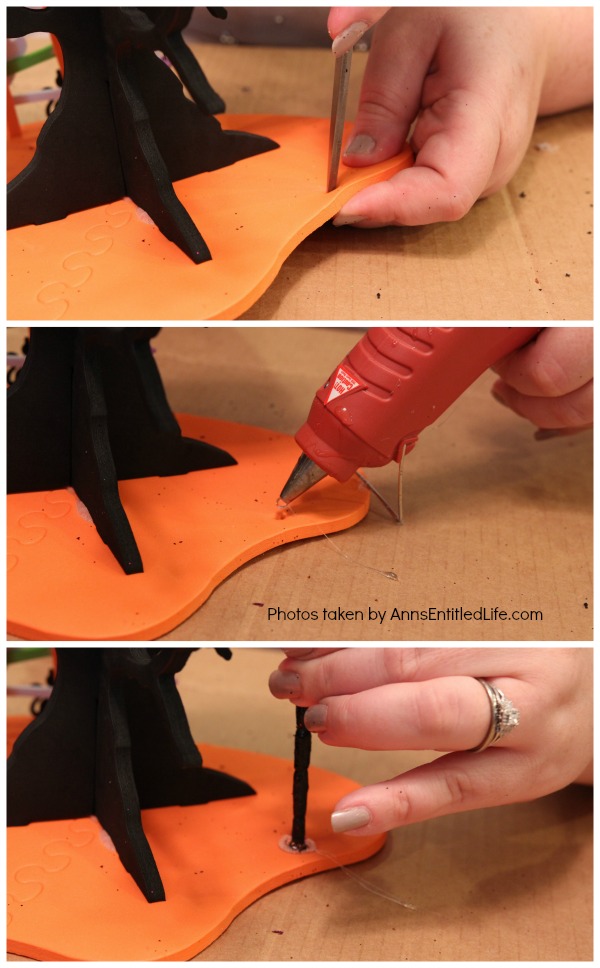
● Measure the glitter branch against the height of your foam house. You may have to poke a hole into the foam where you want to place the glitter branch.
● Place a dab of hot glue over the hole.
● Glue a branch (or two or three) around your house.
● Place a scrap of foam on one side of the branch, and a second piece of foam on the other side (to form a branch-sandwich). Glue the small foam piece in place. This will support the glitter branch.
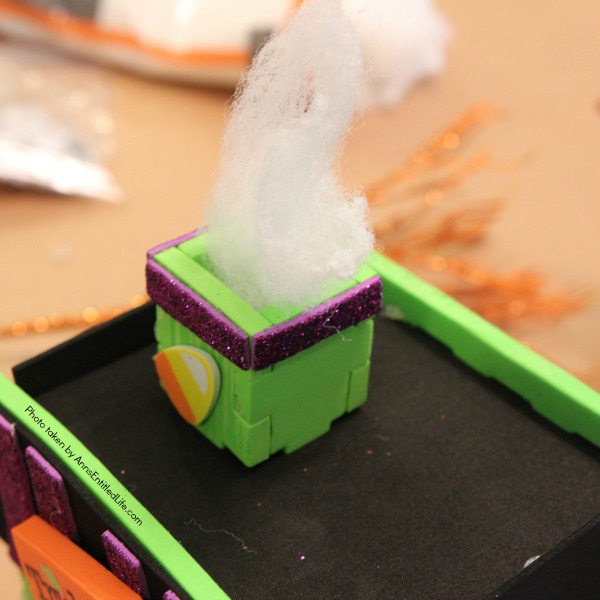
● If your foam house has a chimney, place some fiber fill in the chimney to simulate smoke.
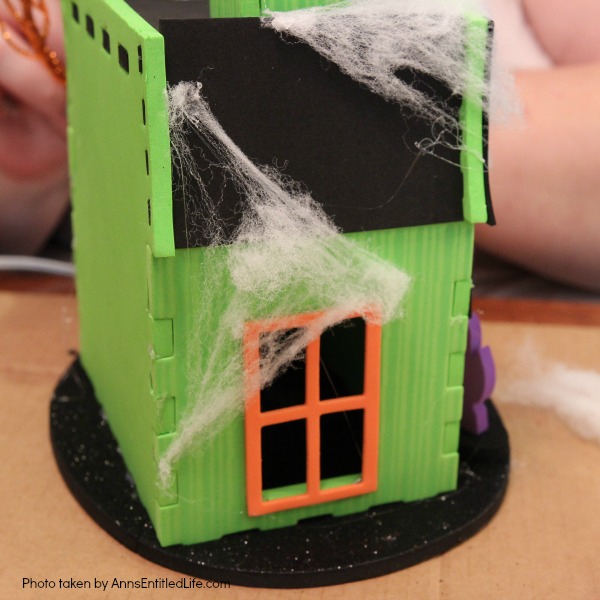
● Line the edges of your house (or doorways and/or windows) with spider webs!
● Hot glue the spider web(s) in place.
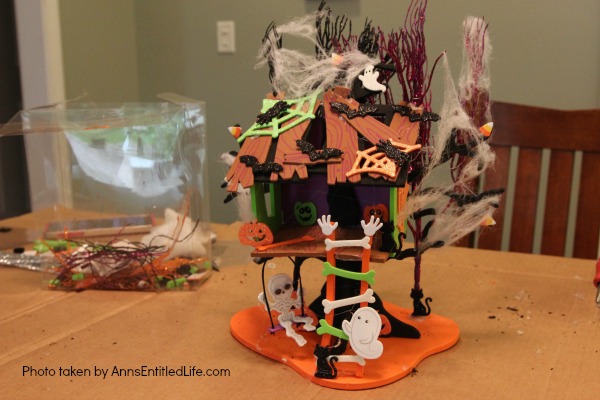
● Place a bit of webbing on your glitter trees and hot glue in place.
● Add a few pompoms for color.
● Add a few ghosts for atmosphere!
● Any hot glue lines should be left in place. Hot glue strings on a “spooky” Halloween craft are never a bad thing.
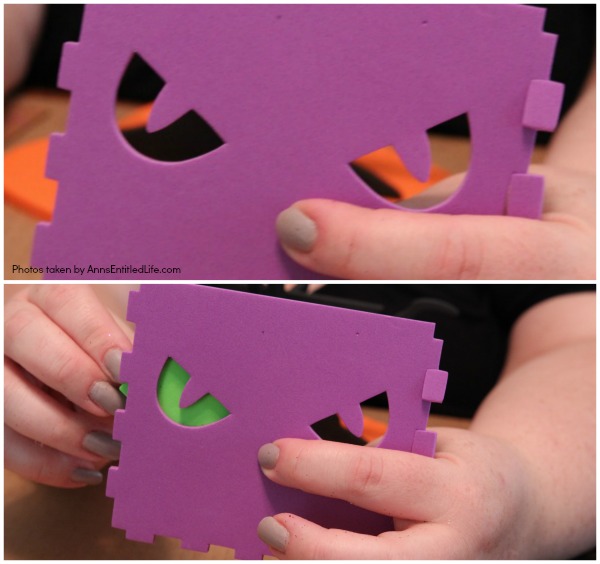
● If you have scraps that show eyes, place another colored scrap behind it and then adhere it to the house (the house has eyes!).
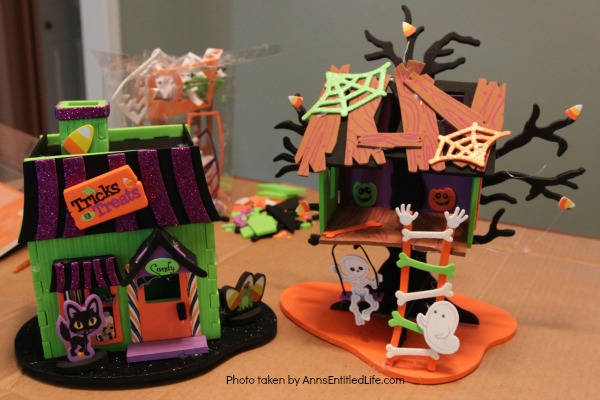
● This is the “before.”
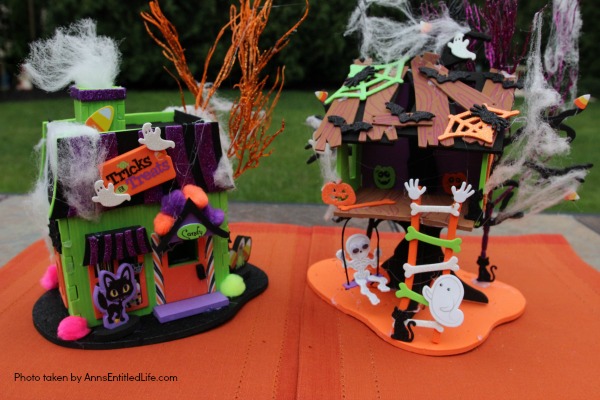
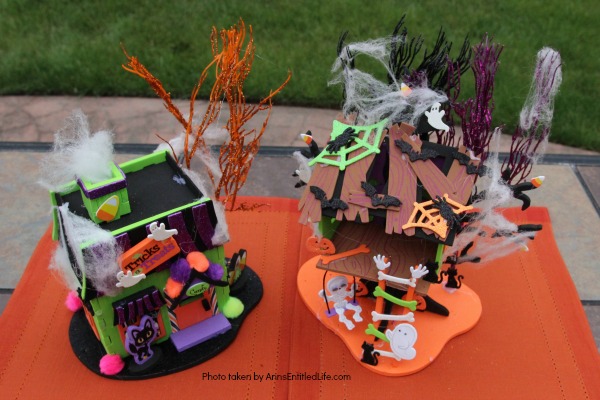
● This is the “after.”
● Even just a few small steps to personalize these cute little foam houses go a long way! I kept these crafts as they are super cute, very lightweight, and so whimsical and different.
● Disclosure: the links in this post may be affiliate links.
● For more Craft posts on Ann’s Entitled Life, click here.
● If you enjoyed this post, be sure to sign up for the Ann’s Entitled Life weekly newsletter, and never miss another article!
Leave a Reply