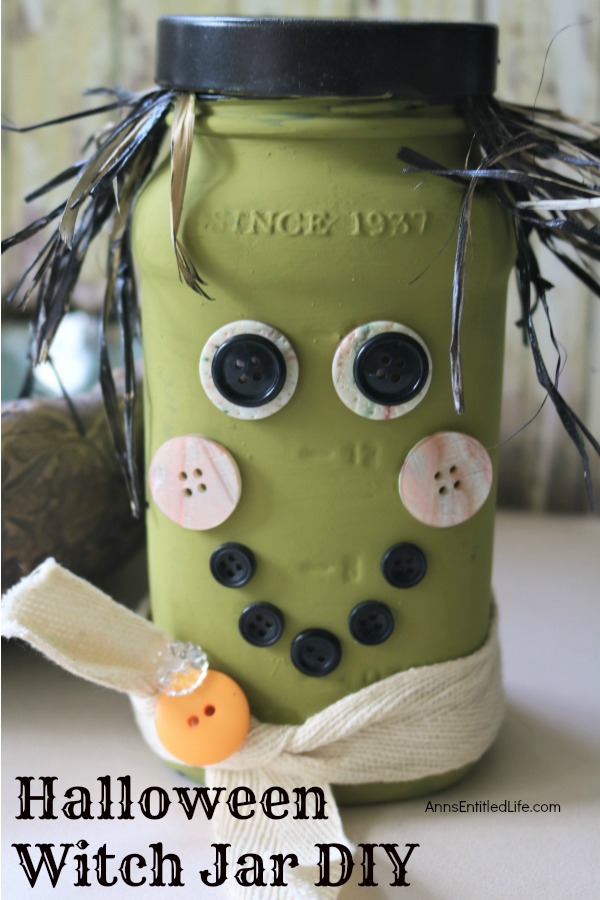
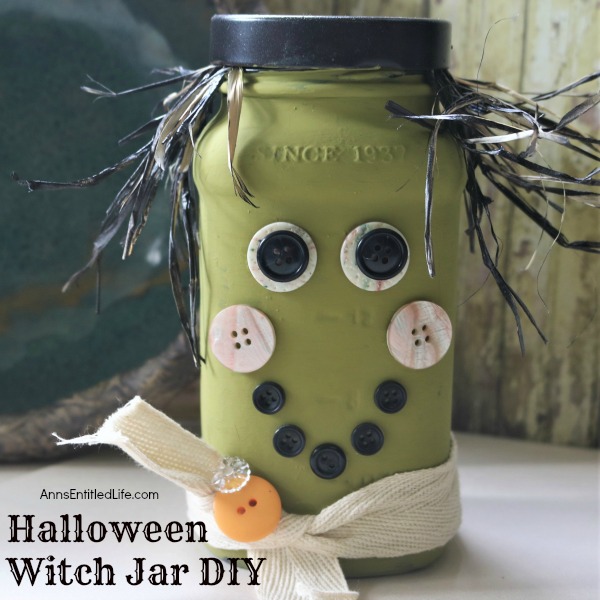
If you are looking for fun, easy to make Halloween crafts, this simple step-by-step Halloween Witch Jar DIY tutorial will fill the bill! Highly customizable, this straightforward Halloween craft is inexpensive to make. And, nearly anyone can make it. For a sure Halloween decor winner, make this Halloween witch jar!
Halloween Witch Jar DIY
Notes:
● This is meant to look like a cute, upcycled craft and not perfect, you want the words and numbers in the jar to show, and the paint job does not have to be perfect, that is part of the charm of it. So, do not stress yourself out with getting the paint just perfect.
● If you do not want to use green paint, try purple or orange instead.
If you are looking for other Halloween crafts:
● Easy DIY Halloween Glitter Witch’s Broomstick – this is one of my favorite crafts. I get so many compliments every year on these brooms as part of my Halloween decor.
● DIY Wine Glass Witch – a fun tabletop or mantel decoration that is easy to make!
● DIY BOO Pallet Project – another easy Halloween craft!!
● Sugar Skull Mason Jar Craft – easy painted Mason jar craft!
And now on to the Halloween Witch Jar DIY…
Halloween Witch Jar Materials:
● Glass Mason-style Jar with lid
● Black Spray Paint Matte Finish
● Green Spray Paint Matte Finish or Green Acrylic Paint
● Black Acrylic Paint + Fine paint brush or Black Paint Marker
● Raffia
● Ribbon (If you want to add a scarf as shown)
● Buttons – White, black in a few sizes, and any others you would like to add – you can also use pink or orange for her cheeks if you’d like – Make sure the cheeks and the eye ones all match each other
● Hot Glue Gun + Glue (or super glue)
● Paint Palette or Paper Plate
● 1 to 2” paintbrush
● Paper Towels
● Water Cup
Halloween Witch Jar Directions:
● Clean jar and lid well; allow to dry.
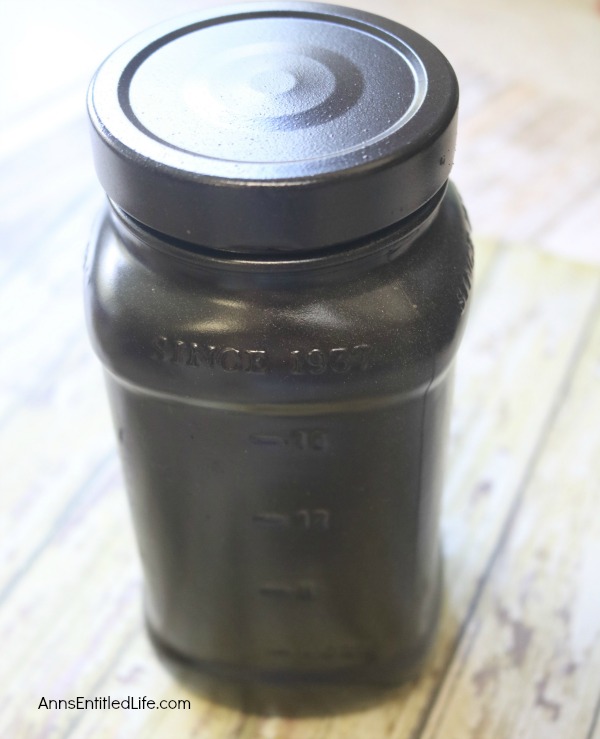
● Spray paint jar and lid with black spray paint. Spray a little inside of the top edge of the jar too to give the option of displaying without the lid (for something like pens or pencils).
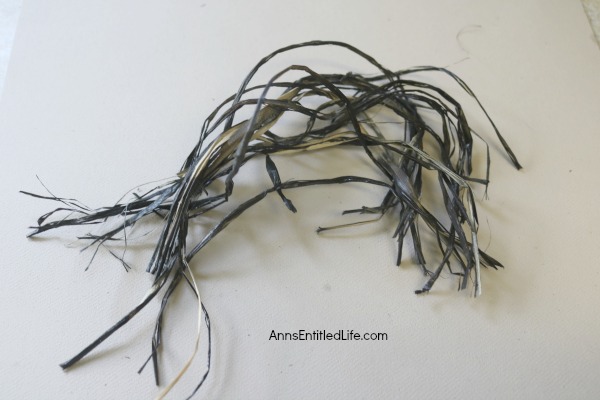
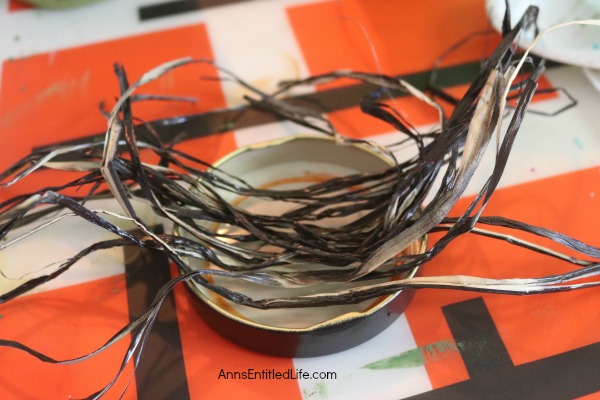
● Take some raffia for the witch’s hair and cut it to size you would like it to be (long, short, etc.). You will be gluing this into the inside of the lid, so match it up to the lid, see where it hangs, and decide how long you would like the raffia “hair.”
● If you like, now is the time to spray paint the raffia hair black, too.
● Let both the jar, lid, and the raffia fully dry.
● Once completely dry, determine if you would like to add a second coat.
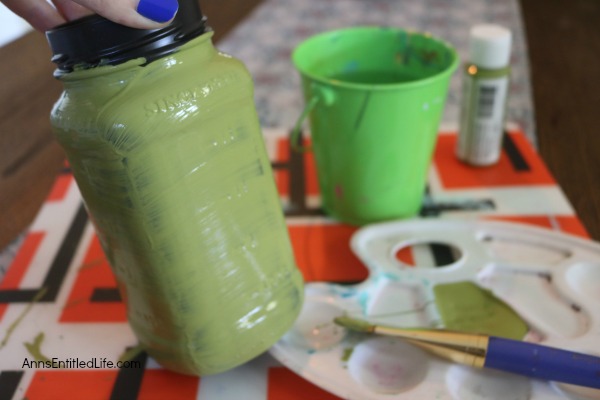
● If you are using green spray paint for the jar, go ahead and spray it over the black on the jar (leave the lid black). The black paint on the jar just really helps to get that color solid, and if it chips at all, which is ok, given the style of the jar, it will not show through as clear.
● Leave the lid black, so that it looks more like a hat, and then use the green for the rest of the jar for her skin color.
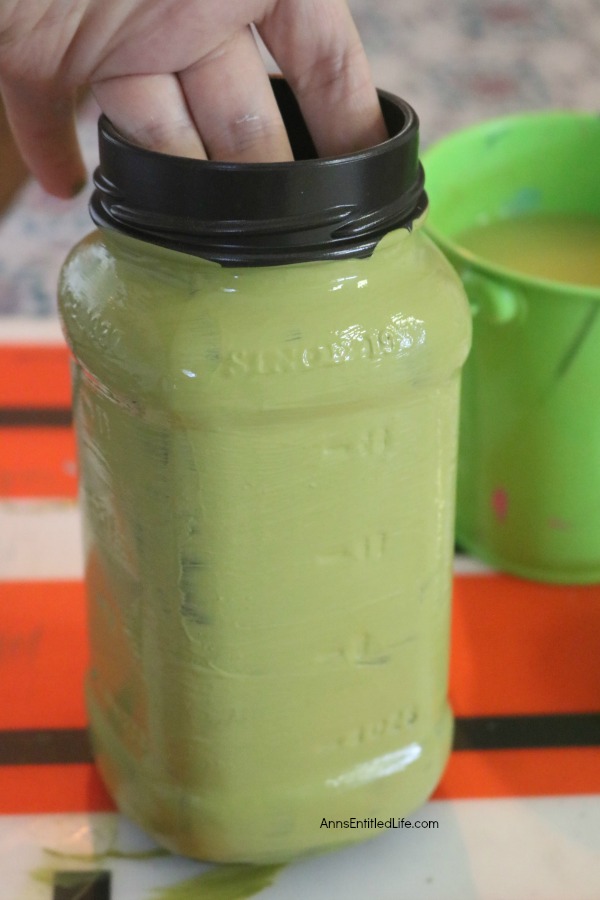
● If you are using acrylic paint (as shown in this tutorial), this is when you want to put on your first coat of it on. It will probably take two coats allow them both to dry completely before attaching anything to the jar.
● Using your glue, attach the raffia into the bottom of the jar for the witch’s hair. Super glue was used and then pushed down as flat as possible into the sides of the underside of the jar. This way, when the jar lid is screwed on that “hair” will not get in the way. You have to get it positioned where you want it first, and then glue, especially if you are using the super glue, but regardless of whether using hot glue or super glue, have some sort of utensil to push down with so the glue dries in place.
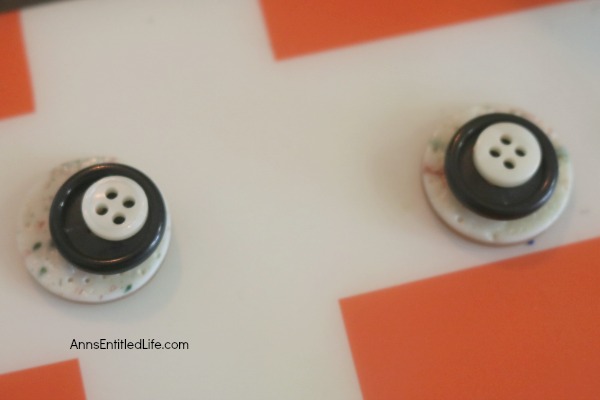
● Layer smaller buttons on top of larger ones making for a cute set of eyes.
● Glue the button layers together (medium on top of large, small on top of medium).
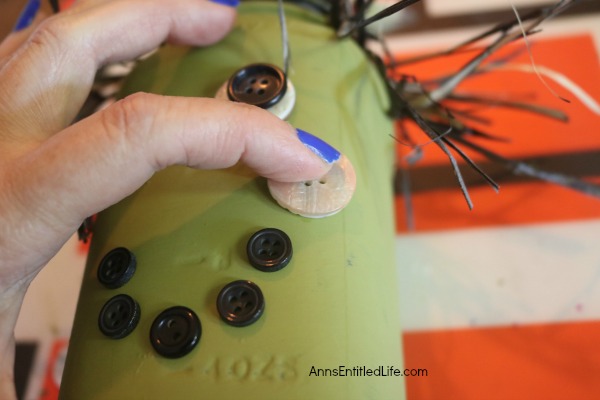
● Line up where you would like the eyes to go on the jar in relation to the cheeks and mouth too if easier for you, and glue in place. Hold until the glue has set.
● Decide on buttons for the face placement. For the witch’s cheeks. you could paint on cheeks instead of using buttons (pink, orange, purple would work).
● If you are painting a mouth, start with the ends and get them even, then do the center one next, and then fill in between. This helps you get them evenly spaced and centered easier.
● For the scarf measure out a length of ribbon around the jar leaving a bit of extra to tie, and have “tails.” Cut it to fit. Tie it around the bottom of the jar, arranging the knot however you prefer. Then, add a dot of glue under the knot and in a couple of places around the jar to keep it in place. If you like, add a few buttons with glue to the knot to add a little cute detailing and personality for the witch. If you have any cute Halloween themed buttons or wooden accents, like a spider or pumpkin, that will look great there.
● Allow everything to dry, display as you like!
● Disclosure: the links in this post may be affiliate links.
● For more Craft posts on Ann’s Entitled Life, click here.
● If you enjoyed this post, be sure to sign up for the Ann’s Entitled Life weekly newsletter, and never miss another article!

Beth says
LOVE THIS Witch Jar! We will be featuring you starting Wednesday at the Creative Crafts Linky Party!
Creatively, Beth