Holly Berry String Art
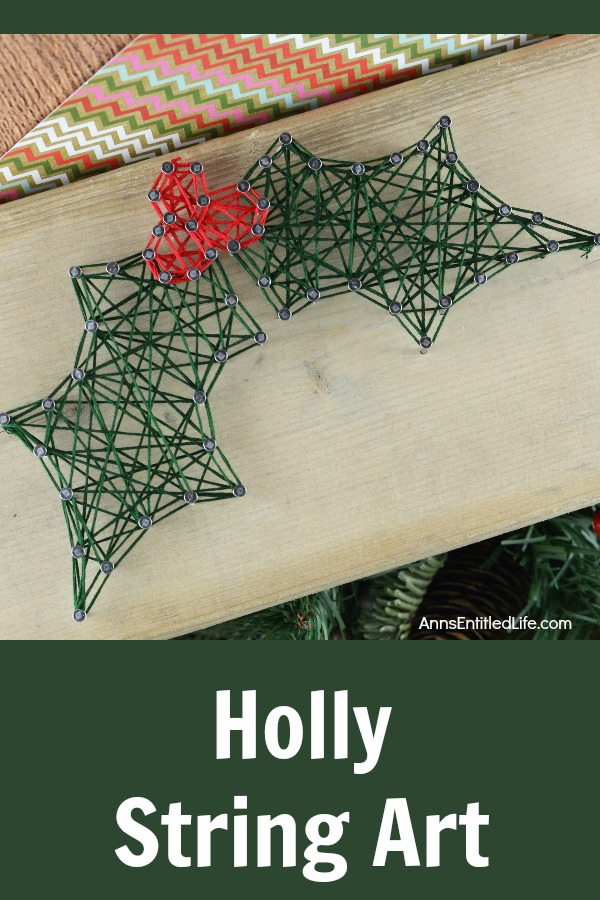
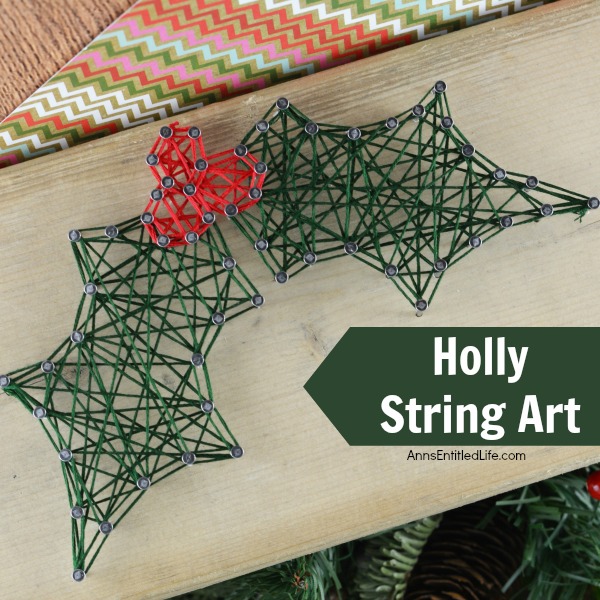
Make your own beautiful Holly Berry String Art with this step by step tutorial. Included are the printable patterns, easy to follow directions and tutorial photographs so you can make this lovely Christmas craft yourself. Keep for yourself, or give as a gift!
Note: I listed the green and reds used in this tutorial. Any deep green or bright red will work. If you want to paint your pallet board, make sure you allow it to dry completely before beginning this holly berry string art craft!
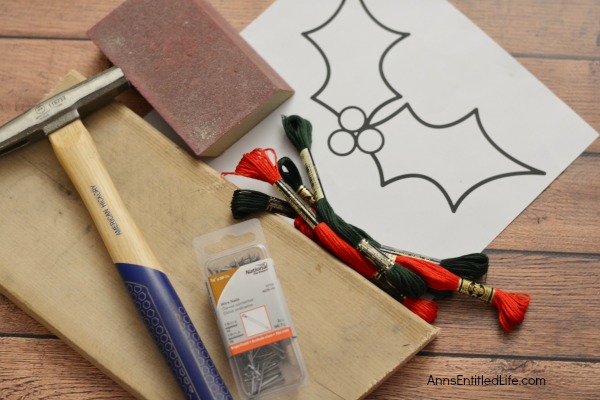
Holly Berry String Art Materials:
● 1 Pallet Board (5.5″ x 10″ shown)
● Sanding Block (if necessary)
● Tack Hammer
● Wire Nails ( 7/8″, 17 gauge)
● Green Embroidery Floss – DMC Brand, Color 890 was used in this tutorial
● Red Embroidery Floss – DMC Brand, Color 321 was used in this tutorial
● Holly Berry Pattern, printed on paper this is the .jpg and this is the pdf version
● Tweezers
Holly Berry String Art Directions:
● Gather all the crafts and tools you will need for your project.
● On a flat surface, begin your work. Place a towel under your board to protect the surface and to quiet the pounding.
● Prepare your board by sanding it with a sanding block to remove edges.
● Print out your pattern template:
* Holly Berry Pattern .jpg version
* Holly Berry Pattern pdf version
– This is the same pattern, it is just a different type of print out.
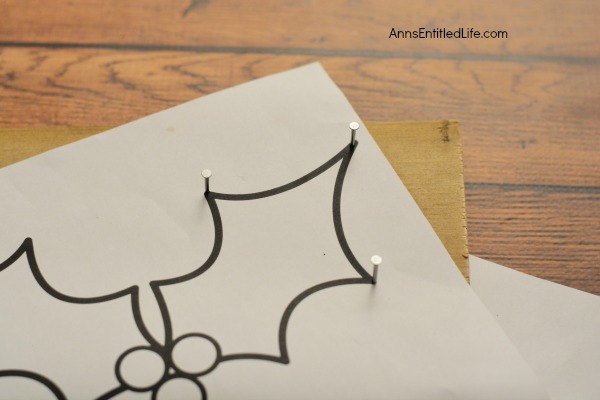
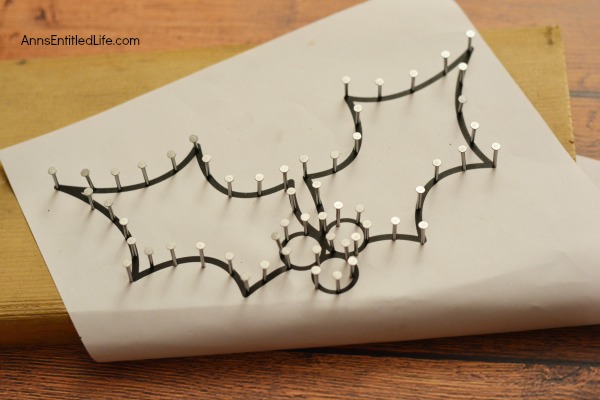
● Set your pattern at the top of your wood.
● Drive a nail into the point on a leaf hold the paper in place.
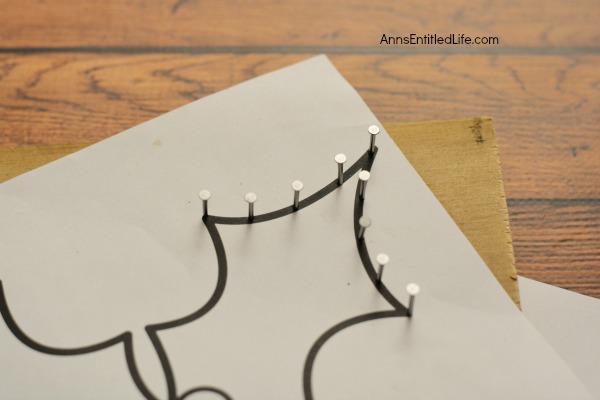
● Nails should be pounded in about 1/3 to 1/2 of their length.
● Continue to pound nails about 1/2″ apart, or the width of your thumb. Pound nails in at the points and intersections and then add nails in between the two so as it is easier to space things out well.
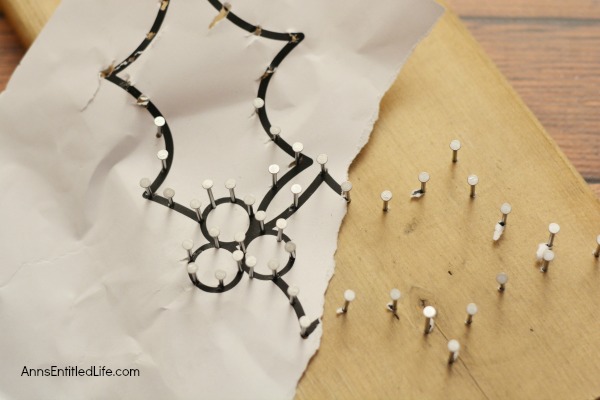
● Once you’ve followed the entire outline of the berries and leaves, WASH YOUR HANDS because the nails are dirty!
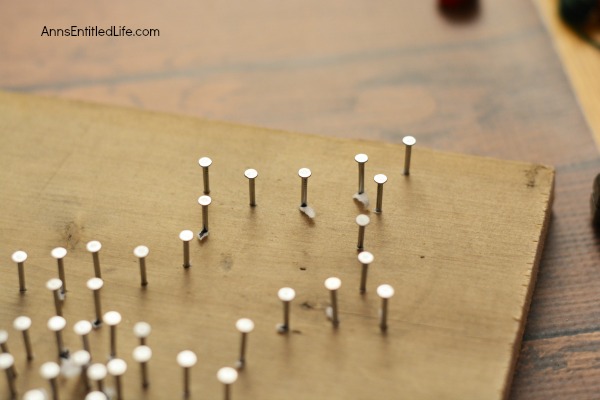
● Remove your paper pattern by gently pulling UP and then tear off. Pulling up will help to eliminate stray paper pieces around your nails. If you have stray paper pieces, use tweezers to remove.
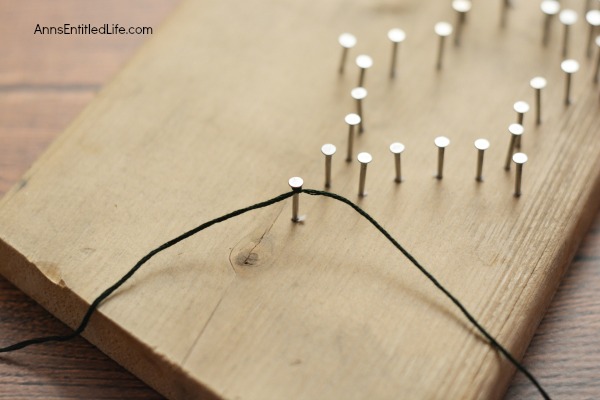
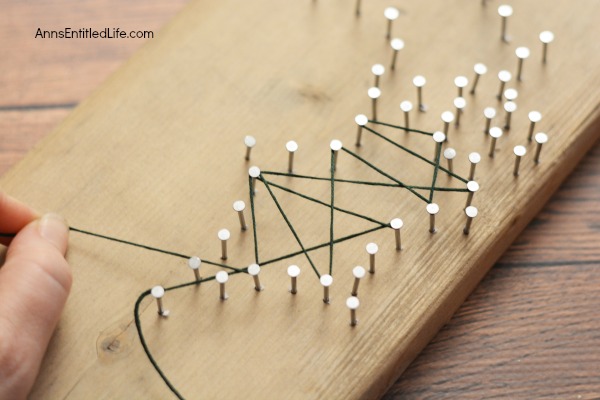
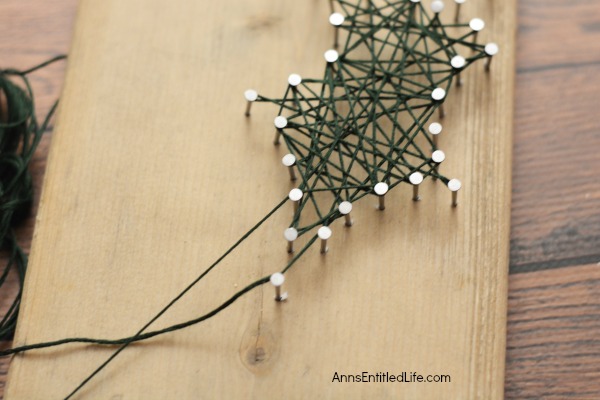
● Begin stringing a leaf with green. Start on one point/tip and tie a double knot of green embroider floss onto a nail. Do not separate the strands, use all six. Continue to zig zag across the leaf, going back and forth, up and down, until you are satisfied with your look and coverage.
● Try to return your string back to where you started.
● Outline the leaves by carrying your string from one nail to the next, wrapping the string around each nail head.
● Complete the outside and inside outline. Simply reverse when you return to your starting position. It does not matter if you do the inside or the outside first.
● Tie your string to the starting nail and knot the two together. Trim.
● Repeat for the second leaf.
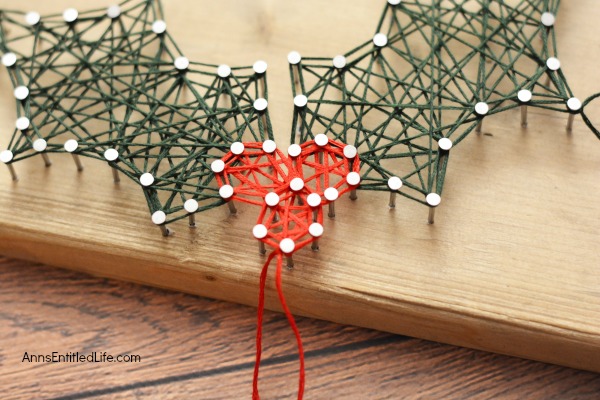
● Begin to string the red berries. Start on one point/tip and tie a double knot of red embroider floss onto a nail. Do not separate the strands, use all six. Continue to zig zag across the berries, going back and forth, up and down, until you are satisfied with your look and coverage.
● Outline the berries by carrying your string from one nail to the next, wrapping the string around each nail head.
● Complete the outside and inside outline. Simply reverse when you return to your starting position. It does not matter if you do the inside or the outside first.
● Tie your string to the starting nail and knot the two together. Trim.
This is a beautiful craft you can use as your own decor, or give as a gift. If you like string art, you may be interested in this Ombre String Art Tree!
● To print the Holly Berry Art instructions, click here.
● Disclosure: the links in this post may be affiliate links.
● For more Holiday Posts on Ann’s Entitled Life, click here.
● For more Craft posts on Ann’s Entitled Life, click here.
● If you enjoyed this post, be sure to sign up for the Ann’s Entitled Life weekly newsletter, and never miss another article!
Leave a Reply