How To Easily Make Your Own Beautiful Ruby Glitter Slippers
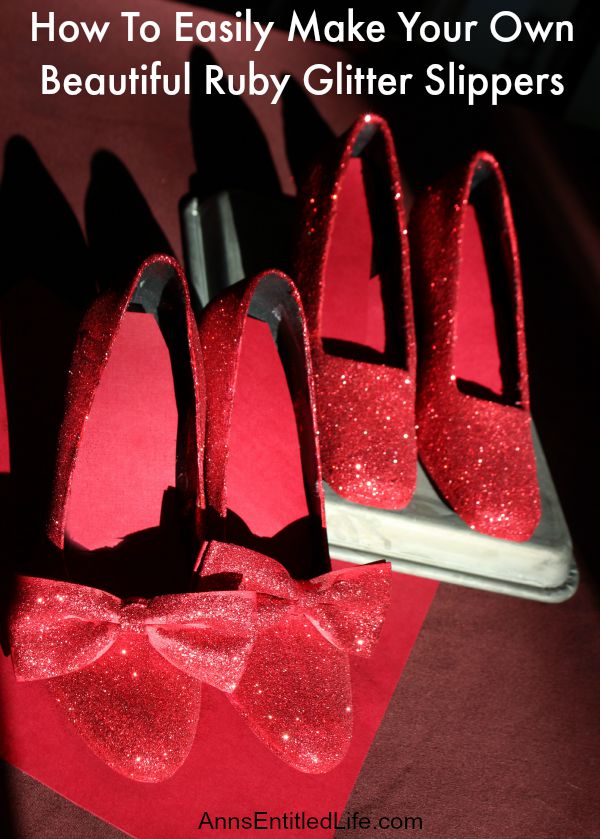
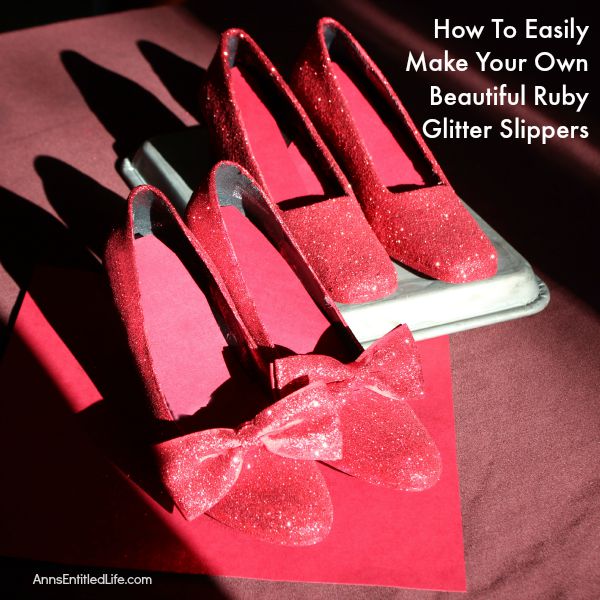
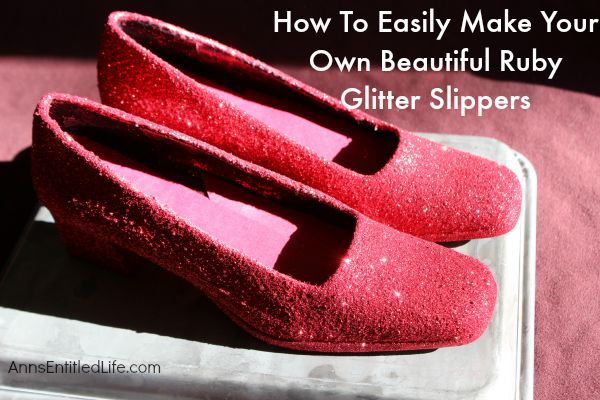
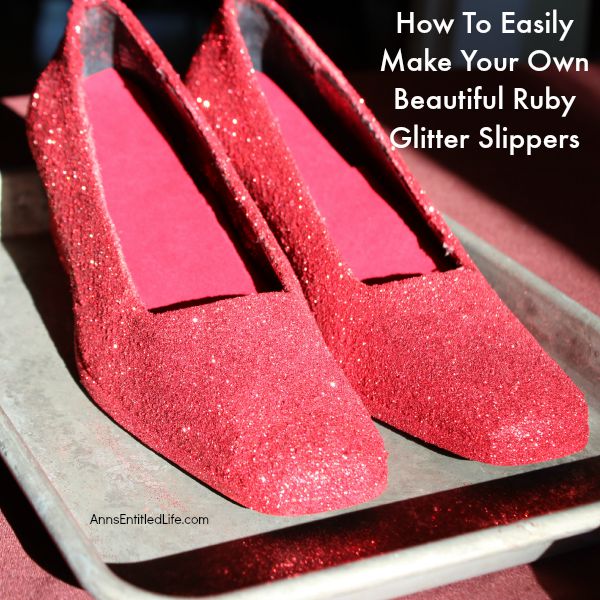
Ever wanted to own Dorthy from the Wizard of Oz Ruby Slippers? Well, now you can make your own ruby slippers employing these simple step by step instructions. Using these easy how-to instructions you can make your own inexpensive, beautiful ruby red slippers with glitter and paint to for wear or for decor. Also included, how to make your own glitter sneakers! You will love them!
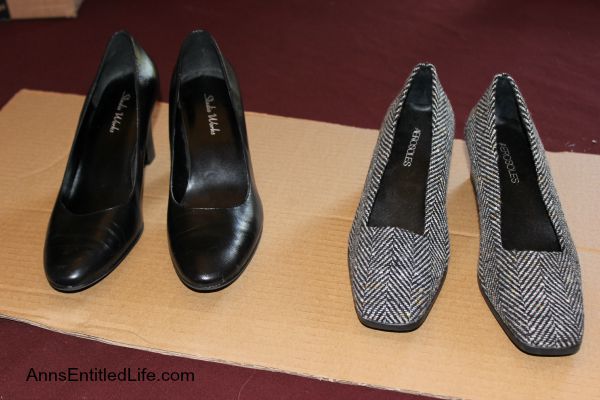
I purchased my shoes at GoodWill for $4. I didn’t want to spend a lot of money on this project as I knew I would not be wearing the shoes and they would only be decor. One pair of shoes I purchased are leather, the other pair is cloth. If you are purchasing shoes to wear, get red or white shoes! While the black worked out, it did take two coats of white fabric paint plus two coats of red fabric paint for cover. The cloth shoes got 2 coats of red fabric spray paint (so it can be done).
How To Easily Make Your Own Beautiful Ruby Glitter Slippers Materials:
● Shoes
● 1 inch Paint Brush (or)
● Small Art Paintbrush
● White Fabric Paint
● Red Fabric Paint
● Glitter Bond
● Garnet Glitter I strongly urge you to buy this: Martha Stewart Crafts Fine Garnet Glitter (You can get it at that Amazon link, or at a Michaels store) I tried 3 different reds, this was far and away the best
● Glitter Sealer or Mod Podge (optional)
● Red Bows (optional)
● Tape (optional)
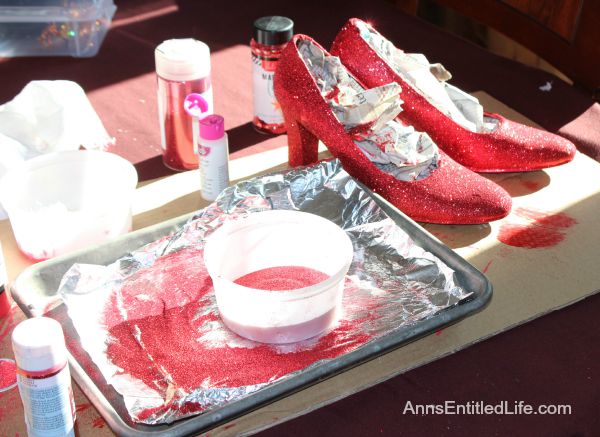
● Tray
● Small Container
● Table Covering
How To Easily Make Your Own Beautiful Ruby Glitter Slippers Instructions:
● Make sure that shoes are completely clean and dry before starting this craft.
● Assemble all of your materials and prepare a clean work surface, with nothing to bump or disturb the shoes while they are drying.
● Work over a tray and cover your table.
● If there are parts of the shoe that you do not want paint or glitter to get on, cover them with tape.
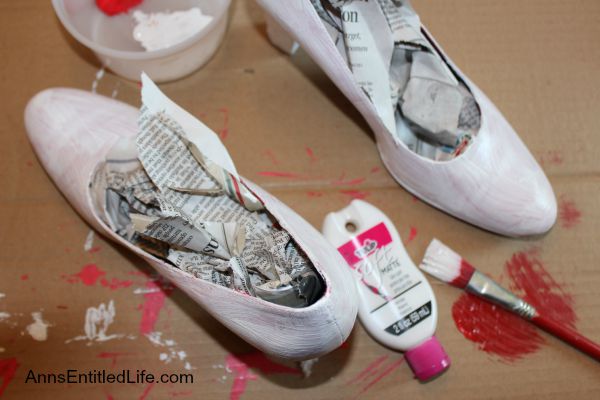
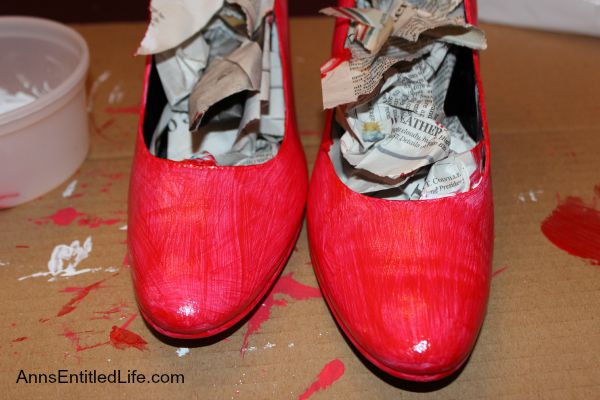
● Paint the shoes completely with white fabric paint if your shoes are not white or red. Use long, even strokes and using a minimal amount of paint. If the paint is too thick, it will not dry completely and may have bubbles. Allow to dry completely.
● Add a second coat of white paint (if your shoes are not white or red), allow to dry completely.
● Add a coat of Red Fabric Paint I strongly urge you to use this color: Red Fabric Paint
I tried several different reds before I stumbled upon this color. The other reds were pinkish on top of the black shoes, even with the white paint underneath. This Red Fabric Paint
ended up red!
● Allow to dry completely.
● Add a second coat of red fabric paint. Allow to dry completely.
● Once the fabric paint has fully dried, paint a thin layer of glitter glue over the show working in sections.
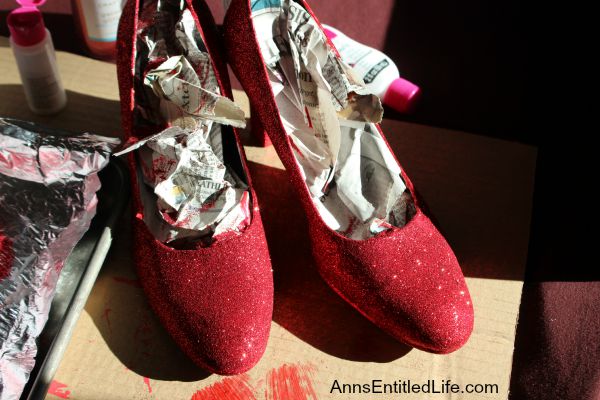
● Pour the colored glitter directly on top of the glue, covering the glued area completely. Shake or tap the excess glitter onto the tray – you can funnel this glitter into a small container and co tontinue reuse it on the rest of the shoes, reducing the amount of new glitter you use up.
● Repeat the glue and glitter coverage all over the shoes. Depending on how well you can manipulate your shoes, you may want to wait for some parts to fully dry before doing others, to avoid smudging.
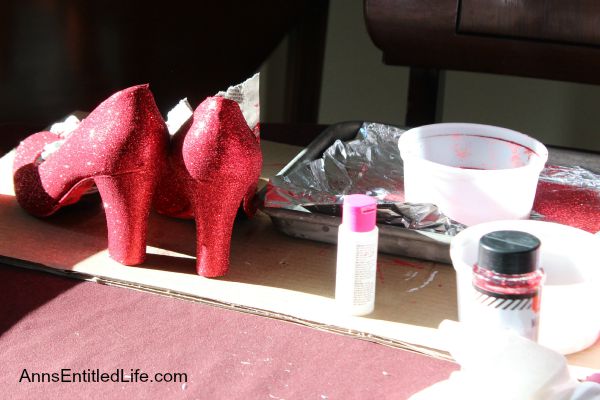
● Once the shoes are completely covered in glue and glitter allow them to dry, undisturbed, overnight. While they will dry quickly, allowing them to set overnight allows the bond to really strengthen before use or the next step.
● You can opt to cover the glitter with a layer of Mod Podge or glitter sealer (use a test area because the glitter will dull). I preferred to leave my shoes without a top coat.
● While putting on a top coat of Mod Podge or glitter sealer will stop the glitter from falling off or smudging, it will not make the shoes water resistant.
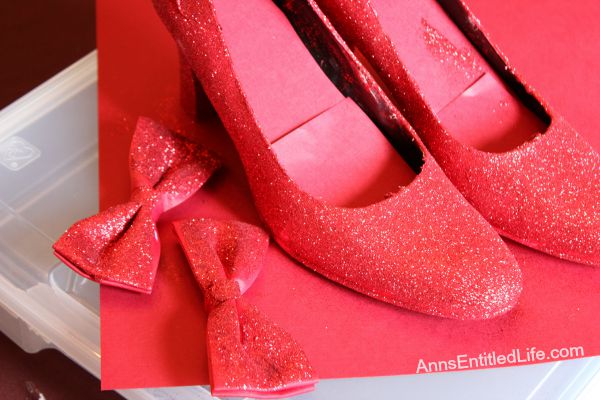
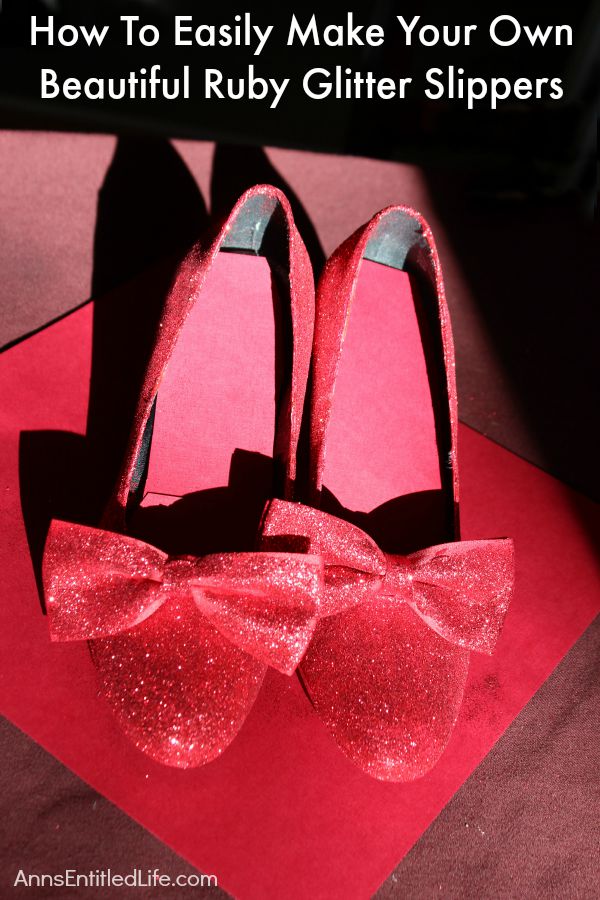
● I purchased Red Bows for my shoes. I couldn’t find buckles, and red shoe bows cost a fortune!
● I simply put some Glitter Bond on the top of the bow, and then poured glitter on top of the Glitter Bond,
shaking off the excess.
● Allow to dry.
● Since I had two pair of shoes, I did not attach the bows. I just placed them on top of the pair I chose for my foyer decor.
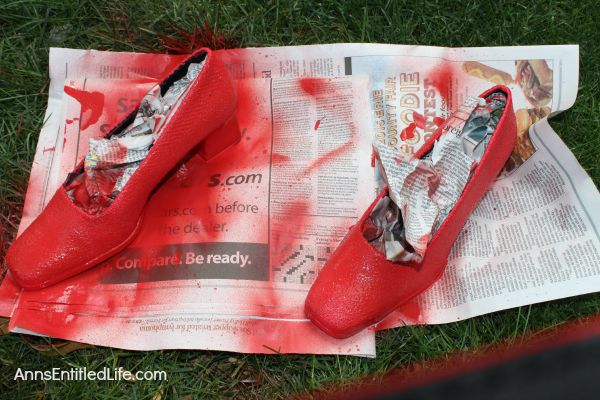
● The cloth shoes were very different than the canvas shoes below. The cloth shoes I spray painted with fabric spray paint. I did this outdoors, used two coats, and allowed them to dry completely between each coat. These shoes sat outside for an entire week between the two coats and allowing them to dry completely! While I would not recommend the fabric spray paint method due to dry time, it definitely covered that crazy chevron pattern.
● After the spray on paint was completely dry, I followed the steps above to cover the shoes in paint.
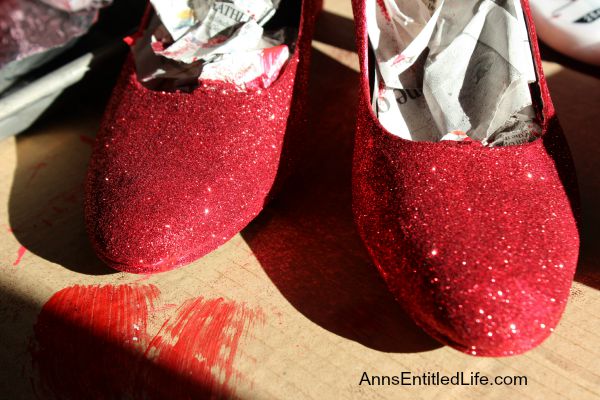
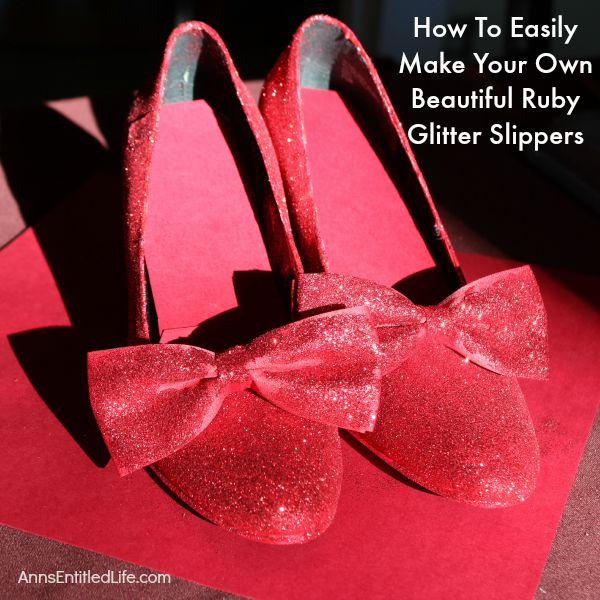
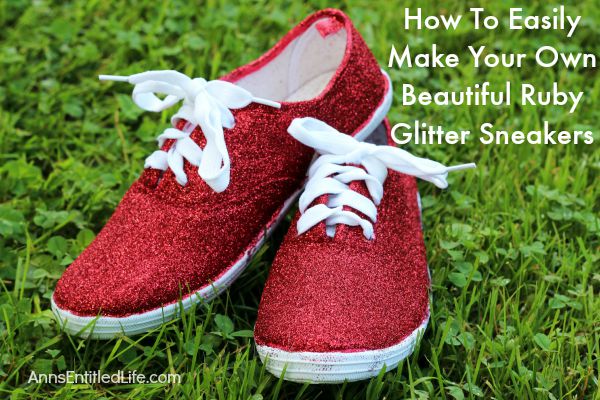
● And the finished product is gorgeous!
A few notes:
● I stuffed the inside of the shoes with newsletter so I wouldn’t have glitter, plaint and glue drips inside the shoes. It worked, but I had to carefully remove some of the newspaper where the glitter, paint and glue adhered.
● Because the inside of my shoes are black, and these are to be decor, I clipped a pieces of red construction paper to cover the inside soles. While it won’t pass deep inspection, for a cursory look, it works!
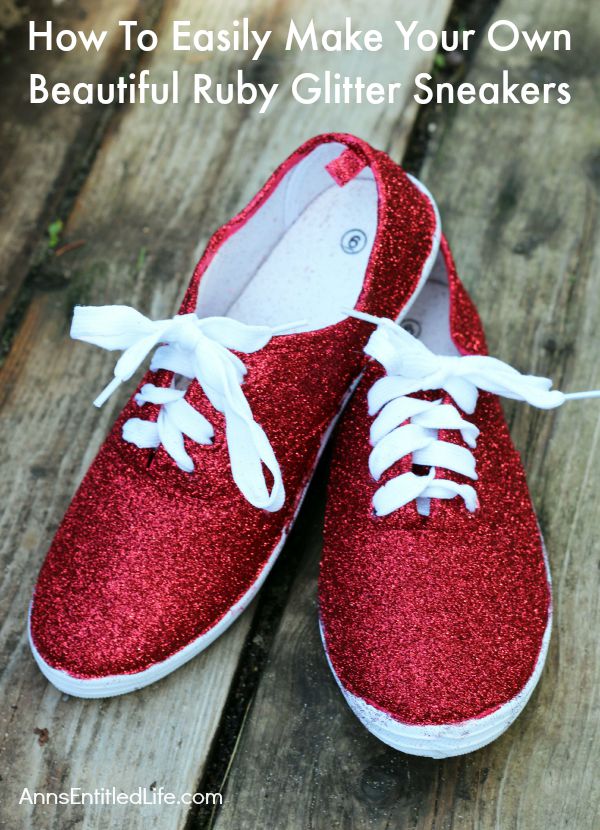
How To Easily Make Your Own Beautiful Ruby Glitter Sneakers Materials:
● Canvas Shoes
● 1 inch Paint Brush (or)
● Small Art Paintbrush
● White Fabric Paint
● Red Fabric Paint
● Glitter Bond
● Garnet Glitter I strongly urge you to buy this: Martha Stewart Crafts Fine Garnet Glitter (You can get it at that Amazon link, or at a Michaels store) I tried 3 different reds, this was far and away the best
● Glitter Sealer or Mod Podge (optional)
● Tape (optional)
● Tray
● Small Container
● Table Covering
How To Easily Make Your Own Beautiful Ruby Glitter Sneakers Instructions:
● Make sure that canvas shoes (sneakers) are completely clean and dry before starting this craft.
● Remove any laces to avoid getting them covered in paint and glitter.
● Assemble all of your materials and prepare a clean work surface, with nothing to bump or disturb the shoes while they are drying.
● Work over a tray and cover your table.
● If there are parts of the canvas shoes (sneakers) that you do not want paint or glitter to get on, cover them with tape.
● Paint the sneakers completely with the fabric paint, in long, even strokes and using a minimal amount of paint. If the paint is too thick, it will not dry completely and may have bubbles. You can always add a second coat of paint after the first layer completely dries if you want a more intense color or coverage. Avoid getting paint on any of the taped-over parts of the sneaker.
● Once the fabric paint has fully dried, paint a thin layer of glitter glue on the canvas shoes (sneakers) working in sections.
● Pour the colored glitter directly over the glue, covering the glued area completely. Shake or tap the excess glitter onto the tray – you can funnel this glitter into a small container and continue reuse it on the rest of the sneaker, reducing the amount of new glitter you use up.
● Repeat the glue and glitter coverage all over the canvas shoes (sneakers). Depending on how well you can manipulate your sneakers, you may want to wait for some parts to fully dry before doing others, to avoid smudging.
● Once the sneakers are completely covered in glue and glitter allow them to dry, undisturbed, overnight. While they will dry quickly, allowing them to set overnight allows the bond to really strengthen before use or the next step.
● You can opt to cover the glitter with a layer of Mod Podge or glitter sealer (use a test area because the glitter will dull). I preferred to leave my sneakers without a top coat.
● While putting on a top coat of Mod Podge or glitter sealer will stop the glitter from falling off or smudging, it will not make the sneakers water resistant.
● If you seal with Mod Podge or glitter sealer dry for at least 8 hours before lacing up!
● Lace your shoes and use a cotton ball or toothbrush dipped in alcohol or nail polish remover to remove any glitter, paint, or glue from unwanted areas of the shoe.
Of the three pair, my favorite are the traditional high heels. I could easily imagine wearing them with a costume or in a different color for a special occasion!!
● To print the How To Easily Make Your Own Beautiful Ruby Glitter Slippers instructions, click here.
● To print the How To Easily Make Your Own Beautiful Ruby Glitter Sneakers instructions, click here.
If you are looking for a simple project to dress up your Halloween decor, a Dorthy from the Wizard of Oz Costume, or everyday glitter shoes , give this glitter shoe project a go! They are so easy, unique, and pretty!
● Disclosure: the links in this post may be affiliate links.
● For more Halloween posts on Ann’s Entitled Life, click here.
● For more Craft posts on Ann’s Entitled Life, click here.
● If you enjoyed this post, be sure to sign up for the Ann’s Entitled Life weekly newsletter, and never miss another article!
Audra @ Renewed Projects says
Wow! these are stunning! Great tutorial, too. Two Easter’s ago I tried to make silver glitter shoes for my daughter to go with her Easter dress…it was a hot mess. There was glitter ALL OVER the church. Bet they were glad when we left! lol I’ll have to look into the Martha Stewart glitter line. Thanks for the tip.
Ann says
Oh I can definitely see how that would happen, Audra. Try a glitter sealer. It DOES dull the glitter (happened with my witch’s broomsticks), but there is no glitter falling off those brooms at all! If someone were to wear these, I’d definitely say spray ’em!
Ann
Ana Smith says
Thank you so much! This made our holloween this year. I was Dorothy, my husband the scarecrow and kids were lion and Glinda. I only wore the shoes outside to trick or treat and they did shed a little glitter but it wasn’t too bad. And everyone loved them! Im not crafty but this was great!
Ann says
Ana, I am so glad they worked out for you. Your family must really enjoy Halloween; those costumes sound fantastic!!
Ann
Grace says
Could I use regular glue, like Elmer’s, for example, to adhere the glitter to the shoe? I’m not sure if I would need to buy a glitter bond or if I could just use some regular glue. I would be wearing the shoes, so I would be putting a layer of mod podge on top to seal the glitter in after it had dried.
Ann says
There would be the issue of adherence… will it stick? I don’t know; I did not use Elmer’s. Will it stay put (well, at least most of it)? I don’t know; I did not use Elmer’s. Will the glitter fly all over as you are trying to adhere to it? I don’t know; I didn’t use Elmer’s.
All things to consider, Grace. You want as small a mess as possible while making your shoes, you want to make sure the glitter adheres, and you want to make certain that the glitter stays on the shoes.
Ann