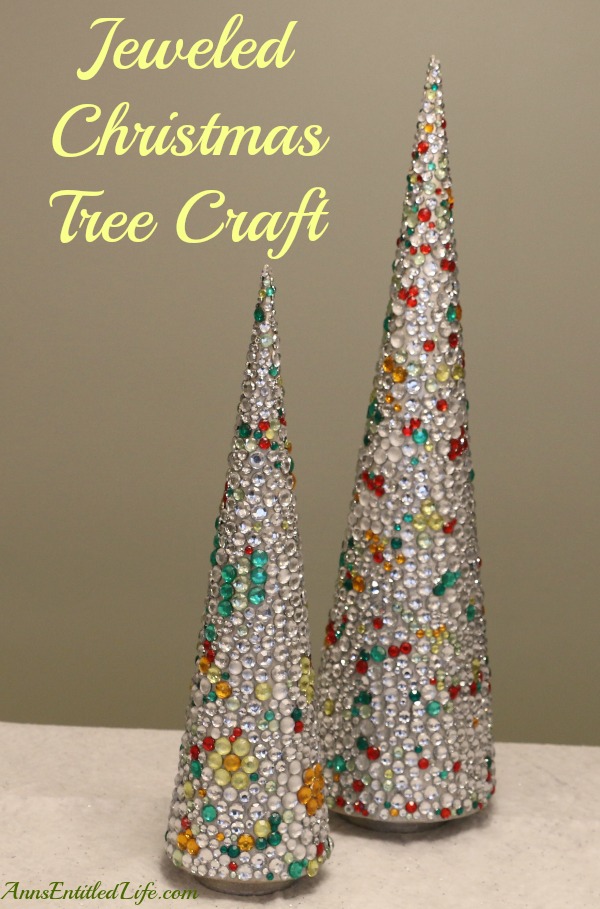
Jeweled Christmas Tree Craft
An easy, DIY holiday craft that adds sparkle and shine to your Christmas decor!
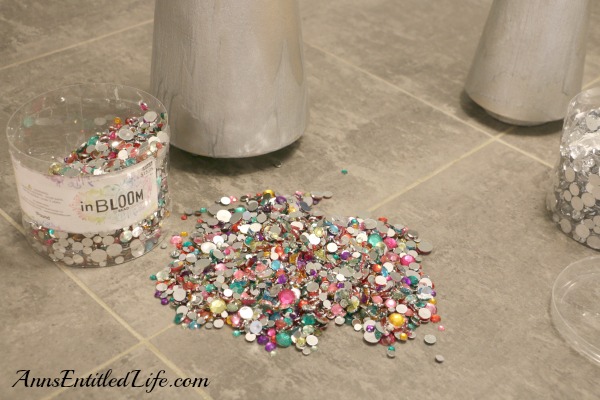
So while scoping out the aisles at Hobby Lobby, I came across these containers of “jewels”. Now you know me, I can’t resist holiday shine, so I was thinking hard on what I could do with those boxes of jewels for the holidays.
As luck would have it, I had papier-mâché Christmas trees in my cart. I also had bags of feathers (which I still may make up), and some cranberry picks (which again, still may be made up) in my cart. So I sat in the aisle trying to determine if the papier-mâché would support the jewels, or if the weight of the jewels would crush the papier-mâché.
I decided to chance it (like I was going to resist the sparkle!), and stuck a silver and multi-color box in my cart, and went on my merry way.
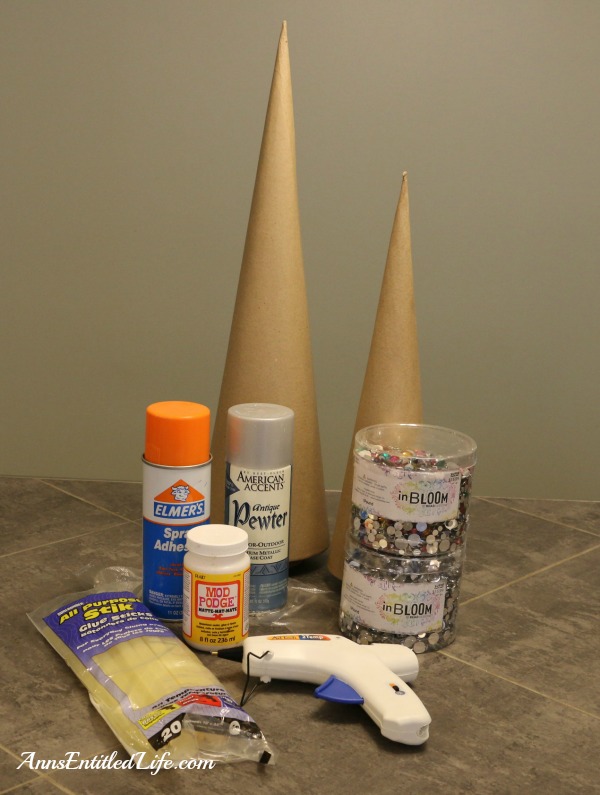
For this craft I used:
● Papier-mâché Christmas Trees
● Mod Podge
● Spray Adhesive
● Round Multi Color Acrylic Stone Mix
● Round Silver Acrylic Stone Mix
● Pewter Spray Paint
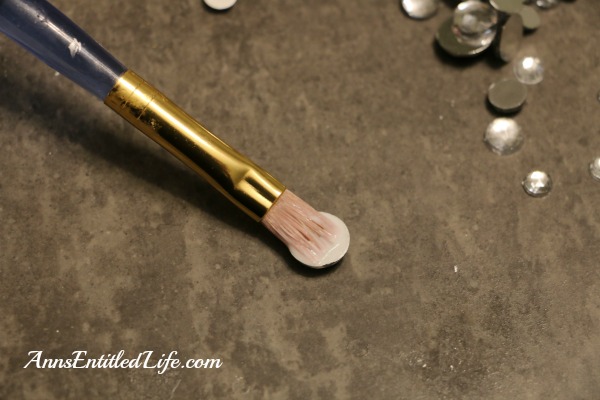
● Small, flat head paint brush
Note: disregard the glue gun, I didn’t use it.
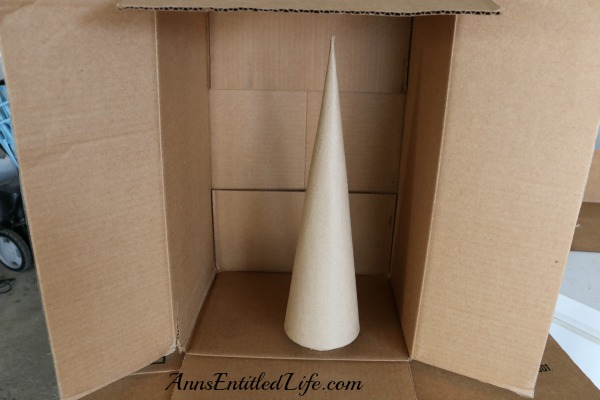
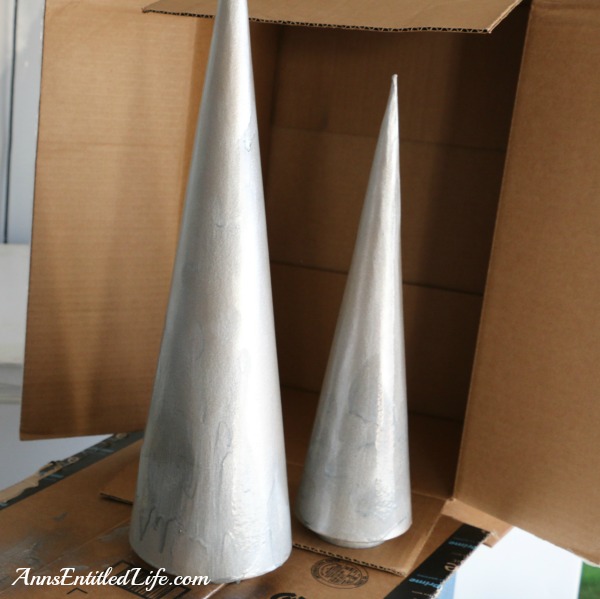
The first thing I did was set up a paint box, and spray painted my papier-mâché Christmas Trees pewter. I used pewter because I had that color in the house. Silver would have worked too as the predominant jewel color I used was silver.
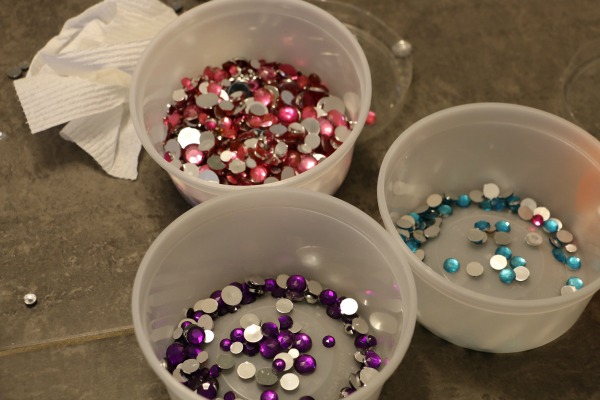
The big fat negative of buying an assorted color packet was I only wanted certain colors. So, I had to pick through for the colors I wanted. I ended up tossing the rejected colors into small bowls. I may do a similar craft for Easter.
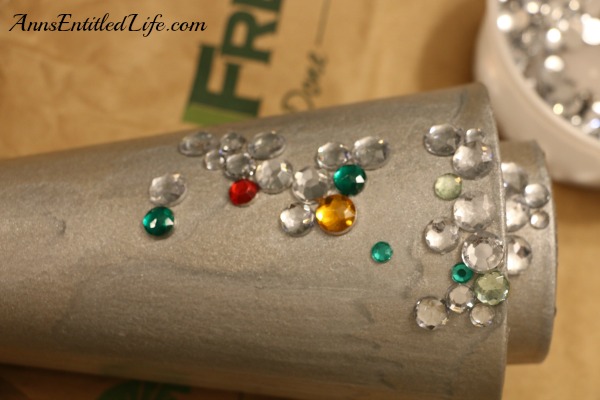
Once I decided on my colors, I sprayed some spray adhesive on my tree, and went to work gluing on the acrylic “jewels”. (Hereafter just called jewels)
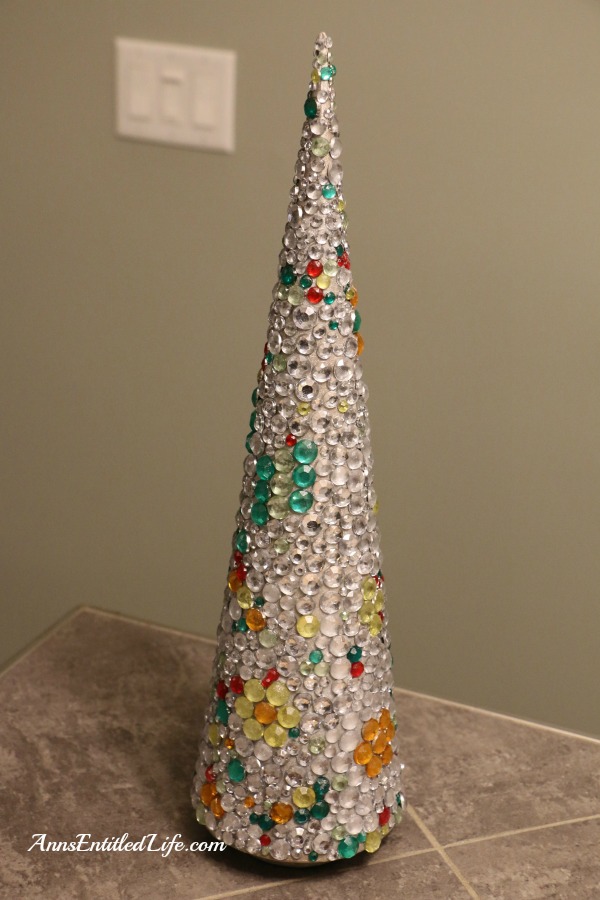
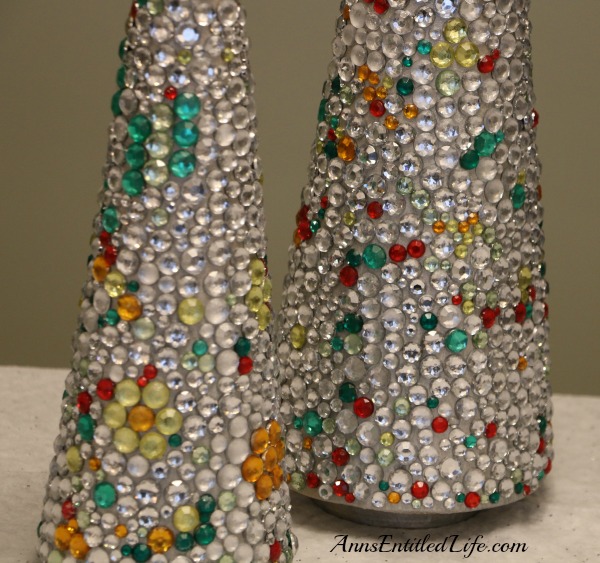
I desperately wanted a random pattern and found myself making flowers and matching colors on occasion. I started on the small tree first, and got better at the random on the taller tree.
I worked in small areas quickly before the adhesive dried. One of the issues I had with the spray adhesive was when I over-sprayed older adhesive with jewels already stuck on the tree, it would loosen the old adhesive and some of the dried jewels would come away on my fingers.
I did learn to let the adhesive dry for a good 45 minutes in between jewel applications. If there was a hole in my jewels, I would use mod podge later (see below) to fill in the area.
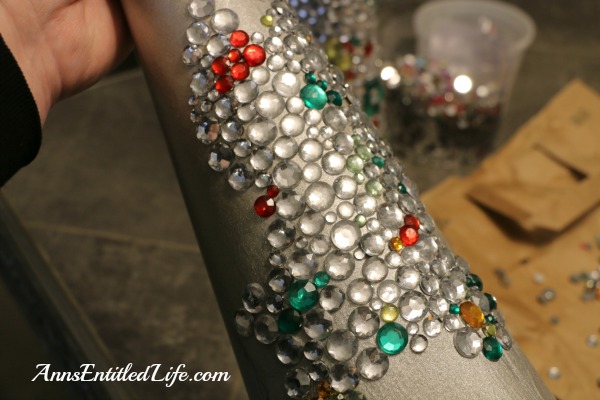
I started on the smaller tree and worked from the bottom up. On the larger tree, I worked from the top down. Top down is the way to go. I found that once the teeny tiny jewels were attached, it was easier to add the large jewels than to have the large jewels attached, and add the small ones.
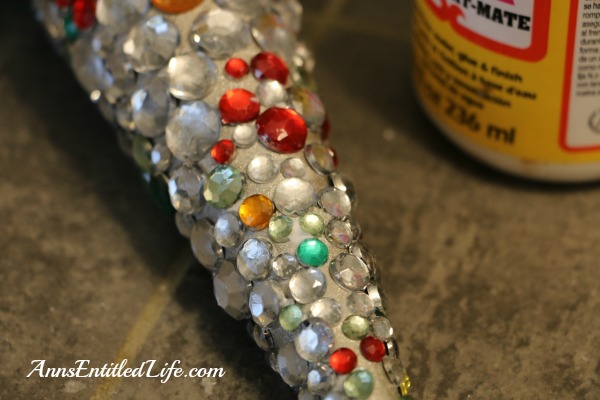
Whether I started at the top or the bottom of the tree, the jewels at the top were attached with mod podge. The negative to the mod podge was it was thin and wet and didn’t grab the jewels, so I was “building” the small jewels one on top of each other. This meant I could only work in small sections as I had to allow the mod podge to dry completely.
For spaces in between adhesive jewels, I buttered the back of a jewel with mod podge, and attached it to the tree.
Eventually I got a lot better at just randomly picking up jewels and attaching them, but not before I finished the small one with some obvious designs.
The first, smaller tree took me twice as long as the second, larger tree. It just got faster as I found my groove. And when I was about 3/4 of the way done with the first tree, I started the second tree. If I were to do this again I would do two at one time, but I would not advise it without getting a feel for the craft first. You’d probably be able to start the second tree when the first tree was about 1/3 done. You just do one tree, set aside to dry, do the second tree, set aside to dry, and come back 30 minutes later to start the first tree. I was able to work approximately 10-15 minutes per adhesive spray before it dried to much to grab a jewel.
So, to do this craft:
● Spray small amounts of adhesive spray on the tree.
● Adhere jewels.
● Allow to dry 45 minutes at a time (so your area is completely dry).
● Work top to bottom – or at least do the very top of the tree before doing the body of the tree.
● Fill in holes with mod podge buttered jewels.
This craft could not possibly be easier. It is time consuming though. Larger acrylic jewels would make it go faster, but you have to make sure they are not so large that they will have trouble laying flat on the tree.
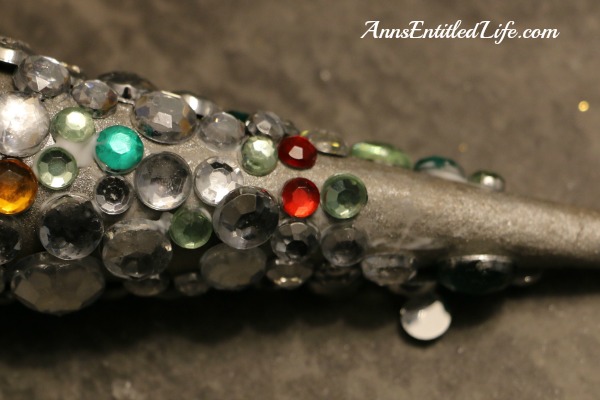
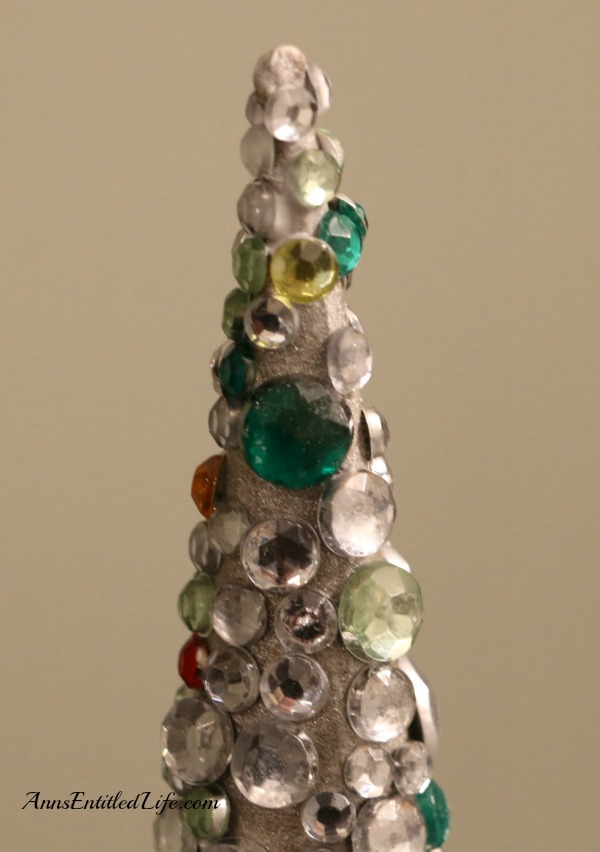
I wish I could have taken a photo that does these justice. They are simply stunning in person. They are light weight (which surprised me), and beautifully sparkly!
● Disclosure: the links in this post may be affiliate links.
● If you enjoyed this post, be sure to sign up for the Ann’s Entitled Life weekly newsletter, and never miss another article!
● For more Holiday posts on Ann’s Entitled Life, click here!
● Follow my Pinterest Christmas Decor board!
Rebecca Payne says
I love this idea. Thank you for sharing.