Joy Decoupage Christmas Ornament
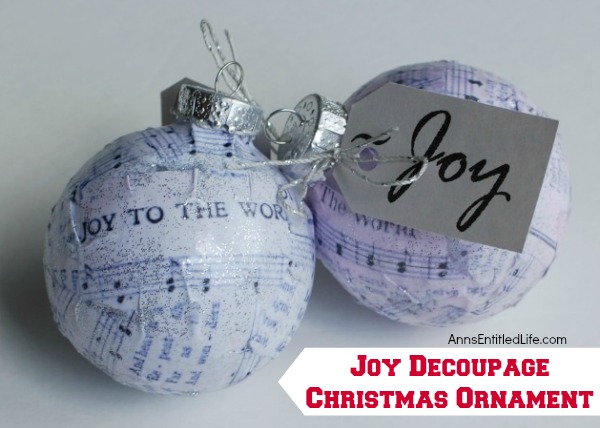
Make your own decoupage Christmas Ornament. This easy step by step tutorial for a Joy Decoupage Christmas Ornament results in a beautiful handmade ornament that you can hang on your tree, or give as a gift. This DIY project is so easy, nearly anyone can do it!
Decoupage comes from the French word découper which means to cut out. Decoupage is an art form that pastes paper cut-outs to some solid object, and then covers the paper cut-outs with glue (varnish, lacquer or polyurethane). Most of us learned to decoupage in grade school, usually around a balloon! But I bet more than a few of you have a decoupaged jewelry box (lacquered). I know I did… I wonder what happened to it?
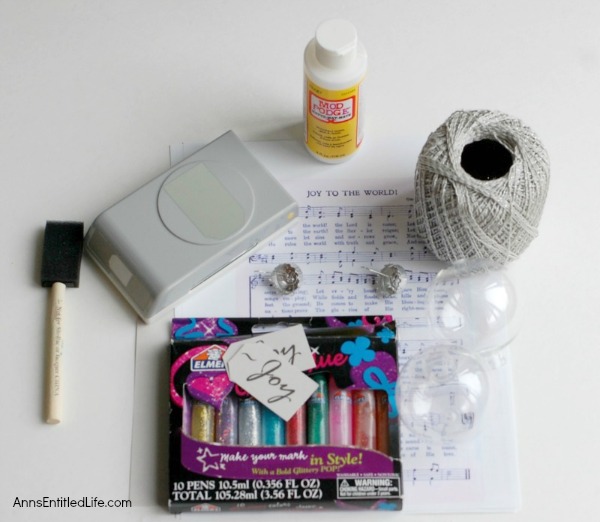
Joy Decoupage Christmas Ornament Materials Needed:
● Clear Plastic Christmas Ornament
● Scissors
● Mod Podge
● Foam Brush
Small Bowl
● Joy To The World Sheet Music – get the music here
● Silver Glitter Glue
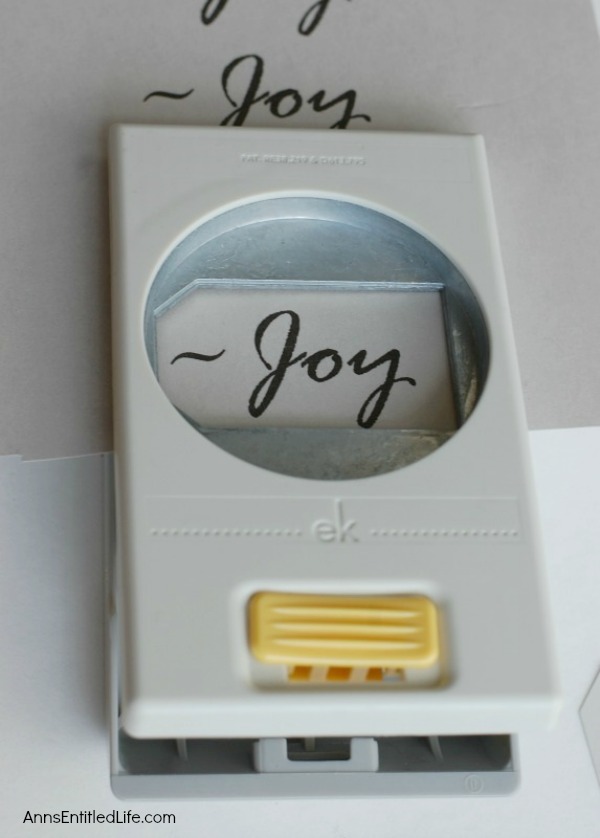
● Scrapbooking Tag Punch
● Joy (printed on gray or silver paper) Printable Tag – get the PDF here
● Single Hole Punch
● Silver Crochet Yarn
Joy Decoupage Christmas Ornament Instructions:
● Cover your work area with cardboard or newspaper.
● Remove the ornament cap; set aside (don’t lose it!)
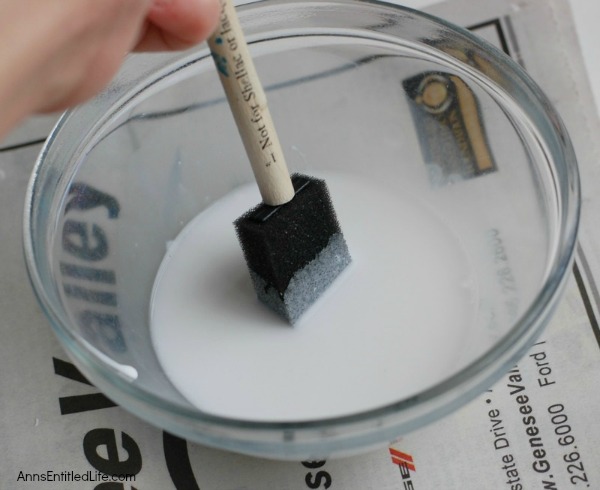
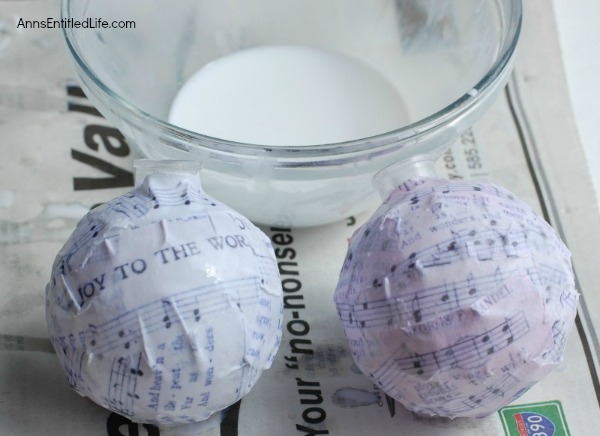
● Place 2-3 tablespoons of Mod Podge into a small bowl, and dilute it with 2-3 tablespoons of water. You could use white Elmers glue if you have that on hand as well. ● Stir well until it is evenly mixed and watered down.
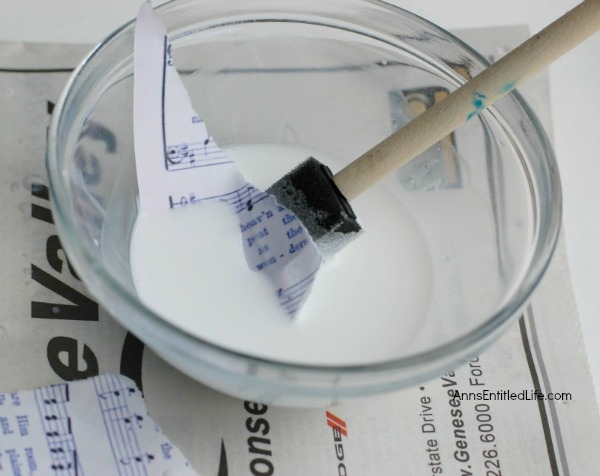
● Print out a copy of “Joy to the World” sheet music and tear it into smaller pieces. You will dip the pieces of paper into the Mod Podge mixture until it is totally wet. If you let it soak for a minute or 2, it will be even more pliable and easier to smooth out on the ornament. Keep in mind though, that depending on your printer ink, some of the music print could smear or run or dissolve off of the paper if you leave it in the liquid glue for too long.
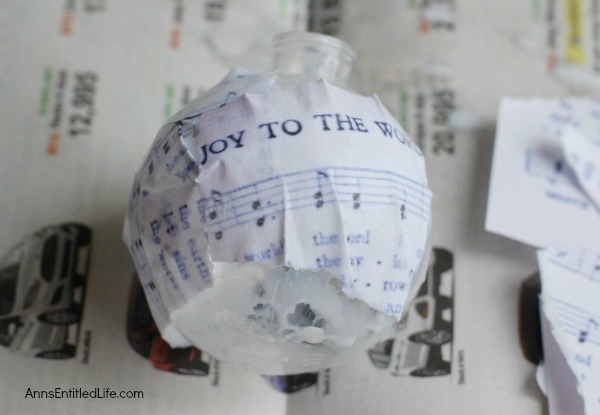
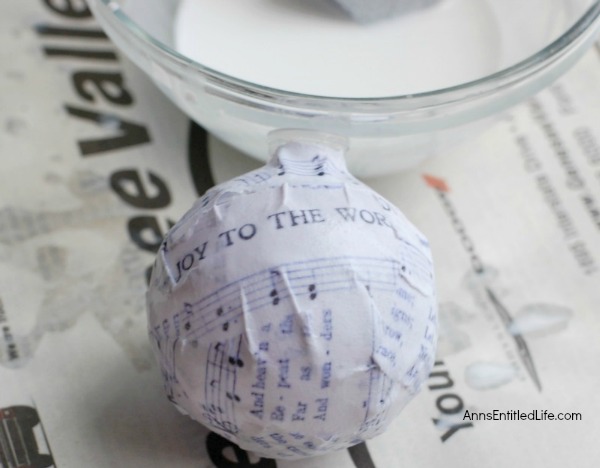
● Take your glue dipped pieces of paper and apply it to the ornament, smoothing as you go. You will really need to just play around applying the papers onto the clear ornament until you get it layered the way you want it to look. Your decoupage will be smoother and less wrinkled with smaller pieces of paper, but then you will need more patience and drying time in between your layers. This tutorial intentionally did not cut up the song title completely so that it could be read at the top of the ornament. This part of the process can get messy! (but fun!) Be sure to have some newspapers underneath your work area for easy clean-up.
● Repeat the dipped sheet music and Mod Podge process until your ornament is completely covered.
● Once your ornament is covered (double check to make sure you did not miss any spots – overlaying is encouraged!), turn it upside down to dry.
● Allow to dry for a full 24 hours.
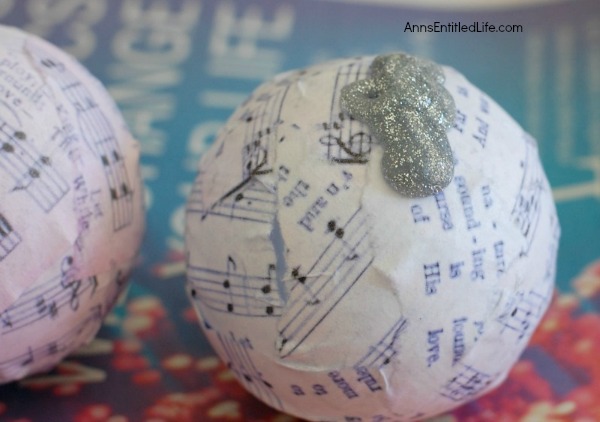
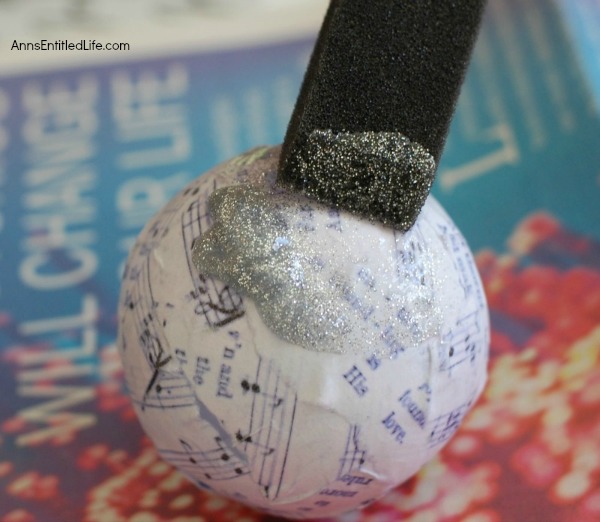
● Once the decoupage Christmas ornament is dry, it is time to add some glitter to your ornament! Squeeze a generous amount of Silver Glitter Glue on your ornament and use the foam brush to spread the glitter around until it is even distributed, and your ornament is sparkly!
● Again flip the decoupage Christmas ornament upside down and let it dry completely.
● Allow to dry for a full 24 hours.
● Replace the ornament cap.
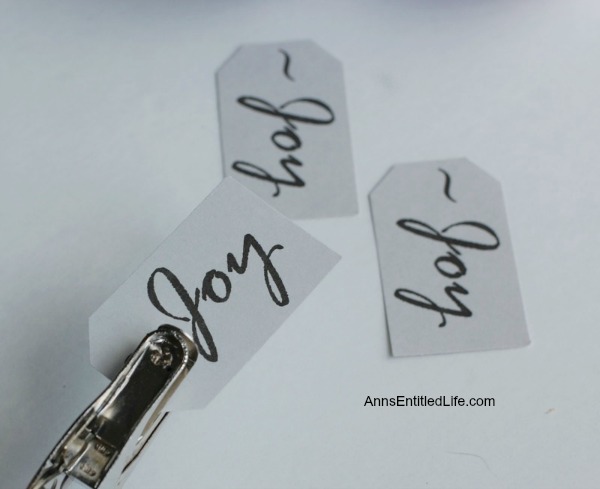
● Print off a copy of the “~Joy” PDF so that you can create “Joy” tags to add to the ornament. You may need to trim your paper so that the Scrapbooking Tag Punch will fit around the word.
● Use your single hole punch and punch one hole at the end of the tag.
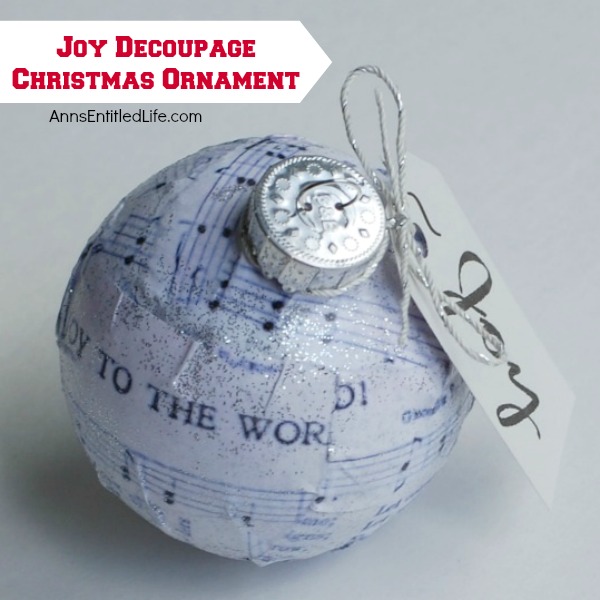
● Cut about a 12″ piece of your silver crochet yarn and use that to tie the tag around the ornament. Tie a bow and trim off the ends of extra yarn.
● These of course will be lovely for your Christmas tree, but you could also make them as gifts for people like teachers, a bus driver, or the mailman. If you are making a batch of cookies for someone – add one of these Joy Decoupage Christmas Ornament to the top of the tin!
● If you enjoy new decoupage ideas, check out this easy Decoupage Birdhouse tutorial!
● To print the Joy Decoupage Christmas Ornament instructions, click here.
● Disclosure: the links in this post may be affiliate links.
● If you enjoyed this post, be sure to sign up for the Ann’s Entitled Life weekly newsletter, and never miss another article!
● For more Craft posts on Ann’s Entitled Life, click here.


Leave a Reply