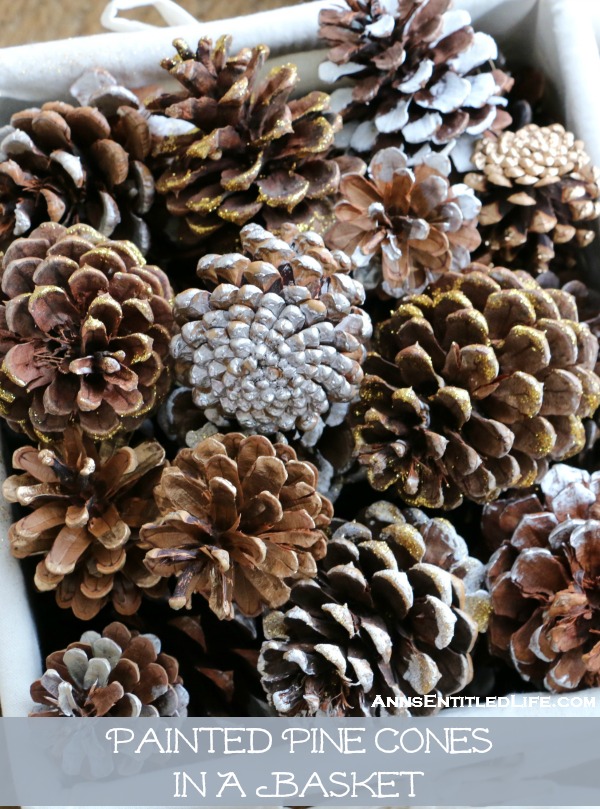
Painted Pine Cones in a Basket
How to paint pine cones for a special holiday decor basket! An easy, pretty and festive Christmas decorating idea.
For years now I have kept a simple wicker basket in the front hall. I fill it will scented pine cones (cinnamon for me), and my entry smells fabulous all year round! This is a doorway that doesn’t get much use, so the air would get rather stale. Now it always smells like “home”.
This year, I decided to glitz-up my pine cones a bit. I knew I needed fresh pine cones since the others had gotten pushed around a bit, and were starting to look rather old and worn. The scent was also dissipating, so I figured, wth! And bought two bags while at JoAnn’s a few weeks ago.
With my love of glitter, it was a no-brainer that some would be sparkly. I decided against Epsom salts as I wasn’t certain if wet paint alone was enough to hold them in place. In the end I glued glitter anyway, so maybe I should have dragged out those Epsom salts and mod podged them too?
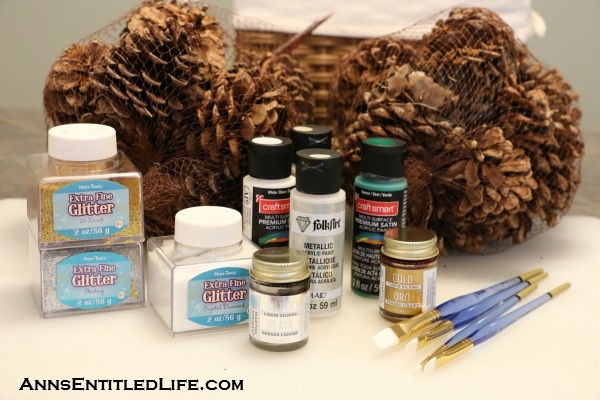
I started with these craft supplies:
● Mod Podge
● Extra Fine Glitter in 24 Karart (gold), Sterling
(silver) and Crystal
● Acrylic Paint (I used silver, gold and white)
● Small, flat head paint brushes
● Gold Gilding
● Silver Gilding
● Pine Cones
● Wicker Basket
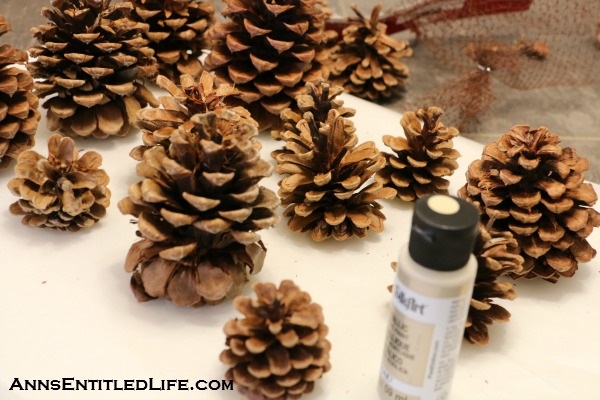
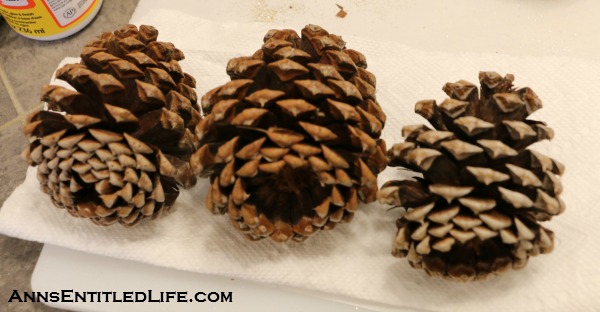
I sifted through my pine cones to separate the best ones from the two bags I purchased. I layered the lesser ones that would not be seen on the bottom of my wicker basket. I did this for aesthetics purposes (I obviously wanted the nicer looking ones on top), and I because I knew I wasn’t sealing these as they are scented. I was afraid the sealer would dull the cinnamon scent. So, I wanted my pine cones as whole as possible.
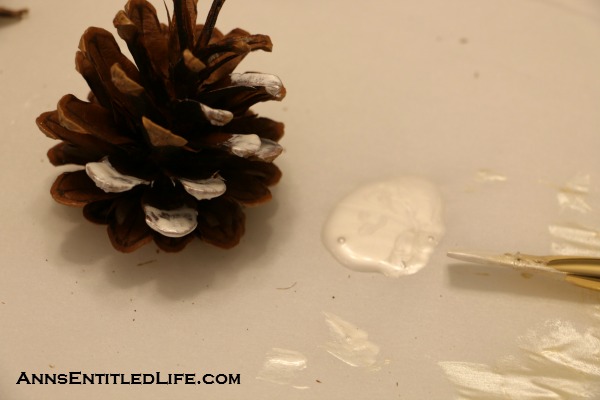
I covered my kitchen island with parchment paper. Since I was working with glitter, I wanted to contain the mess. I also needed to pour out some of my paint, and so just poured it directly onto the parchment paper (like a palette). This worked a whole lot better than dipping my brush continually into the little paint container.
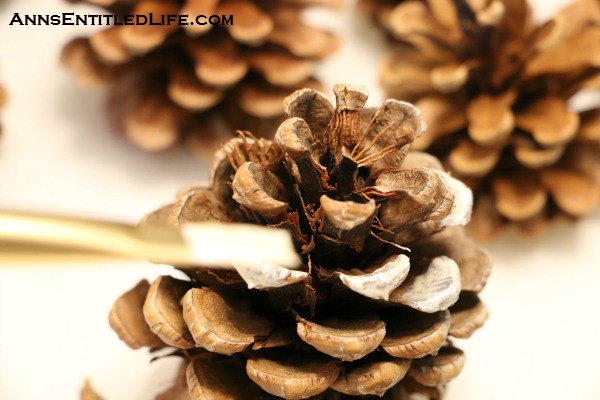
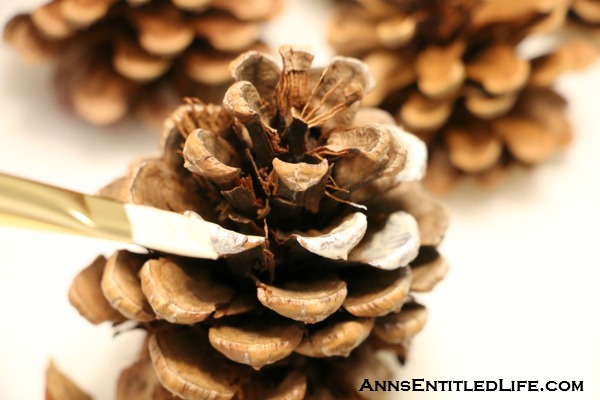
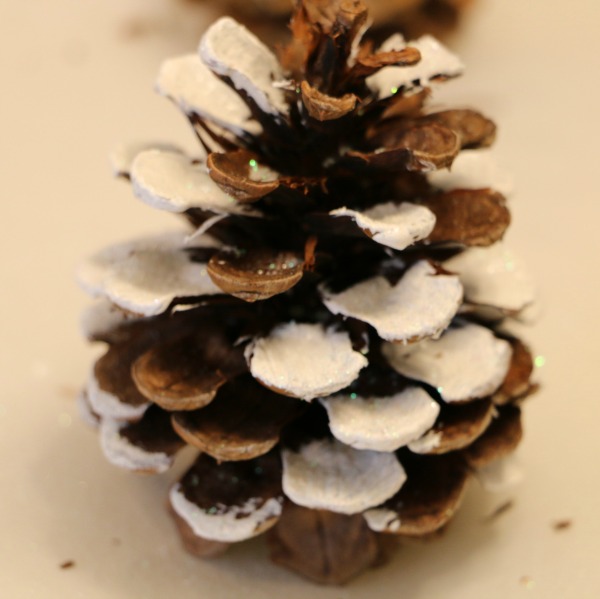
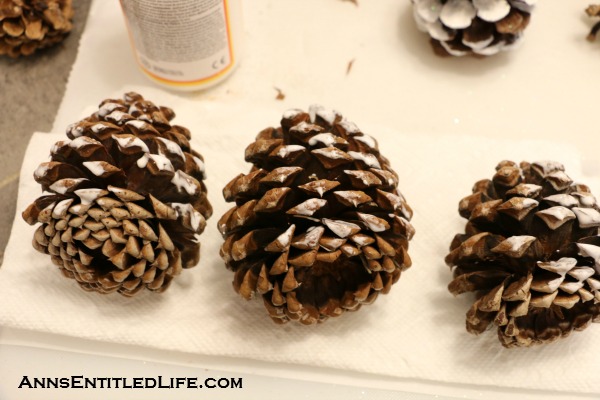
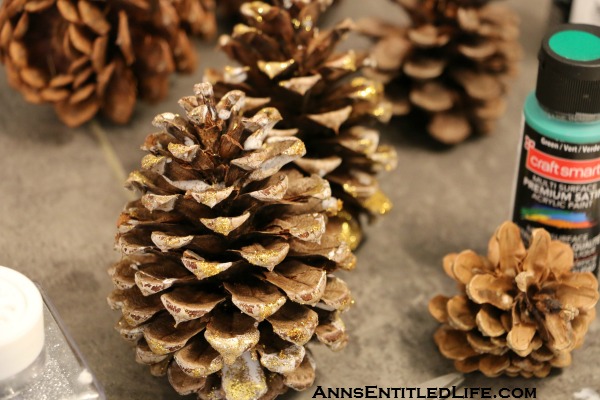
I painted the edges of some of the pine cone scale. I also painted into toward the middle of the pine cone scale on some of the scales. My idea was to make these look like glittery snow. I didn’t want too much paint, but some. Less is more.
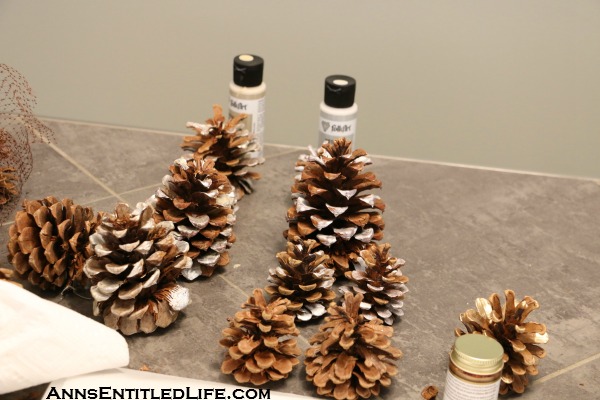
When I was done with a color, I lined the pine cones up in a row. If for some reason they needed a second coat (they didn’t), I wanted to know what color was on what pine cone. I put the paint color at the top of the line.
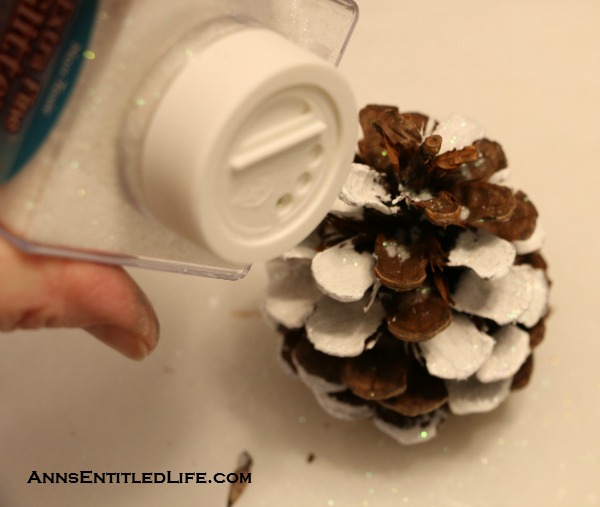
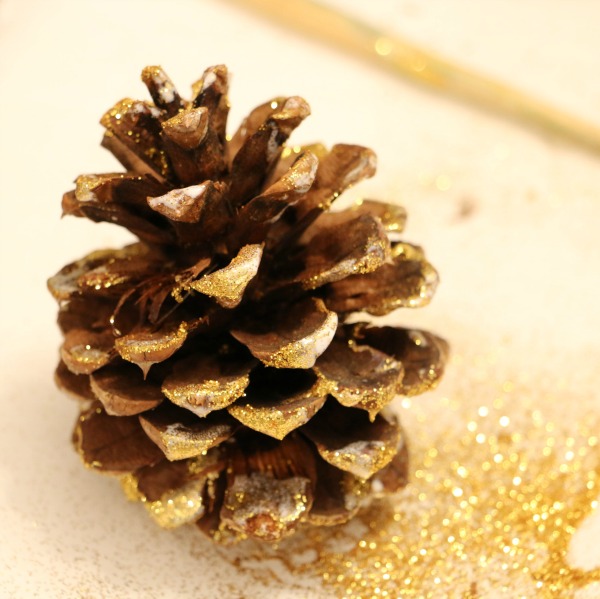
While the paint was still wet, I sprinkled on some glitter. I had actually intended to do this will all of them, but chose not to. I just dusted a few. Some were left as only paint, and others…
were “painted” with mod podge exactly where I wanted my glitter to show, and then …
dusted with glitter.
Allow paint and mod podge to dry for several hours or overnight.
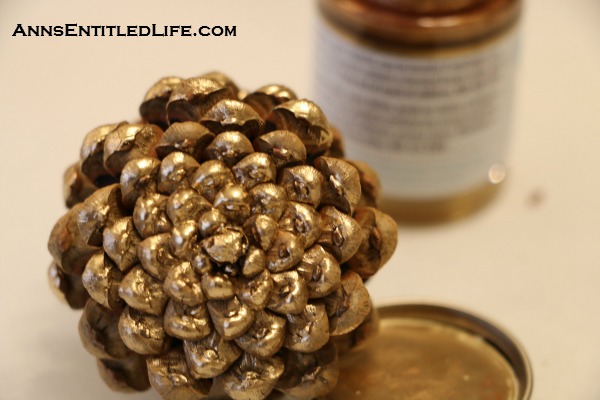
I cannot say enough good things about the Martha Stewart Gilding. I wasn’t certain how I would use it when I bought it… I just wanted a little extra bling. It went on so smoothly and covered so well, I was able to paint the bottoms of the pine cones with just a little bit of the gliding, and each tipped scale come out beautifully! Honestly if I had tried this first and known how well it was going to turn out, I’d have been tempted to do all the pine cones with the gilding.
Note: the gilding clean up requires oops! or goof off.
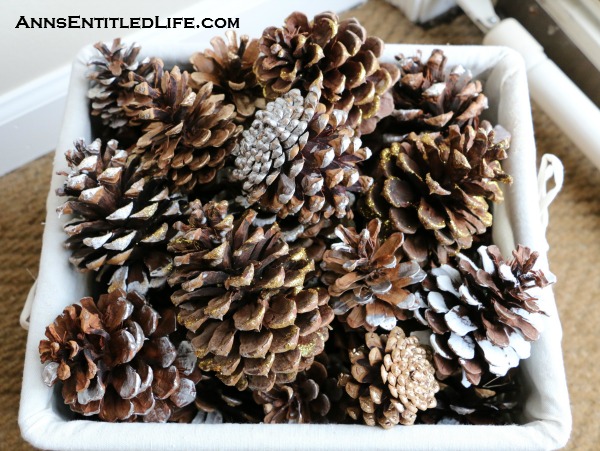
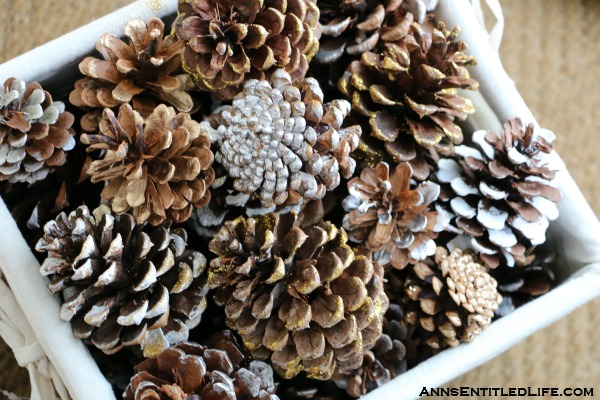
After allowing these to dry completely, I layered the painted and glitter pine cones into the top of my basket.
These are in the enclosed front hall near our front door on the floor.
Not only do they smell great, they look beautiful too!
This was an easy way to customize a basket of pine cones. You can use any color you like from classic to crazy! The real beauty of a DIY craft project is being able to customize to your decor and taste.
● Disclosure: the links in this post may be affiliate links.
● If you enjoyed this post, be sure to sign up for the Ann’s Entitled Life weekly newsletter, and never miss another article!
● For more Holiday posts on Ann’s Entitled Life, click here!
● Follow my Pinterest Christmas Decor board!
Leave a Reply