Pine Cone Holiday Place Card Holders
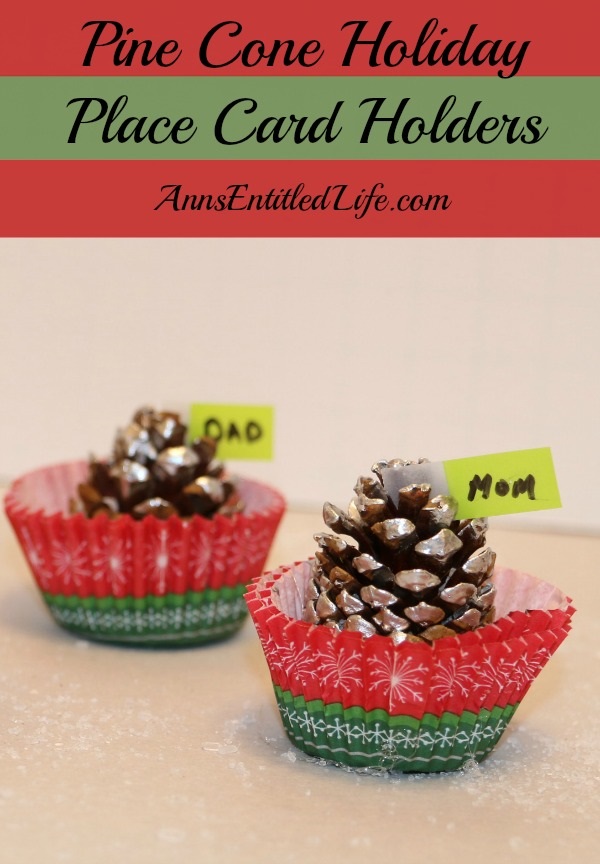
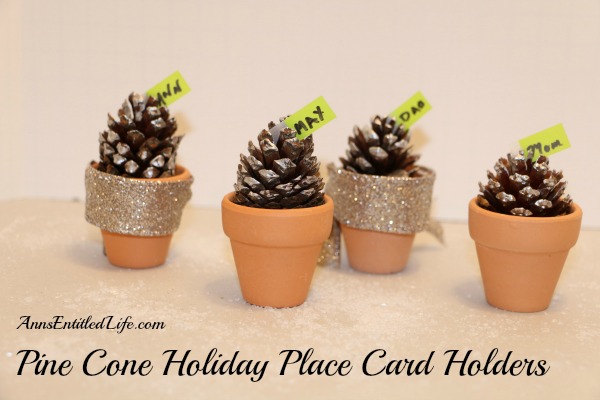
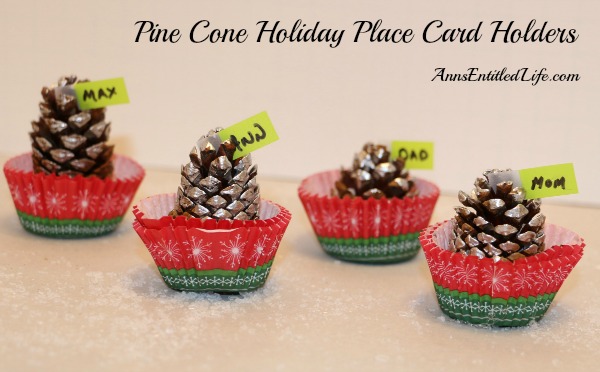
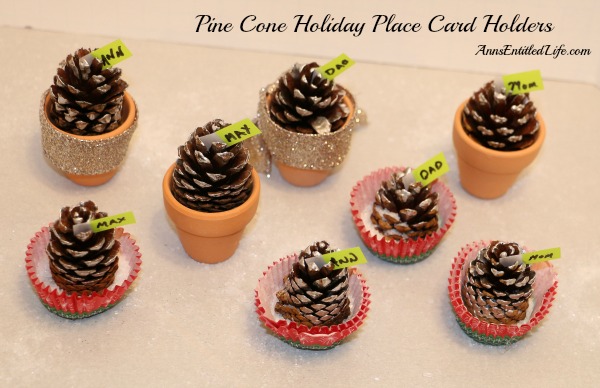
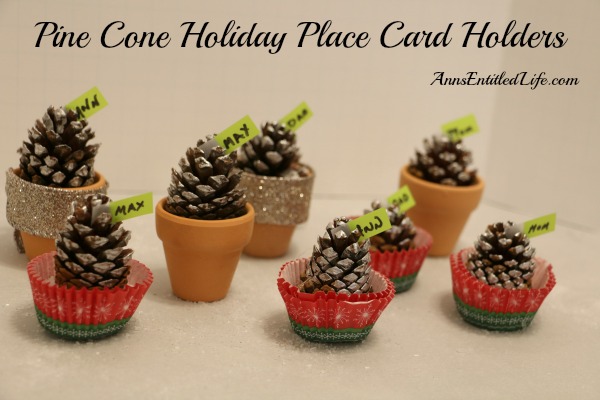
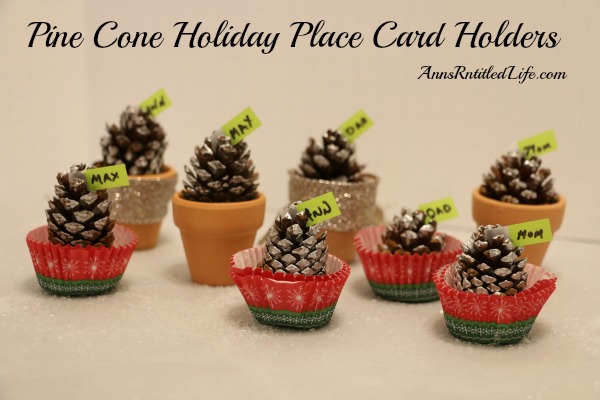
Adorable, easy to make DIY Pine Cone Holiday Place Card Holders: Thanksgiving or Christmas dinner seating cards made from pine cones!
In my quest for easy DIY holiday crafts, I stumbled across this one on either JoAnns or Michaels website. While in Michaels one day, I gathered up the things I didn’t have at home to do this craft – which consisted of mini terra cotta pots and tiny pine cones. Then I got to thinking… if someone wants to do this on the spur of the moment, just how many people have tiny terra cotta pots sitting around? Pine cones? Possibly. Mini terra cotta pots? Unlikely.
So I considered what could make a this craft festive, easy and support the weight of that small pine cone, and decided that candy cups could probably work. And they are a whole lot more likely to be had in the average household than terra cotta pots.
With that in mind, I decided to give both a try.
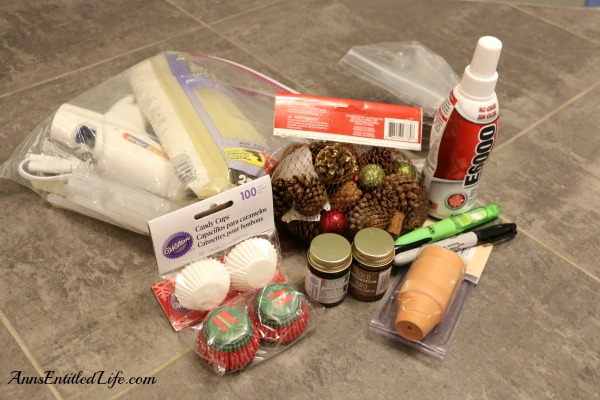
For this craft I used:
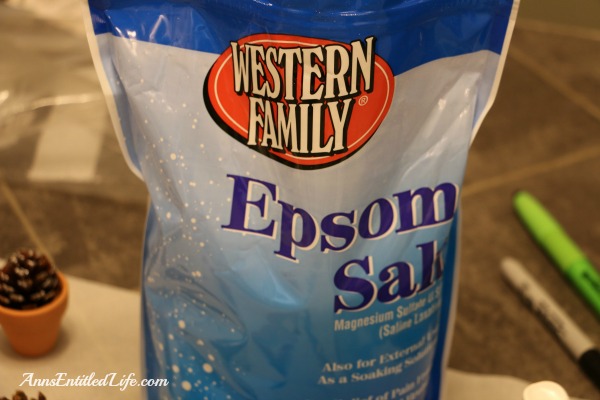
● Epsom Salt (not pictured)
● Small, flat head paint brush
● Gold Gilding
● Silver Gilding
● Small Pine Cones
● Glue Gun and Glue Stick
● Candy Cups
● Sharpie
● Post-its
● Mini Terra Cotta Pots (you can get a 4pk at Michaels for under $2)
● Ribbon
● Note: in the photo is spray adhesive. Disregard. It was a big, fat failure.
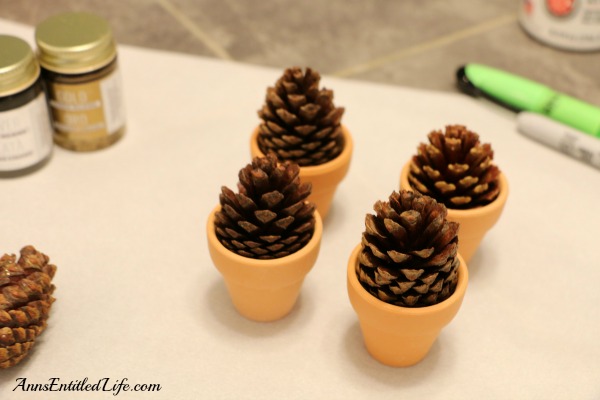
So let’s start with the terra cotta pots project. I will admit those were simple!
I sorted through my bag of tiny pine cones and found a few that fit into the mini pots.
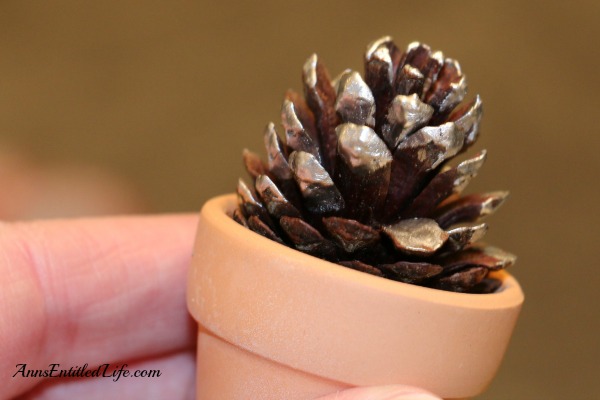
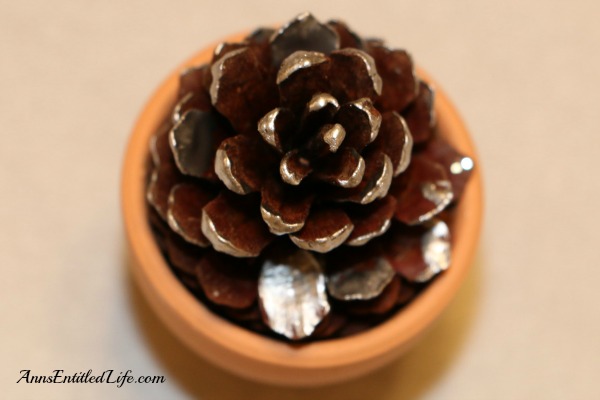
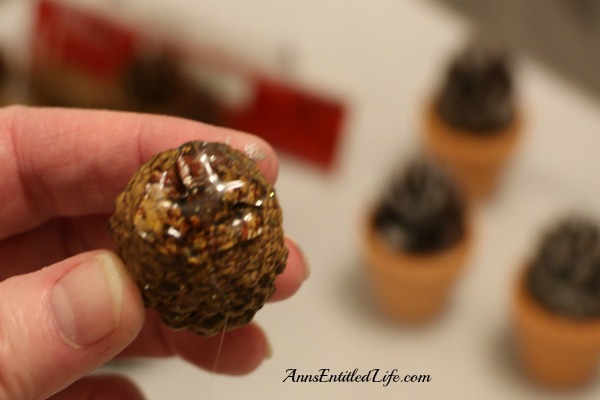
Using a flat tipped paint brush and silver gilding, I lightly painted the ends of the pine cones.
And that was it. Seriously. Took a few minutes to dry and I was done.
I wrapped a few with a wired ribbon, scribbled a name on a post it, and stuck it inside the pine cone scales. Took about 10 minutes to do all four, and that includes dry time.
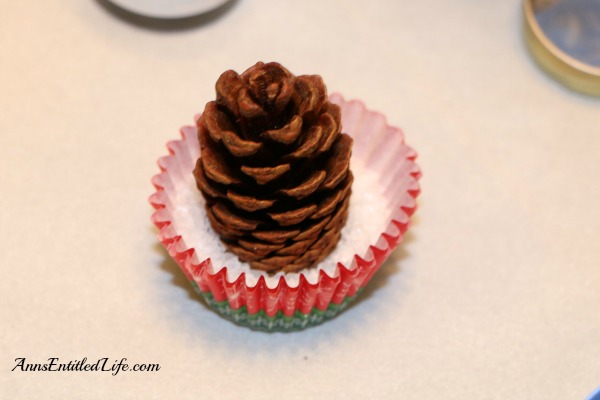
On to the candy holders. I decided to double them up for more stability. And that was when I decided the Epsom salts would probably be a good idea for more support and weight.
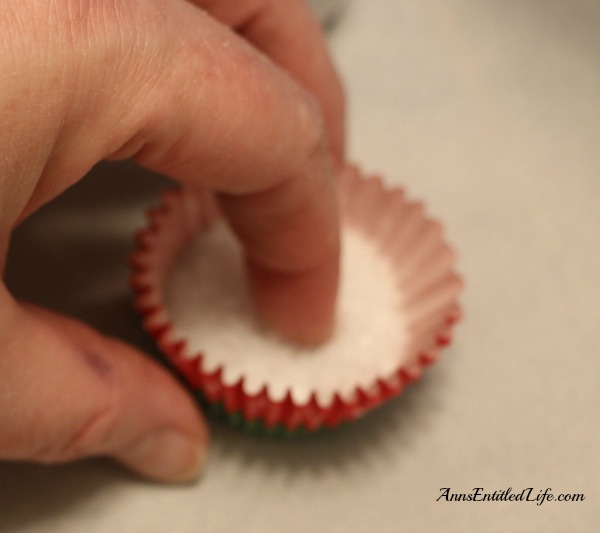
I poured a bit into the candy cup holders, and poked my finger in, placed the pine cone in the indenture, and painted. That worked fine, but I thought there should be a bit more stability, so I got out the **gasp** glue gun.
Now I have often stated that I would hot glue my fingers together if allowed anywhere near a glue gun, so it was with some trepidation I took this monumental step. Nevertheless, I felt hot gluing the pine cone to the candy cup would be better for support (to keep the pine cone reasonably straight), so the glue gun got plugged in.
And I hot glued the bottom of the pine cone, slapped it into the candy cup, held it in place for a few seconds while the glue cooled, and did not burn myself!
I did, however, drop the glue gun on the floor immediately after first use, and smelled something funky – which I promptly ignored.
I then added a bit of Epsom salts for more weight and stability.
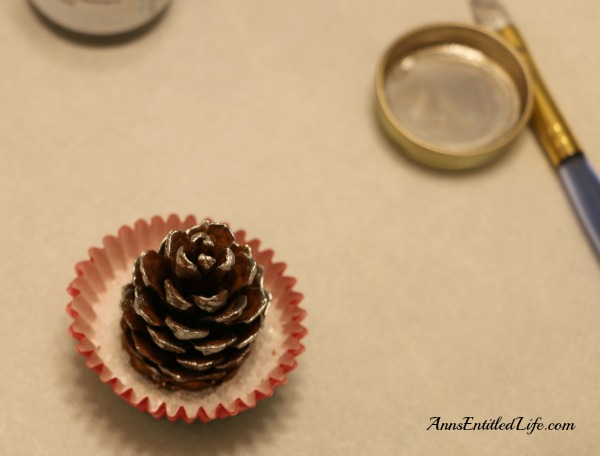
I again painted the edges of the scales with silver gilding.
I again scribbled a name on a post it, and stuck it inside the pine cone scales. Again this took about 10 minutes to do all four, and that includes dry time.
These are freaking adorable! I have them set aside for Christmas dinner.
If you are looking for a quick, cute craft for your holiday table, this is certainly easy enough.
And depending on how much of this stuff you have in your house already, the cost is minimal.
● Disclosure: the links in this post may be affiliate links.
● If you enjoyed this post, be sure to sign up for the Ann’s Entitled Life weekly newsletter, and never miss another article!
● For more Holiday posts on Ann’s Entitled Life, click here!
● Follow my Pinterest Christmas Decor board!
Stephanie K. says
I agree, freaking adorable! 🙂
Ann says
Thanks Stephanie!
Ann