If you are a gardener on a budget, daylilies are one of the best plants you can grow. A small investment in daylilies will give you blooms for many years to come, and these quick-growing plants can fill your yard up fast. Daylilies are fairly simple to grow too. Look below at some helpful tips for growing daylilies, and see why this is a plant you should add to your yard this year!
10 Tips for Growing Daylilies
I have a lot of daylilies in my front garden. They are actually one of only two flowers I grow up front that are perennials. My house has been landscaped professionally several times since we have lived here, and each time the landscaper has used daylilies as an annual.
Why?
My guess would be because they are a beautiful flower that is very easy to grow. They are fairly inexpensive, and provide great value for space – plant once, enjoy the color for years to come. Daylilies are also able to be divided, meaning that if I choose to, I can have even more daylilies in the future for no cost!
Daylilies Add Color
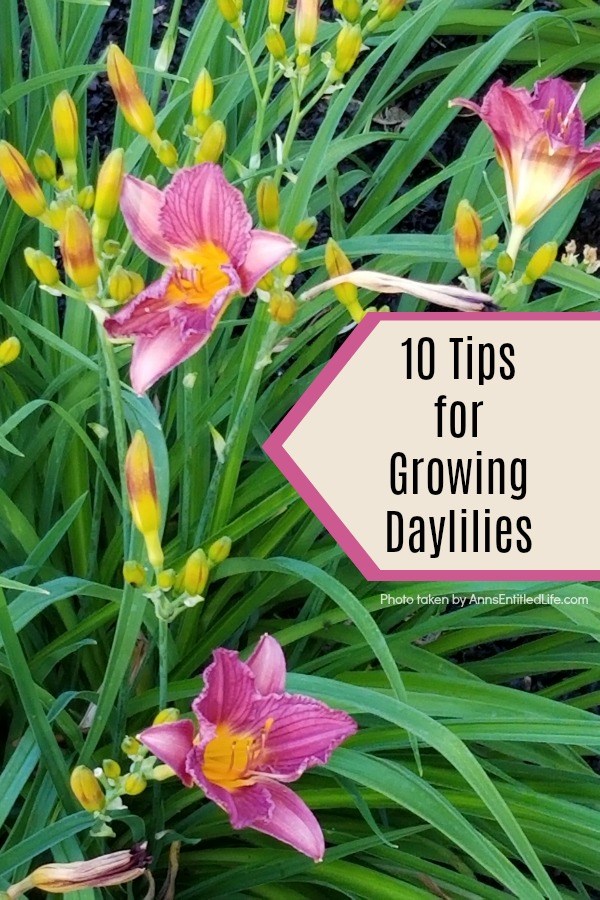
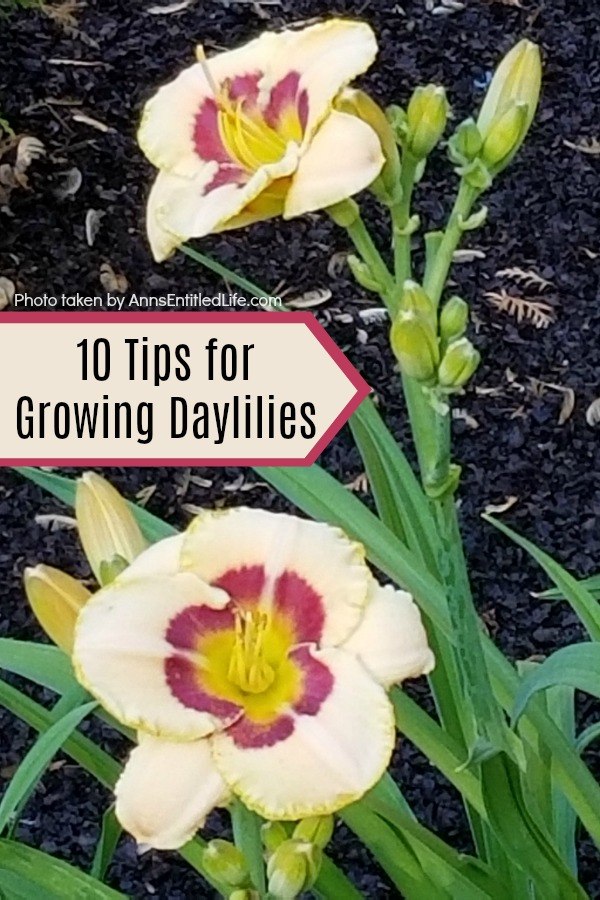
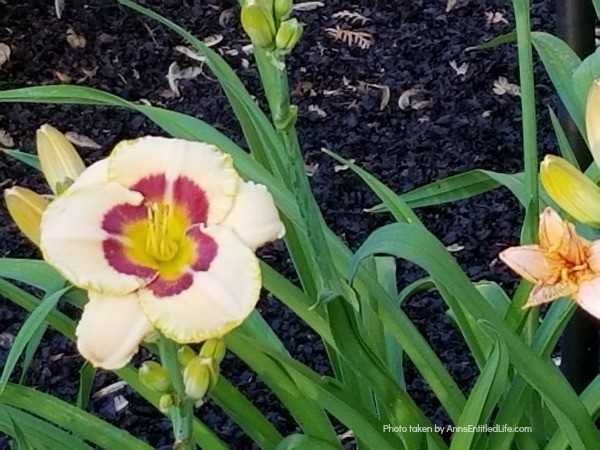
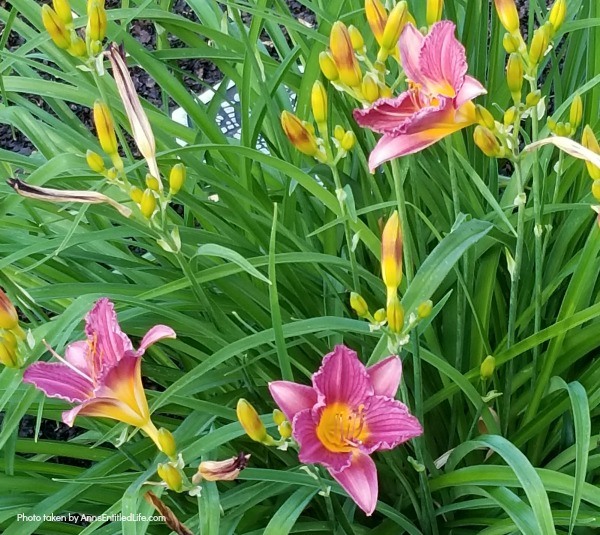
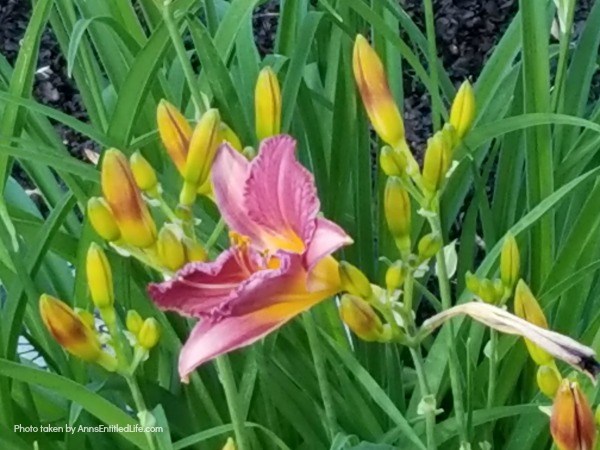
Daylilies are easy to find in yellow and orange shades, but you can also find them in shades of red, purple, and pink. Get creative with color and mix and match your daylilies to create the perfect flowering space in your yard. Because all daylilies benefit from the same kind of care, you don’t need to worry about mixing varieties.
Opt for Daylily Bulbs or Ready to go Plants
You can plant daylilies from bulbs, but because of critters and time, it is advised that you plant from potted plants. You can find daylilies in ½ and full gallon containers at most garden nurseries or the Home Depot or Lowes garden centers. Each container will have 1-3 plants in it. This really gives you bloom for your buck! Daylilies only cost about $4-$6 per container, so you can really stock up and stay in budget.
Plant Daylilies in the Sun
Daylilies prefer full sun, BUT do not worry if you only get four or so hours of sun per day. You can still have success with daylilies in part shade. You will get more blooms in full sun, but even part sun daylilies will put on a show for you.
Prepared Daylily Soil
Daylilies do not like to be soggy, so only plant them in spaces that drain well. You do not want to plant them near puddles or areas that stay wet after a hard rain. This can cause rot and disease and kill the plants quickly.
How to Plant Daylilies
To plant daylilies, dig a hole slightly larger and deeper than your root ball. Leave 12 to 18” between plants. Place a scoop of flower food in the hole. Place a group of two to three daylily fans inside the hole, and gently cover the dirt. Water well.
Try Not to Overcrowd Your Daylilies
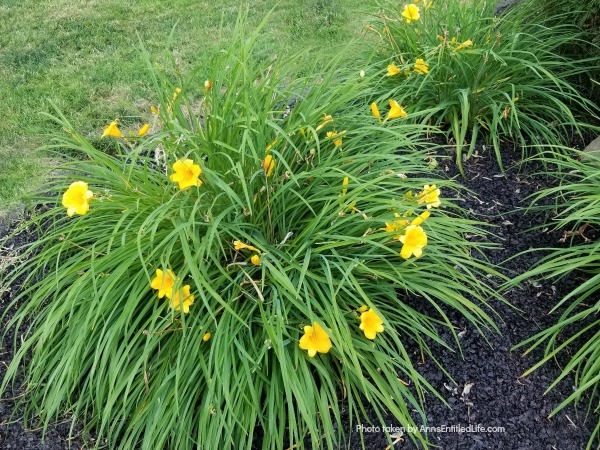
Daylilies will spread quickly, so be sure to plant your blooms at least 12″ inches apart. This way you can avoid crowding. Keep daylilies away from smaller, shorter plants, as they can quickly take over and cause cramping or shading, killing the other plants off.
The other problem with overcrowding daylilies is the weeds will grow thick between the fans. It is incredibly difficult to weed overcrowded daylilies (ask me how I know).
How to Deadhead Daylilies
As your daylilies start to bloom, enjoy them! But as soon as the old blooms start to wilt, go ahead and pinch them off. This will help the plant direct resources into creating more blooms instead of trying to revive the dead bloom.
Water Daylilies as Needed
Most of the time, your daylilies will do just fine with regular waterings from the rain. If you do experience a lack of rain for five days or more, you will want to give them a good watering to prevent withering and encourage more blooms.
Daylilies are Perennial Plants
As perennials this means your daylilies will come back on their own each year, bigger and better! They will continue to multiply and spread, filling up your yard fast. If crowding becomes a problem, simply dig the plants up at the root and move to another spot. Or, give the plants to neighbors so they can enjoy them too!
How to Divide Daylilies
Daylilies can be divided in the fall for more flowers next season, or you can divide your daylilies when they just start to sprout in the spring.
A clump of daylilies has three or more fans of leaves. Dig up the root ball of that clump using a garden spade – make sure you dig low enough to get all the roots. Clean away the root ball soil. Separate the fans away from the clump of dailies you removed so you end up with two or three individual daylily plants.
Replant using the tips above (sunny, well-drained soil, 2-3 fans per hole).
Daylilies are such a colorful, fun plant to grow, and in no time they can fill a space even on a tight budget. Consider these tips on growing daylilies and see how fun they can be!
If you are a home gardener, you may be interested in these gardening topics:
● 7 Reasons to Grow Vinca Vines – Perennial Vinca vines sure do pack a garden punch. These little flowers are beautiful and mighty, thriving even in less than ideal growing conditions. If you are looking for some colorful ground cover, vinca vines may be just the plant you are looking for.
● 8 Great Reasons to Grow Hostas – Hostas do not get nearly enough attention for being the amazing plants they are. They are so simple to grow and can provide endless beauty for your yard. Aside from their easy care and beauty, there are even more reasons to grow these wonderful perennials.
● 10 Best Low Light Houseplants – If you have a darker room without a lot of natural sunlight, do not despair – you can still grow houseplants indoors! Here is a list of the 10 Best Low Light Houseplants to grow inside.
● Disclosure the links in this post may be affiliate links.
● For more Gardening posts on Ann’s Entitled Life, click here.
● Enjoy this post? Sign up for the Ann’s Entitled Life FREE Weekly Newsletter to stay connected.
Janis Lee Martin says
Will a ditch lilly cause my beautiful hybreds to turn back into a ditch one?