Earth Box Set-up
– step by step instructions on how to set up an earth box – a How Does Your Garden Grow? post!
We have passed Mother’s Day, traditional the “safe plant” day in my Zone 6 hardiness zone. So, with that in mind Hubby and I got to the backyard garden this past weekend (the front gardens will wait until the landscapers come in to take care of what the plumbers suggested, as well as the sewer repairs).
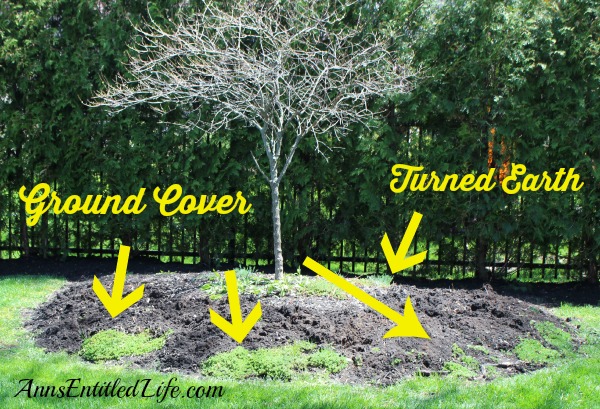
On Sunday, Hubby turned the earth on the herb island. I left the ground cover. It is so pretty, I decided wth! If worse comes to worst, I take it out later.
On Monday I went over to the nursery and bought herb seedlings, overbought tomato (decided on heirloom tomatoes) and peppers. I ran out of room in the Earth Boxes (see below), and these will be planted in other areas of the backyard.
I also bought a load of herbs. Since I planned on planting on Tuesday, and it poured what i bought and the planting will have to wait until next week’s post. I am not sad though- it is supposed to be a low of 41° on Friday (it is 88° out as I type this post), so I will hold off until Saturday before actually putting my herbs in the ground.
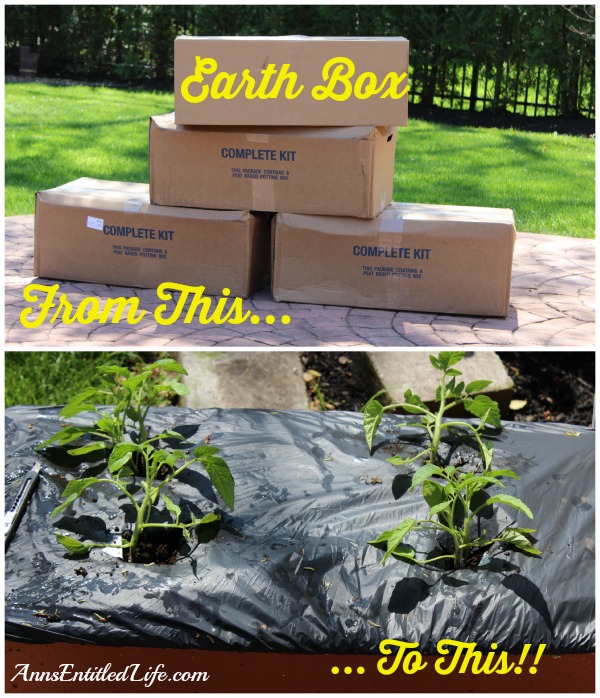
When I decided to plant some vegetables as well as herbs, I figured the vegetables would have to be container gardening. I decided I wanted tomatoes and peppers, and possibly cucumbers (not happenin’ this year). When I mentioned this to Hubby, he suggested a grow box or an earth box. After looking at both, I went with the earth box because … they had a coupon code available and ended up being a lot cheaper than the grow boxes.
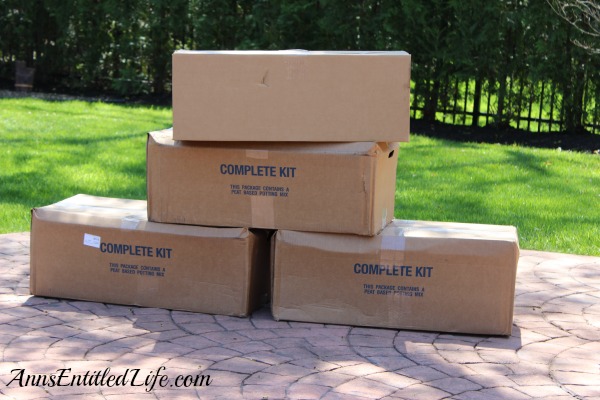
I placed my order and it arrived within the week. Now I had to wait until I could plant.
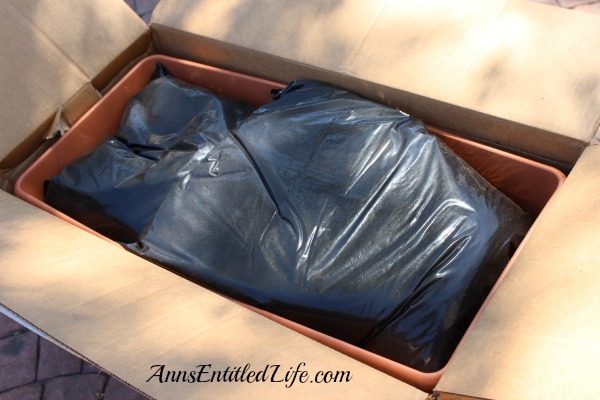
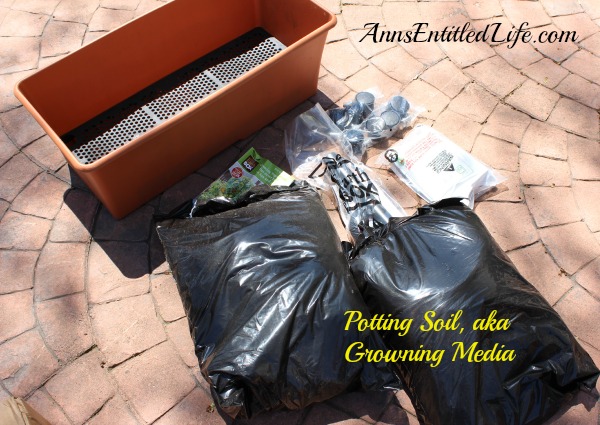
Putting together the first earth box took a good 30 minutes between photographs and reading the instructions. The second and third ones were assembled in well under 10 minutes.
If you buy the complete kit, it comes with rollers, so no need to buy extras. {sigh}
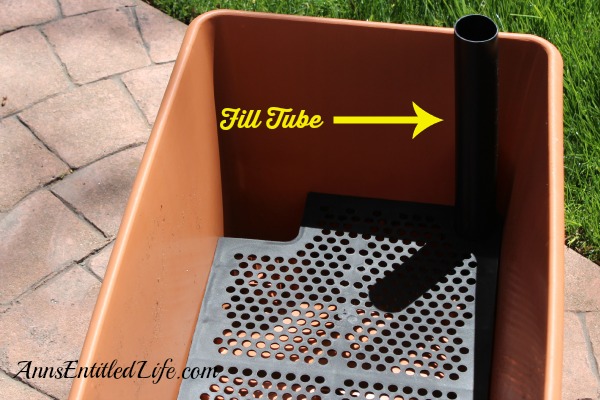
You put the wheels on first, then flip it over and put on the the filter and insert the fill tube.
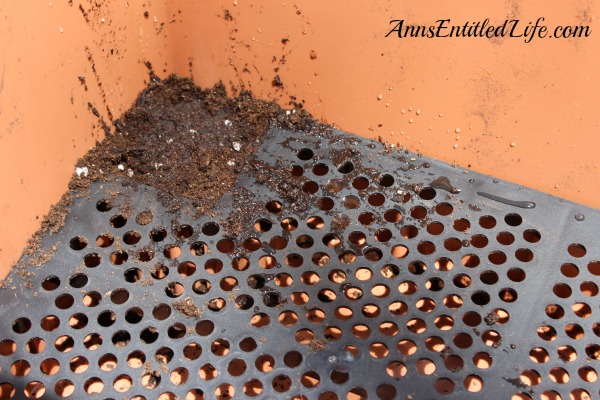
Pack the corner holes with moist potting soil.
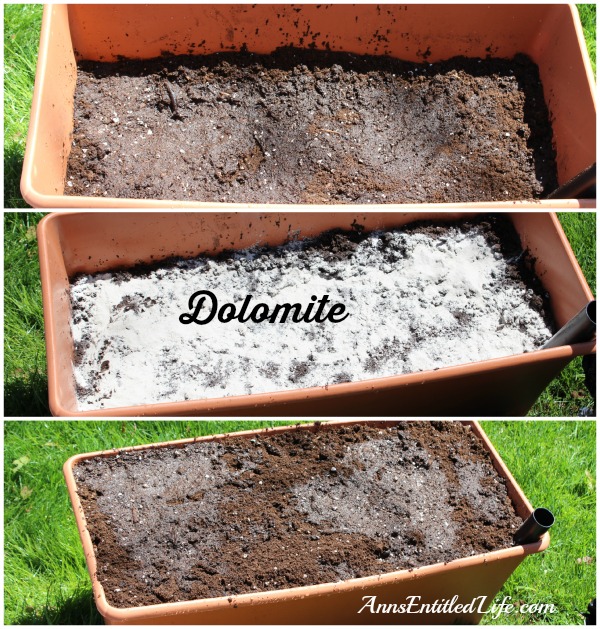
Place 2″ of potting soil on top of the filer. I placed an 1″ in, wet it, placed another inch of potting soil down, wet it again and it compressed more.
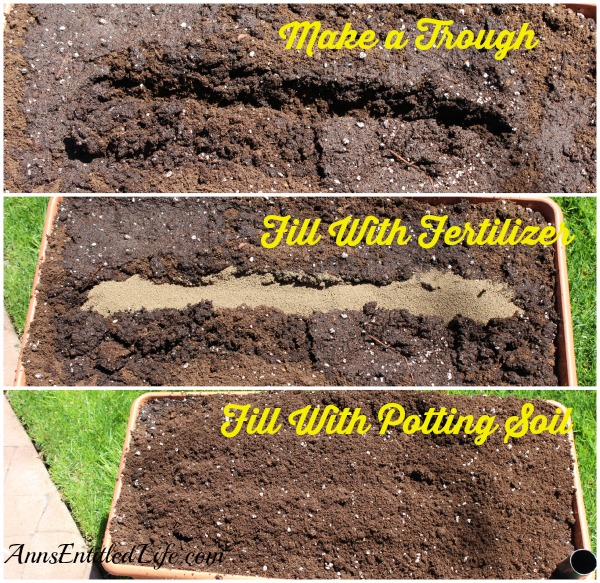
Then I sprinkled on the dolomite, and then filled to the top with more potting soil.
After that, I made a trough, and filled it with the bag of fertilizer that came with the kit. I then topped off the planter with the rest of the potting soil.
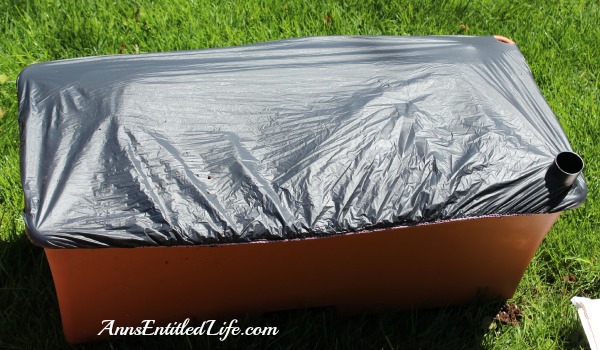
Since it isn’t usually a prolonged 85° here in the summer, I placed the dark side of the mulch cover up. I may live to regret that if we have a hot summer.
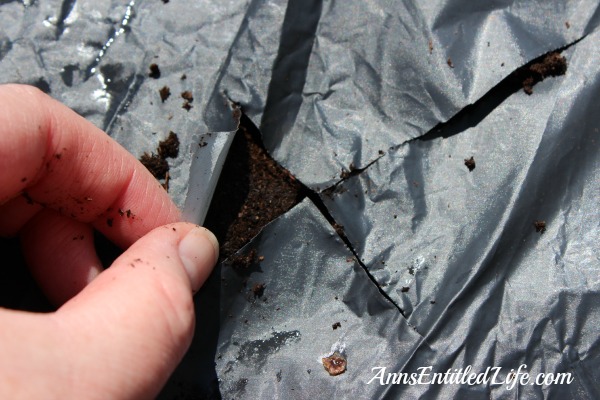
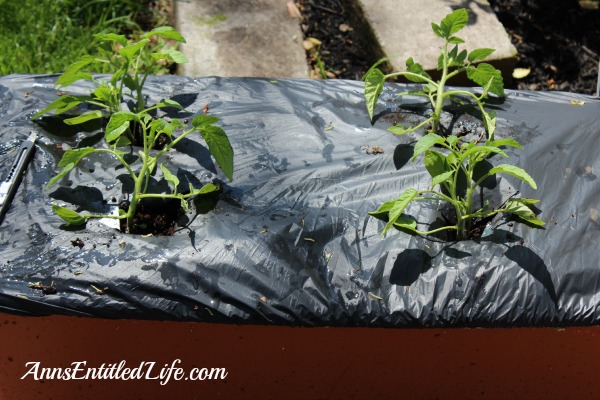
When it came time to plant my seedlings, I made an X in the mulch cover, wet the bottom of seedling and put some water at the bottom of the seedling.
And I am done. I “think” I over-planted tomatoes and under-planted peppers. LOL We shall see as the summer progresses. My main concern now is keeping the water reserve full, and setting up the staking system as my plants grow.
Do you grow any plants in containers? If so, what? And what type of containers do you use? Tell me, How Does Your Garden Grow!?
● Disclosure: the links in this post may be affiliate links.
● For more Gardening Posts on Ann’s Entitled Life, click here.
● For more Craft Posts on Ann’s Entitled Life, click here.
● If you enjoyed this post, be sure to sign up for the Ann’s Entitled Life weekly newsletter, and never miss another article!
KimH says
Awesome!! Looking good!! This year I’ll have my community gardens.. (my daughter & adopted daughter are getting one too!) and I bought 4 large half barrels to plant in here at my house. I’ve got potatoes in 2 of them. I plan on putting 1 or 2 tomatoes in one of them and a tomatillo & a jalapeno in the other… at the feet of these, I think I may put in some carrots and Daikon and/or icicle radishes.
They havent opened the community gardens yet but they will in the next week or two.. if they dont open it before, they always open it Memorial Weekend. Looking forward to a great growing season! 😉
Ann says
Sounds like you have a plan, Kim. Mine is sorta a moving target right now. Until I get everything else in the ground this weekend, I won’t know the exact placements. I over-bought (duh), so am now looking for spots for a few more tomato plants.
Ann
Tammy says
I grow 10 grow box brand planters every year. I have had success with tomatoes, peppers, strawberries, and herbs. The grow box brand comes with a slow release organic fertilizer attached to a berlap soil cover. The soil cover indicates where you should plant the plants for the best results for several different plant types. There is a water reservoir just like a grow box. Living in the Florida heat it is great to be able to wait a week between waterings when dry and not worry about the plants drowning when it rains for three days straight.
Ann says
My grow box tomatoes are already starting to grow flowers. It is CRAZY how much ahead of the ground plants they are!
Ann
John says
I have seven Earthboxes (well six and a competitor called GrowBox). I also have 8 homemade ones that I made out of five-gallon buckets. I use them for peppers, eggplant, turnips, beets, okra, and greens. I find them least useful for tomatoes, beans, and peas here in my zone and soil (5B). Earthboxes are what gave me the courage to make my first “real” garden. Have fun!
Ann says
Thanks John! I looked at grow boxes too, and only went with the earth box because the coupon code made them a lot cheaper.
I really appreciate the tip about the beans and peas. I was waffling about peppers or beans, and went with the peppers this year. Your comment will definitely make me try beans next year.
Ann
Angie says
I used earth boxes this year for my tomatoes and the plants were huge and gave me plenty of tomatoes. The one thing I did have was bloom rot when I took care of that they were great. Enjoy. I tried to send a picture of the plants that reached 6 foot but it wouldn’t let me upload.