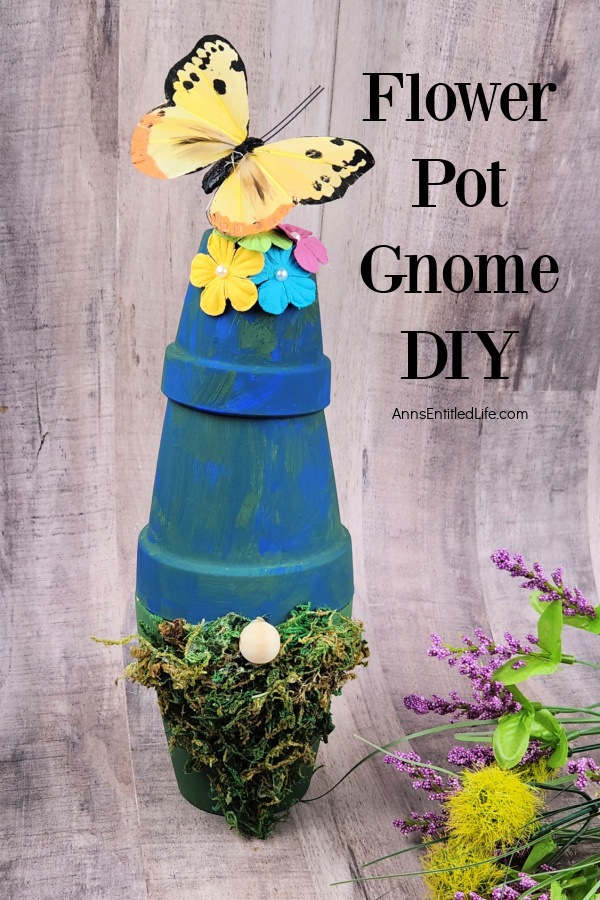
Craft a flower pot gnome with this easy step-by-step tutorial. Transform your garden decor with this delightful DIY craft.
With just a few materials, you can create an adorable gnome that is perfect for spring and summer decor! This is perfect for adding some charm and whimsy to any room in your outdoor decorations.
Flower Pot Gnome DIY
If you like gnomes (and I clearly do), you are going to love this little guy. Super simple to make, this flower pot gnome adds a touch of fantasy to your garden decor. These guys can also be used as part of your lanai or back porch decor.
This is a no-sew gnome craft this is super easy to make!
Tips and variations for making this flower pot gnome craft:
● Make sure your clay pots are clean and dry.
● If you use plastic pots, get them colored and you will not have to paint them!
● You can use any color combination you like. This is blue and green for an Earth Day theme.
● I used hot glue. If this is going to be out in the elements, you may want to consider using Marine Goop. It will take longer to dry, but it will stand up to rain and humidity better than hot glue.
● The pots, flowers, butterfly, and moss used in this DIY craft came from Dollar Tree.
● You can find all the materials to make this flower pot gnome either online or at your local JoAnn, Michaels, or Hobby Lobby.
Other cute gnomes crafts:
● Mardi Gras Gnome DIY (this guy is over-the-top!)
● St. Patrick’s Day Gnome DIY
● Bunny Gnome DIY
● Patriotic Gnome Decor DIY
● Graduation Gnome
● How to Make a Football Gnome Pin | DIY
● Pilgrim Gnome DIY
● How to Make a Santa Gnome Ornament for Christmas Christmas Tree | No-Sew (holiday gnomes)
● Easy Snowman Gnome Craft Tutorial | No Sew
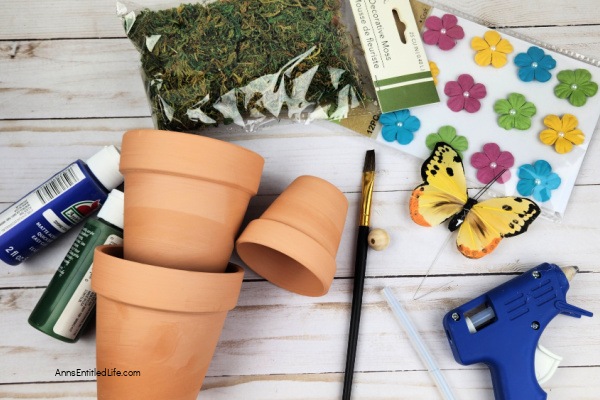
Flower Pot Gnome Craft Tutorial Materials:
● (1) 2.5-inch Clay Pots
● (2) 3.5-inch Clay Pots
● Glue Sticks
● Blue Paint
● Green Paint
● 1 Package Moss
● 1 Small Wooden Bead
● Flower Embellishments (or embellishment items of choice)
● Decorative Butterfly
Flower Pot Gnome Craft Tutorial Tools:
● Paint Brush
● Art Easel
● Scissors
● Hot Glue Gun
● Self Healing Mat
Flower Pot Gnome DIY Directions:
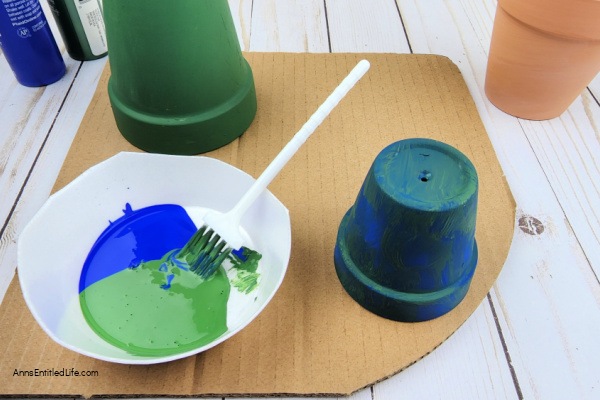
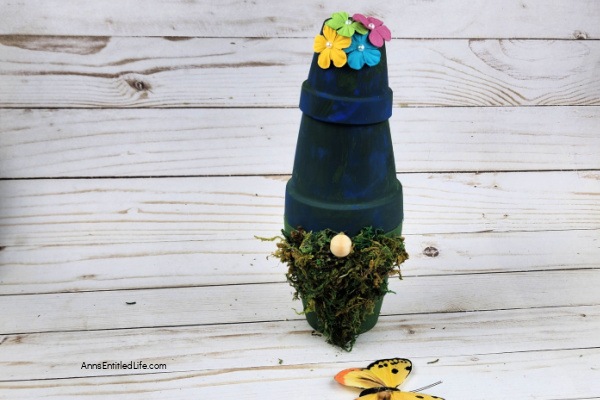
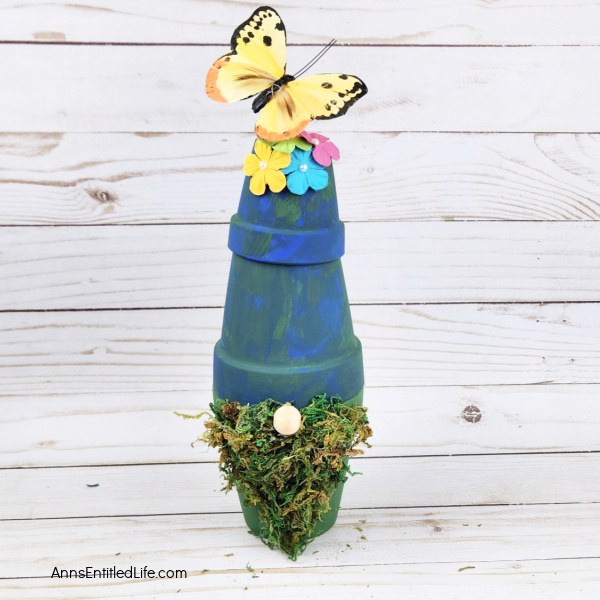
1. Paint the flower pots. One large pot was painted green, then the other two pots were painted a mixture of blue and green. You can paint any colors you choose, and mix and match as desired. The bottoms of the large pots do not need to be painted but the small pot does. Allow the flower pots to dry completely.
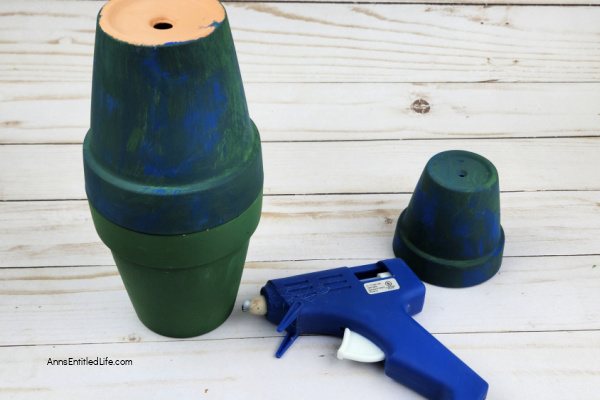
2. Use a hot glue gun to glue the two large pots together. You will be gluing them rim to rim.
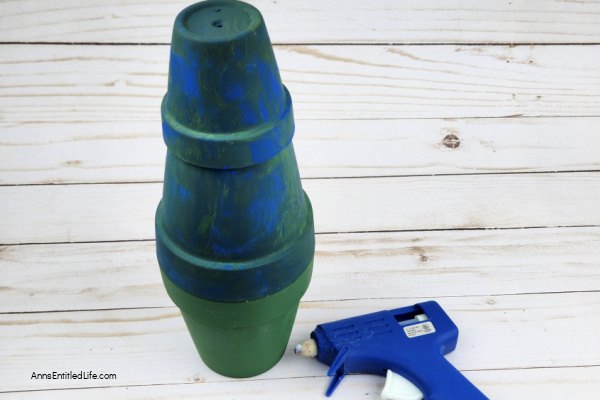
3. Glue the small pot on top of the blue and green pot. This will be the rim of the small pot onto the bottom of the large pot.
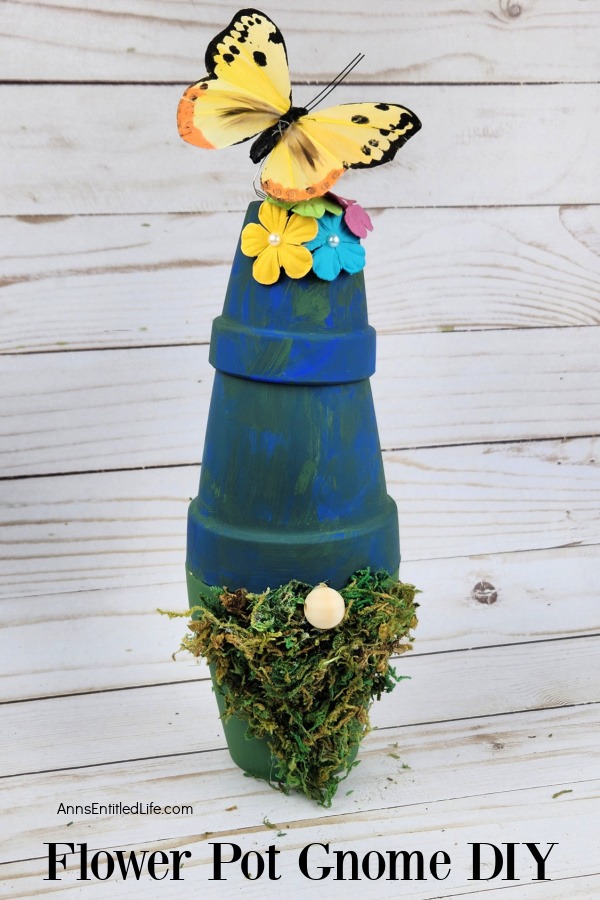
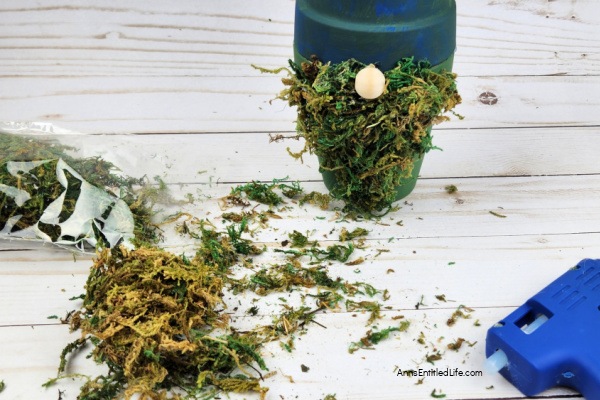
4. On the large green pot use hot glue to glue the moss into a V shape on one side of the pot. This will make our gnome beard. You may need to glue in layers in some areas. You can also go out to the sides a little around the rim of the pot if you want your gnome to have a moustache.
5. Glue the wood bead in the center top of the wide part of the moss. If you need to add more moss to the sides of the bead you can so that it looks like hair under and around the nose.
6. Glue the flowers and butterfly to the top of the flower pot.
7. Display as desired.
Flower Pot Gnome DIY
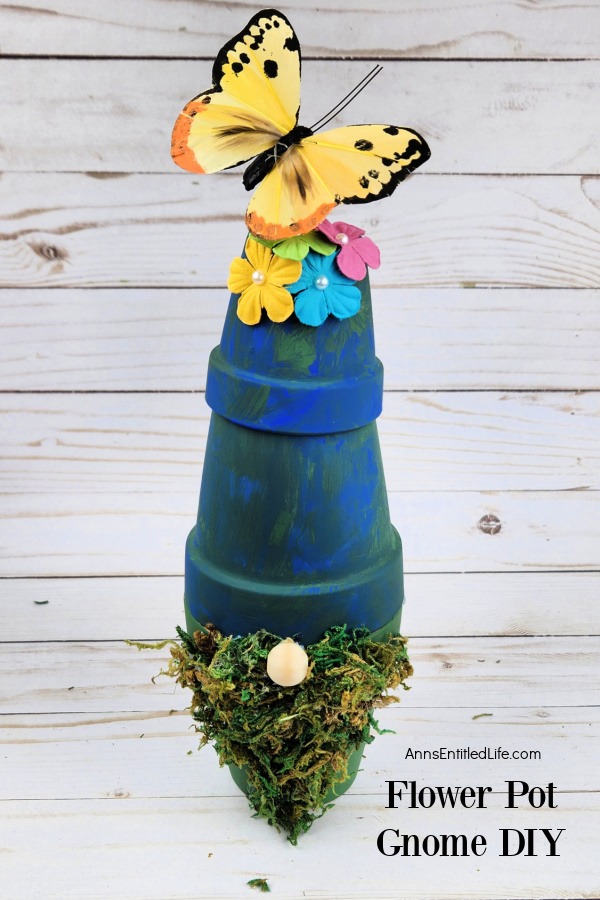
Flower Pot Gnome DIY. Craft a flower pot gnome with this easy step-by-step tutorial. Transform your garden decor with this delightful DIY craft.
Materials
- (1) 2.5-inch Clay Pots
- (2) 3.5-inch Clay Pots
- Glue Sticks
- Blue Paint
- Green Paint
- 1 Package Moss
- 1 Small Wooden Bead
- Flower Embellishments (or embellishment items of choice)
- Decorative Butterfly
Tools
- Paint Brush
- Art Easel
- Scissors
- Hot Glue Gun
- Self Healing Mat
Instructions
- Cover your work surface against paint, burns, and cuts.
- Paint the flower pots. One large pot was painted green, then the other two pots were painted a mixture of blue and green. You can paint any colors you choose, and mix and match as desired. The bottoms of the large pots do not need to be painted but the small pot does. Allow the flower pots to dry completely.
- Use a hot glue gun to glue the two large pots together. You will be gluing them rim to rim.
- Glue the small pot on top of the blue and green pot. This will be the rim of the small pot onto the bottom of the large pot.
- On the large green pot, use hot glue to glue the moss into a V shape on one side of the pot. This will make our gnome beard. You may need to glue in layers in some areas. You can also go out to the sides a little around the rim of the pot if you want your gnome to have a mustache.
- Glue the wood bead in the center top of the wide part of the moss. If you need to add more moss to the sides of the bead you can add more so that it looks like hair under and around the nose.
- Glue the flowers and butterfly to the top of the flower pot.
- Display as desired.
Recommended Products
As an Amazon Associate and member of other affiliate programs, I earn from qualifying purchases.
-
 Hodao Bumble Bee Spring Gnome Decorations Honey Bee Gnomes Ornaments World Bee Day Decorations Gifts Fall Thanksgiving Gnomes Figurines Honey Bee for Garden Decor Bee Birthday Party Decorations
 -
 RealSteel I Metal Garden Gnomes Outdoor I Steel 4 Pack I Lawn Ornaments and Statues I Garden Decoration I Funny Gnome I Yard Decor Gift for Gardeners
 -
 Design Toscano QM13097 Zen Garden Gnome Indoor/Outdoor Statue Lawn Ornament, 9 Inches Wide, 5 Inches Deep, 8 Inches High, Full Color Finish
● For more crafts on Ann’s Entitled Life, click here.
● If you enjoyed this post, be sure to sign up for the Ann’s Entitled Life weekly newsletter, and never miss another article!


Leave a Reply