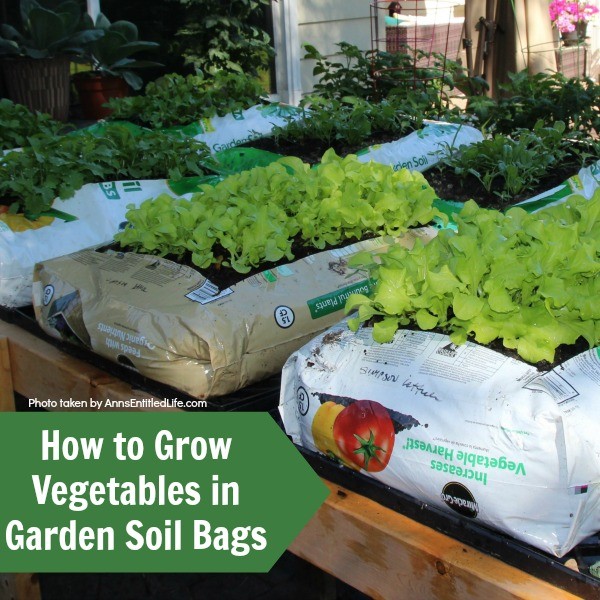
Learn how to grow vegetables in soil bags eliminating the need for garden planters or in-ground planting. Grow your vegetables from seed, and have fresh vegetables all summer long with very little gardening work!
Would you like to grow your own vegetables all summer long with minimal effort? Well, have I got a plan for you…
How to Grow Vegetables in Garden Soil Bags
We no longer grow vegetables in garden beds. That ended many years ago with age and knee pain. I went down hard once while chasing Max around the house (my knee ligiments blew up) and never rehabbed it. Years later, I paid for that decision. I needed to make accommodations for that over the years, and went to container gardening.
In the area of New York State where I live and grow the growing season is from April through November depending upon what you want to grow (generally, Mother’s Day through Halloween for the real season). Here is the USDA Plant Hardiness Zone Map so you can determine your growing season. As you can see, I grow in earth boxes, plastic containers, traditional pots (terra cotta), large containers, etc.
My friend Dian over at DianFarmer.com told me about an idea to grow vegetables in soil bags. No more planting in the ground or transferring the soil to containers; you simply cut open a bag, drop in some seeds, and Viola! Veggies.
I thought it was an interesting idea but could see some real issues with it mostly concerning rooting and waterlogging. Hubby and I brainstormed how it would be possible to grow some plants in bags, and what we would need to do to make it happen.
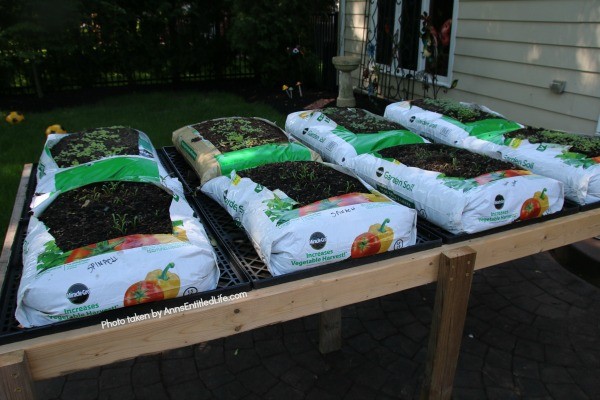
The first thing we needed to do was figure out how to get those bags off the ground and high enough so I could reach them without breaking my back. We also needed there to be drainage so as not to allow puddles of water to gather inside the soil bags.
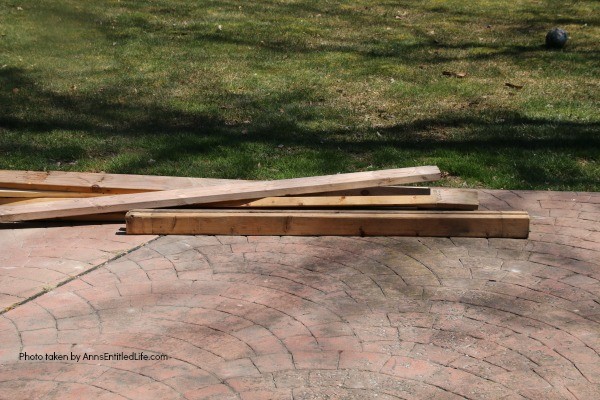
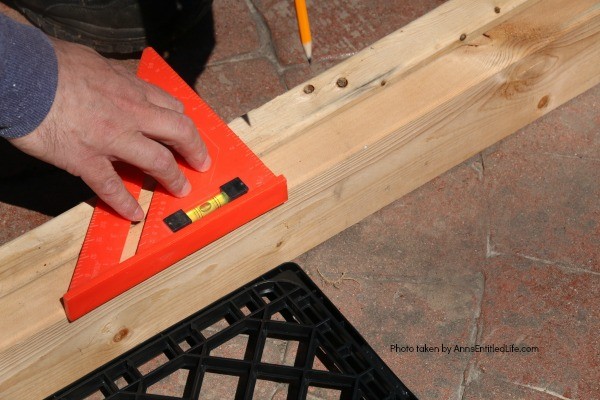
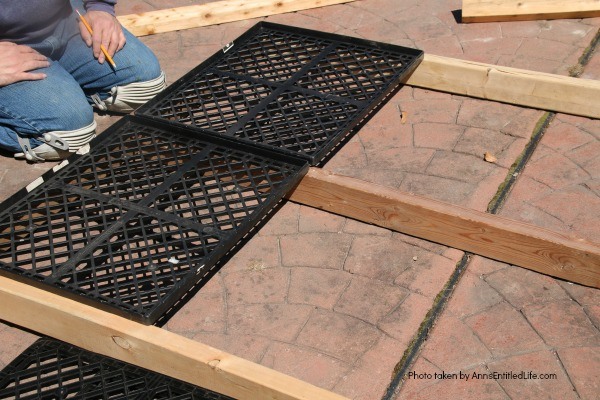
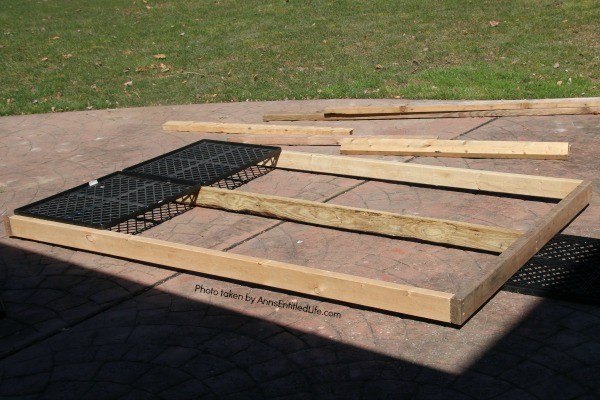
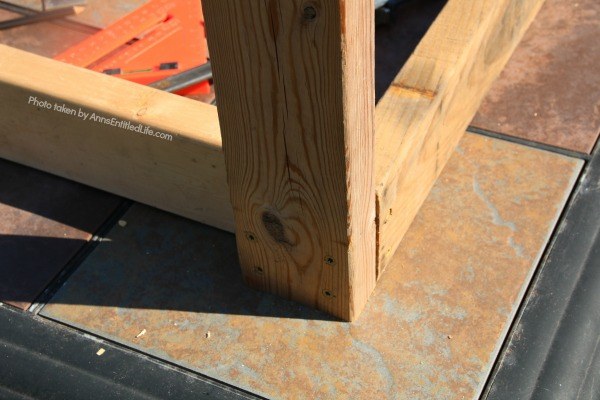
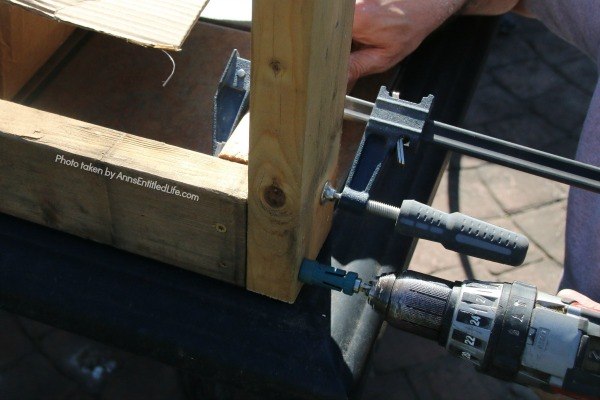
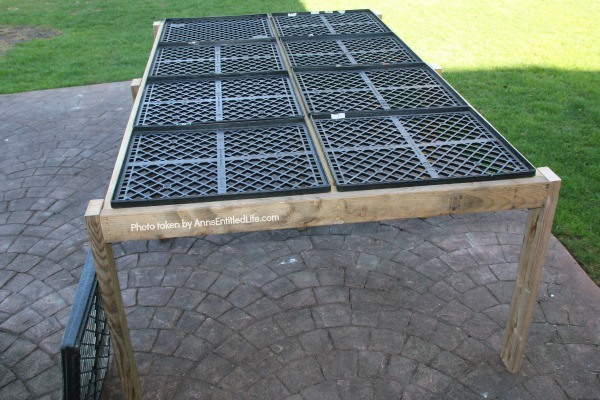
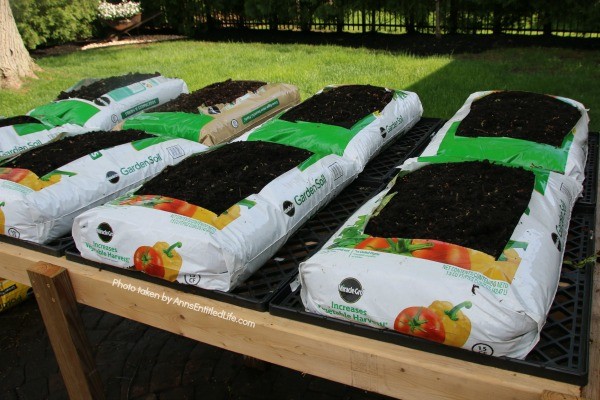
Hubby built me a stand. The stand was really, really important to me because as I said… no bending over. The stand is simply 2x4s angled together to form a table with no top. He made it sturdy enough to last (we left it out all winter long). You could use anything with slats… saw horses with just 3 planks on top would work!
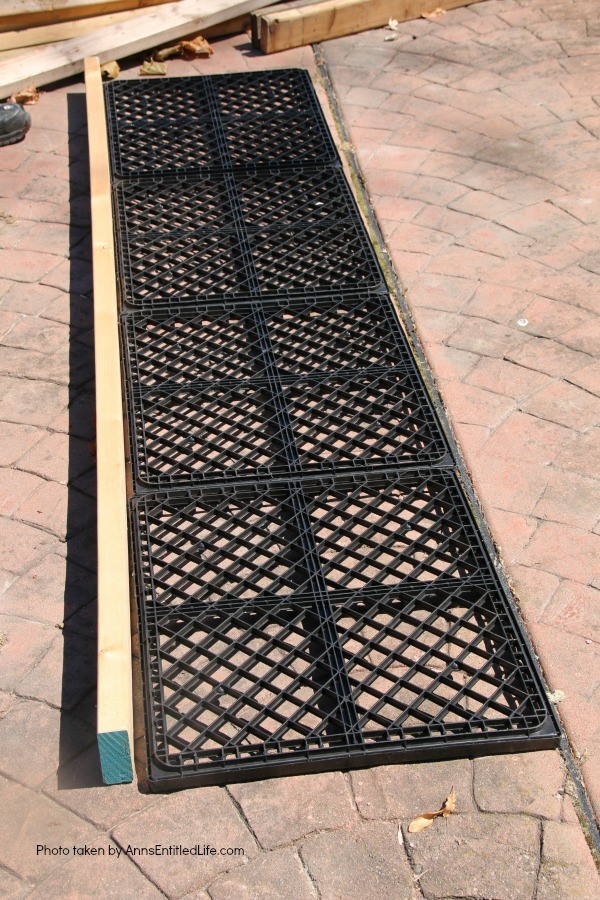
Hubby had picked up some old bread trays somewhere (don’t ask, that man is a real packrat), and he built the stand to fit those trays. We placed them on top of the stand when he finished building it. That the trays had slats was very important in allowing excess water to flow through and not pool. They were also strong enough to support the bags of dirt.
I researched root systems. The ones with the smallest root system that we would eat were lettuce, spinach, and mustard greens (leafy greens). Radishes were another option, but since neither Hubby nor I would eat them, we passed.
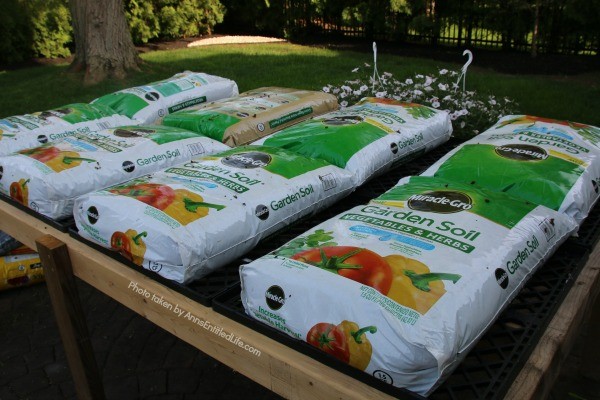
I purchased two different types of dirt: Miracle Grow Garden Soil and Miracle Grow Raised Bed Soil. I wanted to see if there was any difference between the two soil mixes for the purposes of this experiment… there was not. Note: there are different sizes of garden soil bags. Choose the bag of soil size that works best for you.
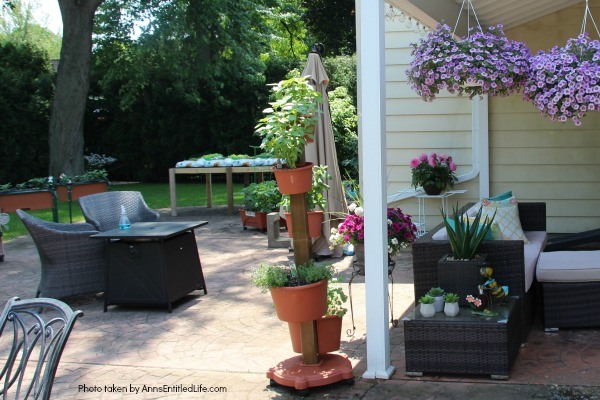
I chose an area on the patio where I could easily access all the bags for watering and harvesting, and where there was a decent amount of sun but not full sun all day.
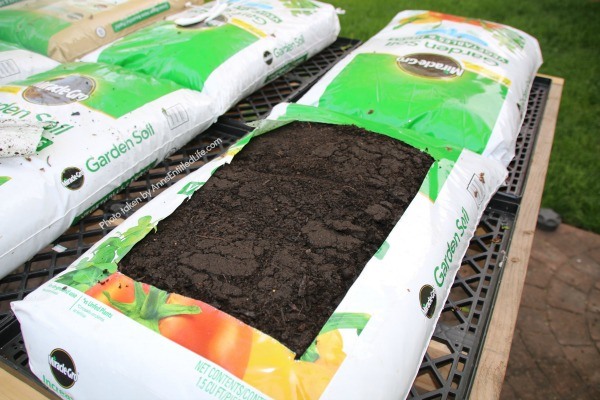
I cut a rectangle on the top of each of the bags removing the plastic I cut out, but leaving enough bag-side so the dirt wouldn’t spill out (about 3″ all the way around the top). I poked a LOT of small holes in the bottom of the bag so the water wouldn’t build up inside the bag. I needed excellent drainage without letting the dirt fall through the holes. The last thing I wanted was root rot.
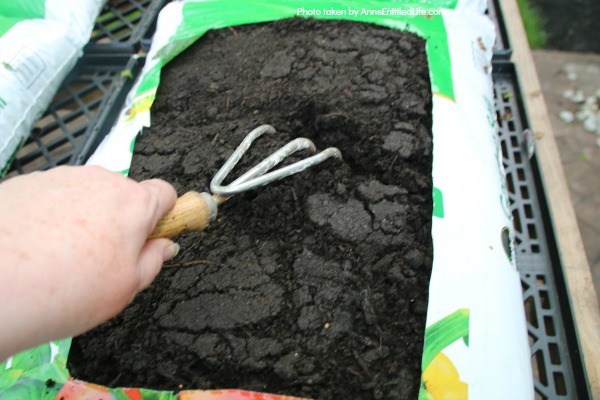
To plant the seeds, I lightly scraped the soil with a hand rake.
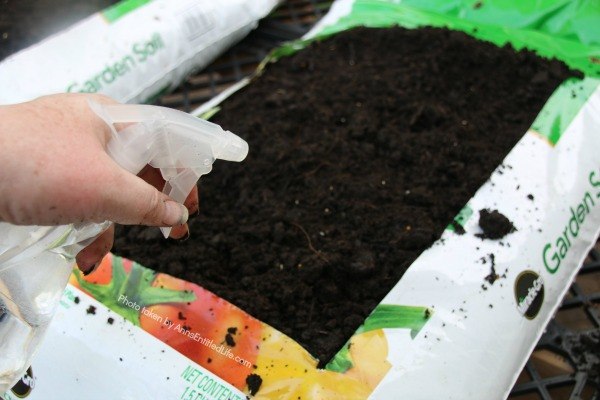
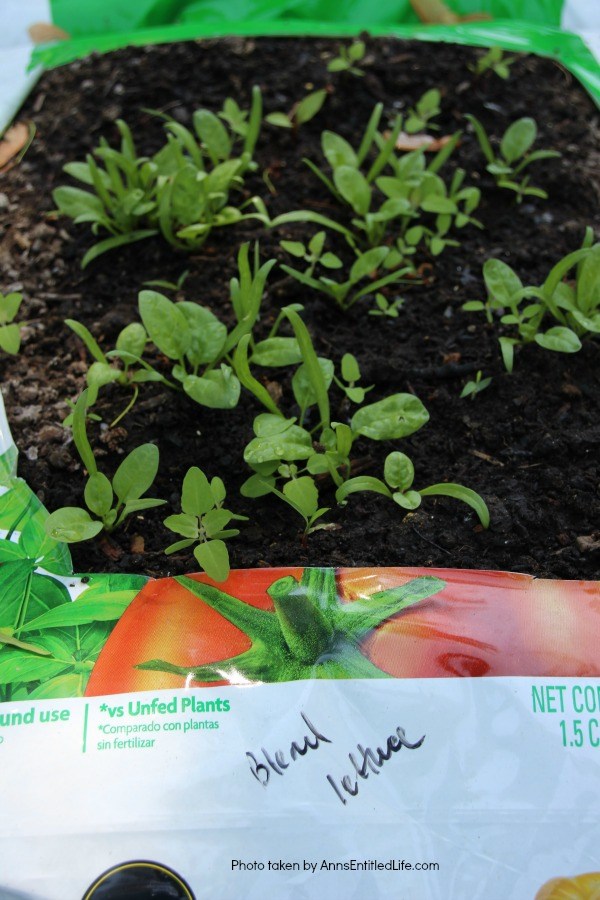
I sprinkled the seeds onto the soil of each bag and covered the seeds shallowly with soil. I moistened the soil with a spray bottle to wet the soil. I actually used this spray bottle for the first 7 days so as not to wash away the seeds and allow them time to root and grow.
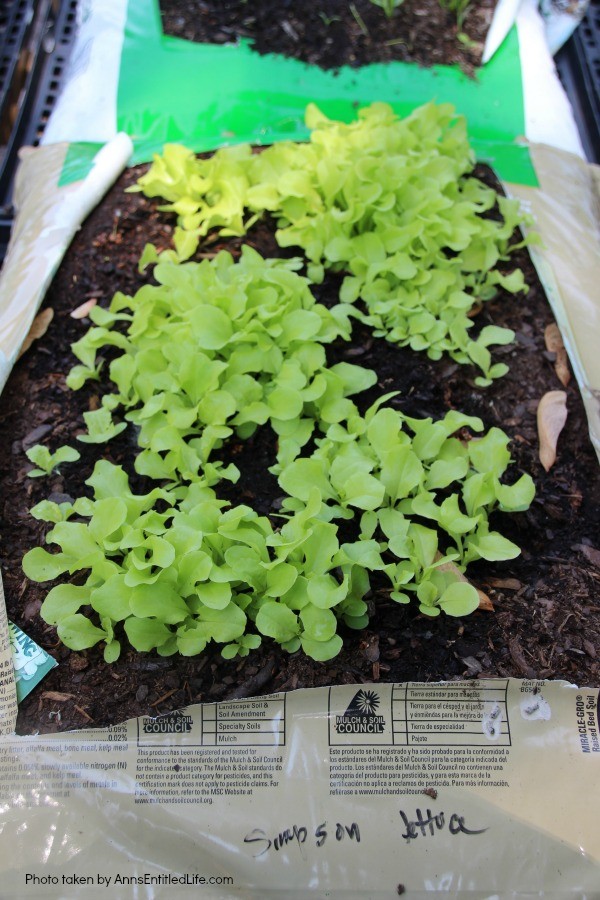
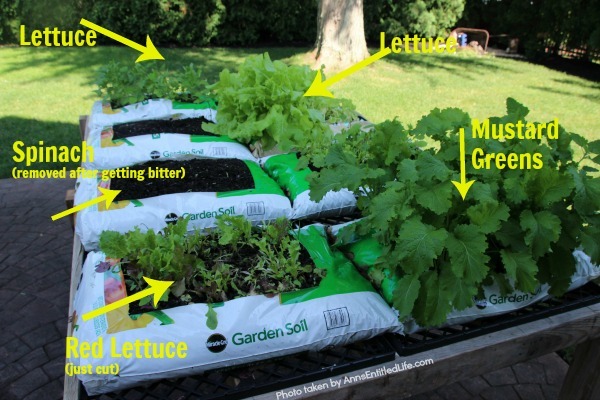
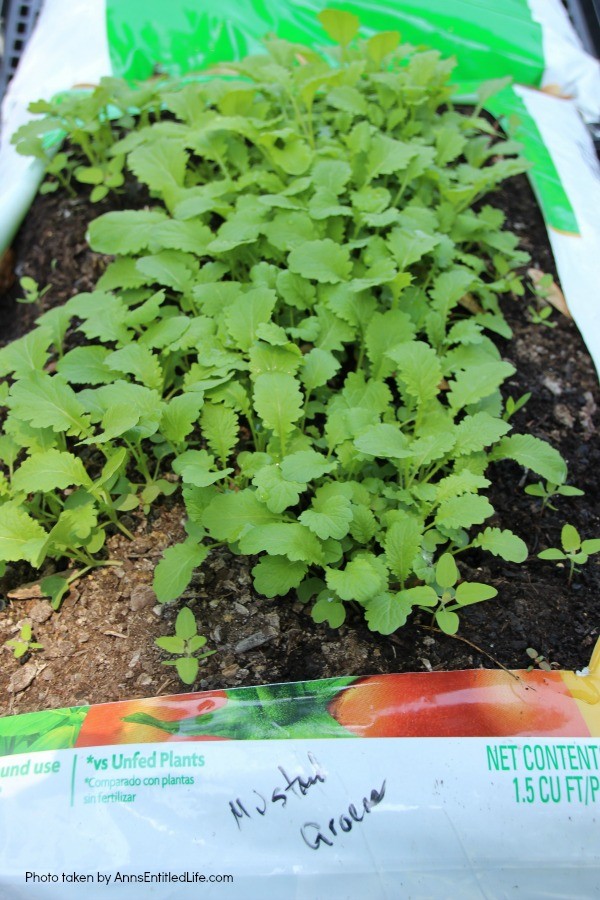
I then marked what was growing in each bag with a sharpie on the bag itself. I grew three different types of lettuce (salad greens), and there was no way I was going to recall what was what without some sort of reminder.
I LIGHTLY watered several times per day until the seeds germinated and started to sprout. And by lightly, I mean I used a spray bottle the first week, and then moved on to a watering can. The watering can be held up high, and the soil sprinkled until wet. I did not want to use a hose as I did not want to wash away the seeds.
The seeds germinated fairly quickly!
Note: I only fed these plants a few times after they seeded using a liquid water feed attached to the hose. I bought a soil that already contained organic matter and fertilizer (organic fertilizer and organic soil is available). I had no intention of adding peat moss, worm casting, mushroom compost, new compost, or other soil amendments that might have to be added to regular soil to make it nutrient rich. The idea behind doing this was easy gardening.
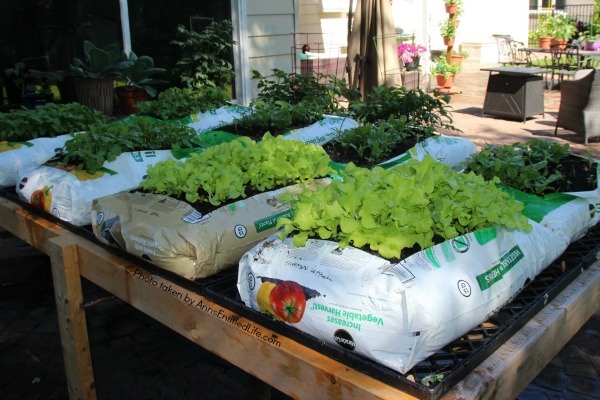
Once the lettuce, mustard greens, and spinach got going, I was able to water them using my hose.
To say I was shocked at how well these grew is an understatement. No one, and I mean no one, came into our house for several months without leaving with a bag of lettuce.
During the cooler weather of June, I clipped back the lettuce and it simply regrew like crazy. In the summer the lettuce got a little straggly as it was a very, very hot summer here in WNY last year – and lettuce likes things a tad cooler – but we still had a ton of lettuce during the summer months. By the beginning of September it was again producing so much we were giving it away by the bagful. We had fresh lettuce from June until October last year. I was starting to feel like a rabbit.
Note: when harvesting the lettuce, do not pull it out by its roots, instead, using some gardening scissors clip back to the about 3″ high from where the lettuce roots in the soil. It will regrow quite quickly.
The spinach was less successful. It grew very well early on, I harvested a few times, and then BAM! it bolted and grew too large too quickly, and got bitter. This was due to the extreme heat.
The mustard greens were wildly successful! Hubby made a few soups, and they were also excellent fresh. And this was in spite of the heat and only growing in one bag. A friend decided she was growing them this way to feed her lizard. Whatever works!
Since this table was under a maple tree I was picking out the helicopters for a few weeks when they dropped. There was also the occasional weed to pluck, although nothing crazy. Some mulch once the seedling sprout could help keep the weeds at bay. A sheet of plastic would simply smother the seeds and seedlings, so I do not see it as an option.
At the end of the season, we removed any remaining plants and dumped the soil into our bushes. There was no waste.
Would I grow like this again? You betchya. I already have the seeds for this year (more lettuce and mustard greens). Since we had too much lettuce (seriously, people were avoiding us for a while, and yeah, I am blaming it on the lettuce “gifts”) I am going down to 5 bags of soil from the 8 I had last year. Update: I have grown in bags for five years now. The lettuce and mustard greens have become a standard for our house!
If you are looking for a lighter work vegetable growing option, this is it. Once I plopped down those bags and seeded them, I basically watered and harvested, and that was it. This garden soil bag planting is good for those with small gardens, large gardens, little space, a lot of space, people with clay soil (poor soil in general), or even good soil if you want your garden raised off the ground… basically anyone! You just need to make sure that what you are planting does not have deep roots – shallow roots work best, although if you read the comments people have has success with tomato plants (soil bags upright)! The best soil in these bags would be a pre fertilized garden soil (which will be heavier). One year I used the potting mix from Miracle Grow because it is light and I can easily lift it. The perfect soil to use depends on your needs, your strength, and the climate in which you are growing.
If you are looking for a lighter work vegetable growing option, this is it. Once I plopped down those bags and seeded them, I basically watered and harvested, and that was it.
How to Grow Vegetables in Garden Soil Bags
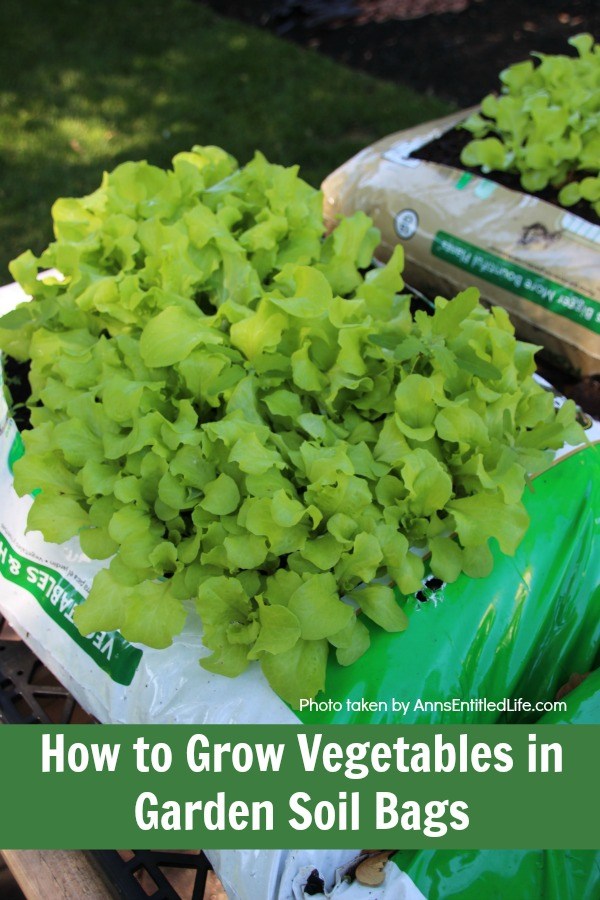
How to Grow Vegetables in Garden Soil Bags. Learn how to grow vegetables in soil bags eliminating the need for garden planters or in-ground planting. Grow your vegetables from seed, and have fresh vegetables all summer long with very little gardening work!
Materials
- Garden Soil Bag
- Seeds (lettuce, mustard greens, spinach, or radish)
Tools
- A platform that drains (optional)
- Garden Scissors
- Hand Rake
Instructions
- Choose an area with easy access to all the bags for watering and harvesting, and where there was a decent amount of sun but not full sun all day.
- Make certain your bags are raised off the ground if you do not want to squat or bend over.
- Poke a lot of small holes in the bottom of the bag so the water will not build up inside the bag. You do not want root rot.
- Cut a rectangle on the top of each of the bags. Remove that cut-out piece of the plastic bag and throw it away. Leave enough of the sides on the bags so the dirt will not spill out (about 3" all the way around the top).
- To plant the seeds, lightly scraped the soil with a hand rake.
- Sprinkle the seeds onto the soil of each bag and covered the seeds shallowly with soil.
- Moisten the soil with a spray bottle to wet the soil. (I actually use this spray bottle for the first 7 days so the seeds do not wash away, but the seeds were still hydrated.)
- Mark what was growing in each bag with a sharpie on the bag itself.
- Lightly water several times per day until the seeds germinated and started to sprout. And by lightly, I mean I used a spray bottle the first week, and then moved on to a watering can. The watering can be held up high, and the soil sprinkled until wet. Do not use a hose as I did not want to wash away the seeds.
- Once the plants are established, a hose can be used for watering.
- During cooler weather lettuce can be clipped with gardening scissors about 3" from the lettuce roots in the soil to harvest and it will grow back. Do not harvest lettuce by pulling it out at the roots.
Recommended Products
As an Amazon Associate and member of other affiliate programs, I earn from qualifying purchases.
-
 John's Studio Garden Statue Metal Bird Outdoor Decor Glass Yard Art Garden Décor,Outdoor Decorations for Patio Yard Lawn Porch, Ornament Gift, Housewarming Garden Gift
 -
 GIFTME 5 Metal Garden Wall Art Decorative Set of 4 Cute Ladybugs Outdoor Wall Sculptures
 -
 GIFTME 5 Metal Ant Wall Decor Set of 4 Colorful Indoor Bathroom Kid's Room or Outdoor Garden Yard Art Wall Sculptures
● For more Gardening posts on Ann’s Entitled Life, click here.
● Enjoy this post? Sign up for the Ann’s Entitled Life FREE Weekly Newsletter to stay connected.


Stephanie says
I’m so impressed, what a great idea! I can’t wait to show my husband when he gets home. I’m craving salads a lot lately, but I hate the cost, I can’t wait to have lettuce growing again.
Ann says
It is worth doing, Stephanie. I was shocked at how well the lettuce did. I’d be very interested in hearing what kind of set-up you end up with!
Ann
BARBARA WITT says
This is one of favorite posts EVER!!!! THANK YOU!
Angel Stafford says
Thank you for all the great info!
I live in the mid-South, just south of Memphis, TN. Do you think yellow crook neck squash will grow this way?
Ann says
Hi Angel,
The yellow crookneck squash is a bush that has a 2-3 foot long (or more) taproot. Even standing this on end and trying to grow that way, the bag might not be long enough. The rest of the root system is relatively shallow, but the size of this vegetable bush… I don’t see how it would work. If you do try it, please let us know!
University of Illinois Extension
Cornell Extension
Ann
Sarah Tevis says
This is such a neat idea!! Happy Spring!
Jamie says
I’m so impressed with your idea. I grow tomatoes & squash and potatoes in the bags right side up but I never thought about putting them flat & growing that way! I have to say I am so sad that you are using Monsanto’s Miracle Grow products. This company is putting farmers out of business all over this country.. and spreading GMO’s like crazy.. literally 1000’s of seed companies have gone out of business because of their malicious lawsuits claiming the farm’s seeds are cross pollinating with their seed patented seed strains. 50 other countries have outlawed GMO’s and because of their huge influence we seem to be pushed into a corner, seeing the laws bend their way…Please do some research on the subject and consider changing your soil to organic. I know so many people that are sick some dying , after using their favorite ‘Round Up’ cocktail to get rid of weeds. The beautiful forest behind me has been spayed with ‘Round Up’, and I am just praying that none of the vapors made it over to my property. Unfortunately this wonderful Article is a big advertisement for Monsanto. I applaud you for growing your own salad greens, and your raised bed is such a clever idea. God bless you & yours, Love Jamie
Terry says
Any chance tomatoes would grow this way? Any other veggies?
Ann says
Hi Terry,
Jamie (who posted above you) said she grows tomatoes in bags. They would have to be standing up though as tomatoes have a longer root system and laying flat would not work.
Ann
Julianne says
I’ve grown tomatoes in the larger bags before and had no problem. The roots just spread through the entire bag. I cut an x in the bottom and the top and plopped it on the ground. Some of the best tomatoes I’ve ever grown.
Allyson @ Southern Sunflowers says
Ann, I’ve featured your post in today’s Happiness is Homemade! Could you check if your 404 is just on your end or if I entered something incorrectly. Your url looks fine on my end, I think? https://southernsunflowers.com/easy-garden-projects-and-ideas-happiness-is-homemade/
Ann says
Hi Allyson,
I sent you an email at the email address you used to comment. It is an easy fix.
Thank you so much for featuring my garden project!
Ann
Cindy@CountyRoad407 says
Even years later, this is such a great idea! Thank you or sharing it on Farmhouse Friday. I’m featuring it tomorrow. Hope you link up again soon.
Amy Johnson says
What a brilliant idea!
Kathkeen says
Love this and ready voraciously online as o am trying this for our garden this spring and summer. We are also in the Northeast!
Wondering why you don’t re-use you soil bags. Is it nutrients? If si, can we replace them?