Making flower pots at home is a fun and creative way to spruce up your garden or patio. With just a few simple flowers and materials, you can create beautiful and unique flower pots that will add charm to any outdoor space. In this article, you will be shown how to make flower pots at home with step-by-step instructions, so you can start creating your own unique flower planters today!
If you are looking for a way to bring some life into your home without spending too much money, then making your own plant pots is the perfect solution. With a few simple materials and some creativity, you can create beautiful plant pots that will add color and texture to any room in your home. In this article, we will discuss how to make your own plant pots so that you can create unique pieces of art for yourself or as gifts for friends and family.
How to Make Beautiful Flower Pots at Home | Easy Plant Steps
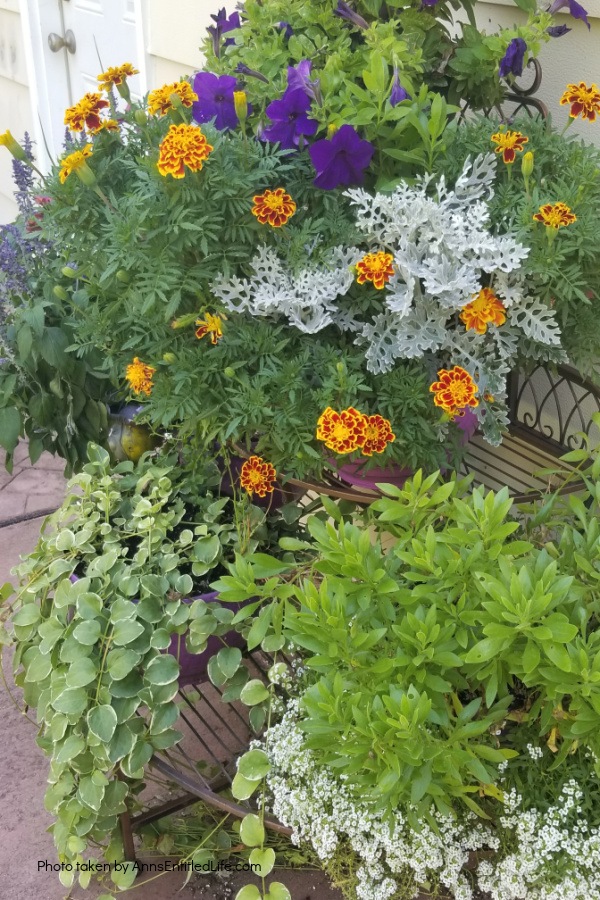
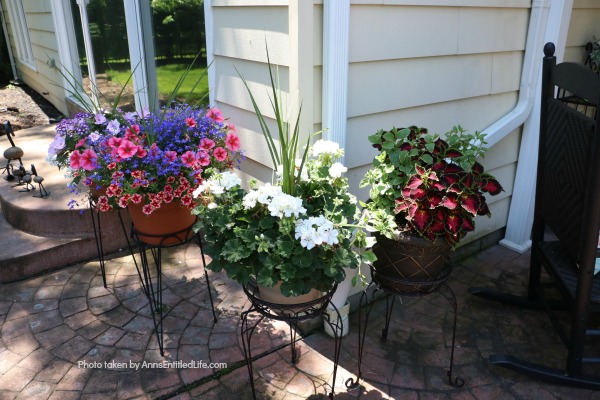
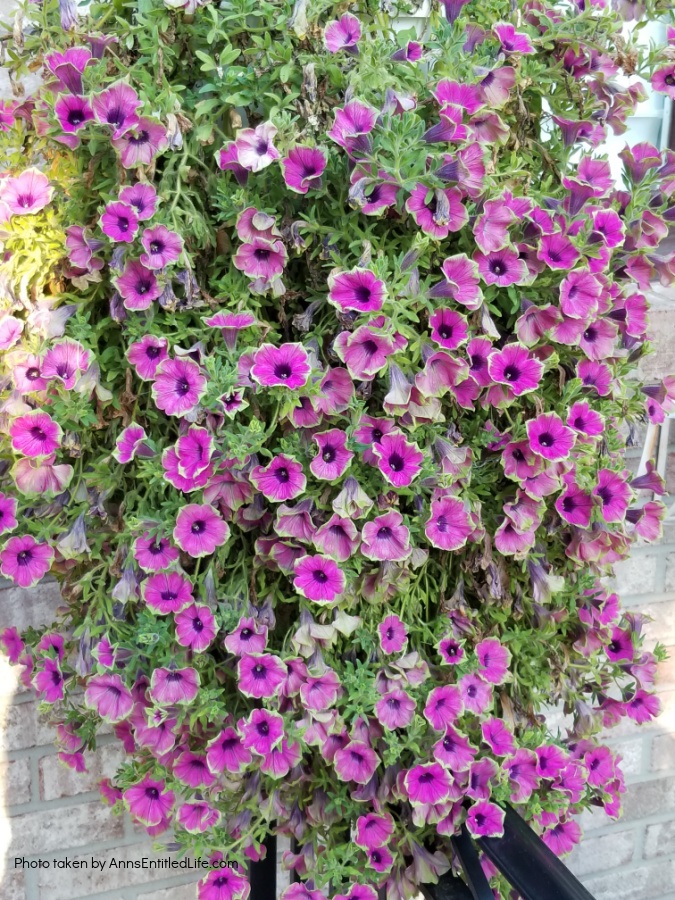
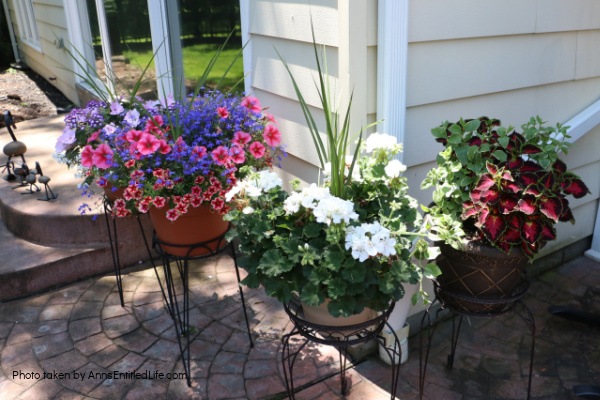
A flower pot on a front porch is an easy way to add a pop of color to your front yard, especially when selling a house or moving into your new home. Likewise, your back patio can be enhanced by the bright colors of flower pots and hangings baskets. How about a trail of flower pots along a picket fence in between your hanging flower bags? There are a lot of great ideas on where and how to flower pots, and these instructions for this simple DIY project will help you on your way.
Making your own flower pots is an easy DIY project nearly anyone can do. These instructions for making easy DIY planters will help you get started on a creative flower journey. The best part is the satisfaction you will feel watching your flowers grow over the course of the season. This fun project is a great way to channel your creative ideas on flower gardening into small pots, medium pots, or large planters for your enjoyment. Check out the USDA growing zone hardiness map for your area’s growing zone.
Why do I mention the growing zone? If you are buying your flower seedlings at the local nursery, they should only be selling plants that will grow well in your area. If you purchase online, you will need to make sure those plants, flowers, herbs, and vegetables, will grow in your growing zone; otherwise, you will be spending money on plants that will not thrive or will possibly die, if they are not grown in your area of the country. We recently moved to Florida from New York State. I am learning what will grow here and at what time of the year, and what will not.
Remember to wash out and save your old pots from year to year. Some people save the dirt and continue to grow in the same pot. I have never had any luck with that as my plants always grow so much that the roots take over a large amount of the soil inside the flower pots. I dump that used flower pot soil into the soil underneath my shrubs, breaking it up and composting the root tangles. For me, it was a great place to put it. You probably have similar places in your yard.
I wash out my flower pots and earth boxes (not really doable with large cement planters that are stationary) so that if any sort of soil contamination or bug contamination happened, it would not continue the following year. Plus, who wants to stack a bunch of dirty pots? Use your hose sprayer and a scrub brush or foam brush to clean the inside of the pots. Allow them to air dry before stacking them and putting the pots away for the season.
Different Types of Pots, What to Choose?
There are different types of flow pots and containers you can choose, made from different materials:
● Clay Pot, Terra Cotta Pot
● Cement Planters
● Ceramic Planters
● Plastic Pot
● Wooden Flower Pots
Some come with self-watering features; they may come with a self-contained watering catch pan or on wheels. There are different shapes to consider, usually round or square, and the size of the DIY flower pots also matters; from smaller pots to large planters, spatially it is a good idea to measure the areas in which you wish to grow your flowers, especially if you are using unique pots. One flower pot idea is to use pot color to help accent your outdoor spaces. While a terracotta pot has a distinct orangy-brown color, plastic, and ceramic pots can run the gambit from white to black to pink to blue and just about any color in between! You can play matchy-match with pot colors, or use a variety of different color pots for visual interest. For myself, I prefer vibrant flower pot colors such as aqua and purple. You might like white or brown.
Planters and pots can be purchased at your local nursery, local home and garden center, Home Depot, Lowes, a thrift store, or yard sale, or you can make your own DIY planters (usually from concrete or cement).
In addition to the area in which you want to grow, determine if that area is shady, sunny, or partially sunny. That will make a difference as to the types of flowers you are growing. For convenience’s sake, either make sure there is a hose for watering nearby or buy a fun watering can!
Tips and variations for making flower pots at home:
● For smaller pots or medium-sized flower pots your work surface can be a potting stand or table. For heavier, larger planters (or cement pots) you will want to bend to plant on the ground or over the grass. If you have heavier pots, I strongly suggest wheels or plant stands for larger pots.
Make sure the planters have drainage holes.
● Instead of river rocks, use these Bloem Ups-A-Daisy Round Planter Lift Inserts to save soil and provide proper drainage.
● Use earth boxes – I love earth boxes, and while I (and everyone else) think of them for vegetables, they are also terrific for growing flowers.
● Be sure to pick flowers for your pots depending on how much sun the area gets. If your pot will be in the shade, be sure you buy flowers that thrive in the shade. Vice versa for pots in the sun.
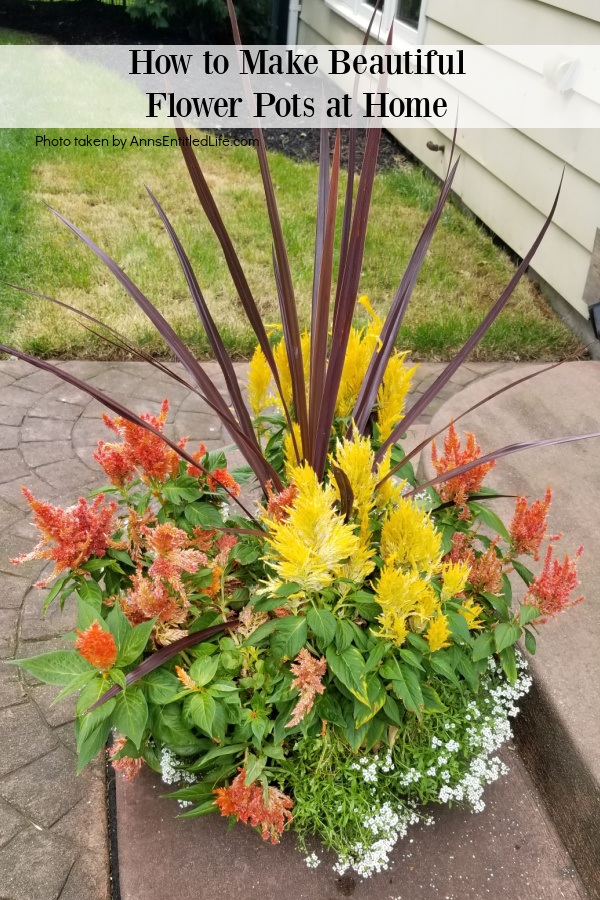
● Make sure you like the flowers you choose. You don’t have to have a spike in every pot. Go with tall flowers in the middle instead.
● Pick a color theme!
● Water your pot right away with the transplant solution once your pot is fully designed. You will do this once a week for two weeks. This will ensure your flowers root into your pot. Then week three you can use regular fertilizer based on the manufactures directions.
● Water your planters daily, or twice a day depending on heat and sun conditioners in your area. If you have a lot of rain, you will probably be able to water less.
● Homemade Potting Mix | How to Make Your Own Potting Soil
● 7 Reasons to Grow Vinca Vines – explains a lot about those trailing vines and spikes you will plant in your flower boxes.
● Impatiens Flowers: Tips for Growing Impatiens
● 10 Tips for Growing Coleus
● Marigold Flowers: 7 Reasons You Should Grow Marigolds This Year
● A flower planter can make a great gift for Mother’s Day. A lovely gift that is the perfect way to show your mother, grandmother, aunt, or sister that you care.
● I always make my own flower pot planter for the cemetery. I make sure to use a plastic pot, heavy soil, and flowers that love full sun.
More flower planter tips:
● How to Make a Rainbow Flower Container Garden (rectangle)
● How to Make Hanging Flower Bags (plastic bags)
● Cheap and Easy Hanging Plant Basket Hack (hanging planter)
Beautiful Flower Pot Materials:
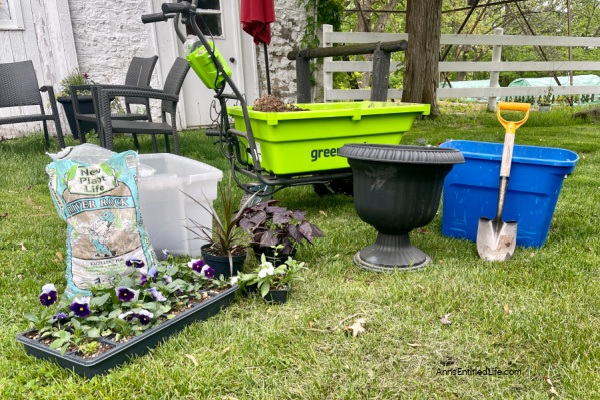
● Potting Soil
● River Rocks
● Miracle Gro Quick to Start Transplant Solution
● 1-Center Piece 12-36 inches tall
● 1-2 Vines
● 18 Inch Flower Pot
● 6 annual Flowers (mounding or trailing)
Beautiful Flower Pot Tools:
● Hand Shovel
● 2 Gallon Watering Can
Beautiful Flower Pot Directions:
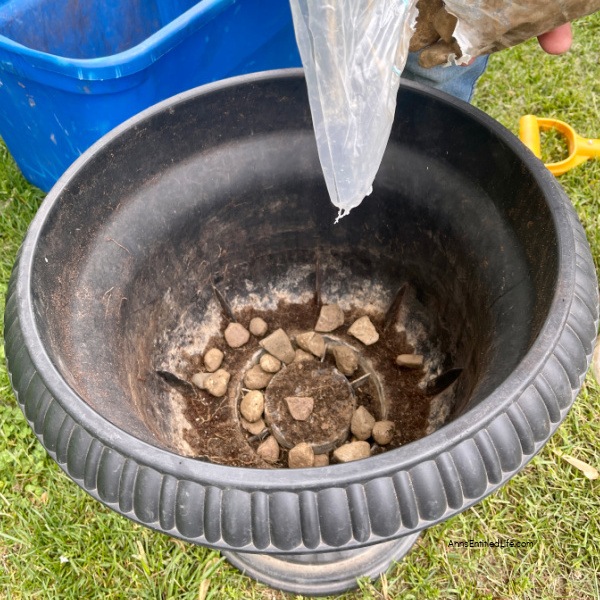
1. Fill your flower pot ⅓ of the way up with river rock. This will help with proper drainage and also save money on excess potting soil.
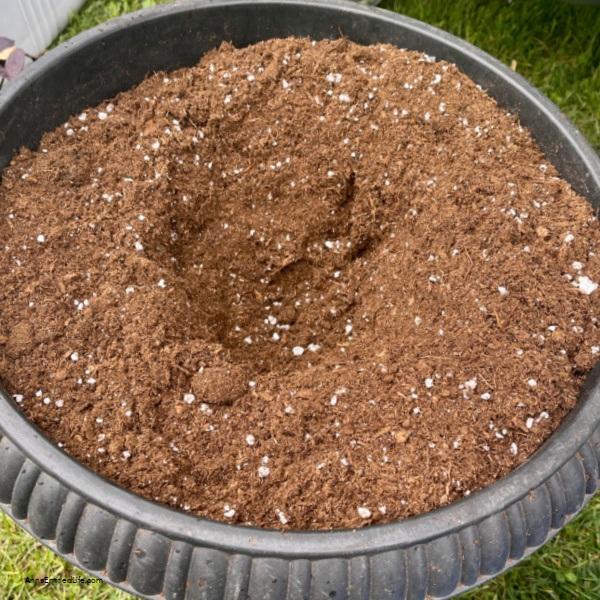
2. Fill to near the top of the pot with potting soil.
3. Create a hole in the center of the pot with your hands. Make sure the hole is as deep as your centerpiece and about an inch wider. Your centerpiece should sit level with the dirt.
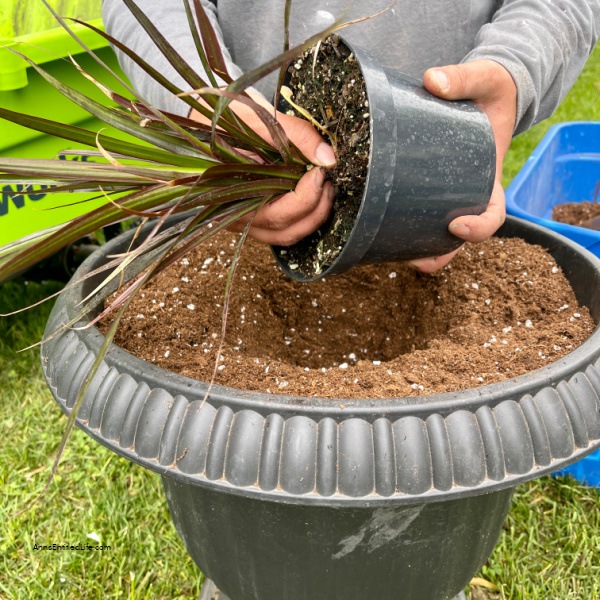
4. Remove your centerpiece carefully from its plastic pot. Do this by squeezing the plastic and loosening the plant from the pot. We used a 24-inch plant spike.
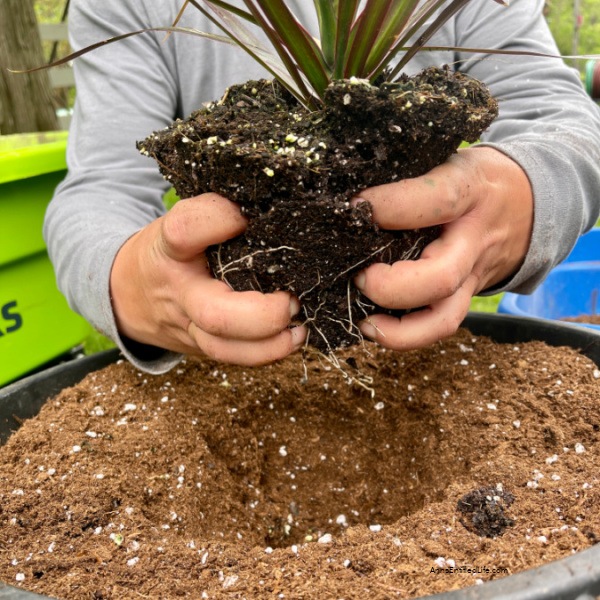
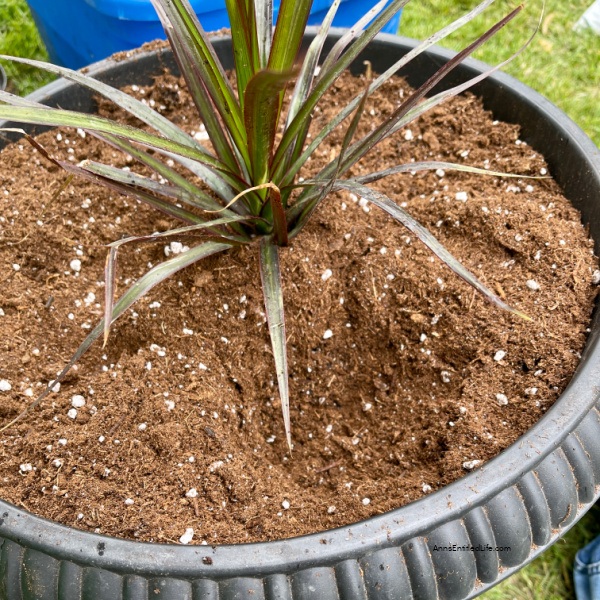
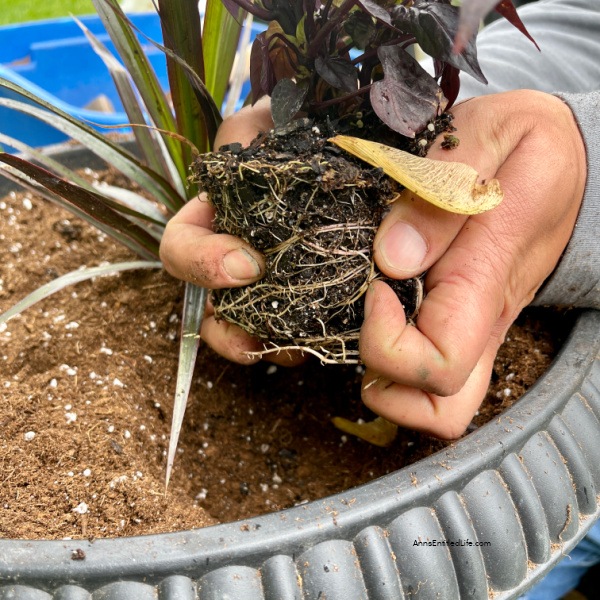
5. Once your spike is out of the plastic container. Carefully break up the roots with your fingers. Loosening will help your centerpiece root in your flower pot. Place the centerpiece in the center of your pot and add more potting soil to ensure your centerpiece is fully covered and packed down. Be sure all leaves are exposed. Press down in the center of your plant to ensure it is firmly in place.
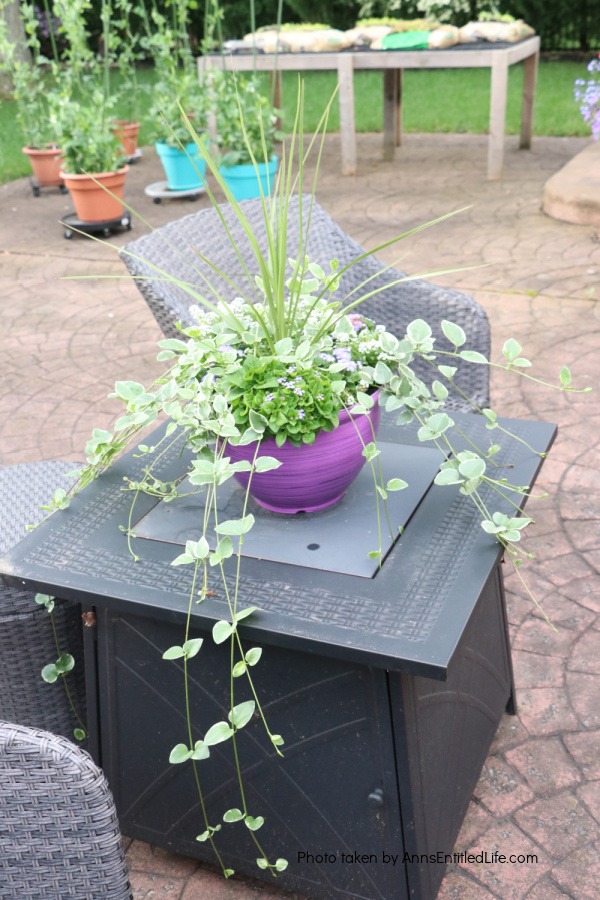
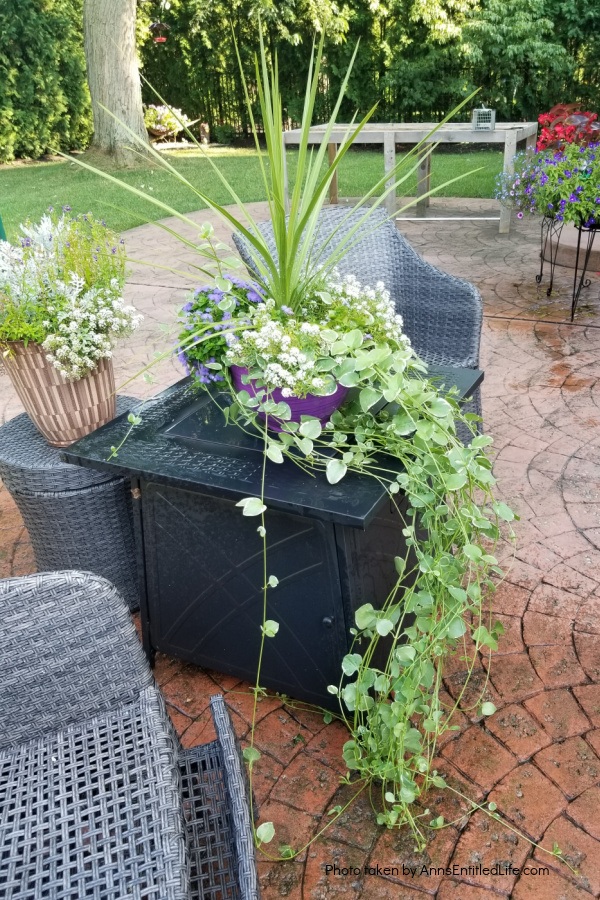
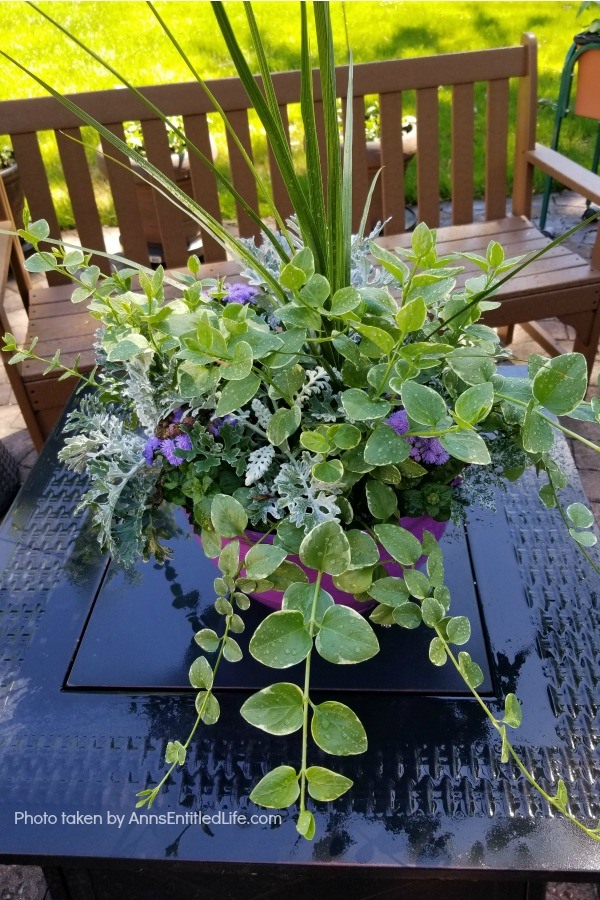
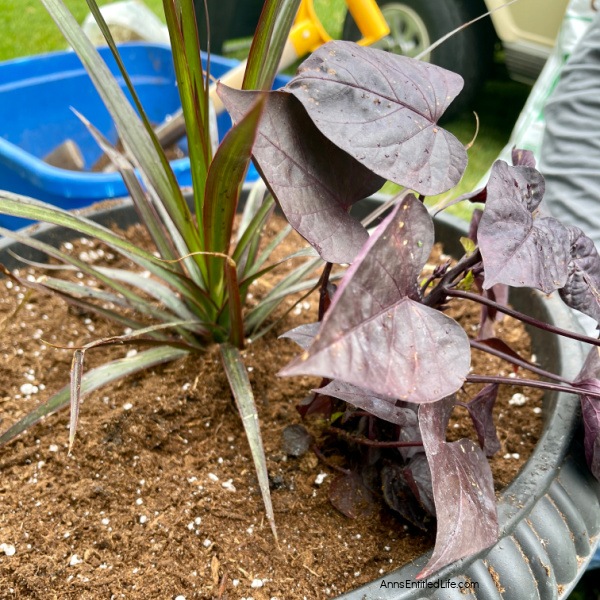
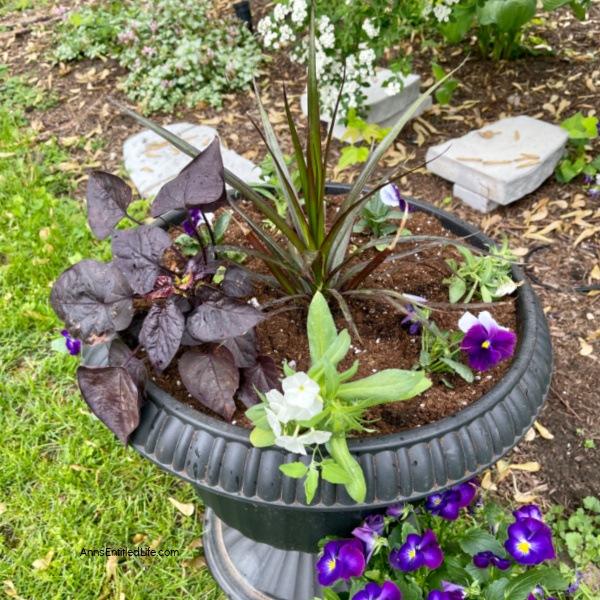
6. Grab your vines/spiller flowers. These will go on the outside edge of your pot and drape down the side. We chose a potato vine for our pot. You can have vines on both sides (opposite sides) of the pot. Or just one side of the pot will be up against a wall. Using your hands dig a hole on the side of the pot. Be sure the hole is the same size as your vine pot.
7. Remove the vine from the plastic pot, gently break up the roots, put the vine in the pot, add more potting soil, and plant. Be sure that your vine is planted with potting soil on all sides, even on the edge of your flower pot. If doing two vines. Repeat the steps on the opposite side.
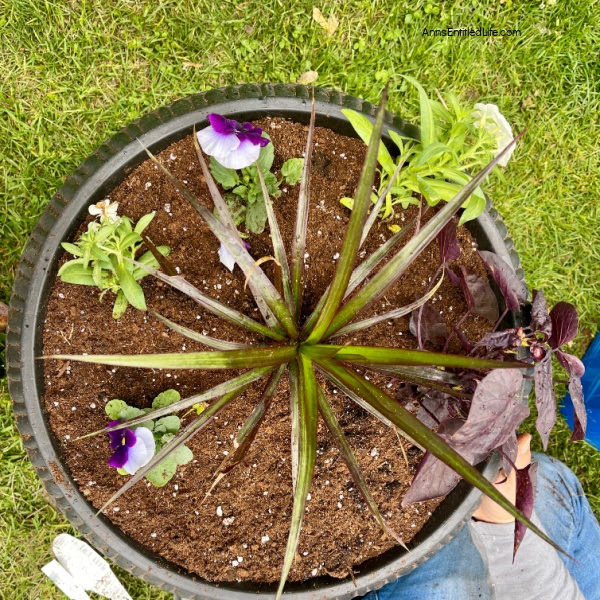
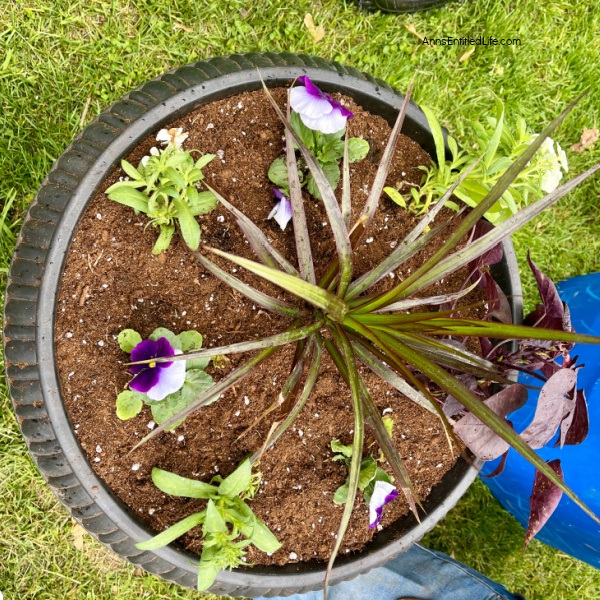
8. Now, it is time to plant your annual flowers that will add color to your pots. This planter uses pansies and phlox. These will be planted along the sides of the pots. Alternate colors and plants are about 4 inches apart from each other. For an 18-inch pot, we used 6 annual flowers. Three on each side of the pot.
9. Grab a 2-gallon watering can and Miracle-Gro Transplant Solution. Put one capful of the Miracle Grow transplant solution into your watering can. Fill the watering can with water. Water your fully designed flower pot, and be sure to soak your pot. Let the water settle for a few minutes and then water the soil with the solution one more time.
10. Be sure to water your flower pot to the recommendation of the flowers you selected. If selecting flowers that need to be deadheaded, be sure to properly deadhead your flowers as you water. Deadheading creates more blooms! Deadheading is simply pinching off the old, dead flower bloom.
11. Enjoy the vibrant colors of your beautiful flower pots and watch them grow.
How to Make Beautiful Flower Pots at Home | Easy Plant Steps
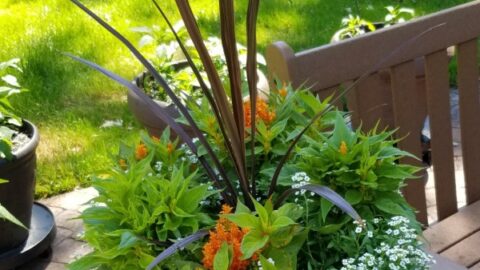
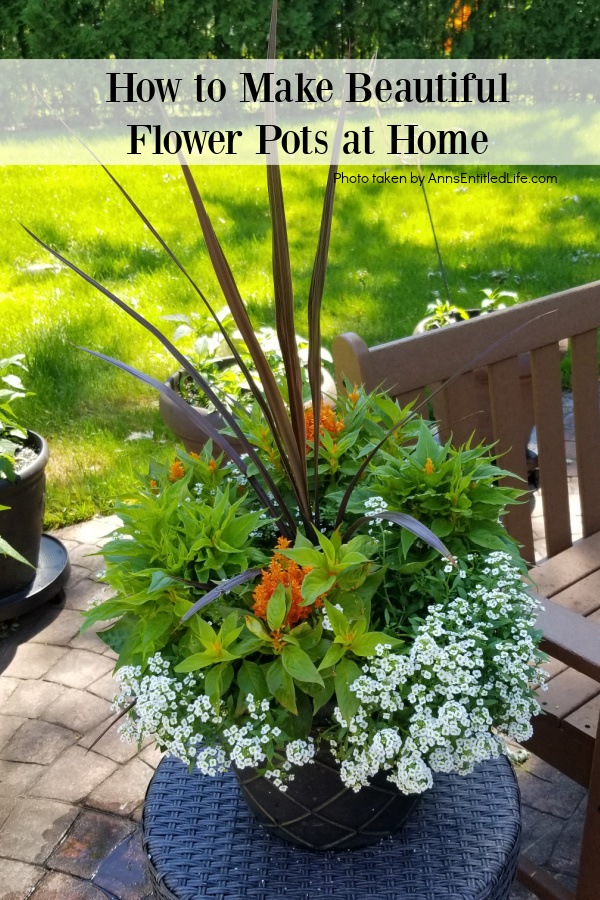
How to Make Beautiful Flower Pots at Home | Easy Plant Steps. Making flower pots at home is a fun and creative way to spruce up your garden or patio. With just a few simple flowers and materials, you can create beautiful and unique flower pots that will add charm to any outdoor space. In this article, you will be shown how to make flower pots at home with step-by-step instructions, so you can start creating your own unique flower planters today!
Materials
- Potting Soil
- River Rocks
- Miracle Gro Quick to Start Transplant Solution
- 1-Center Piece 12-36 inches tall
- 1-2 Vines
- 18 Inch Flower Pot
- 6 annual Flowers (mounding or trailing)
Tools
- Hand Shovel
- 2 Gallon Watering Can
Instructions
- Fill your flower pot ⅓ of the way up with river rock. This will help with proper drainage and also save money on excess potting soil.
- Fill to near the top of the pot with potting soil.
- Create a hole in the center of the pot with your hands. Make sure the hole is as deep as your centerpiece and about an inch wider. Your centerpiece should sit level with the dirt.
- Remove your centerpiece carefully from its plastic pot. Do this by squeezing the plastic and loosening the plant from the pot. We used a 24-inch plant spike.
- Once your spike is out of the plastic container, carefully break up the roots with your fingers. Loosening will help your centerpiece root in your flower pot. Place the centerpiece in the center of your pot and add more potting soil to ensure your centerpiece is fully covered and packed down. Be sure all leaves are exposed. Press down in the center of your plant to ensure it is firmly in place.
- Grab your vines. These will go on the outside edge of your pot and drape down the side. We chose a potato vine for our pot. You can have vines on both sides (opposite sides) of the pot. Or just one side of the pot will be up against a wall. Using your hands dig a hole on the side of the pot. Be sure the hole is the same size as your vine pot.
- Remove the vine from the plastic pot, gently break up the roots, put the vine in the pot, add more potting soil, and plant. Be sure that your vine is planted with potting soil on all sides, even on the edge of your flower pot. If doing two vines. Repeat the steps on the opposite side.
- Now, it is time to plant your annual flowers that will add color to your pots. We chose pansies and phlox. These will be planted along the sides of your pots. Alternate colors and plants are about 4 inches apart from each other. For an 18-inch pot, we used 6 annual flowers. Three on each side of the pot.
- Grab a 2-gallon watering can and Miracle-Gro Transplant Solution. Put one capful of the Miracle Grow transplant solution into your watering can. Fill the watering can with water. Water your fully designed flower pot, and be sure to soak your pot. Let the water settle for a few minutes and then water the soil with the solution one more time.
- Be sure to water your flower pot to the recommendation of the flowers you selected. If selecting flowers that need to be deadheaded, be sure to deadhead your flowers as you water. Deadheading creates more blooms! Deadheading is simply pinching off the old, dead flower bloom.
- Enjoy the vibrant colors of your beautiful flower pots and watch them grow.
Recommended Products
As an Amazon Associate and member of other affiliate programs, I earn from qualifying purchases.
-
 Sunnydaze Darcy Flower Pot Planter, Outdoor/Indoor Heavy-Duty Double-Walled Polyresin with Fade-Resistant Beige Finish, Set of 2, 16-Inch Diameter
 -
 Unique Cute Planter, Whimsical Metal Ladybug Succulent Flower Pot, Decorative Fun Planter for Cactus and Air Plants - for Outdoor or Indoor Spaces
 -
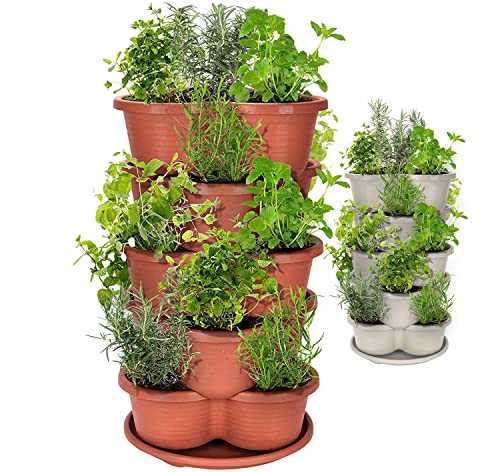
 Amazing Creation Stackable Planter, Vertical Tower Garden Planter, Strawberry Planter, Indoor/Outdoor Planters, 5 Tier Garden Tower, Herb Planter for Growing Vegetables and Succulents (Terracotta)
● For more Gardening posts on Ann’s Entitled Life, click here.
● Enjoy this post? Sign up for the Ann’s Entitled Life FREE Weekly Newsletter to stay connected.


Sandra W Magle says
Very nice Tutorial. I do gardening extensively on my blog, but I never know how to make the how-to’s so explicit. I guess you just need another person taking photos, lol. Thanks for the great ideas, Sandi
Donna says
Such pretty planters! Thanks for the tips!
Linda Primmer says
Wonderful post about creating beautiful flower pots. They look so pretty. I am happy to feature your post at Love Your Creativity.
Richella J Parham says
These are so beautiful. . . and I love the way you break this down into a step-by-step process! THANK YOU!
And thanks so much for joining the Grace at Home party at Imparting Grace. I’m featuring you this week!