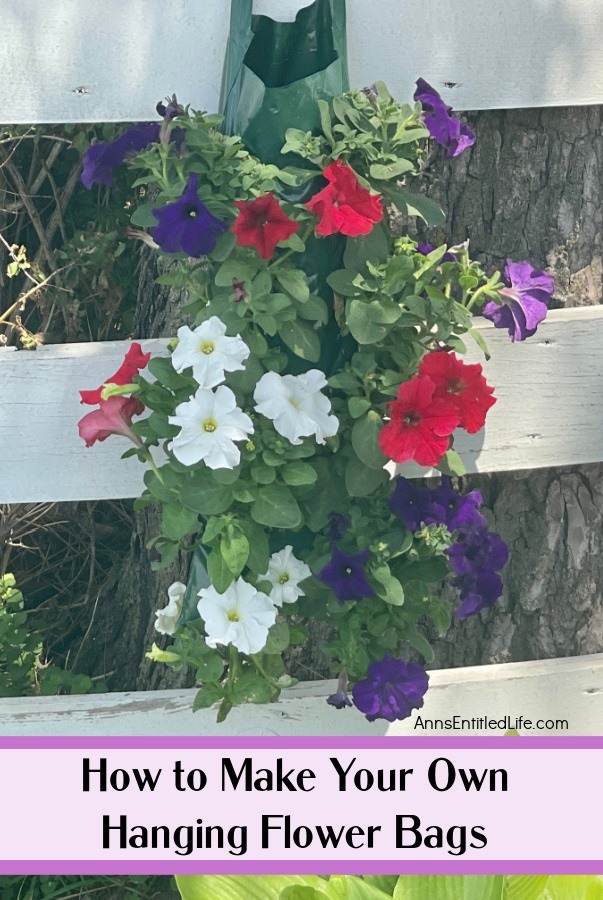
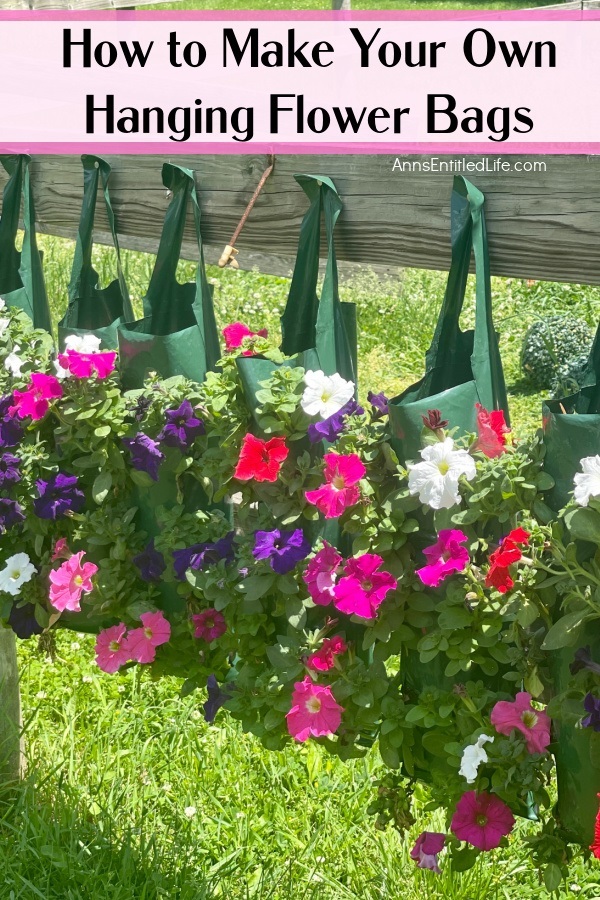
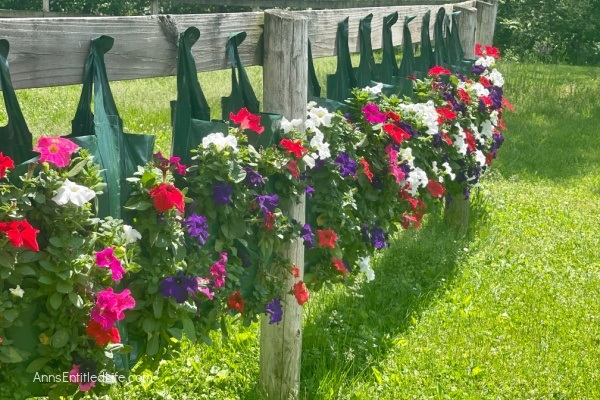
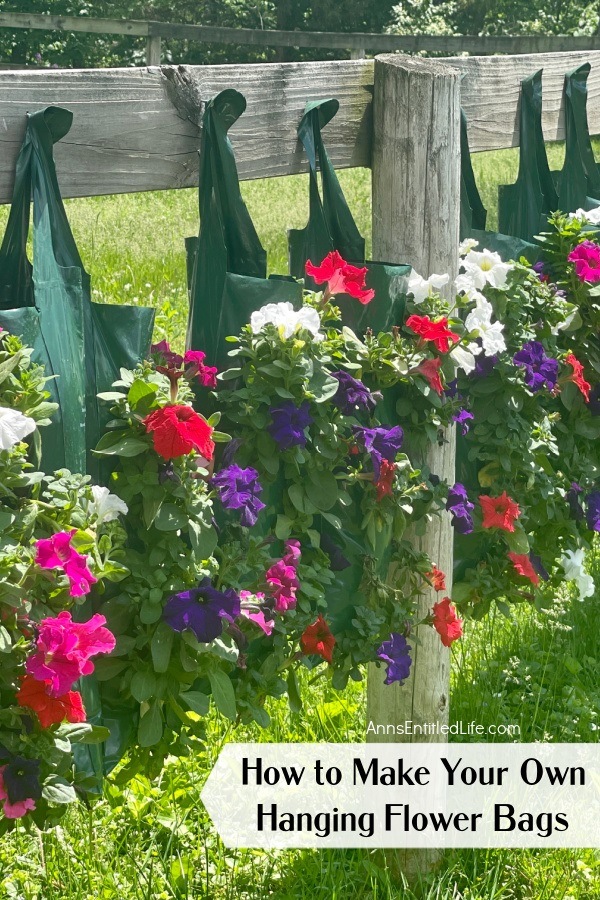
Want to dress up your outdoor living area with flowers for less money? Make your own hanging flower pouches using the instructions in this complete guide. Using your favorite flowers that drape, these easy-to-make flower bags are perfect for deck railings, deck posts, lamp posts, hanging basket hooks, or even to decorate your mailbox! This terrific vertical flower bag allows you to bring a garden anywhere.
If you like the look of those expensive planter bags at your local garden center, why not make them yourself? They are simple to make, and before you know it, you will have a bag of your favorite flowers hanging colorfully from your porch railings, rooftop garden, back fence or anywhere you might have a small space you would like to fill with colorful, vibrant flowers in a vertical planter.
How to Make Hanging Flower Bags
By making your own bags you choose the flowers and colors. You can choose to make your flower bags organic if you prefer organic gardening. These lant bags are great if you are trying to encourage specific types of butterflies (hanging butterfly flower bag), hummingbirds (hanging hummingbird flower bag), bees (hanging bee flower bag), or to match your backyard or front yard theme and colors. Just make certain to use flowers that will drape as they grow. This tutorial is using petunias, which are an easy-to-grow.
Tips and variations for making these hanging flower bags:
● If you want to add a slow-release fertilizer, mix it in with your dirt instead of trying to add a little soluble fertilizer to every row of flowers up to the top of the planter bag.
● I advise using starter plants instead of seeds. While a packet of seeds is even less expensive, you need your flowers to poke through the slits in the bags. Now, if you want to grow your own flowers from flower seeds, click here to read how to grow garden seedlings indoors.
● Read up here on how to make your own potting soil mix.
● Be sure to pack your bags as tight as possible in between flowers. Fill the potting mix up to the holes, place two flowers through the holes, and then pack the potting mix. Be sure to press down firmly before inserting the next row of flowers. You do not want to have gaps in your bags. For best results, bags should be compact with a potting mix so your flowers can root.
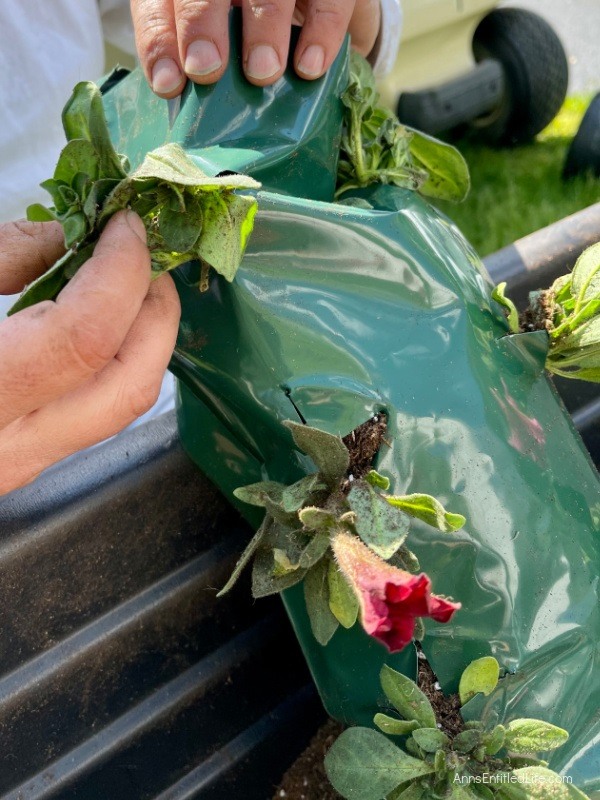
● When pulling your flowers through the hole, be sure to protect the leaves and be gentle. Protect the leaves in your hand and guide them through the hole carefully and with care. It is normal to lose some leaves, but be sure that all the leaves are through the hole and not inside the bag.
● Do not worry if your flowers look limp at first. They will perk back up in about a day.
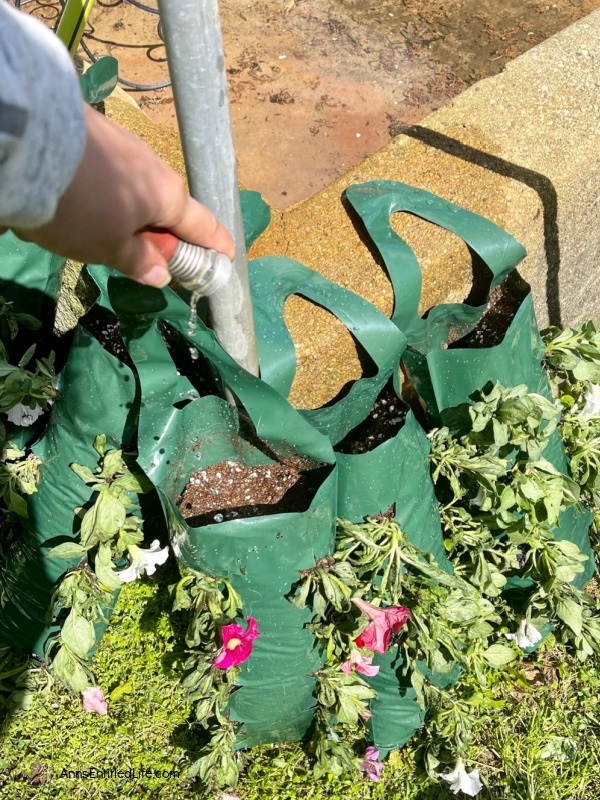
● When watering, be sure to soak your flower bag. The water needs to get all the way down to the bottom of the bag! These bags need a lot of water and should be checked on daily to thrive.
How to Make Hanging Flower Bags Materials:
● Potting Mix
● Al’s Flower Pouches (10 hole was used in this tutorial)
● Petunias or any draping annual flower you want in your bags. The number of flowers you need depends on how big your bags are and how many you are making. You will need one flower for each hole. For this tutorial 10 petunias were used per bag.
How to Make Hanging Flower Bags Tools:
● Hand Shovel
● Watering Can or Hose
How to Make Hanging Flower Bags Directions:
1. Gather all materials and set up your workspace.
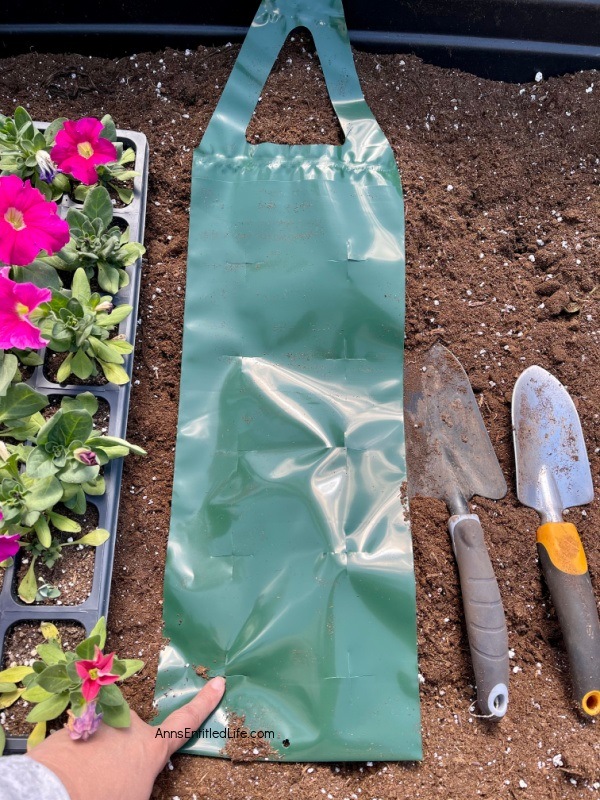
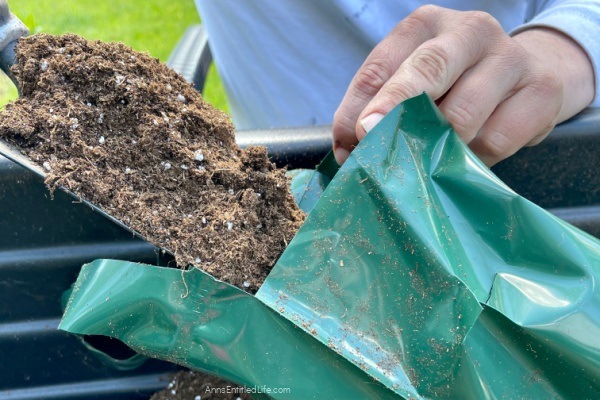
2. Grab a pouch, and using your shovel, fill the pouch with potting mix up to the bottom two holes.
3. Remove a flower from its container by gently squeezing the plastic. Make sure you have gotten the entire root system to promote future plant growth.
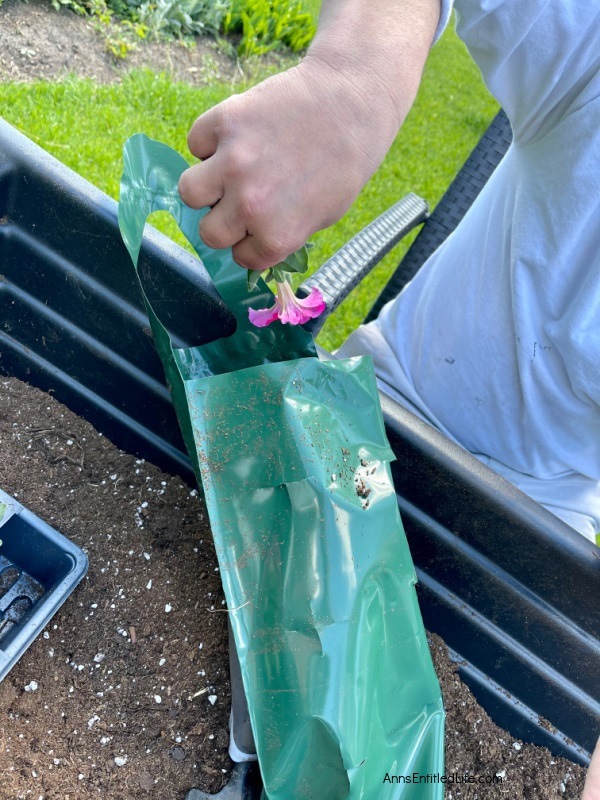
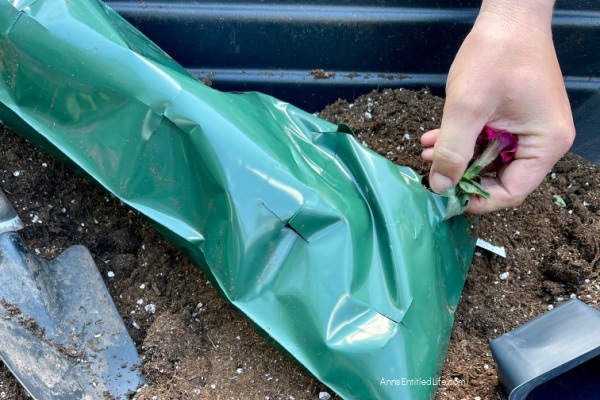
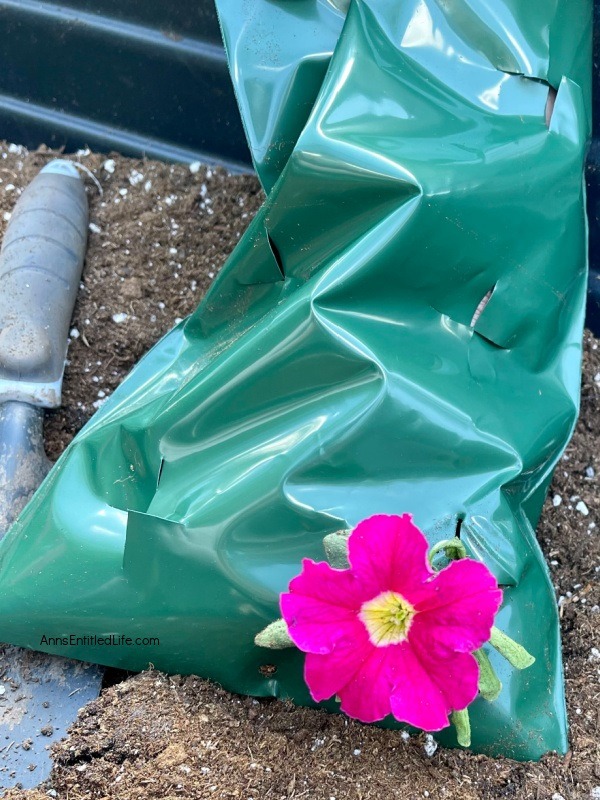
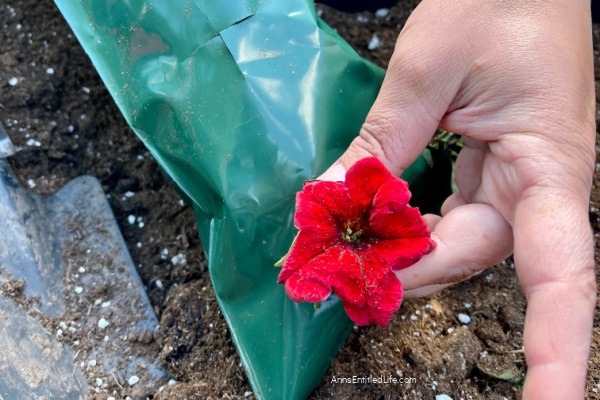
4. Holding the roots of the flower in your palm and protecting the leaves of the flower in your hand, insert the flower into the bag. Navigate the flower carefully to the bottom of the bag to the hole. Using your other hand, carefully guide the flower through the hole. One hand should be inside the bag holding the flower while the other hand is on the outside of the bag guiding the flower through the hole. Be sure that all leaves, stems, and flowers are exposed through the hole.
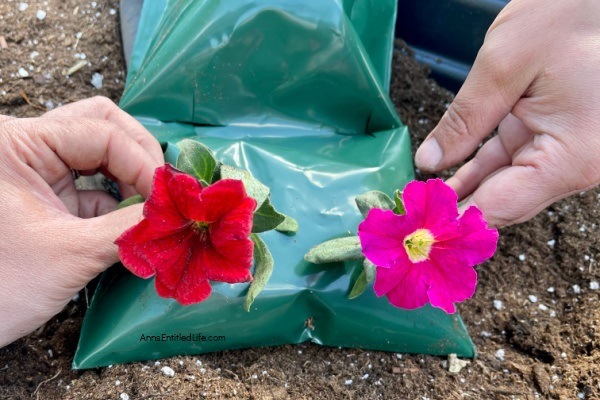
5. Repeat the step above for your second flower in the bottom row of the bag.
6. Now, you should have the bottom row filled with two flowers; double-check that all leaves and stems are exposed through the hole. Grab your shovel and pack with potting mix to the next set of holes. Be sure to press down inside the bag firmly with your hand. Be sure that the bag is filled out with potting soil, with no gaps.
7. Repeat step 4 with additional plants for both sets of holes in this row.
8. Once you have two more flowers and the row is complete, repeat step 6 and pack with potting mix.
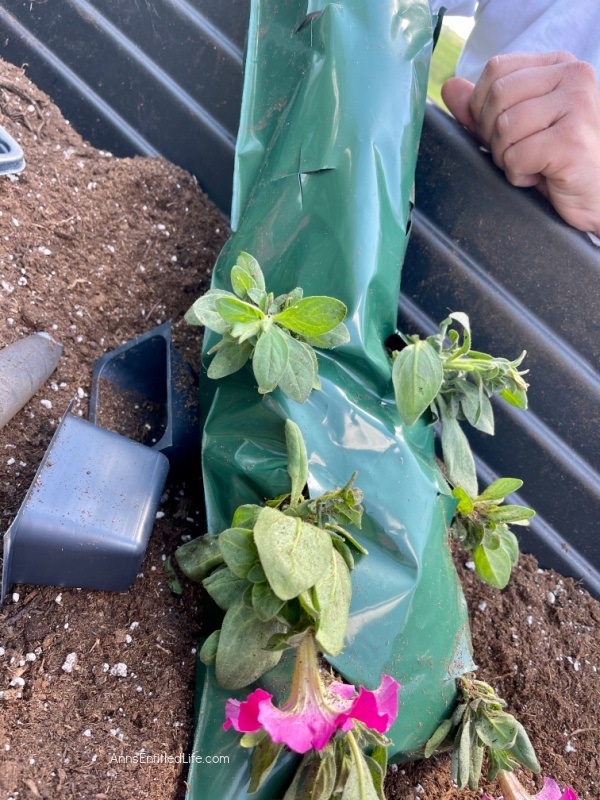
9. Continue repeating steps 4 and 6 until all of your holes are filled with flowers and your bag is complete.
10. Pack the top of the bag with potting mix and press down. The potting mix should be filled to the top of the pouch leaving only about 2 inches of the bag not filled.
11. Water your flower bag and hang it where desired. Remember these petunias (used in this tutorial) love the sun, so be sure to put them in a sunny area where they will get hours of sunlight. Water your flower bag when the soil is dry and drench the bag so water gets all the way to the bottom corners of the pouch. If you packed these correctly, there will be good drainage and your flowers will not get wet feet.
How to Make Hanging Flower Bags
Want to dress up your outdoor living area with flowers for less money? Make your own hanging flower pouches using the instructions in this complete guide. Using your favorite flowers that drape, these easy-to-make flower bags are perfect for deck railings, deck posts, lamp posts, hanging basket hooks, or even to decorate your mailbox! This terrific vertical flower bag allows you to bring a garden anywhere.
Materials
- Potting Mix
- Al's Flower Pouches (10 hole was used in this tutorial)
- Petunias or any draping annual flower you want in your bags. The number of flowers you need depends on how big your bags are and how many you are making. You will need one flower for each hole. For this tutorial 10 petunias were used per bag.
Tools
- Hand Shovel
- Watering Can or Hose
Instructions
- Gather all materials and set up your workspace.
- Grab a pouch, and using your shovel, fill the pouch with potting mix up to the bottom two holes.
- Remove a flower from its container by gently squeezing the plastic. Make sure you have gotten the entire root system to promote future plant growth.
- Holding the roots of the flower in your palm and protecting the leaves of the flower in your hand, insert the flower into the bag. Navigate the flower carefully to the bottom of the bag to the hole. Using your other hand carefully guide the flower through the hole. One hand should be inside the bag holding the flower while the other hand is on the outside of the bag guiding the flower through the hole. Be sure that all leaves, stems, and flowers are exposed through the hole.
- Repeat the step above for your second flower in the bottom row of the bag.
- Now you should have the bottom row filled with two flowers, double-check that all leaves and stems are exposed through the hole. Grab your shovel and pack with potting mix to the next set of holes. Be sure to press down inside the bag firmly with your hand. Be sure that the bag is filled out with potting soil, with no gaps.
- Repeat step 4 with additional plants for both sets of holes in this row.
- Once you have two more flowers and the row is complete, repeat step 6 and pack with potting mix.
- Continue repeating steps 4 and 6 until all of your holes are filled with flowers and your bag is complete.
- Pack the top of the bag with potting mix and press down. Potting mix should be filled to the top of the pouch leaving only about 2 inches of the bag not filled.
- Water your flower bag and hang it where desired. Remember these petunias (used in this tutorial) love the sun, so be sure to put them in a sunny area where they will get hours of sunlight. Water your flower bag when the soil is dry and drench the bag so water gets all the way to the bottom corners of the pouch. If you packed these correctly, there will be good drainage and your flowers will not get wet feet.
Recommended Products
As an Amazon Associate and member of other affiliate programs, I earn from qualifying purchases.
-
 KENSINGTON LONDON Indoor Watering Can for House Plants - Comfort Grip, Long Reach Gooseneck Spout for Precision Pouring - Home and Garden, Powder-Coated Stainless Steel Metal - 38oz
 -
 Behrens 210 2-1/2-Gallon Steel Watering Can, Silver
 -
 KIBAGA Decorative Copper Colored 40oz Watering Can - Easy Pour Gooseneck Spout for Fast and Easy Indoor Plant Watering
● If you enjoyed this post, be sure to sign up for the Ann’s Entitled Life weekly newsletter, and never miss another article!
● For more Garden posts on Ann’s Entitled Life, click here.


Debbie-Dabble says
I bought my bags already planted with impatiens from a nursery on clearance one year for $3.00 each with flowers in them. I bought 2….I have planted them every year since which is for about 10 years now…
I like the idea of petunias….. Maybe i will try that next year….. Thanks for sharing!!
Hugs,
Debbie
Kerryanne says
What a lovely way to add more colour to the garden!
Thank you for sharing how to make hanging flower bags at Create, Bake, Grow and Gather this week. I’m delighted to be featuring your project at the party tonight and pinning too.
Hugs,
Kerryanne
Gayle Lorenz says
What type of petunia do you recommend? I always see supertunias in quart pots – not individual ones that you use in the pouches
Beth says
Is it OK to use different types of flowers in each bag rather than a bag of the same flower?
Ann says
Hi Beth,
Of course! Just make sure you put the spillers (plants that flow over the bag) in the front if you are using flowers that drape as one of your choices.
Ann