Detailed instructions on how to get started with straw bale gardening in your home gardens for the beginner. Pros and cons, as well as the differences between hay bale gardening and straw bale gardening.
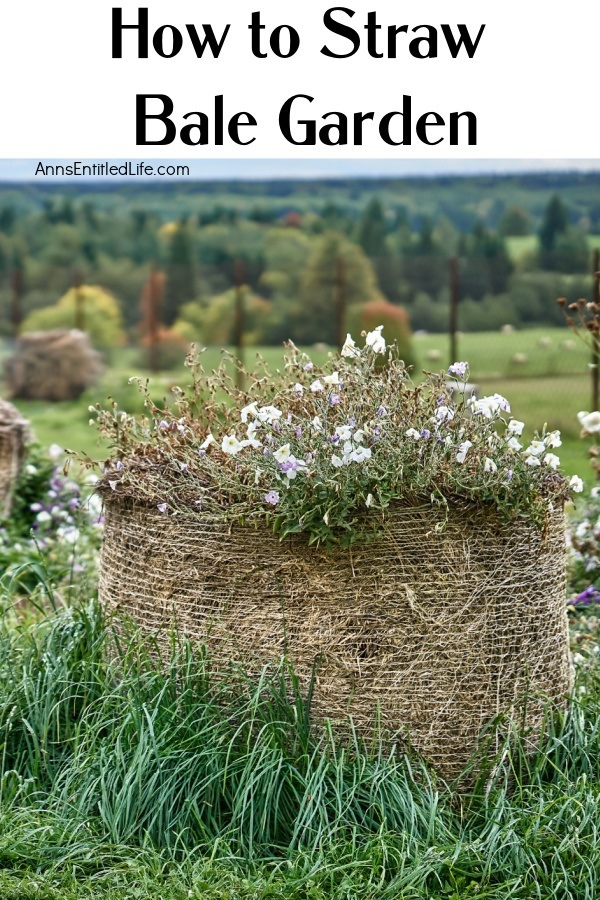
How to Straw Bale Garden
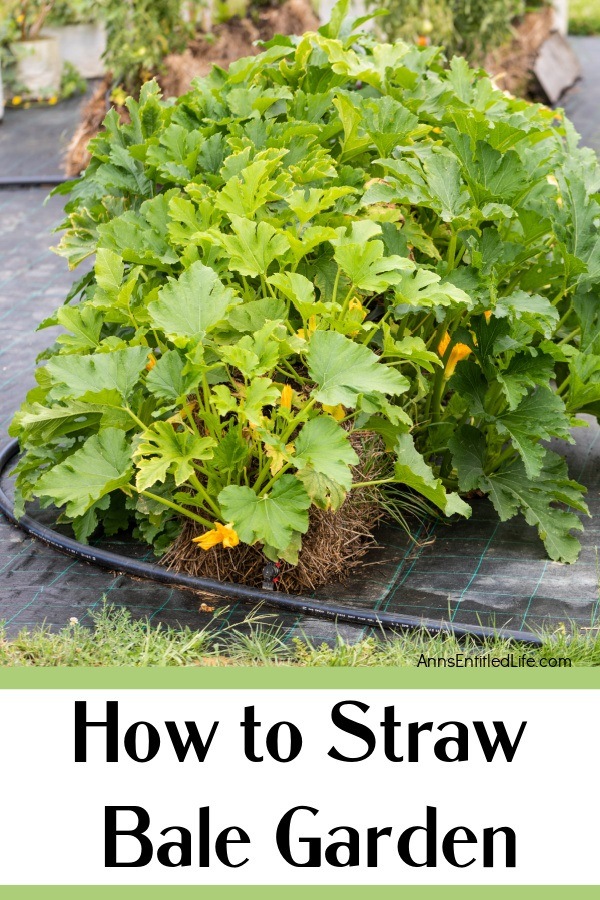
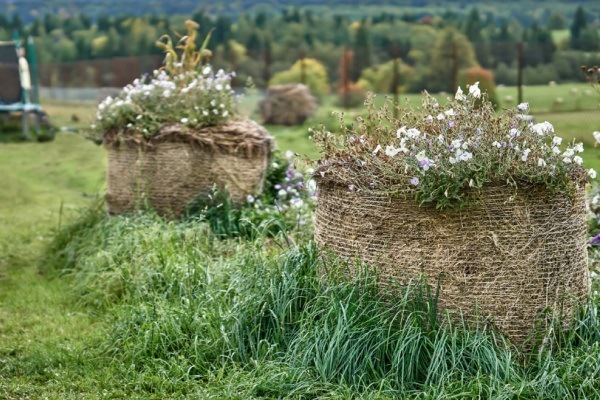
Have you ever heard the term straw bale gardening? Straw bale gardening is a form of gardening where your plants are not put into the ground or in soil, instead, you plant them directly into the straw bales. Many (most) people use straw bales for a vegetable garden, but you can also plant flowers in bales of straw.
Before planting can begin your straw bales are conditioned, which turns them into a natural compost container, perfect for holding and nourishing your plants.
There are many benefits to gardening with straw bales including being able to garden anywhere that you have enough room for a straw bale that also gets at least six to eight hours of sun a day. This is great news for those who have limited space, or poor soil quality. Straw bale gardening also means less weeding, and for those with mobility issues, you don’t have to get down on your hands and knees to care for your flowers, herbs, or vegetables.
Now that you know what a straw bale garden is, let’s talk about how you can get started with one of your own.
Where to Purchase Straw Bales
Before you can begin your straw bale garden you will need to gather your straw bales and prepare them for planting. Sometimes you will hear straw bale gardening referred to as hay bale gardening, but hay is not the kind of growing medium that you want. When selecting your bales, if at all possible you want to avoid hay bales.
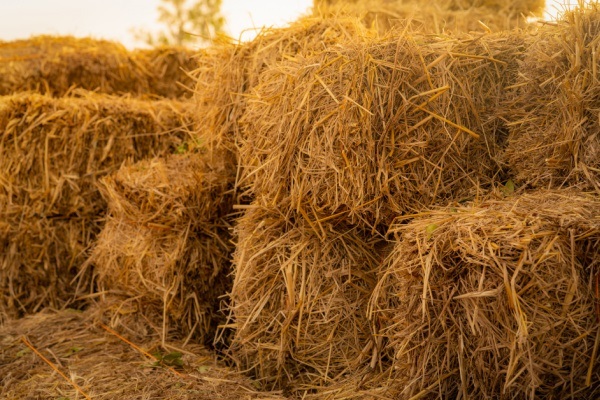
Hay bales tend to be less expensive than straw bales, but there are a few reasons that make them less than ideal for straw bale gardening. For one thing, hay bales will break down faster than straw bales, which means that they could potentially fall apart before your growing season is over. Hay bales are made with cut grass or alfalfa and it contains every part of the plant including the seeds. Those seeds may sprout causing you issues with weeds choking your plants and preventing their growth. Straw bales are made of wheat stalks with no seed heads or seeds so you don’t have to worry about weeds sprouting inside or on top of them.
Straw bales are generally available for purchase at your local garden center, feed store, from local farms (those that grow straw or use the bedding), farm stores, Home Depot, or Tractor Supply. Generally, the shape of the bales is a rectangular straw bale. The local farmer may use a baler that forms rolls. It depends on how your local farmers have chosen to harvest and bale the straw.
How Many Plants Per Straw Bale
Now that you know what kind of bales to buy (straw) and which ones to avoid (hay), you need to think about how many straw bales you need. The number of bales you will need will depend on your available space, and how much you want to plant. Typically you can plant between two and four plants per rectangular bale, depending on the size of the plants. With some larger plants, you may only be able to have two plants per bale for them to have enough room to grow. However, with smaller plants like tomato plants, you can plant as many as four plants in one bale of straw.
Straw Bale Placement
Make sure that the area you plan to put your straw bales is in a sunny spot that gets at least six to eight hours of full sun per day, and you have easy access to the bales and an easy-to-reach water source. Prepare the area for your straw bales by placing newspaper or cardboard on the ground where you plan to have your garden. This will keep weeds and grass from sprouting up in the middle of your bales. Now that your ground is prepared you are ready to layout your bales. Make sure that you are happy with the location where you place bales for the sunlight before you begin conditioning them for planting. Once the straw bales are saturated with water they will be very heavy to move.
Condition Straw Bales for Growing
Now it is time to start conditioning your straw bales to get them ready for planting. Conditioning the bales will take ten days to two weeks so make sure that you leave yourself time to condition them before planting season starts for your area.
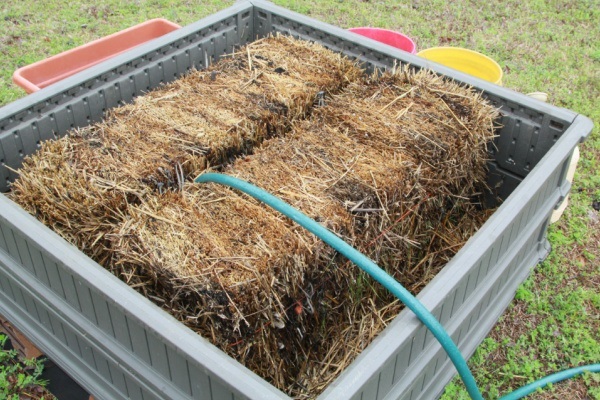
On days 1, 3, and 5 of the conditioning process, you will need to add 3 cups of nitrogen-rich fertilizer to the top of each bale and then water them thoroughly. The fertilizer should disappear down into the bales. You will know that the bales have enough water when they have water seeping from the bottom of the bales.
On days 2,4, and 6 simply water the bales without feeding them. You need to make sure that the bales always remain at least damp. Some people find a soaker hose works well.
On days 7, 8, and 9 you will need to “feed” the bales again by adding 1½ cups of high nitrogen fertilizer on top of each straw bale and water it in.
On days 10 through 13 add ½ cup of nitrogen-rich fertilizer to your straw bales and water it in.
On the final day of conditioning, you can add bone meal to the bales if you like to add some phosphorous to your bales.
You can check your straw bales every day after day 10 to see if the conditioning process is complete. The bales should become warm when they are conditioned, and ready for planting. Use a compost thermometer, or your hand to check the temperature you want the internal temperature of the straw bales to be at least 75-80 degrees.
How to Plant Straw Bales
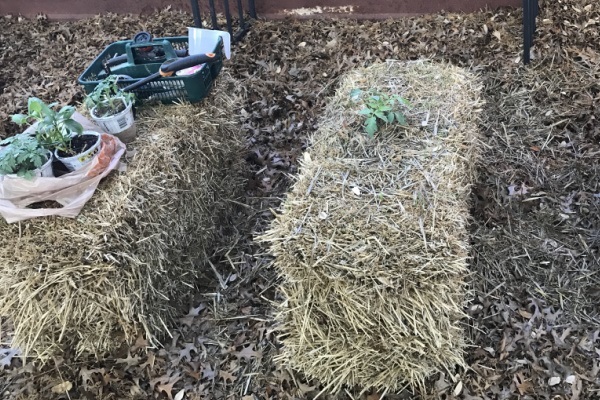
You are now ready to plant your straw bale garden! If you are starting your plants from seeds you will need to spread about 2 inches of moistened potting soil on top of the straw bale. Plant your seeds at the recommended depth and water regularly during germination. If you are planting your garden with plant seedlings, simply break up the soil around the roots of the plant and use a trowel to dig a small hole to place them in on the top of the bale. Make sure that you leave appropriate space in between your plants so they do not become overcrowded.
What to Plant in Straw Bales
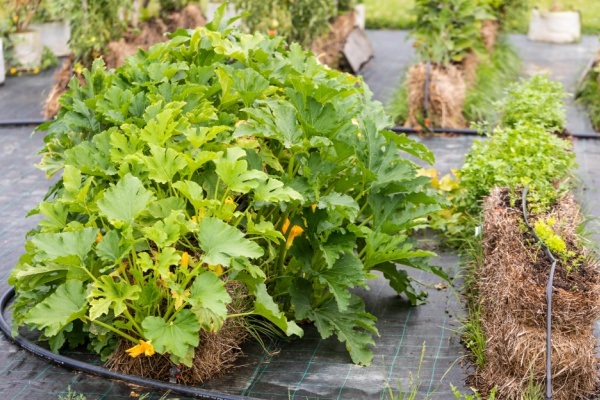
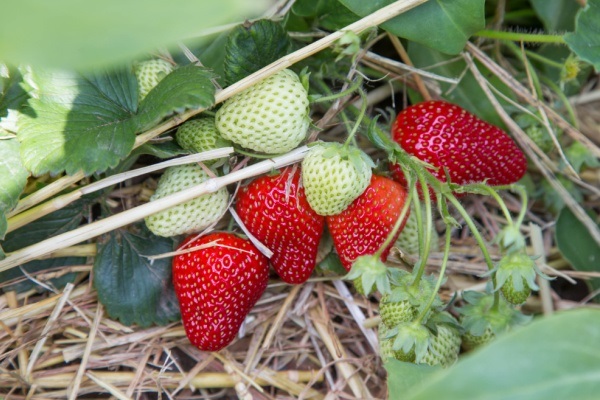
You may be wondering what types of plants will thrive in your straw bale garden and the answer is lots of them! You can grow tomatoes, pepper plants, green beans, sweet potatoes, spinach, kale, strawberries, eggplant, squash, zucchini, a variety of lettuces, broccoli, cauliflower, potatoes, onions, carrots, and a variety of herbs like basil, cilantro, and parsley can all be grown in your straw bale garden.
What NOT to Plant in Straw Bales
You might also be wondering what will not grow well in your straw bale garden. Tall plants like corn should not be planted in a straw bale garden because it grows too tall and is heavy at the top of the plant. Perennial crops such as rhubarb and asparagus should not be grown in straw bale gardens because at the most you will get two gardening seasons out of your straw bale. Plants like asparagus may take as many as three years before they start producing, so your bale would decompose before you had asparagus plants that were producing.
How to Care for Straw Bales
Caring for your straw bale garden is pretty much the same as caring for a garden that you have planted in soil. You may have the occasional weed to remove, though far fewer than you would with soil gardening in the ground. Water the bales regularly, preferably in the early morning or after the sun has gone down to keep from scorching the plants.
You do not have to worry about excess watering because the extra will leak out of the bottom of the straw bales. When you are watering, make sure that you are watering the bale itself and not just focusing on the leaves of the plants. Your straw bales will need an application of fertilizer once every two to three weeks, to make sure there is plenty of nutrition for your plants.
Some plants in your straw bale garden may need additional support, these include tomatoes, zucchini, squash, and cucumbers. Tomato cages do not typically work very well in straw bales, but pushing a wooden stake into the ground and gently tying the plants to the stake is very effective. Staking your squash, zucchini, and cucumber plants can help to keep your vegetables from laying on the ground where they might get accidentally stepped on, or fall victim to pests.
Keep in mind that if you plant root vegetables like onions, potatoes, or carrots in your straw bale garden the bale might have to be taken completely apart to find all of your delicious veggies. If you have a straw bale that is not as densely packed as the others where the straw is already loosened then that would be the best choice for your root vegetables like potatoes.
If you want to take maximum advantage of your straw bale garden’s space you can plant herbs, or ornamental flowers on the sides of your straw bales, instead of dedicating a bale to those plants. Annual flowers and herbs tend to grow very well in straw bale gardens.
Straw bale gardening offers those who might not otherwise be able to enjoy a garden the opportunity to do so. Those with a small garden, or just a balcony, people who have bad soil conditions, and those with mobility issues can all benefit from gardening inside of straw bales. Straw bale gardening is also an excellent way for those who want to garden, but may not have the time to devote to a traditional garden.
Have you tried straw bale gardening before? If not, do you think that you might try planting your garden in straw bales in the future?
If you would like to read more in-depth about straw-bale gardening, Joel Karsten is a well-known author of straw-bale gardens including creative tips, small gardens, and urban gardening with straw bales. You can purchase his books here.
If you like creative or unusual gardening ideas, read these posts:
● Earth Box Gardening
● How to Grow Vegetables in Garden Soil Bags
● 10 Creative Home Gardening Ideas
● If you enjoyed this post, be sure to sign up for the Ann’s Entitled Life weekly newsletter, and never miss another article!
● For more Garden posts on Ann’s Entitled Life, click here.
Leave a Reply