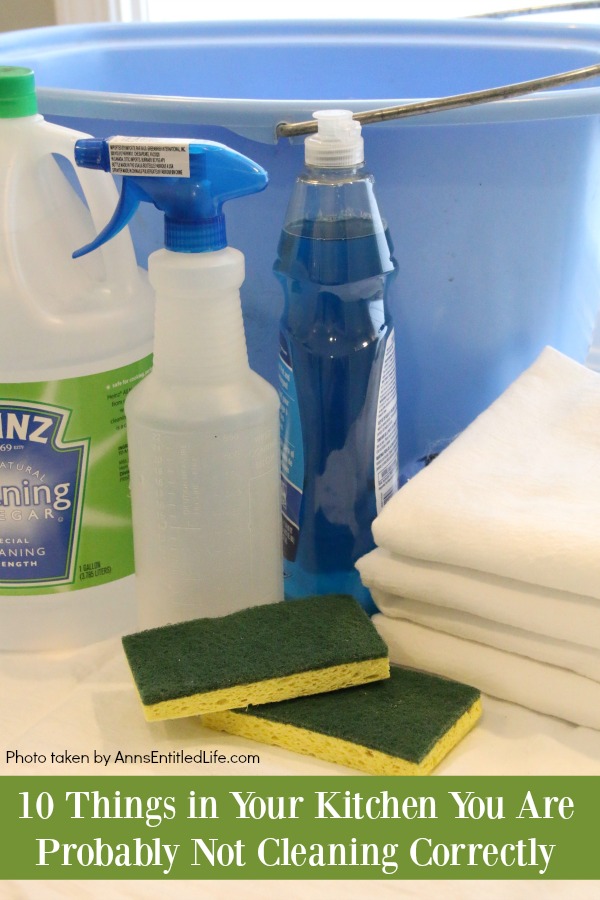
10 Tips and tricks as well as great instructions for cleaning things in your kitchen – which will not only help limit the potential for nasty bacteria but will leave everything looking and smelling wonderfully fresh. These cleaning solutions will help you deep clean your kitchen one step at a time!
10 Things in Your Kitchen You Are Probably Not Cleaning Correctly
You may be surprised to know that up to 80% of all foodborne illnesses come from your home kitchen. Terrifying! Even when your kitchen looks as though it is sparkling clean, it may not be the safe space you think it is.
My list of 10 things in your kitchen you are probably not cleaning correctly – and how to clean them properly!
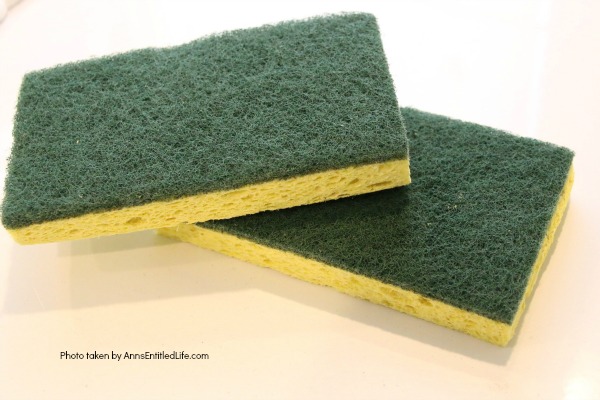
1. Your kitchen sponge. Dr. Charles Gerba, a professor of microbiology at the University of Arizona, found that kitchen sponges (and dishcloths) can be as much as 200,000 dirtier than a toilet seat.
Can you even believe it?
Because sponges are porous and wet, they are ground zero for some of the most dangerous bacteria that make humans sick.
E. coli, Staphylococcus aureus, Salmonella enteritidis, and Campylobacter jejuni are very happy living in your kitchen sponges. You can click the links to see what each of those bacteria will cause in humans, or you can take my word for it when I tell you that, simply put, it’s not pretty.
Because of the awful illnesses, dirty sponges can cause, the USDA did a study to find effective methods to clean kitchen sponges. Here are the two they recommend.
After using your sponge place it in a microwave for 1 minute at full power.
When you are doing your dishes, pop your sponge on the top rack for the full wash and drying cycles.
Either will work and help keep your kitchen safe.
2. Kitchen sink. If you are a family of meat eaters, your sink is likely coated in invisible E. coli, salmonella, viruses and sadly, even parasites.
To properly clean and sanitize your kitchen sink, start by using a damp towel with baking soda or a product that will not scratch such as Bar Keepers Friend to clean away any stains.
Next, plug the sink, add warm water to fill it and approximately 1 TBSP of bleach per gallon of water. Let it sit for 5 minutes. Use vinegar to rub away any water spots.
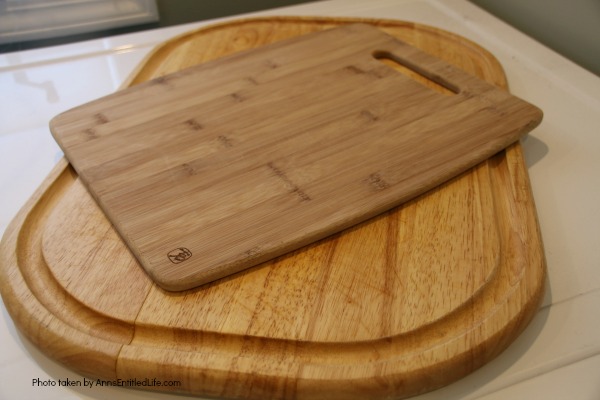
3. Wooden cutting boards. A good quality wooden cutting board will last for many years if you take care of it.
First, wash the wooden cutting board with hot water and a little soap on a sponge. The important thing here is to use soap and water, especially in the spots of the cutting board that have indentations from knives.
Next, combine a solution of half cleaning vinegar and half water, soak a cloth in it and thoroughly wipe your board down.
Make certain you dry it off afterward or the wood will swell and warp.
Repeat this process every time you use a cutting board.
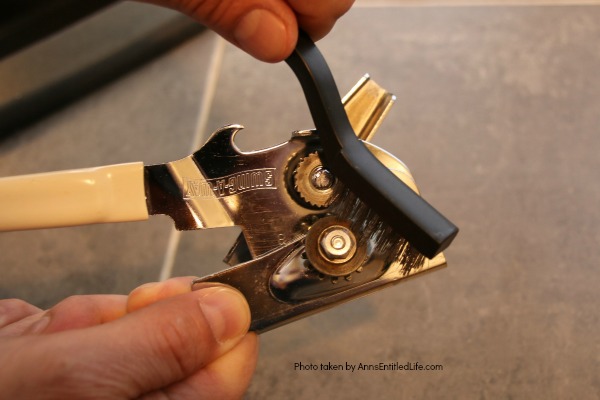
4. Can openers. Whether you have an electric can opener or a manual one, you should be cleaning it after every use. Hubby said that health inspectors inspect them first in restaurant kitchens as they are most likely to be gunked up and gross.
Again, cleaning vinegar to the rescue!
Wipe the can opener thoroughly with cleaning vinegar and then take a clean toothbrush or small wire brush to scrub it a bit – do not forget the wheel as that is where the gunk collects. If the can opener is electric pop off the arm that holds the can and soak it until it is clean.
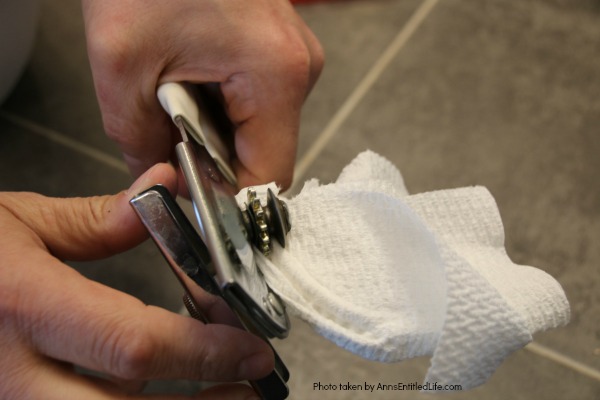
If you have a manual can opener you can slowly run a paper towel next to the wheel as you turn the wheel. If your can opener has gunk on the wheel, it will come off on the paper towel. After that proceed to clean with cleaning vinegar and then take a clean toothbrush or small wire brush.
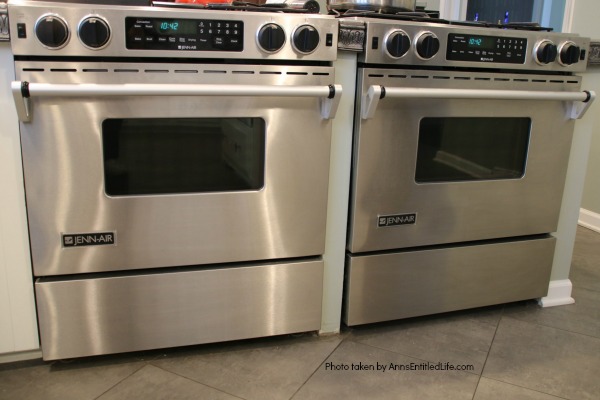
5 The glass of an oven door. Warm up the oven just a bit. While you do not want the oven to be 450 degrees it will be easier to clean if the door is a bit warm (try 200 degrees). Turn off the oven before cleaning the glass door.
Using a damp cloth, wipe the glass and sprinkle it with Bar Keepers Friend. Let it sit for 10 minutes. Get your cloth damp again and begin working in circular motions to clean it. You will repeat wetting your cloth as needed until you have finished removing all the Bar Keepers Friend and dirt and grime.
Using a dampened clean cloth you can wipe away all the residue.
If you have a glass stovetop (we did in Florida, electric only, no gas) and there is a stubborn stain on your glass stove top, start by rubbing the spot in a circular motion with a silicone spatula. That will help loosen the grime and lighten the stain.
Cover the stovetop with a paste of 1 TBSP distilled vinegar and 4 TBSP of baking soda. Let it sit for a few minutes. Rub it with a soft cloth, and then use a clean, wet cloth to remove the residue.
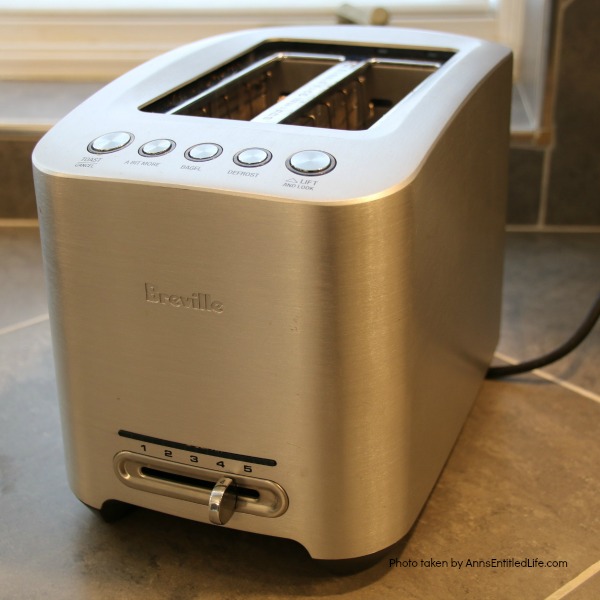
6. The inside of a toaster. Unplug the toaster (always unplug all electrical appliances before cleaning!), pull out and empty the bottom crumb tray. Use a clean “scrubbie” with a little Dawn, and start scrubbing. Rinse away the soap and let it completely dry.
Use a clean toothbrush to gently get rid of the crumbs and little pieces of burnt bread on the heating elements inside the toaster. Turn the whole thing upside down over your trash can and shake it if your toaster does not have a removable crumb tray or pop-open bottom.
7. Granite countertops. If you are wiping them down with soap and water, that is great. However, they also need to be disinfected.
Keep a spray bottle that is filled with equal parts isopropyl alcohol and water at the ready. Spray the countertops, let the solution sit for 5 minutes, and then wipe them down with a microfiber cloth.
8. Stainless steel appliances. They are so, so pretty when they are shining, but between fingerprints and streaking, they can be a bit of a problem to keep clean.
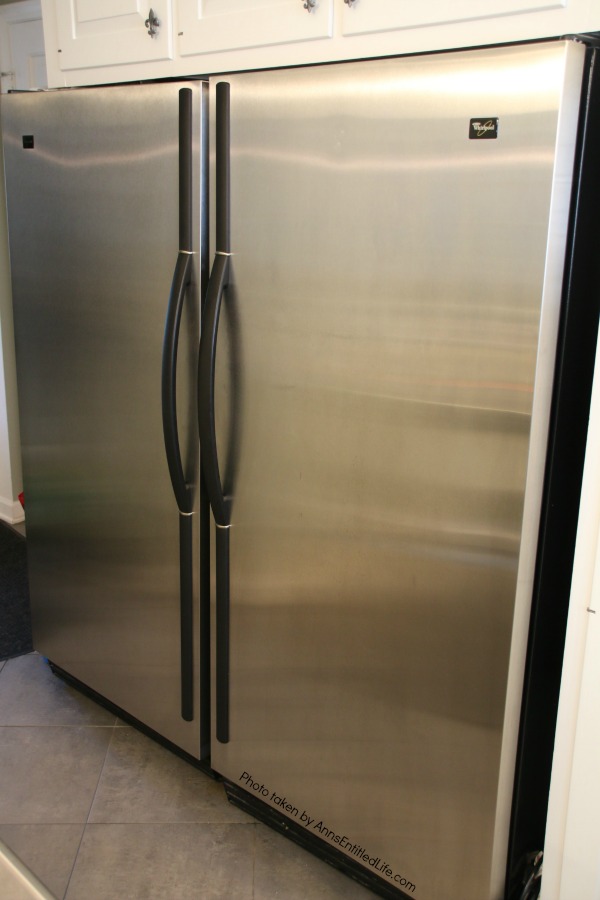
Depending on the age of your stainless steel appliances, a Dawn dish soap and water solution may be all you need. My newest stainless steel appliances are only to be cleaned with a mixture of Dawn and water as per manufacturer instructions. I wipe the solution off with a cloth diaper (cloth diapers make the BEST cleaning rags!), rinse with clear water, and buff. Done!
Now on old stainless steel appliances… that is a bit trickier. In my household we use Stainless Steel Magic. It is the only thing I have found that does not leave streaks provided a “wax-on, wax-off” motion is used. My fridge and my freezer are older units (15 years old) so build up does occur every 12-18 months. At that point I strip it with full strength cleaning vinegar and start the Stainless Steel Magic again.
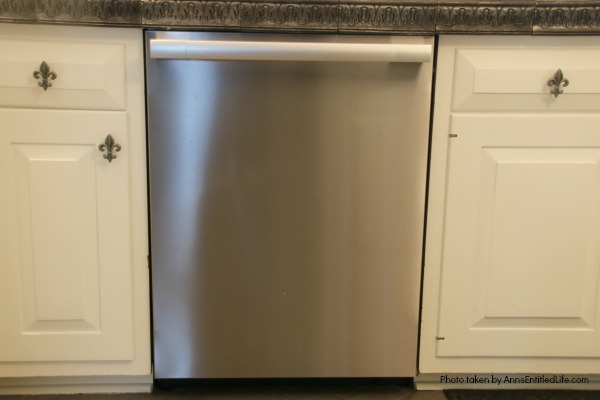
9. Dishwasher. Dishwashers are the best thing to happen to kitchens since the electric stove! They work hard for us and deserve their own cleaning a couple times a month to keep them in optimal working order.
Remove the food trap, empty it, soak it, and scrub it if necessary. If you are not sure where your dishwasher trap is or how to remove it, a quick YouTube search will help (that was how I found mine on my old dishwasher after the instruction booklet went missing!)
Fill the dishwasher dispenser with a packet of sugar-free lemon Kool-Aid or some citric acid. Run a full cycle.
10. Refrigerator. Take everything out including all the removable parts of your fridge. Wash them in hot, soapy water and leave them to dry while you are cleaning the rest of the fridge.
Using a spray bottle filled with half cleaning vinegar and half water, generously spray the inside and wipe down with paper towels. If there are sticky or stubborn places, dip a half lemon in some baking soda, scrub and wipe away the residue. It will be sparkling clean and smell super fresh.
Those are my 10 tips for cleaning your kitchen. Did I miss some great kitchen cleaning tips you wouldn’t mind sharing? I would love it if you’d comment and tell me what they are.
Note: None of this is meant as medical advice. I am not a doctor and do not play one on the internet. Please consult a physician if you have any questions about using cleaning products and disinfectants so your doctor can better explain to you the benefits, possible side effects, and any warnings about cleaning products and disinfectants.
If you are looking for more cleaning tips (tricks, hacks, whatever word you would like to use), check out these posts:
● Twice a Year Cleaning Secret For Sparkling Shower Doors
● 15 DIY Cleaning Formulas to Make and Use at Home
● 10 Tips For Hiring a House Cleaning Service
● Disclosure: the links in this post may be affiliate links.
● For more Library Reading posts on Ann’s Entitled Life, click here.
● If you enjoyed this post, be sure to sign up for the Ann’s Entitled Life weekly newsletter, and never miss another article!
WendyB says
For Stainless Steel use WD-40. Works great, cheaper than the “special cleaners”.