This post was sponsored by Heluva Good! Cheese as part of an Influence Central campaign and all opinions expressed in my post are my own.
Gluten-Free Cheese Bites Recipe
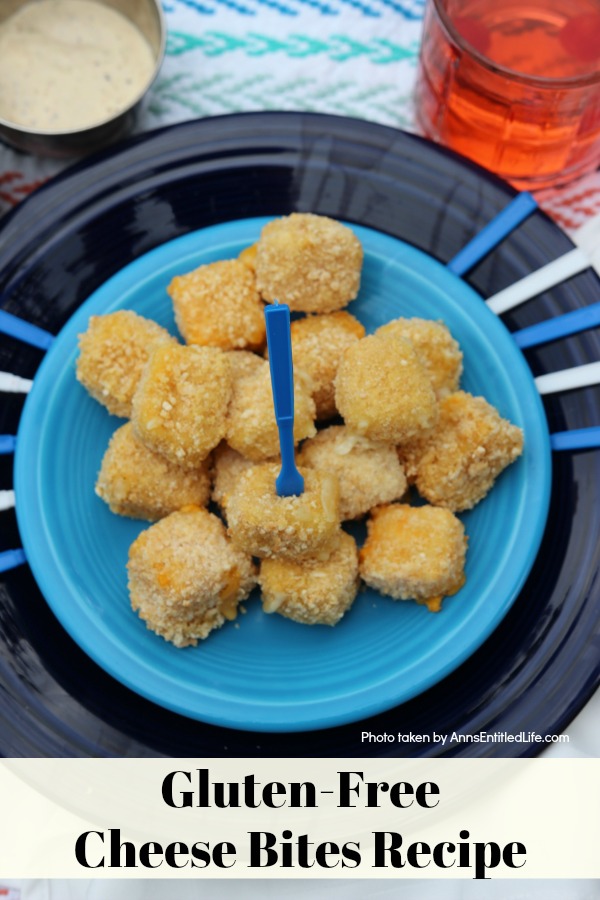
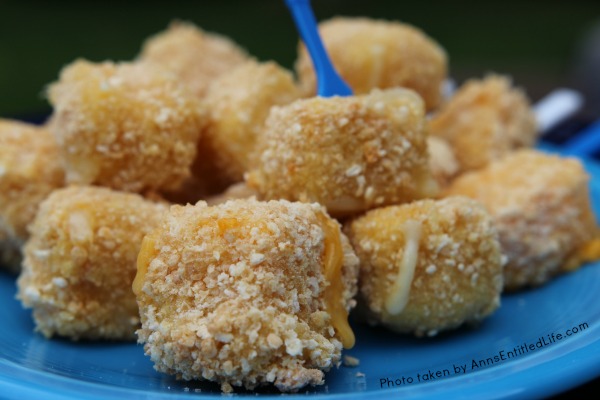
Make your own gluten-free cheese bites with this easy recipe. Great for entertaining, these cheese bites are packed with gooey cheesy deliciousness! Easily frozen, this gluten-free cheese bites recipe is one your friends and family will thoroughly enjoy!
Heluva Good!® Cheese offered me an opportunity to swing by Walmart, grab some of their very tasty Heluva Good! Block Cheeses, and make up a recipe to share with all of you. Since I live in Heluva Good! Cheese territory, I was thrilled to participate.
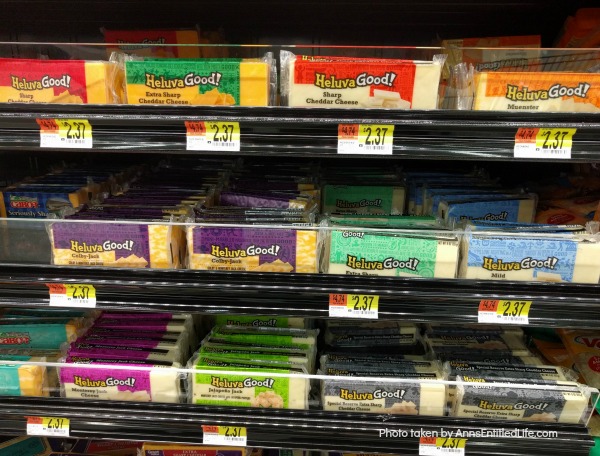
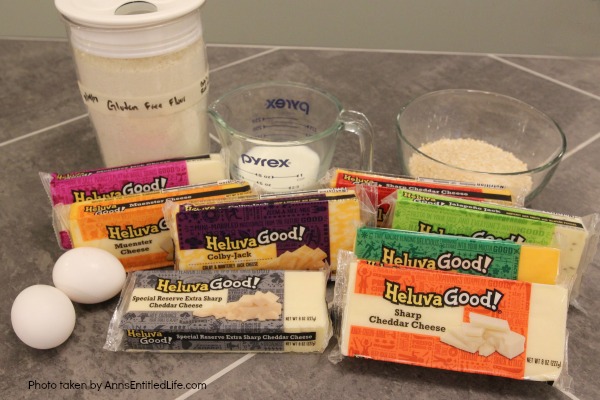
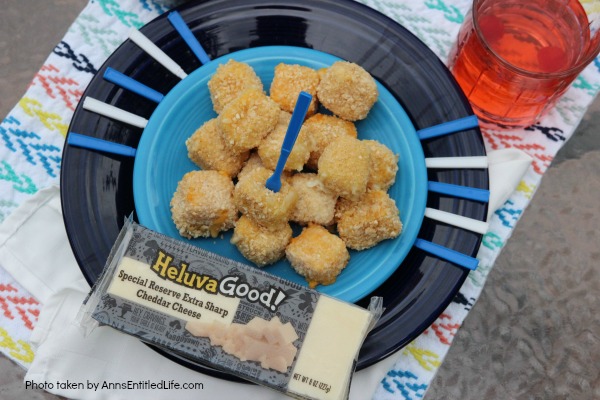
For those of you unfamiliar with Heluva Good! Cheese, you are missing out. Heluva Good! Block Cheese comes in many choices including Colby Jack, Pepper Jack, Extra Sharp Cheddar, Sharp Cheddar, White Extra Sharp Cheddar, White Sharp Cheddar, White Mild Cheddar, Muenster, Monterey Jack, Special Reserve Extra Sharp Cheddar, Colby and Mild Cheddar.
As you can see by the photo above, Walmart offers a big Heluva Good! Block Cheese selection at a reasonable, everyday low price.
Heluva Good! Cheese blocks are Gluten-Free, made with milk, have 0 grams trans fat per serving, are a good source of protein, and an excellent source of calcium. And they taste good too!!
When pondering the recipe I was going to make I made a mental list of what I use Heluva Good! Block Cheese for (well, besides slicing and eating… I am a huge Heluva Good! Block Cheese lover!) We use Heluva Good! Block Cheese for entertaining quite often, so I thought a recipe you all could make and share when you have friends over, when people are watching the big game, when the kids have a party or friends over, etc. would be well received. A very versatile recipe was what I was after.
When I mentioned cheese bites to Hubby, he was all over that. Apparently, when he worked at a restaurant back in his youth in Chicago, they made cheese sticks. He knew exactly how to adapt that recipe to make the cheese bites gluten free, how to make it, so the cheese didn’t ooze into the air fryer (he did use a deep fryer in the restaurant, but I wanted to use our air fryer instead), and so gave me tips and tricks to make these Heluva Good! Block Cheese Bites wonderful.
Notes:
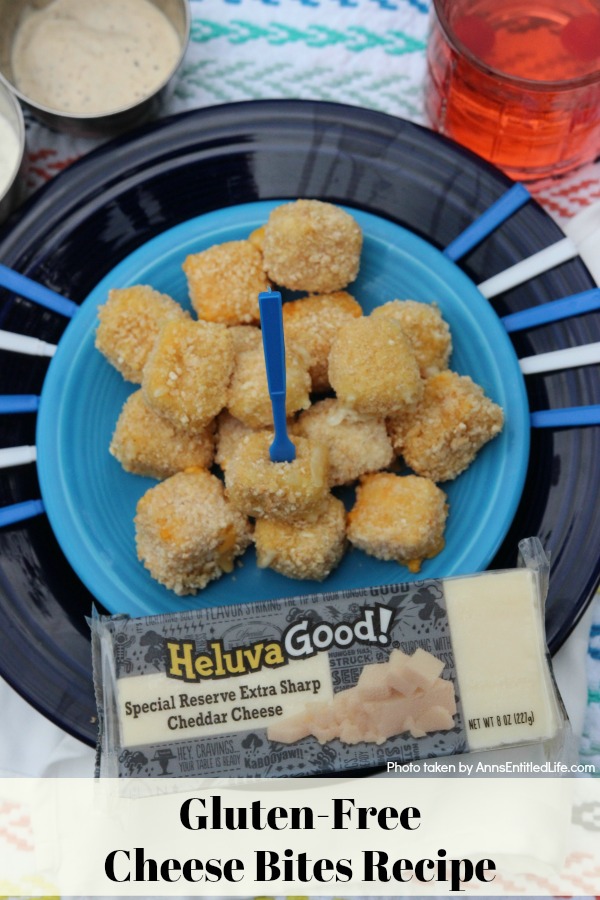
● For this recipe, I choose to use Heluva Good! Colby Jack, Heluva Good! Monterey Jack, Heluva Good! Munster, and Heluva Good! Jalapeno Jack (which tasted just like a Jalapeno popper!) The results were outstanding. We used half of each block, so the recipe is for one-pound of cheese. If you use more than a pound of Heluva Good! Cheese, adjust measurements accordingly.
● Use one set of tongs for each bowl (so three different tongs).
● These cheese bites need to be flash-frozen (about an hour). If you are making some to freeze later, right after they are flash frozen would be the time to foodsaver the cheese bites you plan to freeze to enjoy at a later date.
● When using the air fryer, clean out any cheese that may have seeped out onto the air fryer pan before cooking another batch.
● Click here to visit the Heluva Good! Cheese Website.
● For a limited time there is a Heluva Good! Cheese offer at Walmart on Ibotta. Click here to check out the rebate!
Gluten-Free Cheese Bites Ingredients:
● 1lb Heluva Good! Block Cheese
● ½ cup Gluten-Free Flour
● 4 Eggs
● ¼ cup Whole Milk
● 2 cups Gluten-Free Breadcrumbs
● 2 TBSP Vegetable Oil
Gluten-Free Cheese Bites Mise en Place:
● Knife
● Cutting Board
● 3 Bowls
● Whisk
● Wax Paper
● Baking Sheet
● 3 sets Tongs
● Measuring Cup
● Measuring Spoons
● Air Fryer
● Non-stick Spray
Gluten-Free Cheese Bites Directions:
● Remove Heluva Good! Block Cheese from the wrapper.
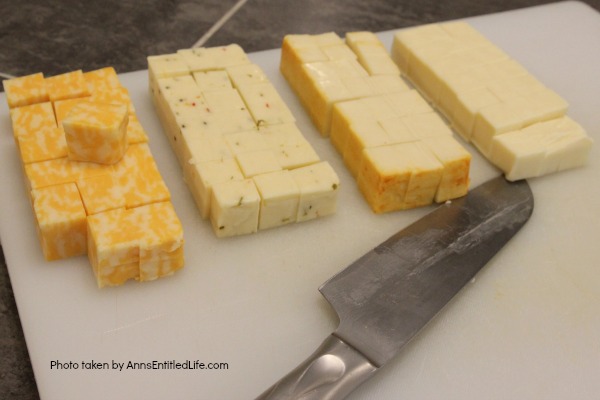
● Cut each cheese block into 18 pieces (3 long rows, then 6 across), 36 pieces total.
● Heat the milk to a simmer on the stove. Allow to cool. (This is to remove the grittiness from the flour.)
● Place gluten-free flour into a medium sized bowl.
● Combine milk and eggs in a different medium bowl. Whisk to combine.
● Place 1 cup of bread crumbs into a third bowl. You do not want to pour all the bread crumbs at once. Add more as needed (and if 2 cups are not enough in total, add more as needed).
● Place a piece of wax paper on a baking sheet (that will fit in your freezer).
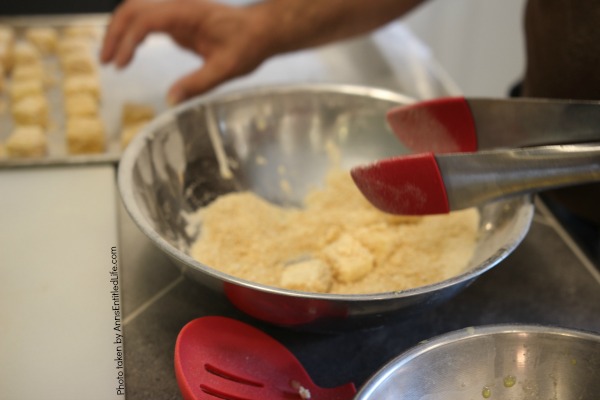
● You are going to form an assembly line. In order: gluten-free flour, egg/milk mixture, bread crumbs, baking sheet.
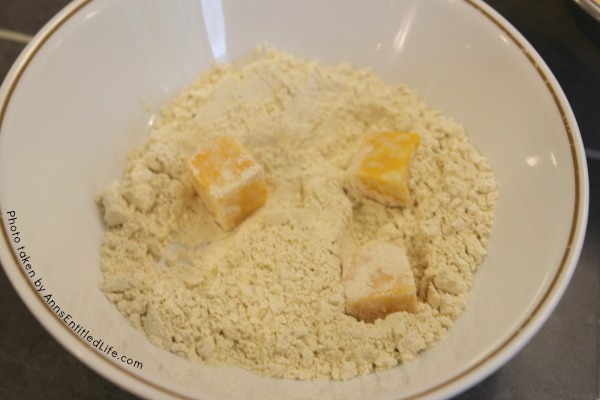
● Place 6 pieces of cubed cheese into the gluten-free flour (work in 6 piece increments). Toss to coat all sides thoroughly.
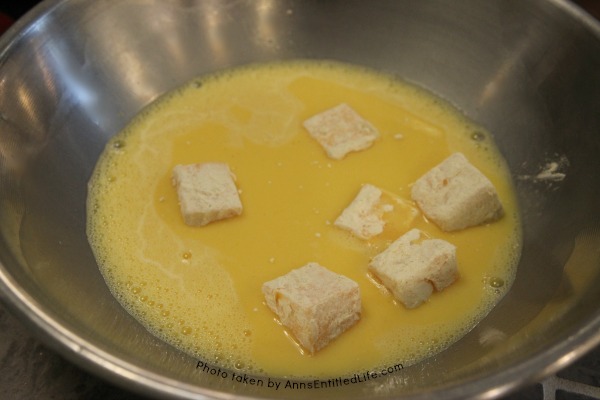
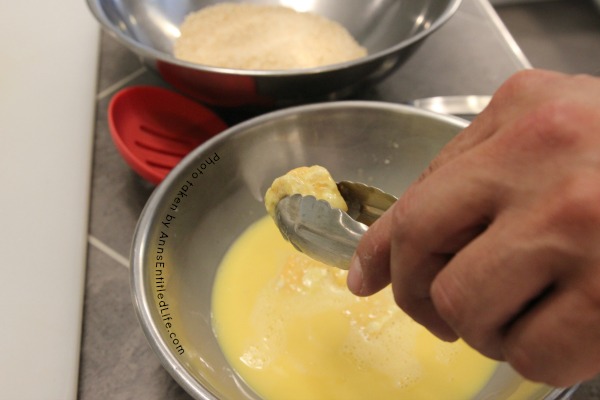
● Place gluten-free flour covered cheese cube into the milk/egg mixture. Coat all sides thoroughly.
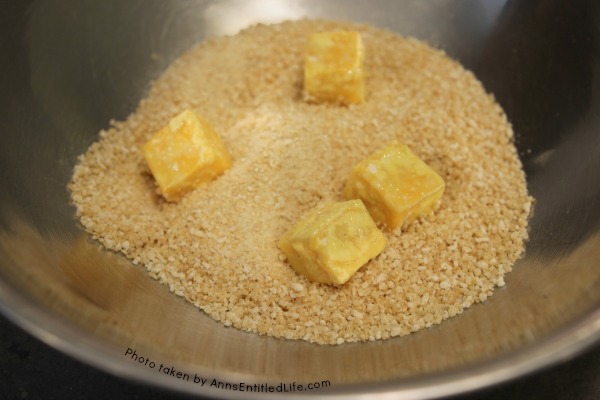
● Place egg covered cheese cube into bread crumbs. Toss to cover all sides.
● Place bread crumb covered cheese cube back into the milk/egg mixture. Coat all sides thoroughly.
● Place cheese cube back into the bread crumbs. Cover all sides completely. (You are double coating, so the cheese does not ooze out onto the air fryer.)
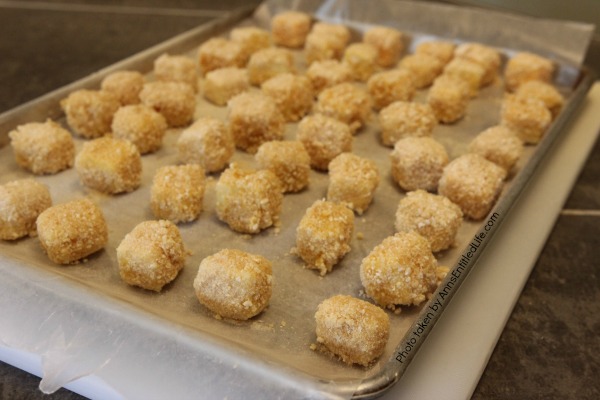
● Place gluten-free cheese bite onto the wax covered baking sheet.
● Repeat until all the cheese cubes are coated on all sides.
● Place your cheese-bites-full baking sheet into the freezer for one hour (up to two hours).
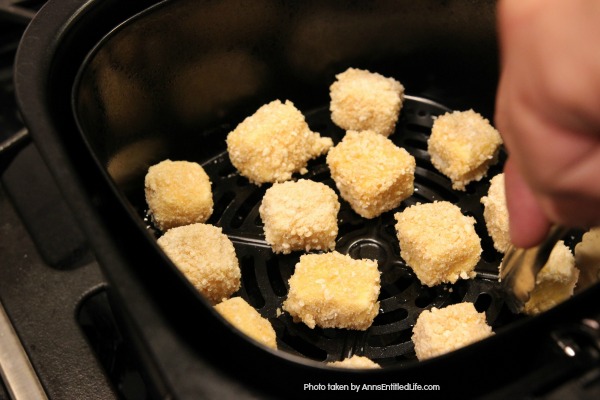
● When cheese bites have been flash frozen, remove from freezer. Heat the air fryer to 350º.
● Spray the air fryer pan with non-stick spray.
● Add two tablespoons vegetable oil to the air fryer.
● Place the gluten-free cheese bites into the air fryer pan. Make certain they are not touching.
● Cook the gluten-free cheese bites for 5 minutes (you may want to check them and flip at 3-4 minutes).
● Serve!
Gluten-Free Cheese Bites Recipe
By Ann
Make your own gluten-free cheese bites with this easy recipe. Great for entertaining, these cheese bites are packed with gooey cheesy deliciousness! Easily frozen, this gluten-free cheese bites recipe is one your friends and family will thoroughly enjoy!
Prep Time: 30 minutes
Cook Time: 5 minutes
Total Time: 1 Hour 35 minutes
Ingredients:
● 1lb Heluva Good! Block Cheese
● ½ cup Gluten-Free Flour
● 4 Eggs
● ¼ cup Whole Milk
● 2 cups Gluten-Free Breadcrumbs
● 2 TBSP Vegetable Oil
Directions:
● Remove Heluva Good! Block Cheese from the wrapper.
● Cut each cheese block into 18 cube piece (3 long rows, then 6 across), 36 cube pieces total.
● Heat the milk to a simmer on the stove. Allow to cool. (This is to remove the grittiness from the flour.)
● Place gluten-free flour into a medium sized bowl.
● Combine milk and eggs in a different medium bowl. Whisk to combine.
● Place 1 cup of bread crumbs into a third bowl. You do not want to pour all the bread crumbs at once. Add more as needed (and if 2 cups are not enough in total, add more as needed).
● Place a piece of wax paper on a baking sheet (that will fit in your freezer).
● You are going to form an assembly line. In order: gluten-free flour, egg/milk mixture, bread crumbs, baking sheet.
● Place 6 pieces of cubed cheese into the gluten-free flour (work in 6 piece increments). Toss to coat all sides thoroughly.
● Place gluten-free flour covered cheese cube into the milk/egg mixture. Coat all sides thoroughly.
● Place egg covered cheese cube into bread crumbs. Toss to cover all sides.
● Place bread crumb covered cheese cube back into the milk/egg mixture. Coat all sides thoroughly.
● Place cheese cube back into the bread crumbs. Cover all sides completely. (You are double coating, so the cheese does not ooze out onto the air fryer.)
● Place gluten-free cheese bite onto the wax covered baking sheet.
● Repeat until all the cheese cubes are coated on all sides.
● Place your cheese-bites-full baking sheet into the freezer for one hour (up to two hours).
● When cheese bites have been flash frozen, remove from freezer. Heat the air fryer to 350º.
● Spray the air fryer pan with non-stick spray.
● Add two tablespoons vegetable oil to the air fryer.
● Place the gluten-free cheese bites into the air fryer pan. Make certain they are not touching.
● Cook the gluten-free cheese bites for 5 minutes (you may want to check them and flip at 3-4 minutes).
● Serve!
Makes 8 servings Gluten-Free Cheese Bites
● Disclosure the links in this post may be affiliate links.
● For more Recipes on Ann’s Entitled Life, click here.
● If you enjoyed this post, be sure to sign up for the Ann’s Entitled Life weekly newsletter, and never miss another article!
Leave a Reply