How To Cure and Smoke Your Own Bacon
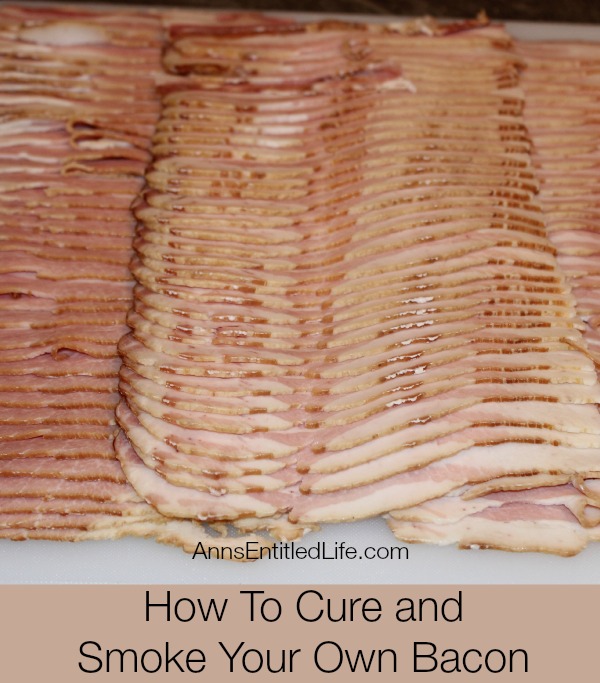
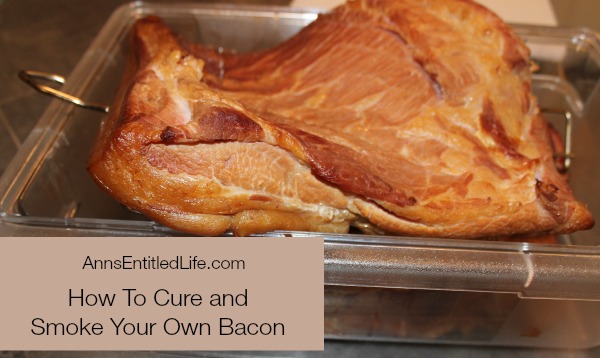
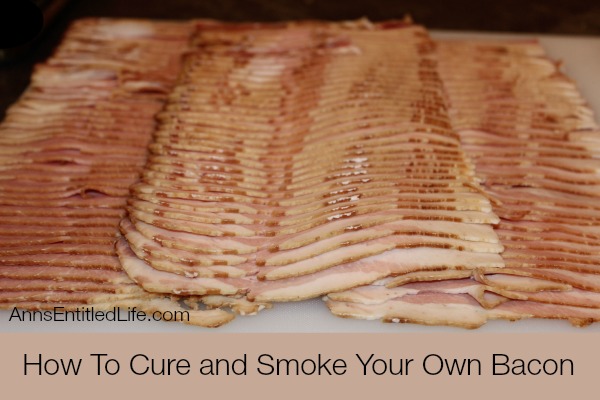
Step by step instructions and photographs on How To Cure and Smoke Your Own Bacon including: preparation, temperature settings, and the actual smoking and cooking of the meat.
We purchased a pig (again) a few weeks ago. Hubby decided that since I bought him a smoker a few years ago, he was going to use said smoker and smoke his own meat! He smoked both bacon and ham. (link to smoking ham)
The instructions he relied heavily on were these from The Sausage Maker. They are the go-to sausage and smoking supply company on the internet, and coincidentally located on the east side of Buffalo. He’s fortunate in that he can just run down there for product, tools and advice.
When our pig was delivered, the meat was of course raw and unfrozen.
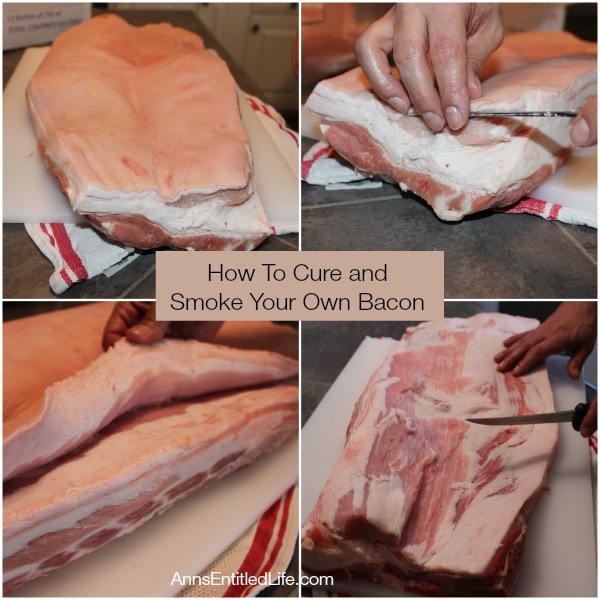
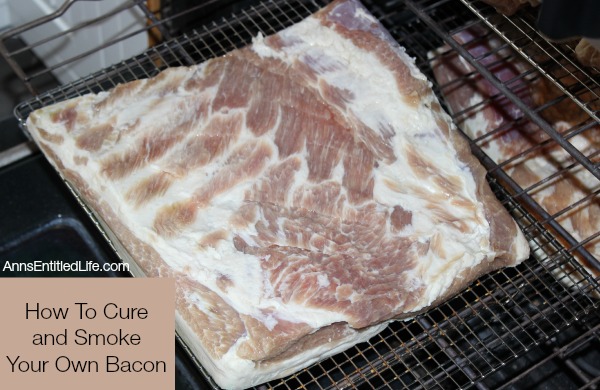
● Hubby took the pork belly and trimmed the skin, and all but a 1/4″ of fat. The problem with cutting to 1/4″ in of fat is the fat isn’t uniform, so you have to slice in sections to adjust for this.
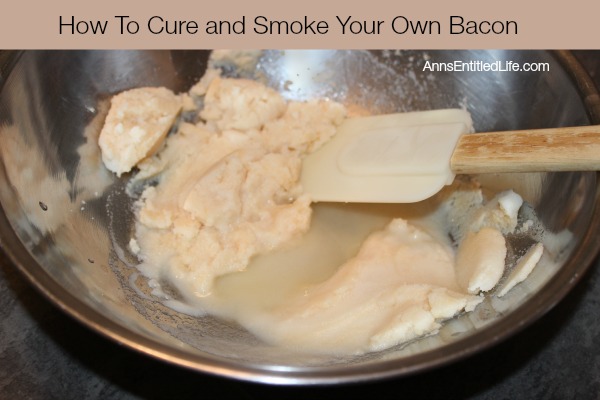
● Mixed up the cure.
● 1 package = 25 pounds of meat. You need to increase the amount used proportionate to the amount of meat you are curing.
● Follow package directions – add approximately 1/2 – 3/4 cup of water to make your cure.
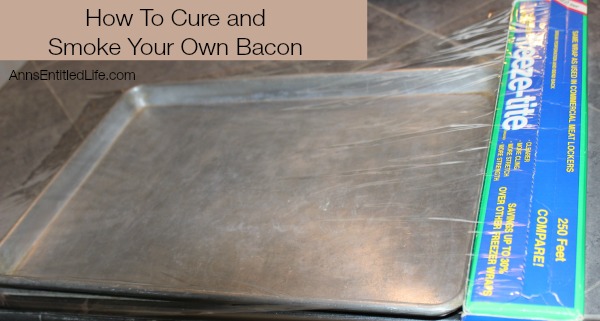
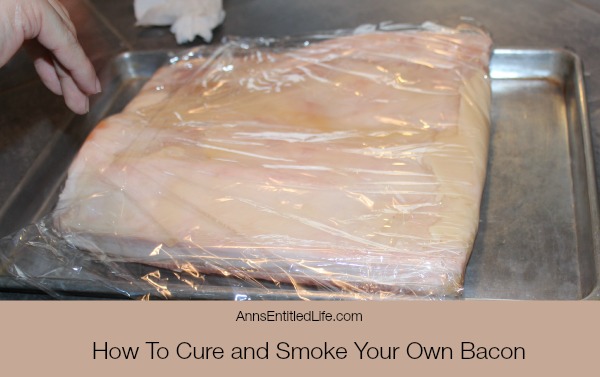
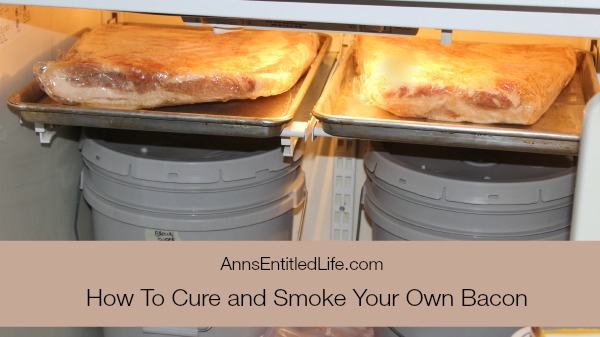
● Line a jelly roll pan with plastic wrap. This is to encase your meat.
● A suggestion: the cut-your-own foodsaver rolls would encase your meat better, and avoid leaking. You’d probably end up more slabs though.
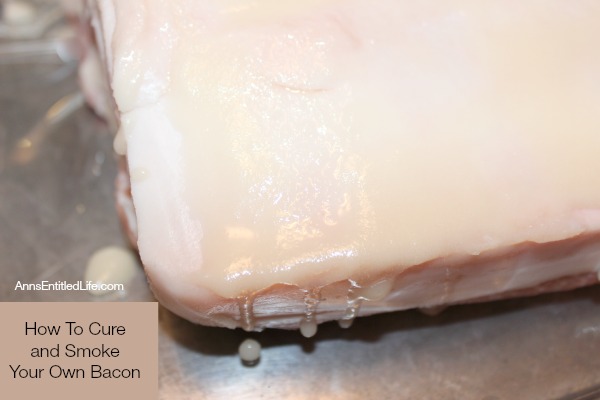
● Slater on the cure.
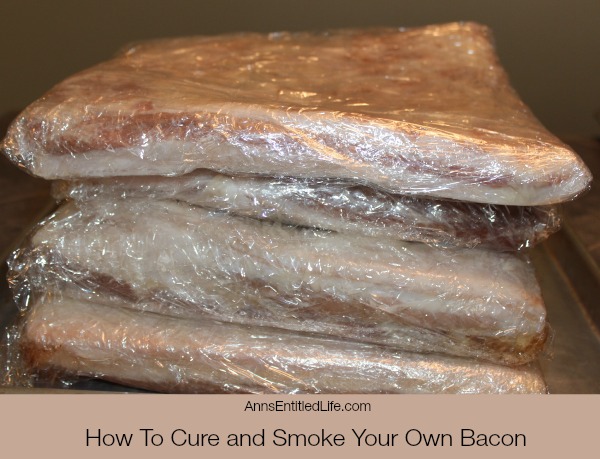
● Double wrap with plastic both ways. Since you are flipping the meat during the cure, some will leak out. You are trying to minimize that. (This is why I suggest foodsavering if possible.)
● Place on trays in refrigerator (between 38°-40°, have a thermometer in the fridge to verify your temperate. If it is too warm in the fridge, don’t try and cure the meat (that would be bad), if it is too cold, the cure won’t really work).
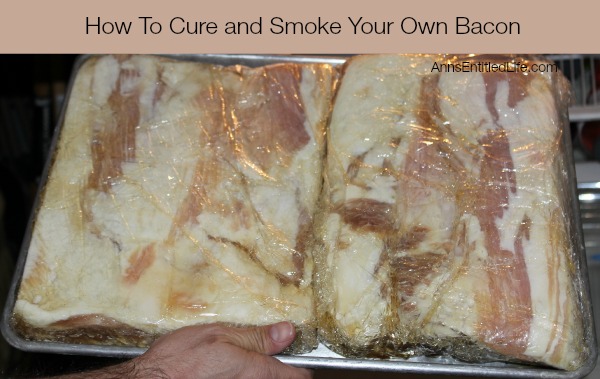
● Flip the bacon daily (every morning).
● Allow to cure for 5 days.
● When five days are up, you are going to get out the meat and scrub off the cure.
● Fill a food grade bucket with water, submerge the bacon for 3 hours, placing the bacon-filled food grade bucket in the refrigerator.
● Dump the water.
● Fill a food grade bucket with water, submerge the bacon for 3 more hours, placing the bacon-filled food grade bucket in the refrigerator.
● Remove slabs of meat from bucket
● Pat dry
● Place on racks and allow to sit in refrigerator for 24 hours.
● Preheat your smoker to 140°F for smoking with dampers open.
● Put your hooks into your bacon
● Smoke for 1 hour at 140° with damper open, no wood chips.
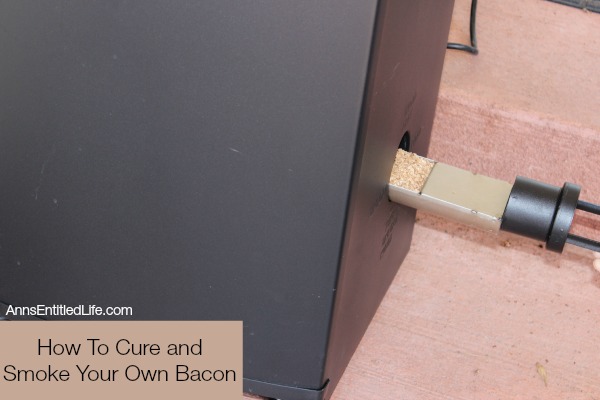
● Raise temperature to 150°, close damper half way, and put in a load of pre-soaked wood chips
● Smoke meat for 2 hours
● After 2 hours, raise temperature to 160°
● Put in a second load of pre-soaked wood chips, smoke for additional 2 hours
● Raise smoker temp to 168°, insert a remote meat thermometer into the thickest part of your meat.
● Close dampers, do not add any more wood chips
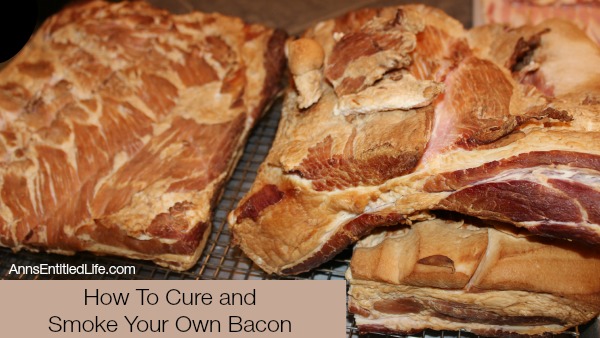
● Watch thermometer for 128° (this is pan fried bacon). It will take several more hours to come to that temperature.
● Fully cooked bacon is 152° according to a lot of people. Hubby went to 162° as that is the magic temperature for fully cooked pork. He did one of our four slabs to fully cooked.
● This is a long process, although not labor intensive. Make sure you have the time to cure and smoke your bacon once you begin the process.
Some helpful links:
● Charcuterie: The Craft of Salting, Smoking, and Curing
● Remote meat thermometer
● Cure
● For a list of all recipes available on Ann’s Entitled Life, click here.
● Disclosure: the links in this post may be affiliate links.
Shell says
Wow that looks good! Is it the best bacon you ever had?
Ann says
It was good, Shell.
Hubby said in the future he’d smoke bacon but not do the hams. I think the hams were an easier process (and he agreed), but he liked the bacon better.
Ann
KimH says
Those look beautiful.. Everyone I know who smokes their own bacon say its vastly superior to what you can get in the grocery stores.