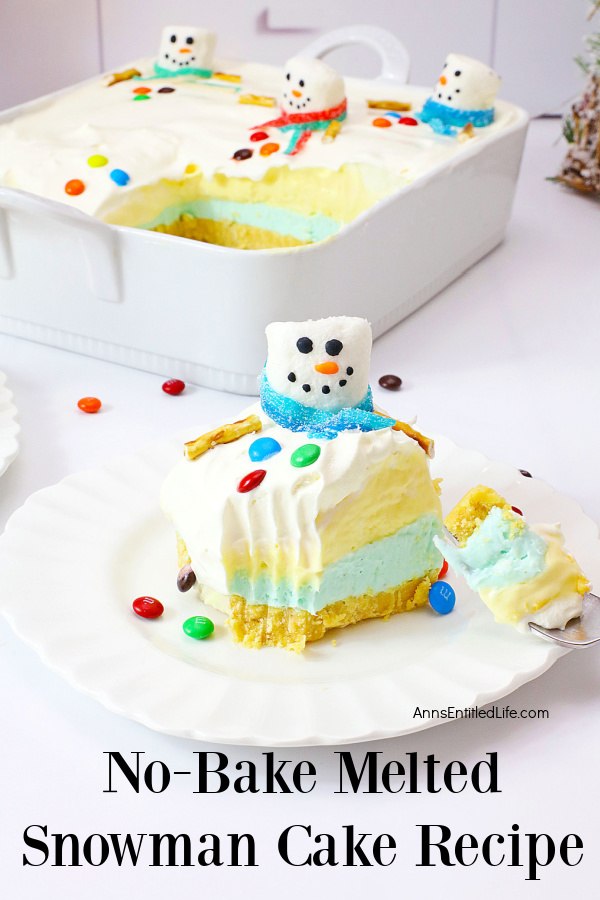
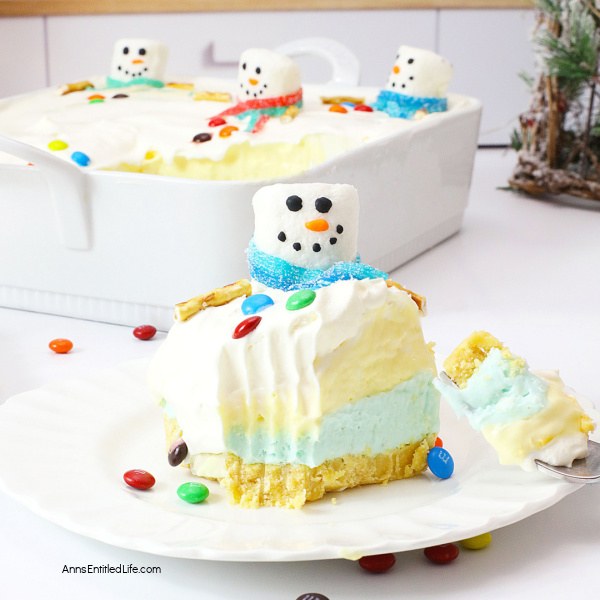
This no-bake melted snowman lush dessert is a sweet, creamy winter wonderland of flavors. This cake is a combination of cheesecake and pudding and tastes marvelous.
Discover a simple no-bake snowman cake recipe. Learn how to make a delightful holiday dessert that brings joy to your holiday party or celebration. Create a winter wonderland treat that delights taste buds and brings holiday cheer. Perfect for festive occasions!
No-Bake Melted Snowman Cake Recipe | How to Make
As winter blankets the world in a soft, serene layer of snow, there’s something magical about embracing the chill and celebrating the season with a delightful dessert that captures the essence of winter whimsy. This charming “melting snowman” creation warms the heart and tickles the taste buds with layers of sweetness and a touch of creative playfulness.
This no-bake melted snowman cake is not just a dessert; it’s a whimsical journey through a winter wonderland. It is a reminder that even in the coldest of seasons, warmth and sweetness can be found. As you savor each bite and embrace the whimsy of the snowmen, you’ll find yourself transported to a place where winter’s chill is met with the heartwarming joy of a dessert that truly captures the magic of the season.
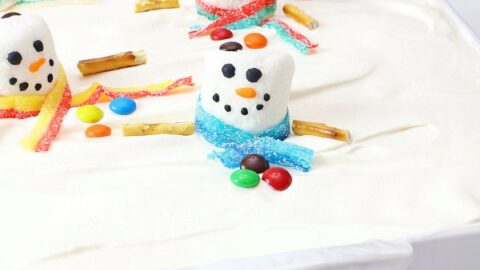
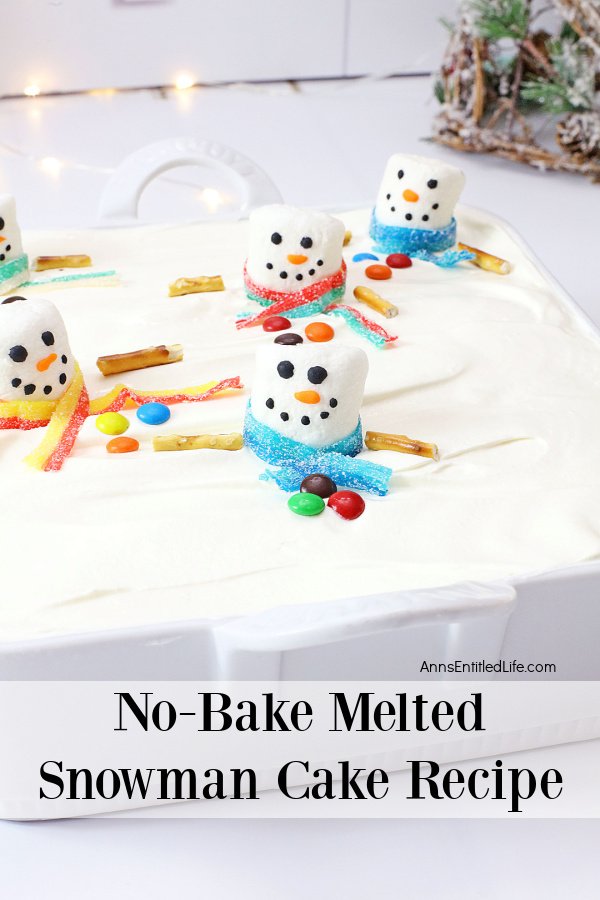
The star of the show is, of course, the snowman. Crafted from marshmallows, these adorable snowmen are “melting” right into the dessert, adding an element of fun and creativity to every bite. This winter wonderland creation is a treat for the taste buds and a visual delight that will bring smiles and warmth to your heart during the chilly winter months.
Tips and variations for making this no-bake melted snowman lush cake:
● Any vanilla cookie can be used, it doesn’t have to be golden Oreo.
● While Cool Whip was used to make this cake, any thawed whipped topping brand will work.
● While jello instant pudding was used to make this cake, any brand of instant pudding will work.
● Choose any color you like for the snowman’s scarf. Just be sure to place it between the snowman’s head and the top of the cake to achieve the melted snowman look.
● Regular marshmallows are used to make the snowmen. If you were to double this recipe in a larger pan, you could use a large marshmallow. Do not use mini marshmallows as they would be lost in the cake.
● Instead of orange frosting for the snowman’s nose, you can use an edible orange food pen.
● If you want to use black fondant to make a snowman’s hat, you can.
● Cover the dessert dish with plastic wrap or aluminum foil after serving to prevent air exposure. Store it in the refrigerator to maintain freshness.
● The dessert can be kept in the refrigerator for up to 2-3 days. However, note that the whipped cream topping may lose some of its fluffiness over time.
● For longer storage, consider freezing individual portions in airtight containers. Ensure the dessert is well wrapped to prevent freezer burn. Consume within 1-2 months for the best quality.
● When ready to enjoy a frozen portion, move it to the refrigerator and allow it to thaw for several hours or overnight. The texture of the whipped cream may be slightly different after freezing and thawing, but the flavors will remain delightful. Remember that while the texture of the Cool Whip may change with refrigeration or freezing, the delicious flavors and charm of the Melted Snowman Lush Dessert remain intact.
You might also enjoy these delicious pudding cakes:
● Chocolate Slush Cake Recipe
● Banana Split Icebox Cake Recipe
You might also enjoy this Snowman Cookie Balls Recipe.
No-Bake Melted Snowman Cake Recipe Ingredients:
For the Crust
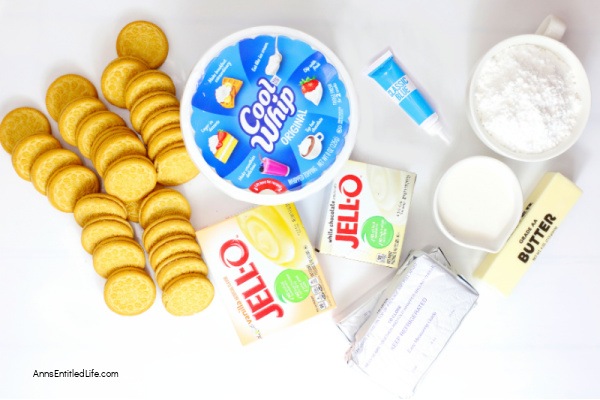
● 35 Vanilla Oreos
● 5 Tablespoons Butter, melted
For the Cake:
● 16 ounces of Cream Cheese
● 1 cup Confectioners Sugar
● Blue Gel Food Coloring
● 5.1 ounce Instant Vanilla Pudding Mix
● 3.4 ounce Instant White Chocolate Pudding Mix
● 1 cup Milk
● 16 ounces Cool whip
For the Melted Snowmen:
● 9 Marshmallows
● Black Food Pen
● 1 Tablespoon of Orange Frosting
● 9 Sour Candy Tapes (for the scarves)
● 9 Pretzel Sticks (for the arms)
● 27 Mini M&M’s
No-Bake Melted Snowman Cake Mise en Place::
● 8″x8″ Baking Pan
● Parchment Paper
● Stand-up Mixer (paddle attachment, whisk attachment, large bowl, etc.) or Hand Mixer (electric mixer)
● Silicone or Rubber Spatula
● Spoon
● Measuring Cup
● Measuring Spoons
No-Bake Melted Snowman Cake Recipe Directions:
1. Line an 8″x8″ baking pan with parchment paper. Spray the sides and parchment paper with a non-stick cooking spray. Set aside.
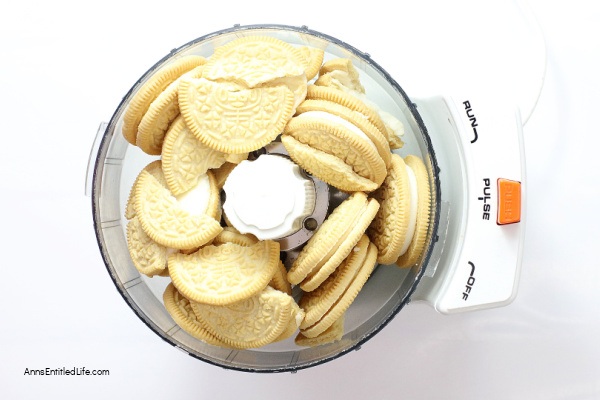
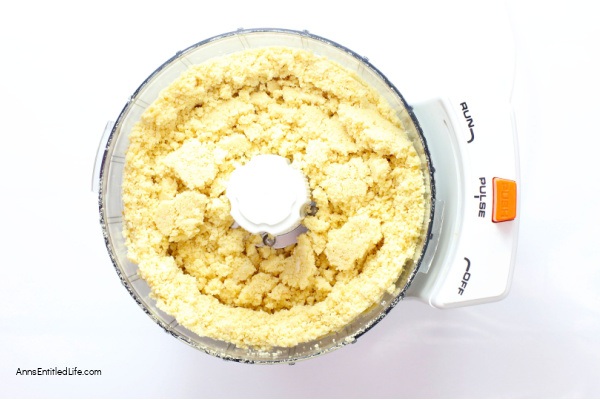
2. Place the Oreos in a food processor and pulse to crush the cookies until you have fine cookie crumbs.
3. Place the Oreo cookie crumbs in a bowl and add melted butter; stir until crumbs and butter are thoroughly mixed and the consistency of sand.
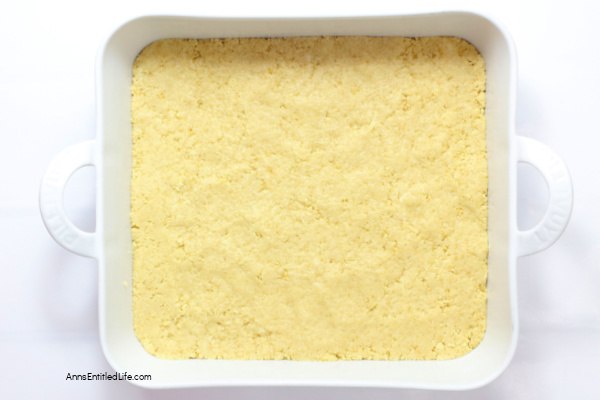
4. Then, pour the cookie crumbs into the bottom of the prepared baking dish and press the crumbs into the bottom of the dish. You can use the back of a spoon to press the crumbs into the corners. Place in the freezer until you are ready to pour the first layer of cheesecake.
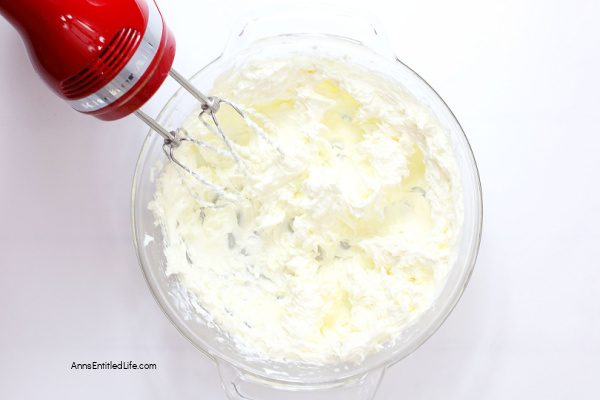
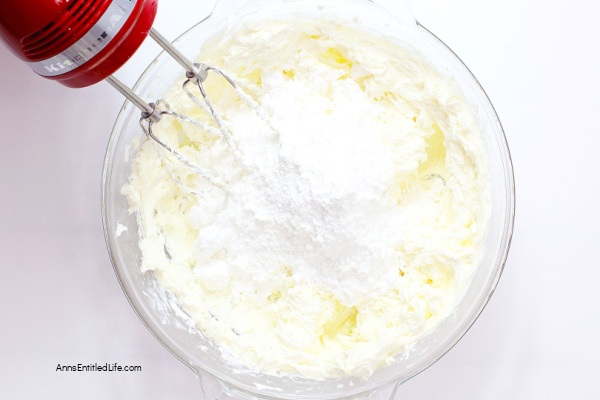
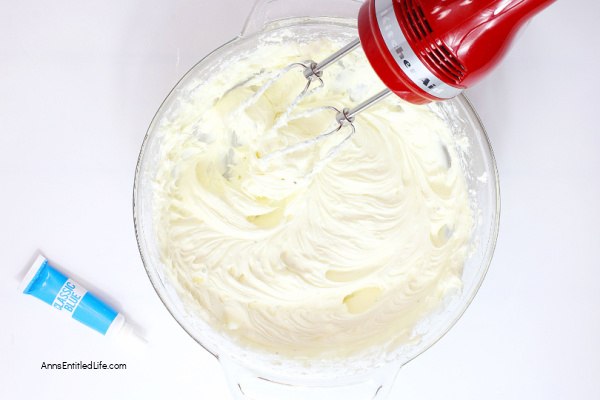
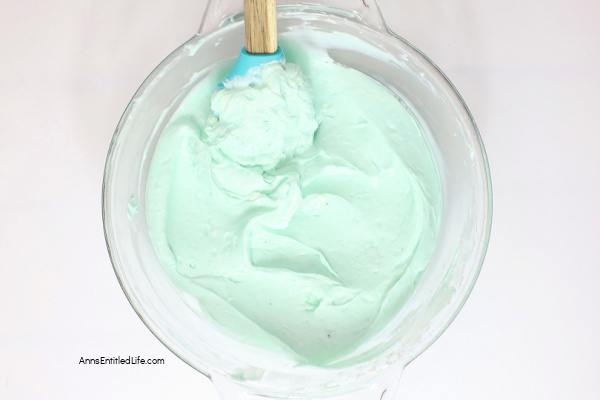
5. In a large mixing bowl of a stand mixer, mix cream cheese and confectioners sugar together on low speed until combined. Add blue food coloring to your desired color. Beat on low until the cheesecake layer is smooth and mixed evenly.
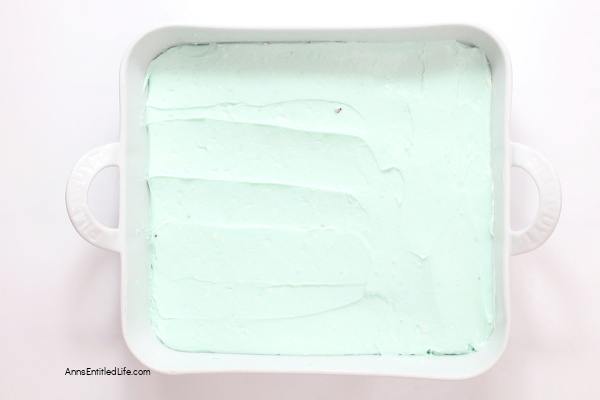
6. Add the blue cheesecake layer to the pan over the Oreo crust layer and spread evenly. Place in the freezer while you mix up the next layer.
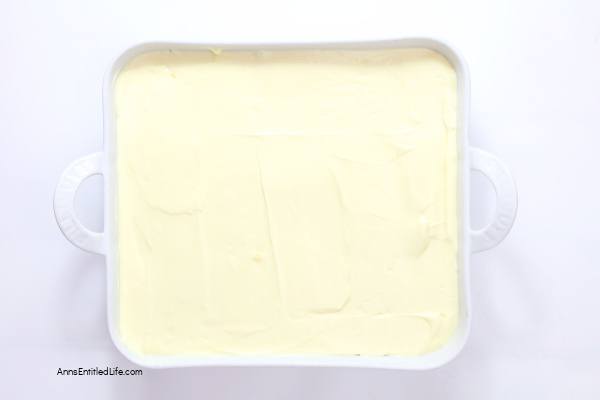
7. In a clean, large mixing bowl of a stand mixer, add vanilla and white chocolate pudding mix, then add milk and beat on low until a thick pudding has formed.
8. By hand, add one cup of cool whip to the pudding mixture and fold to combine.
9. Place the pudding layer on top of the cheesecake layer and spread evenly.
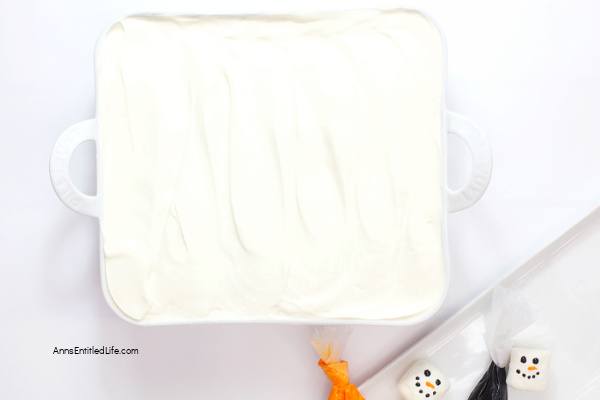
10. Add an even layer of Cool Whip over the top of the pudding layer and place back in the freezer for 30 minutes to set.
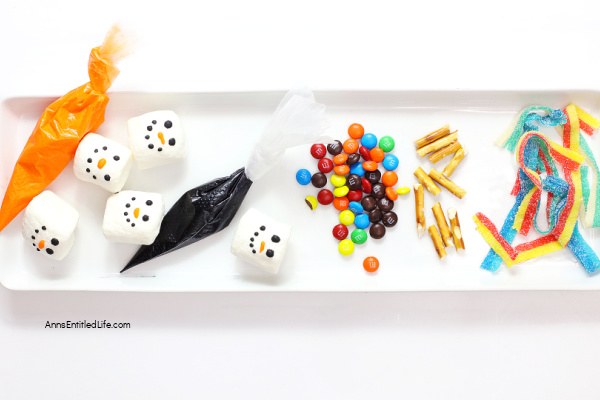
11. Make the snowman faces by adding two black dots for the snowman’s eyes and five black dots to form the mouth. Use orange frosting to make his carrot nose.
12. Cut the sour candy rope into 3″ pieces to make the scarf for the snowman.
13. Break the pretzel sticks into smaller pieces for the arms
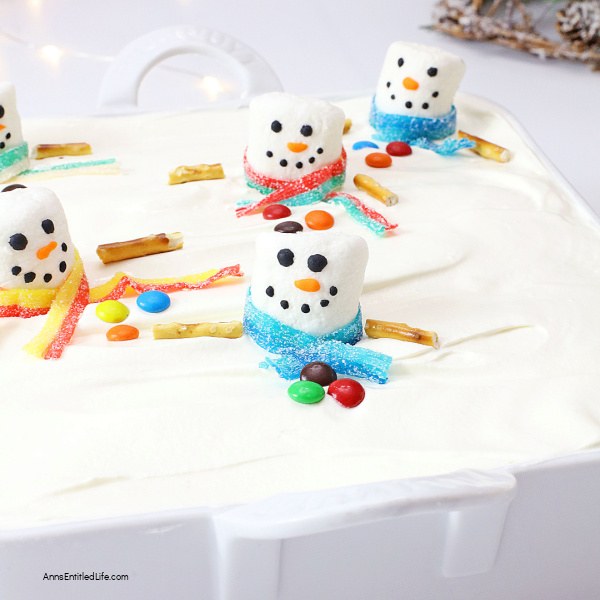
14. Take the lush cake out of the freezer and place the marshmallows on top of the cool whip. Place a scarf around the base of each marshmallow, two pretzel sticks on each side, and three M&M’s for his buttons.
15. Refrigerate until ready to serve.
16. To serve, cut the lush dessert into nine equal squares using a sharp knife.
No-Bake Melted Snowman Cake Recipe | How to Make
No-Bake Melted Snowman Cake Recipe | How to Make. This no-bake melted snowman lush dessert is a sweet, creamy winter wonderland of flavors. This cake is a combination of cheesecake and pudding and tastes marvelous.
Ingredients
For the Crust
- 35 Vanilla Oreos
- 5 Tablespoons Butter, melted
For the Cake:
- 16 ounces of Cream Cheese
- 1 cup Confectioners Sugar
- Blue Gel Food Coloring
- 5.1 ounce Instant Vanilla Pudding Mix
- 3.4 ounce Instant White Chocolate Pudding Mix
- 1 cup Milk
- 16 ounces Cool whip
For the Melted Snowmen:
- 9 Marshmallows
- Black Food Pen
- 1 Tablespoon of Orange Frosting
- 9 Sour Candy Tapes
- 9 Pretzel Sticks
- 27 Mini M&M's
Instructions
- Line an 8"x8" baking pan with parchment paper. Spray the sides and parchment paper with a non-stick cooking spray. Set aside.
- Place the Oreos in a food processor and pulse to crush the cookies until you have fine cookie crumbs.
- Place the Oreo cookie crumbs in a bowl and add melted butter; stir until crumbs and butter are thoroughly mixed and the consistency of sand.
- Then, pour the cookie crumbs into the bottom of the prepared baking dish and press the crumbs into the bottom of the dish. You can use the back of a spoon to press the crumbs into the corners. Place in the freezer until you are ready to pour the first layer of cheesecake.
- In a large mixing bowl of a stand mixer, mix cream cheese, and confectioners sugar together on low speed until combined. Add blue food coloring to your desired color. Beat on low until the cheesecake layer is smooth and mixed evenly.
- Add the blue cheesecake layer to the pan over the Oreo crust layer and spread evenly. Place in the freezer while you mix up the next layer.
- In a clean, large mixing bowl of a stand mixer, add vanilla and white chocolate pudding mix, then add milk and beat on low until a thick pudding has formed.
- By hand, add one cup of cool whip to the pudding mixture and fold to combine.
- Place the pudding layer on top of the cheesecake layer and spread evenly.
- Add an even layer of Cool Whip over the top of the pudding layer and place back in the freezer for 30 minutes to set.
- Make the snowman faces by adding two black dots for the snowman's eyes and five black dots to form the mouth. Use orange frosting to make his carrot nose.
- Cut the sour candy rope into 3" pieces to make the scarf for the snowman.
- Break the pretzel sticks into smaller pieces for the arms.
- Take the lush cake out of the freezer and place the marshmallows on top of the cool whip. Place a scarf around the base of each marshmallow, two pretzel sticks on each side, and three M&M's for his buttons.
- Refrigerate until ready to serve.
- To serve, cut the lush dessert into nine equal squares using a sharp knife.
Recommended Products
As an Amazon Associate and member of other affiliate programs, I earn from qualifying purchases.
-
 Rotating Cake Stand with Clear Acrylic Dome Lid,Wood Cake Stand with Turntable Base,Cake Display Server Tray for Kitchen,Birthday Parties,Weddings,Baking Gifts,Acacia Wood Cake Lazy Susan with Cover
 -
 NWK 12inch Lighted Clear Cake Stand Plate Holder with String Lights Fit for 6inch, 8 inch, 10 inch, 12 inch Cakes for Wedding Birthday Thanksgiving Christmas New Year Party
 -
 Acrylic Cake Stand with Dome Cover (12'') 6 in 1 Multi-Functional Serving Platter and Cake Plate - Use as Cake Holder, Salad Bowl, Platter, Punch Bowl, Desert Platter, Nachos & Salsa Plate,
Nutrition Information:
Yield:
9Serving Size:
1Amount Per Serving: Calories: 1491Total Fat: 70gSaturated Fat: 45gTrans Fat: 1gUnsaturated Fat: 19gCholesterol: 90mgSodium: 1118mgCarbohydrates: 195gFiber: 6gSugar: 155gProtein: 14g
Note: for exact nutritional information, consult your dietitian. All nutritional information provided is simply a guideline.
● For more recipes on Ann’s Entitled Life, click here.
● If you enjoyed this post, be sure to sign up for the Ann’s Entitled Life weekly newsletter, and never miss another article!



Leave a Reply