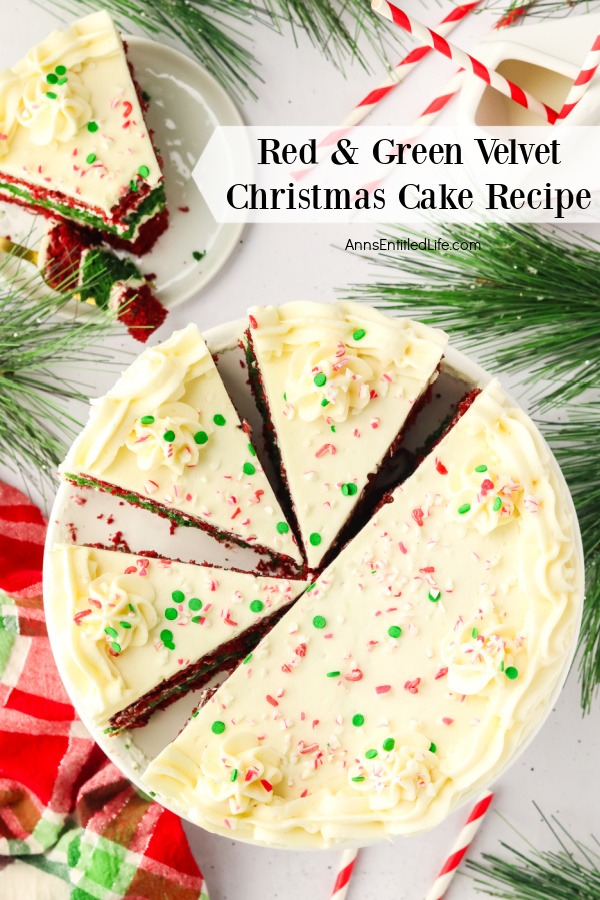
The Red & Green Velvet Christmas Layer Cake is a festive twist on the classic velvet cake, perfect for holiday celebrations. This visually stunning dessert combines rich flavors and vibrant colors, making it a centerpiece at any holiday gathering.
This recipe combines the classic flavors of red velvet and green velvet cakes, creating a stunning visual contrast that is sure to impress your guests.
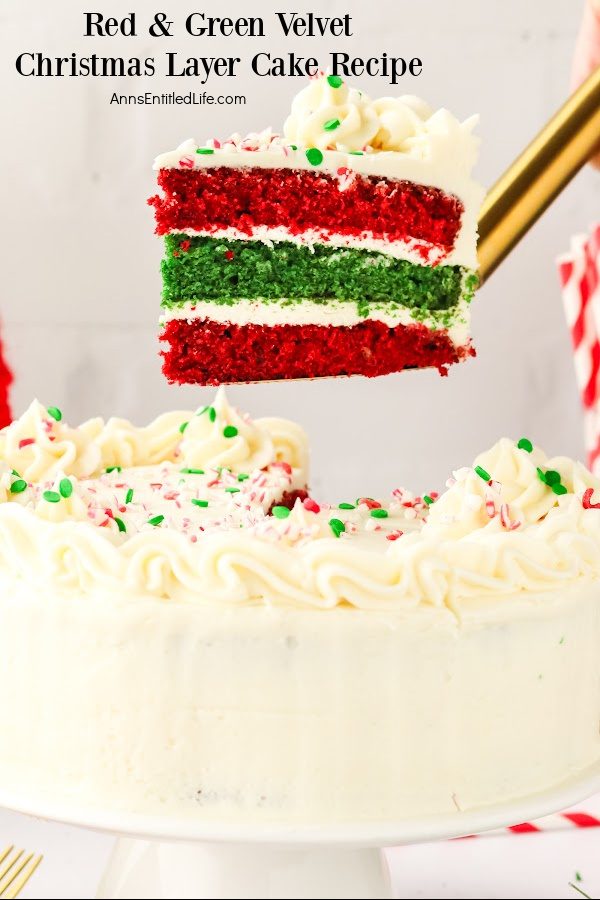
Red & Green Velvet Christmas Layer Cake Recipe
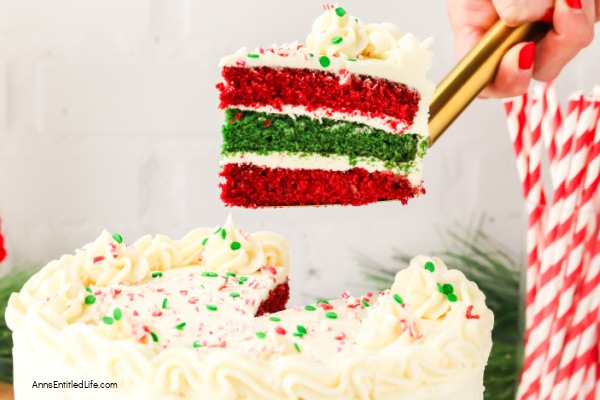
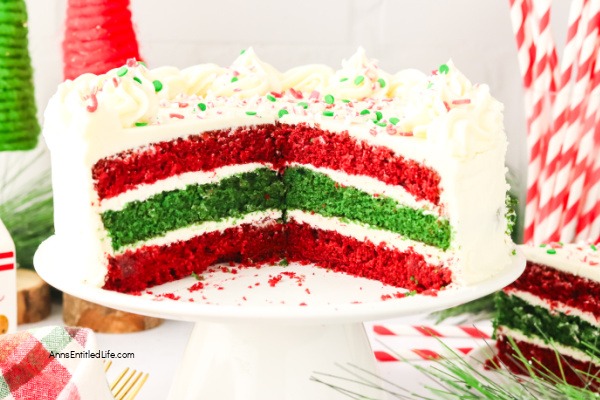
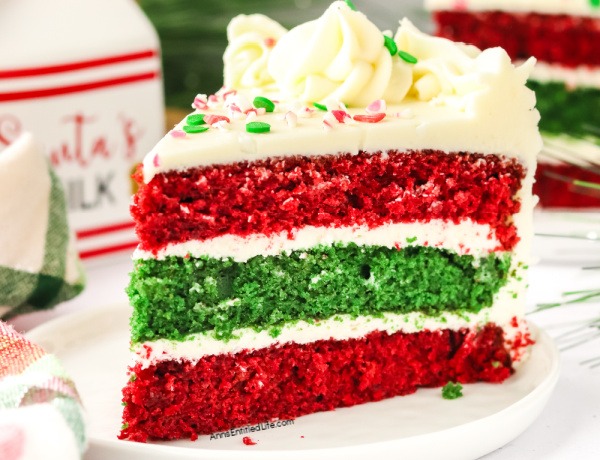
This beautiful cake is an absolute showstopper for your holiday dessert table. Serve it alongside your holiday cookies. Beautifully smooth cream cheese frosting covers this cake, giving you a sweet and tangy flavor with every bite. But the real surprise is when you cut into it. Layers of soft and fluffy cake with a hint of chocolate flavor, all decked out for the holidays. This is perfect for a holiday get-together, family function, or even a December birthday.
Velvet cakes occur when cocoa is added to the cake batter. This results in a rich, velvety texture, and the buttermilk reacts to mellow the cake.
This Christmas cake recipe is a delicious cake that is certain to impress your friends and family. Fairly easy to make, this is a terrific Christmas cake idea that will be the icing on the cake for your holiday dinner. Enjoy a leftover piece for breakfast the next day (or on Christmas morning!) with a nice cup of coffee or tea.
This holiday season, try this show-stopping cake recipe.
Tips and variations for making this red and green velvet Christmas layer cake recipe:
● Wilton food coloring in Kelly Green and No Taste Red were used on this cake. You can use any food color or gel in red and green that you like.
Avoid using Dutch-processed cocoa for this cake.
● This is the Cream Cheese Frosting recipe used to frost this cake.
● One batch of frosting was used to make this cake, but every last drop was used. If any more decorations are needed, another batch of frosting will have to be made.
You can use any white frosting you like with this recipe. Cream cheese icing or frosting is commonly used, but there is no reason you cannot use a classic buttercream frosting instead.
● Decorate this cake with sprinkles, fresh cranberries, lemon zest, holiday peppermints, white chocolate bits, etc., and serve with a side of ice cream.
● Butter in Baking: Essential Tips for Perfect Baked Goods
● In the United States, ½ cup butter = 1 stick, 1 cup = 2 sticks of butter
● If you do not have buttermilk, add a tablespoon of white vinegar to a measuring cup. Add enough milk to reach the 1-cup mark. Leave undisturbed for 5 minutes and then stir and use.
● If you do not have buttermilk, a great thing to keep on hand is powdered buttermilk that you keep – in powdered form – in your fridge and make as needed. We have this on hand all the time. You can buy it online, at your local Amish store (which is where we purchase it), or at your local grocery store, which may carry it
● Elevate Your Baking Game: Learn the Magic of Sifting
● Cake Troubleshooting 101: Navigating Baking Challenges with Ease
● Store leftovers, covered, in an airtight container in the fridge for up to 5 days.
● You can freeze this cake, either in pieces or as a whole.
● If you want to make the cakes in advance and assemble them later, cool both cakes completely. Slice and trim the layers of the cakes. Once that is done, wrap all three cake layers separately in plastic wrap. Then, wrap each layer in plastic wrap again. Freeze for up to 3 months. A little tip: the cake is easier to assemble frozen
● If you want to freeze the assembled layer cake. Follow the recipe as directed, but make the cake on a cake board instead of the cake stand. When you are done, wrap the entire cake (and the cake board) in plastic wrap or place in a box and wrap the box in plastic wrap. You’ll want a thick coating of plastic to protect the cake from freezer burn. Thaw in the fridge when you are ready to serve.
Other layer cake recipes you might enjoy:
● Snickerdoodle Layer Cake Recipe with Cinnamon Sugar Frosting
● Perfect Chocolate Cake Recipe
● Best Vanilla Cake Recipe
● Homemade Strawberry Cake Recipe
● Easy Coconut Cake Recipe
Other Christmas desserts you might enjoy:
● Christmas Cheesecake Recipe
● Christmas Pavlova Recipe
● White Christmas Pie Recipe
● Baileys Irish Cream Hot Chocolate Bundt Cake Recipe
● Yule Log Cake Recipe (Bûche De Noël)
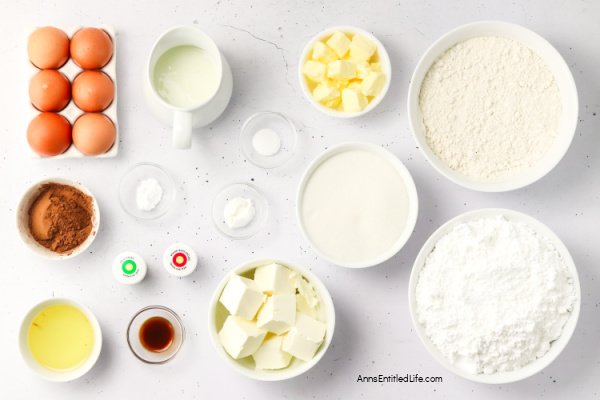
Red & Green Velvet Christmas Layer Cake Recipe Ingredients:
● 2¼ cups All-purpose Flour
● 1 teaspoon Baking Powder
● ½ teaspoon Baking Soda
● ½ teaspoon Salt
● ½ cup Unsalted Butter, softened
● 1½ cups Granulated White Sugar
● ¼ cup Vegetable Oil
● 3 large Eggs
● ¼ cup Cocoa Powder
● 1 cup Buttermilk
● Red Food Coloring
● Green Food Coloring
● 2½ Cups Cream Cheese Frosting
Red & Green Velvet Christmas Layer Cake Mise en Place:
● two 8-inch Round Baking Pans
● Measuring Cup
● Measuring Spoons
● Stand-up Mixer (paddle attachment, whisk attachment, large bowl, etc.) or Hand Mixer (electric mixer)
● Rubber Spatula
● Parchment Paper
● Wire Baking Rack (Cooking Rack, Baking Rack, Wire Racks)
● Knife
● Frosting Knife
● Cakestand
Red & Green Velvet Christmas Layer Cake Recipe Directions:
1. Preheat the oven to 350 degrees Fahrenheit.
2. Spray two 8-inch round cake pans with cooking spray. Line the bottoms with parchment paper and spray the parchment with cooking spray.
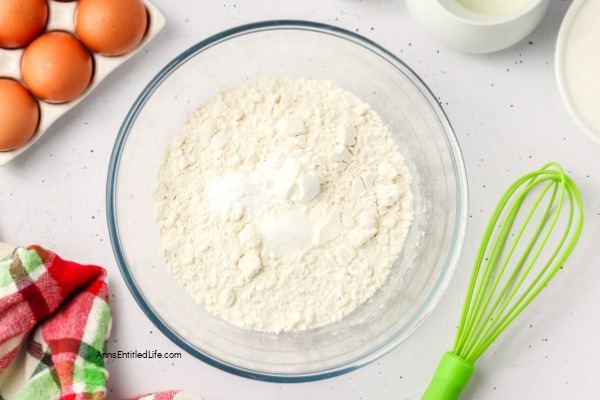
3. In your mixing bowl, whisk the flour, baking powder, baking soda, and salt all together. Set aside for a moment.
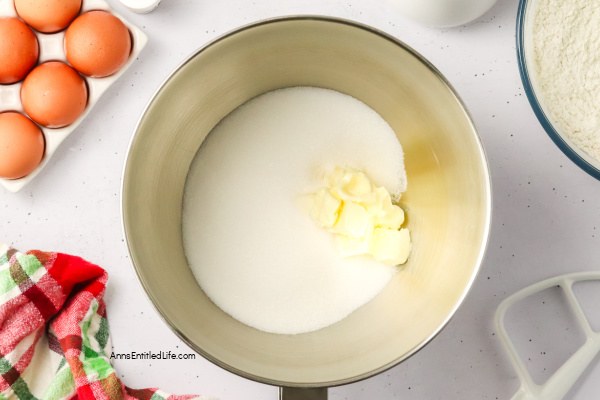
4. In the large bowl of your stand mixer, beat the butter and granulated sugar medium high until it is smooth and combined, for about 2 minutes.
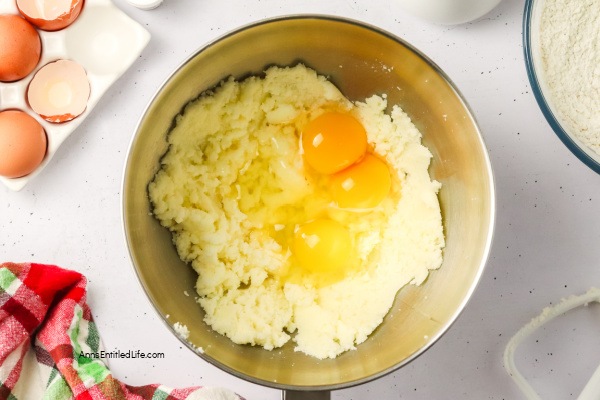
5. Add the oil and eggs and beat on medium-high until they are mixed in about 2 minutes.
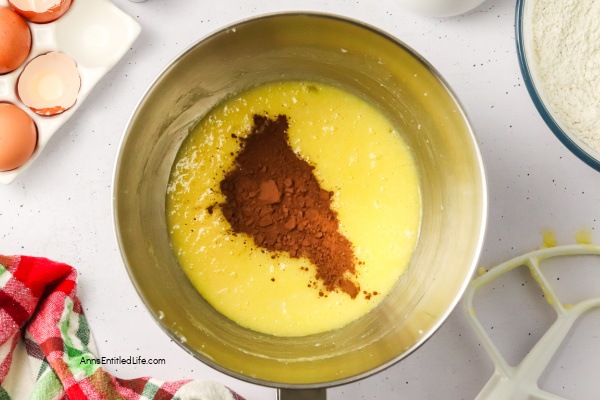
6. Add the cocoa powder to the egg mixture.
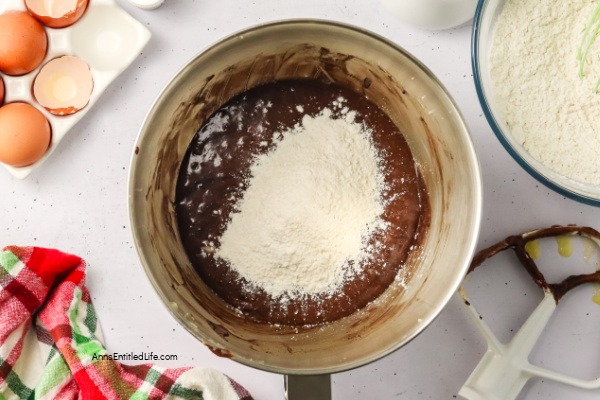
7. Add 1/3 of the flour mixture and beat on medium until just combined.
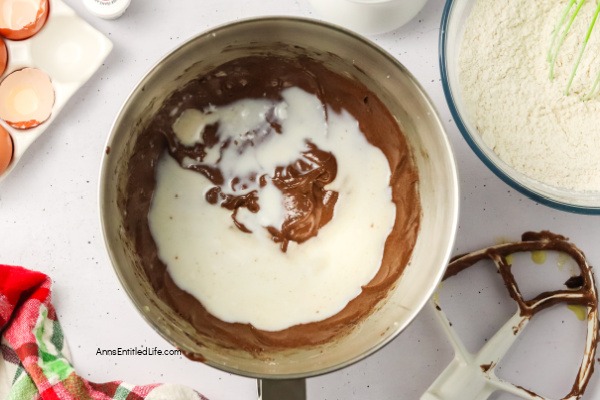
8. Add half of the buttermilk and beat on medium until just mixed in. Continue adding the flour mixture and the buttermilk alternately until both are combined and you have a gorgeous, thick batter.
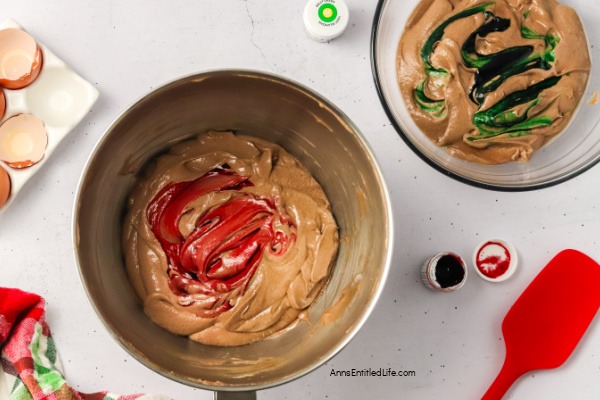
9. You will have approximately 6 cups of batter. Remove 2 cups to a separate bowl and add 1 teaspoon of green food coloring to the bowl. Add two teaspoons of red food coloring to the remaining 4 cups of batter in your stand mixer. Mix well.
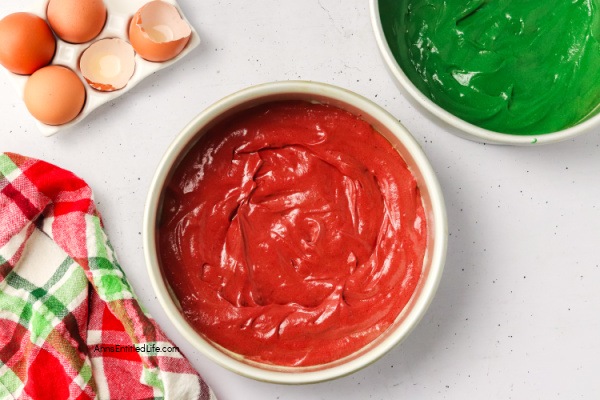
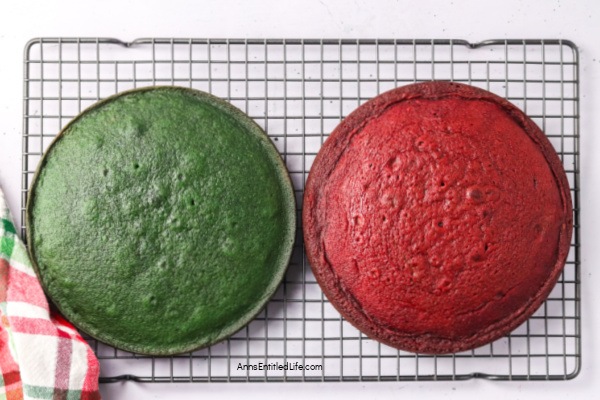
10. Transfer the colored batter to the prepared pans. Bake both for 25 minutes. At that point, the green cake should be done. Continue baking the red one for an additional 10-15 minutes. An inserted toothpick should come out clean, and the cakes should bounce back when lightly pressed. Cool the cakes in the pans for 5-7 minutes before flipping them onto a cooling rack to cool completely.
11. While the cakes are cooling, make the cream cheese frosting.
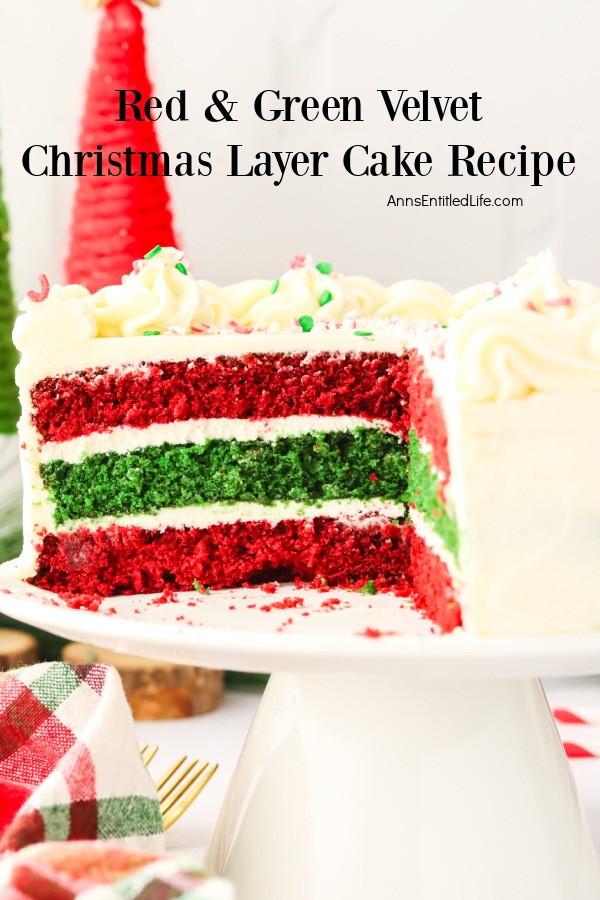
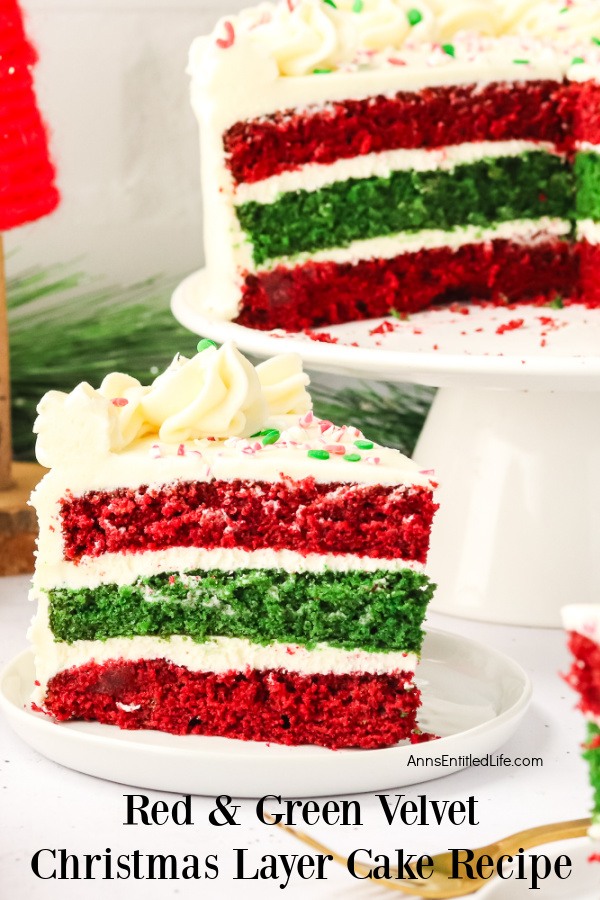
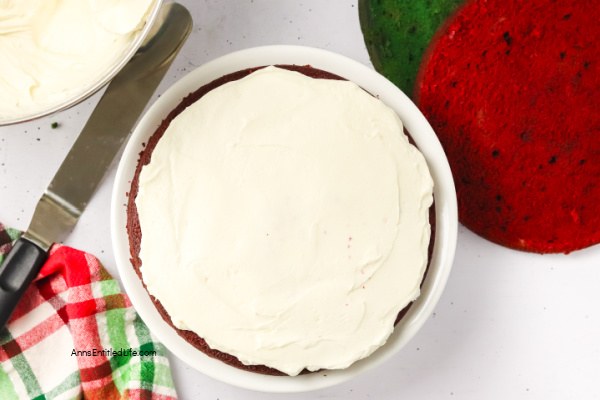
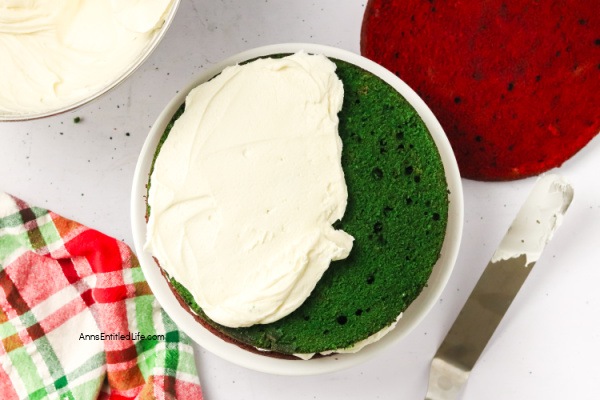
12. Slice the tops of both cakes so that you have a nice flat, even surface on each cake. Slice only the red velvet cake in half so you end up with three cake layers in the end, one green and two red. Take one of the red cake layers and place on a cake stand or serving plate. Apply an even layer of frosting over the top of the cake. You want to have enough frosting to cover the whole cake, so you’ll want to have the frosting about 1/4-1/3 of an inch thick.
13. Top with the green velvet layer and push lightly to adhere it. As evenly as possible, add another layer of frosting. Top with the last layer of red velvet cake.
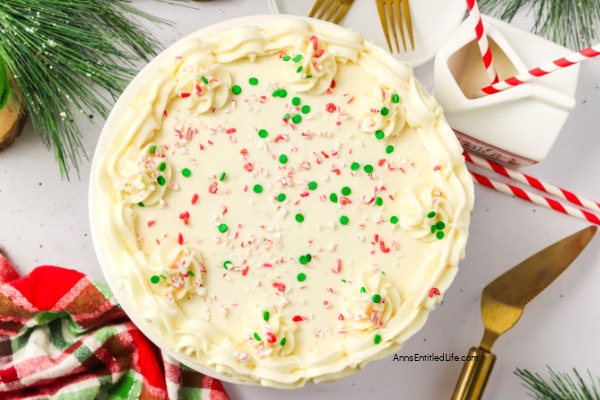
14. Frost the entire outside of the cake. If you have any leftover frosting, you can add it to a piping bag and decorate the top. Use some sprinkles and have some fun with it.
15. Let the cake stand for at least 10 minutes to set the frosting.
16. Store leftovers in the fridge for up to five days, covered with plastic wrap or in an airtight container.
Red & Green Velvet Christmas Layer Cake Recipe
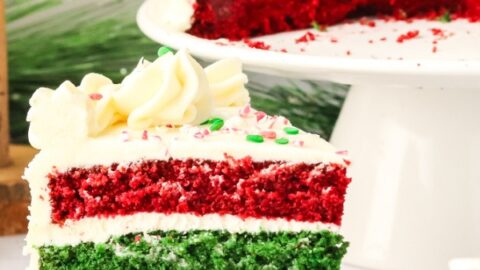
Red & Green Velvet Christmas Layer Cake Recipe. The Red & Green Velvet Christmas Layer Cake is a festive twist on the classic velvet cake, perfect for holiday celebrations. This visually stunning dessert combines rich flavors and vibrant colors, making it a centerpiece at any holiday gathering.
Ingredients
- 2¼ cups All-purpose Flour
- 1 teaspoon Baking Powder
- ½ teaspoon Baking Soda
- ½ teaspoon Salt
- ½ cup Unsalted Butter, softened
- 1½ cups Granulated White Sugar
- ¼ cup Vegetable Oil
- 3 large Eggs
- ¼ cup Cocoa Powder
- 1 cup Buttermilk
- Red Food Coloring
- Green Food Coloring
- 2½ Cups Cream Cheese Frosting
Instructions
- Preheat the oven to 350 degrees Fahrenheit.
- Spray two 8-inch round cake pans with cooking spray. Line the bottoms with parchment paper and spray the parchment with cooking spray.
- In a mixing bowl, whisk the flour, baking powder, baking soda, and salt all together. Set aside for a moment.
- In the large bowl of a stand mixer, beat the butter and granulated sugar on medium high until smooth and combined, about 2 minutes.
- Add the oil and eggs and beat medium-high until they are mixed in, for about 2 minutes.
- Add the cocoa powder to the egg mixture.
- Add 1/3 of the flour mixture and beat on medium until just combined.
- Add half of the buttermilk and beat on medium until just mixed in. Continue adding the flour mixture and the buttermilk alternately until both are combined and you have a gorgeous, thick batter.
- You will have approximately 6 cups of batter. Remove 2 cups to a separate bowl and add 1 teaspoon of green food coloring to the bowl. Add two teaspoons of red food coloring to the remaining 4 cups of batter in your stand mixer. Mix well.
- Transfer the colored batter to the prepared pans. Bake both for 25 minutes in a preheated 350°F oven. At that point, the green cake should be done. Continue baking the red one for an additional 10-15 minutes. An inserted toothpick should come out clean, and the cakes should bounce back when lightly pressed. Cool the cakes in the pans for 5-7 minutes before flipping them onto a cooling rack to cool completely.
- While the cakes are cooling, make the cream cheese frosting.
- Slice the tops of both cakes so that you have a nice, flat, even surface on each cake. Slice only the red velvet cake in half so you end up with three cake layers in the end, one green and two red. Take one of the red cake layers and place it on a cake stand or serving plate. Apply an even layer of frosting over the top of the cake. You want to have enough frosting to cover the whole cake, so you’ll want to have the frosting about 1/4-1/3 of an inch thick.
- Top with the green velvet layer and push lightly to adhere it. As evenly as possible, add another layer of frosting. Top with the last layer of red velvet cake.
- Frost the entire outside of the cake. If you have any leftover frosting, you can add it to a piping bag and decorate the top. Use some sprinkles and have some fun with it.
- Let the cake stand for at least 10 minutes to set the frosting.
- Store leftovers in the fridge for up to five days, covered with plastic wrap, or in an airtight container.
Notes
This was the cream cheese frosting recipe used. If you plan on doing any piping or elaborate decorations, double the recipe. https://www.annsentitledlife.com/recipes/cream-cheese-frosting-recipe/
Recommended Products
As an Amazon Associate and member of other affiliate programs, I earn from qualifying purchases.
-
 Spode Christmas Tree Gold Cake Stand - 11" Holiday Cake Plate for Cupcakes, Cookies, and Desserts - Porcelain Serving Dish with 22K Gold Accents, Dishwasher Safe Christmas Tableware
 -
 Bico Traditional Christmas Gingerbread Man Ceramic 16 inch plus 12 inch Ceramic Oval Platter, Set of 2, for Serving Turkey, Steak, Salad, Microwave & Dishwasher Safe
 -
 Metahom Christmas Cake Stand, 10 Inch Ceramic Cake Stand for Party, Round Dessert Stand, Ceramic Cake Plate Cupcake Stand for Dessert Table Display
Nutrition Information:
Yield:
12Serving Size:
1Amount Per Serving: Calories: 520Total Fat: 22gSaturated Fat: 8gTrans Fat: 0gUnsaturated Fat: 12gCholesterol: 68mgSodium: 330mgCarbohydrates: 77gFiber: 1gSugar: 56gProtein: 5g
Note: for exact nutritional information, consult your dietitian. All nutritional information provided is simply a guideline.
● For more recipes on Ann’s Entitled Life, click here.
● If you enjoyed this post, be sure to sign up for the Ann’s Entitled Life weekly newsletter, and never miss another article!


Leave a Reply