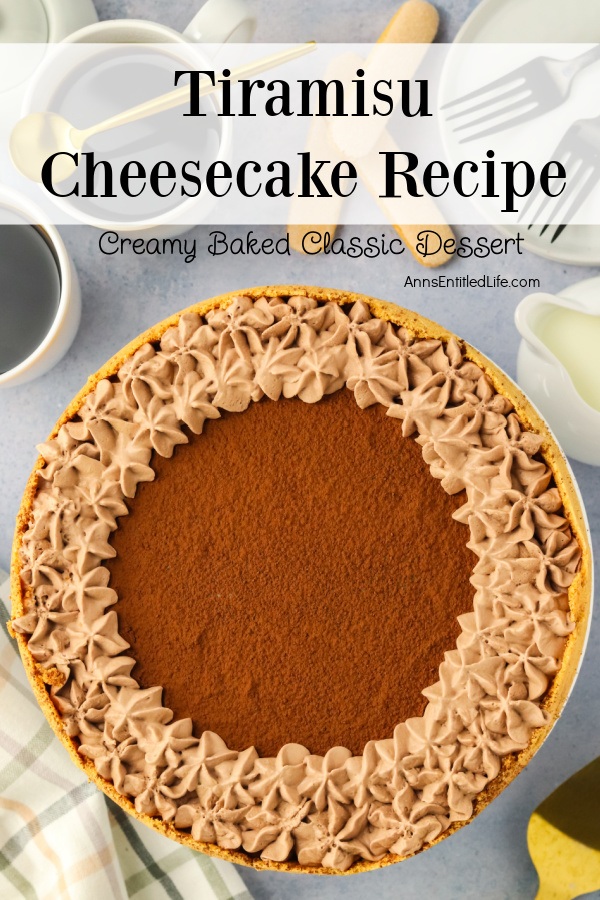
Learn how to make a creamy tiramisu cheesecake. This easy recipe combines rich coffee flavors with smooth cheesecake, perfect for any dessert lover’s table.
This creamy dessert combines rich coffee flavors with a classic cheesecake for an unforgettable treat. Perfect for any occasion!
Tiramisu Cheesecake Recipe | Creamy Baked Classic Dessert
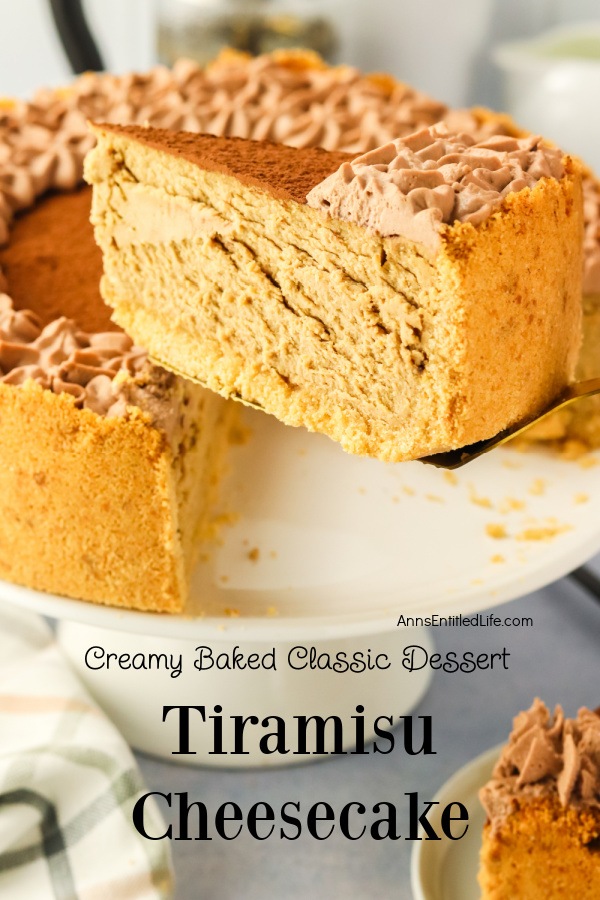
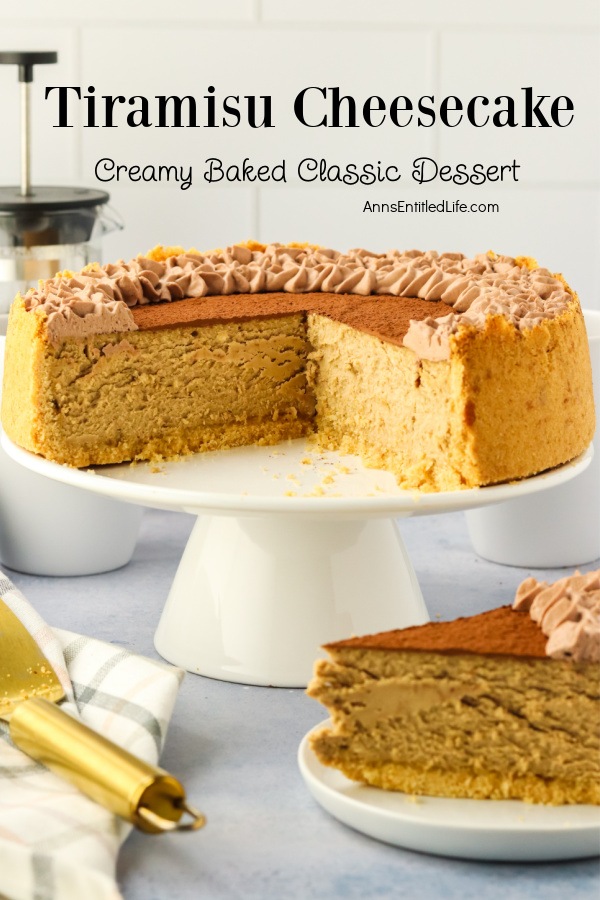
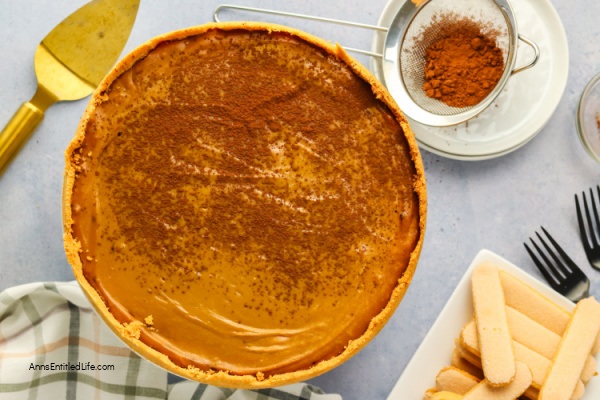
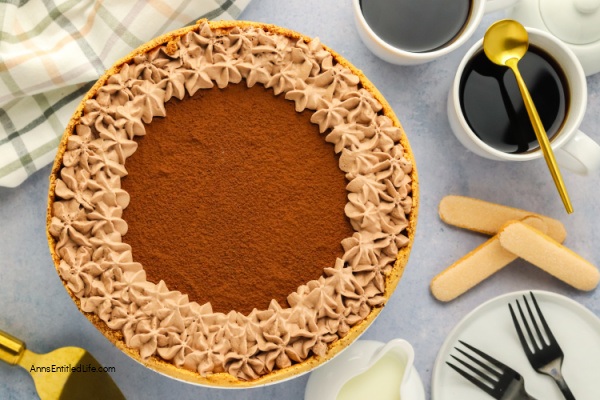
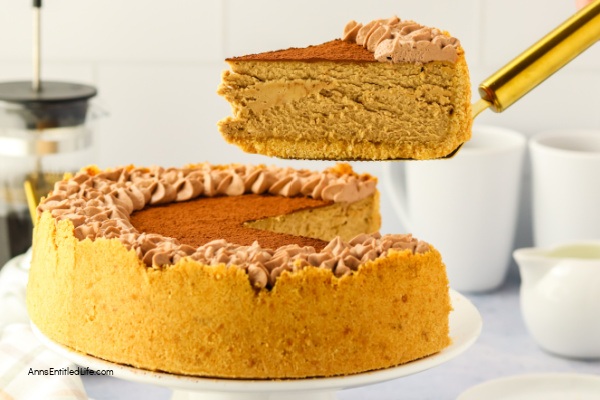
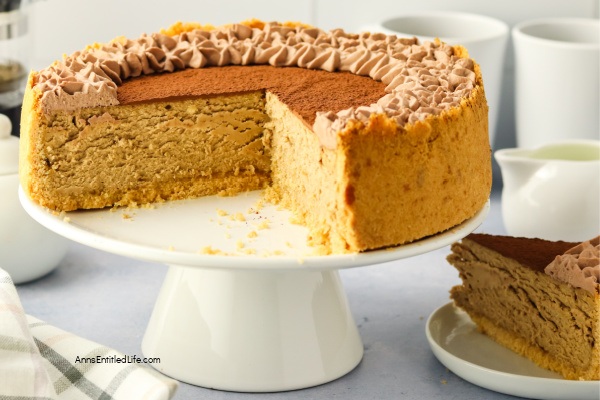
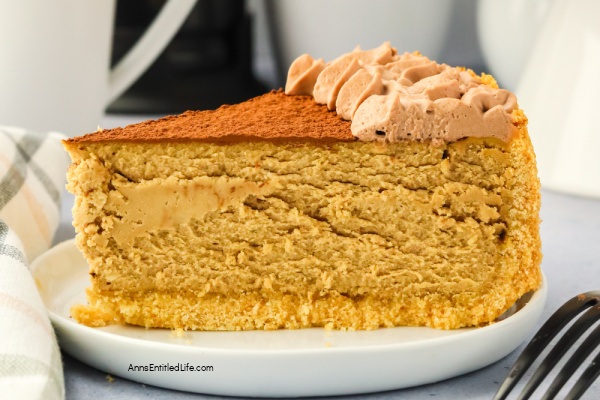
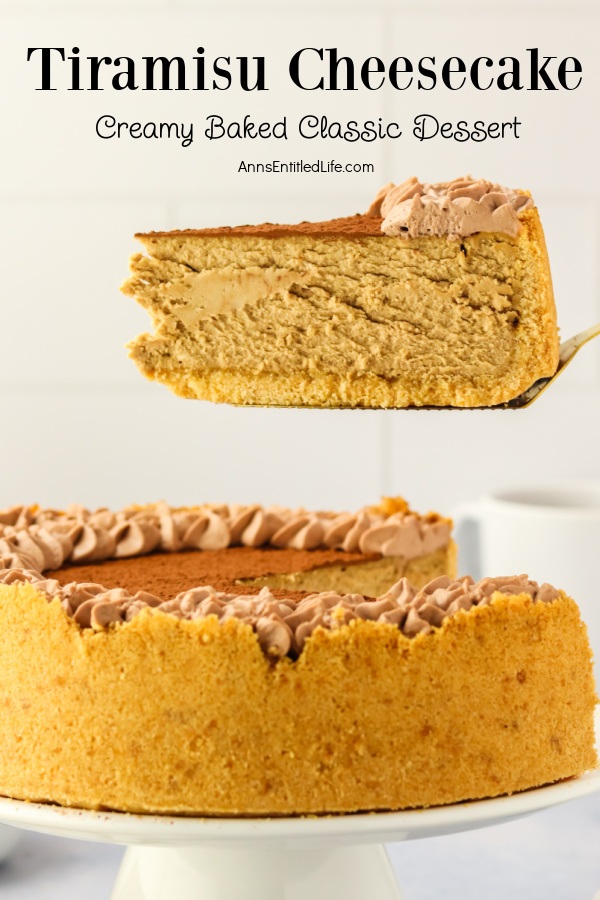
This Tiramisu Cheesecake will connect you with the best of Italian cuisine. Crisp, sweet ladyfingers make up the delicate and buttery crust, which has been topped with luscious and creamy cheesecake filling. The filling is a symphony of Mascarpone cheese, cream cheese, and coffee flavors, only slightly sweet with an irresistible tang. This delicious tiramisu cheesecake is lightly dusted with cocoa powder and chocolate whipping cream for a taste that will have you longing for Rome or Venice.
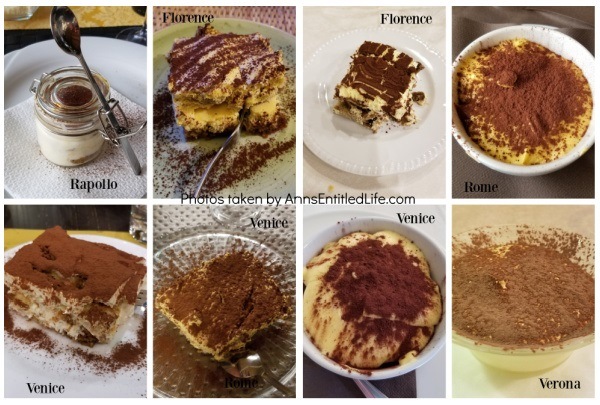
When we spent six weeks in Italy a few years ago, I ordered tiramisu constantly. It was basically a wine and food tour, and as I mentioned, I love me some tiramisu. A traditional tiramisu recipe, classic tiramisu recipe, or authentic tiramisu recipe are misnomers, as I ate my way up and down Italy, and no one quite made Italian tiramisu the same way twice. I also lost 15 pounds that trip, so my fondness for good tiramisu did not impact my bottom er, line. On our last trip to Italy, I again ordered tiramisu whenever possible.
Tiramisu is my favorite dessert, and I am always looking for new and different ways to make it and incorporate its tiramisu flavor. If tiramisu is one of your favorite desserts, I do not think you will be disappointed in this cheesecake version of the classic Italian dessert.
Tips and variations for making this Tiramisu Cheesecake Recipe:
● Get full-fat cream cheese – not 1/3 less fat, not spreadable, not neufchâtel.
● Cream cheese comes standard in an 8-ounce brick in the United States. You will need three (3) packages of cream cheese for this recipe. Make sure the cream cheese is softened to room temperature before you use it. It is easier to beat softened cream cheese, and you will avoid lumps in your cheesecake batter. Cubing the cream cheese is a good idea.
● Mascarpone is the Italian version of cream cheese but is usually located in the fine cheese section of your store when you cannot locate it in the dairy aisle. It comes in a small tub.
● In the United States, ½ cup butter = 1 stick, 1 cup = 2 sticks of butter
● Ladyfingers can be found at your local Italian store. You can also make your own with this Delicate Delights: A Heavenly Ladyfingers Recipe
● Kahula was used to make this recipe, but you can use your favorite coffee liqueur.
● If you do not have espresso powder, try substituting with instant coffee.
● For chocolate whipped cream: 1 cup heavy cream, 2 tablespoons granulated sugar, 1 tablespoon cocoa powder. Beat cream and the cocoa powder until soft peaks form; add the sugar slowly until stiff peaks form.
● For best results, do not over-beat your eggs. Over-beating the eggs might cause the cheesecake to crack.
● The use of parchment paper is not 100% necessary, but it is recommended so that the cheesecake can be easily removed from the bottom of the springform pan.
● The baking method used here is the same idea as a water bath without actually putting the cheesecake in water. That is the reason why the oven door must remain closed throughout the entire baking process. The steam created in the oven has to remain trapped in order for to reach the cheesecake and bake it all the way through. This method avoids any mess or seepage that may happen in a traditional water bath.
● The best way to remove a cheesecake from the springform pan is to let the cheesecake cool slightly or to room temperature on top of a baking rack. Then, slide a knife around the sides of the pan to loosen the cheesecake. Remove to a serving dish.
● Warm the knife under hot water and wipe clean before slicing. Wipe the knife clean between each slice to get nice clean cuts.
● This recipe is made with ingredients commonly found in your local grocery store.
● Store leftovers, covered, in the fridge for up to four (4) days.
● You can freeze this cheesecake. Place in an airtight container and freeze for up to three (3) months. Thaw in the fridge the day before serving. If you don’t have a container that big, place the finished cake on a baking sheet and lay it flat in the freezer. Once it is frozen, wrap the cheesecake in plastic wrap twice, then wrap it in aluminum foil before putting it back in the freezer. When you are ready to thaw, unwrap the cheesecake and place it on a serving dish before thawing in the fridge.
● This white Russian tiramisu recipe is one of my all-time favorite desserts.
If you like baked cheesecake recipes, you will love these delicious cheesecake recipes:
● Best Pumpkin Cheesecake Recipe with Pecan Crust
● The Best Baked Luscious Lemon Cheesecake Recipe
● Easy Caramel Cheesecake Recipe | Best + Baked
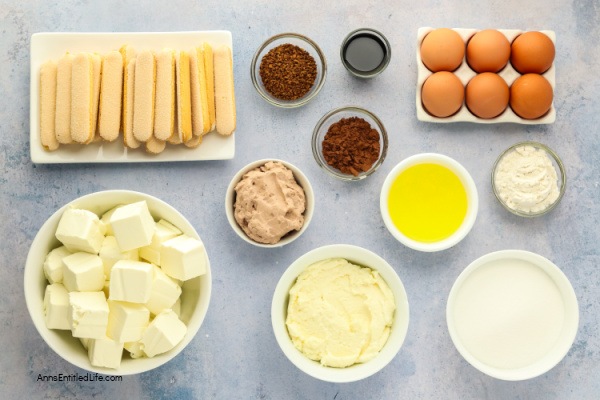
Tiramisu Cheesecake Recipe Ingredients:
● 8 ounces Ladyfingers
● ¼ cup Unsalted Butter, melted
● 24 ounces Cream Cheese
● 1 cup White Granulated Sugar
● 8 ounces Mascarpone Cheese
● 2 Large Eggs
● 4 Tablespoons All-purpose Flour
● 2 Tablespoons Instant Espresso Powder
● 2 Tablespoons Kahlua
● 2 Tablespoons Cocoa Powder
● Chocolate Whipped Cream for garnish
Tiramisu Cheesecake Mise en Place:
● 9″ Springform Pan
● Rubber Spatula
● Food Processor
● Measuring Cup
● Measuring Spoons
● Stand-up Mixer (paddle attachment, whisk attachment, large bowl, etc.) or Hand Mixer (electric mixer)
● Medium Mixing Bowl
● Parchment Paper
● Aluminum Foil
● 13″x9″ Baking Dish
● 3-5 cups Boiling Water
● Small Sieve
Tiramisu Cheesecake Recipe Directions:
1. Preheat the oven to 325 degrees Fahrenheit. Move your oven racks so that one rack is in the lowest position and the other is in the middle position.
2. Line the bottom of a 9-inch springform pan with parchment paper.
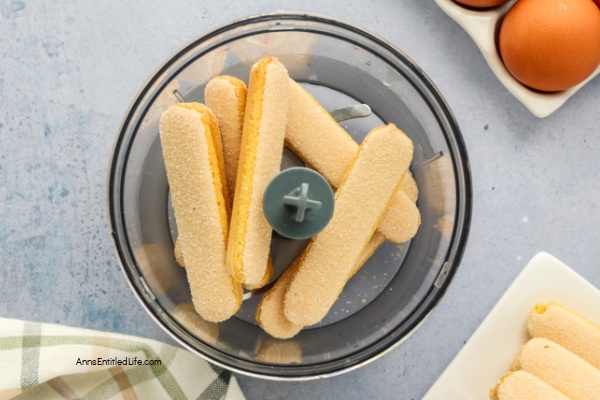
3. In your food processor, grind the ladyfingers until you have fine crumbs.
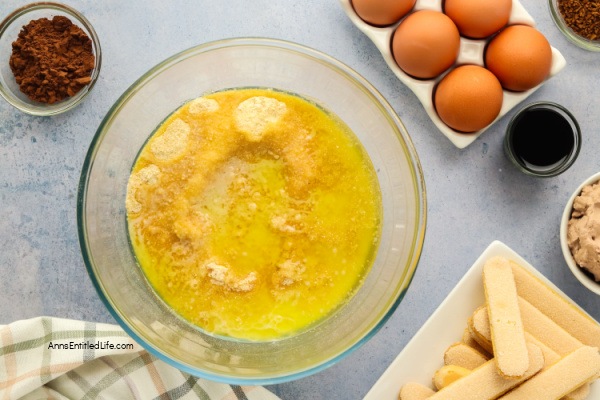
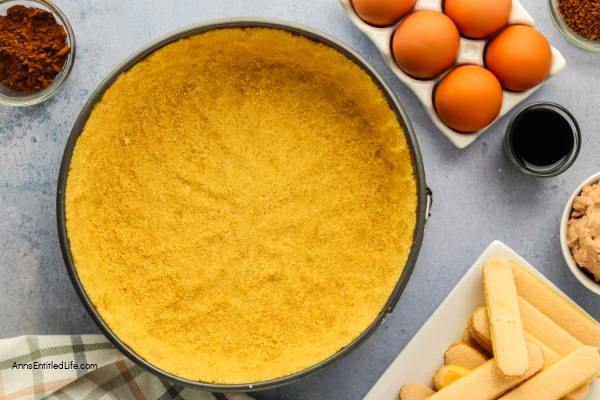
4. Place the ladyfinger crumbs in a medium mixing bowl and add the melted butter. Stir until you get the consistency of wet sand.
5. Press the crumb mixture into the bottom of the prepared springform pan. Use your fingers, the back of a spoon, or the bottom of a glass to press the crumbs down. Set aside.
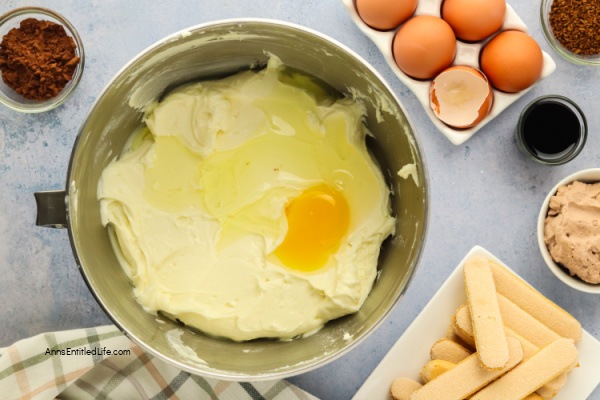
6. In the bowl to your stand mixer, use the paddle attachment to whip together the cream cheese, sugar, and mascarpone cheese at medium speed until it is smooth. Scrape the sides of the bowl to make sure all is incorporated.
7. Add eggs, one at a time, to the cream cheese mixture and mix on low speed until they are just incorporated.
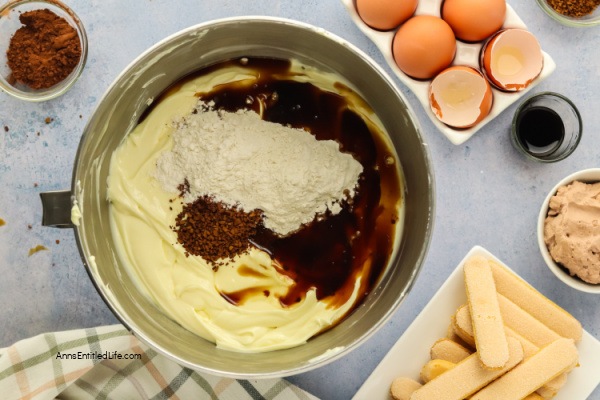
8. Add the flour, instant espresso powder, and coffee liquor and continue mixing on low speed until they are combined. .
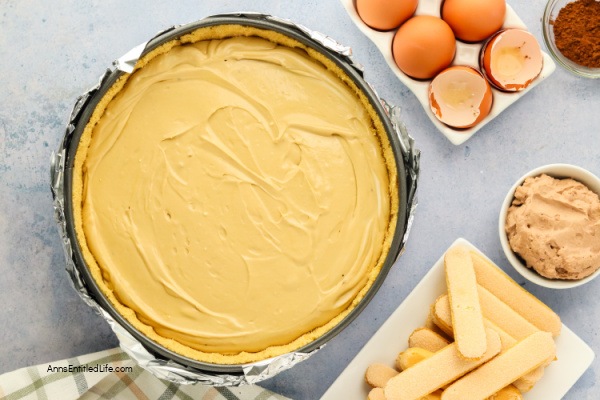
9. Pour the cheesecake batter over the prepared crust and smooth out. Give it a couple of taps to ensure that there are no air bubbles in the batter. Wrap the bottom of the pan tightly in aluminum foil.
10. Fill the 9″x13″ pan with boiling water and place it on the bottom rack of your oven. Place the cheesecake on the middle rack above the water. You DO NOT need to put the cheesecake directly in the water bath.
11. Place the aluminum foil-lined cheesecake on the middle rack directly above the baking dish. Bake in the preheated 325°F for 1 hour. Leave the door to the oven CLOSED tightly the entire time. Resist the urge to open the oven. Leave the oven closed to keep that steam in there. The sides of the cheesecake will appear baked and set, but the middle will still jiggle.
12. After the cheesecake is done baking, turn off the oven, but leave the oven door closed for another hour. Don’t touch it at all! The trick to preventing cracks is to cool slowly.
13. After the hour is done, use a wooden spoon to crack open the oven door. Don’t touch the cheesecake yet! Leave it that way for another 45 minutes.
14. After that time, it is safe to remove it from the oven and put it on a cooling rack. Do not remove the aluminum foil until the cheesecake is at room temperature. Once it reaches room temperature, you can remove the foil and place the cheesecake in the fridge to chill for at least 4-6 hours.
15. After the cheesecake is thoroughly chilled, run a knife around the edge and remove it from the springform pan to a serving plate.
16. Place the cocoa powder in a small sieve and dust the entire top of the cake.
17. Garnish with chocolate whipped cream. Served chilled.
18. Any remaining cheesecake leftovers can be stored covered or in an airtight container in the fridge for up to four (4) days.
19. You can freeze this tiramisu cheesecake. Place in an airtight container and freeze for up to three (3) months. Thaw in the fridge the day before serving. If you don’t have a container that big, place the finished cake on a baking sheet and lay it flat in the freezer. Once it is frozen, wrap the cake in plastic wrap twice, then wrap it in aluminum foil before putting it back in the freezer. When you are ready to thaw, unwrap the cheesecake and place it on a serving dish before thawing in the fridge.
Tiramisu Cheesecake Recipe | Creamy Baked Classic Dessert
Learn how to make a creamy tiramisu cheesecake. This easy recipe combines rich coffee flavors with smooth cheesecake, perfect for any dessert lover's table.
Ingredients
- 8 ounces Ladyfingers
- ¼ cup Unsalted Butter, melted
- 24 ounces Cream Cheese
- 1 cup White Granulated Sugar
- 8 ounces Mascarpone Cheese
- 2 Large Eggs
- 4 Tablespoons All-purpose Flour
- 2 Tablespoons Instant Espresso Powder
- 2 Tablespoons Kahlua
- 2 Tablespoons Cocoa Powder
- Chocolate Whipped Cream for garnish
Instructions
- Preheat the oven to 325 degrees Fahrenheit. Move your oven racks so that one rack is in the lowest position and the other is in the middle position.
- Line the bottom of a 9-inch springform pan with parchment paper.
- In your food processor, grind the ladyfingers until you have fine crumbs.
- Place the ladyfinger crumbs in a medium mixing bowl and add the melted butter. Stir until the mixture is the consistency of wet sand.
- Press the crumb mixture into the bottom of the prepared springform pan. Use your fingers, the back of a spoon, or the bottom of a glass to press the crumbs down. Set aside.
- In the bowl of your stand mixer, use the paddle attachment to whip together the cream cheese, sugar, and mascarpone cheese at medium speed until smooth. Scrape the sides of the bowl to ensure all is incorporated.
- Add eggs, one at a time, to the cream cheese mixture and mix on low speed until they are just incorporated.
- Add the flour, instant espresso powder, and coffee liquor and continue mixing on low speed until combined.
- Pour the cheesecake batter over the prepared crust and smooth out. Give it a couple of taps to ensure that there are no air bubbles in the batter. Wrap the bottom of the pan tightly in aluminum foil.
- Fill the 9"x13" pan with boiling water and place it on the bottom rack of your oven. Place the cheesecake on the middle rack above the water. You DO NOT need to put the cheesecake directly in the water bath.
- Place the aluminum foil-lined cheesecake on the middle rack directly above the baking dish. Bake in the preheated 325°F for 1 hour. Leave the door to the oven CLOSED tightly the entire time. Resist the urge to open the oven. Leave the oven closed to keep that steam in there. The sides of the cheesecake will appear baked and set, but the middle will still jiggle.
- After the cheesecake is done baking, turn off the oven, but leave the door closed for another hour. Don't touch it at all! Cooling slowly prevents cracks.
- After the hour, use a wooden spoon to crack open the oven door. Don't touch the cheesecake yet! Leave it that way for another 45 minutes.
- After that time, it is safe to remove it from the oven and put it on a cooling rack. Do not remove the aluminum foil until the cheesecake is at room temperature. Once it reaches room temperature, remove the foil and place the cheesecake in the fridge to chill for at least 4-6 hours.
- After the cheesecake is thoroughly chilled, run a knife around the edge and remove it from the springform pan to a serving plate.
- Place the cocoa powder in a small sieve and dust the entire top of the cake.
- Garnish with chocolate whipped cream. Served chilled.
- Any remaining cheesecake leftovers can be stored covered or in an airtight container in the fridge for up to four (4) days.
- You can freeze this tiramisu cheesecake. Place in an airtight container and freeze for up to three (3) months. Thaw in the fridge the day before serving. If you don't have a container that big, place the finished cake on a baking sheet and lay it flat in the freezer. Once it is frozen, wrap the cake in plastic wrap twice, then wrap it in aluminum foil before putting it back in the freezer. When you are ready to thaw, unwrap the cheesecake and place it on a serving dish before thawing in the fridge.
Recommended Products
As an Amazon Associate and member of other affiliate programs, I earn from qualifying purchases.
-
 Godinger 4 in 1 Cake Stand and Serving Plate Platter with Dome Cover, Multi-Purpose Use - Dublin Crystal Collection
 -
 Shinlar Wood Cake Stand - Lazy Susan Turntable for Table Top,Wooden Charcuterie Board,Wedding Cake Stand,Wood Serving Tray,Rustic Cake Stand for Baby Showers,Receptions,Dessert Table,Party,10inch
 -
 Kanwone 10-Inch Cake Stand, Ceramic Cake Plate with Acacia Wood Base, Round Wedding Cake Stand, Black Cake Stand for Party, Home Decorating Stand
Nutrition Information:
Yield:
12Serving Size:
1Amount Per Serving: Calories: 477Total Fat: 35gSaturated Fat: 20gTrans Fat: 0gUnsaturated Fat: 11gCholesterol: 166mgSodium: 301mgCarbohydrates: 35gFiber: 0gSugar: 20gProtein: 8g
Note: for exact nutritional information, consult your dietitian. All nutritional information provided is simply a guideline.
● For more recipes on Ann’s Entitled Life, click here.
● If you enjoyed this post, be sure to sign up for the Ann’s Entitled Life weekly newsletter, and never miss another article!


Joanne says
Oh you’ve managed to combine two of my favorite desserts in one! Yum!