Bathroom Vanity Makeover
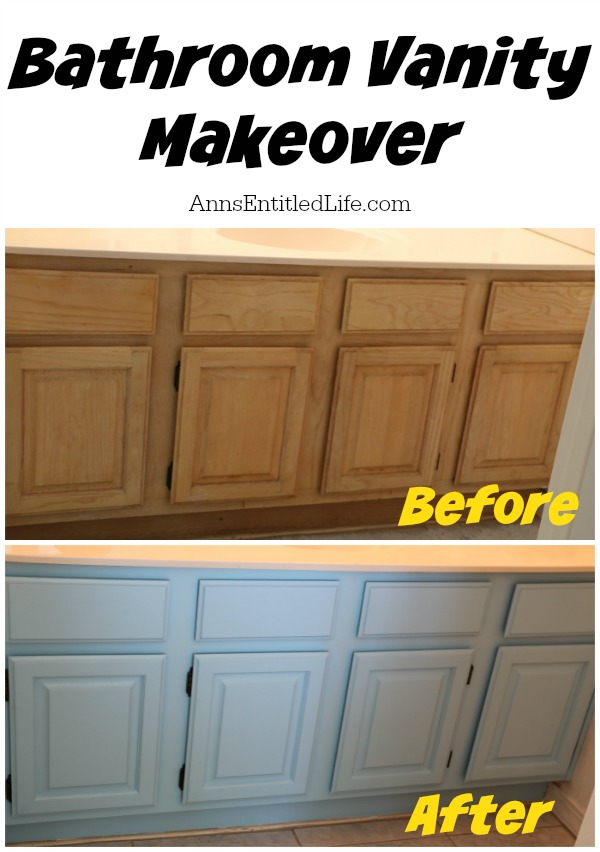
The step by step process of updating our bathroom vanity built-ins in our Florida condo.
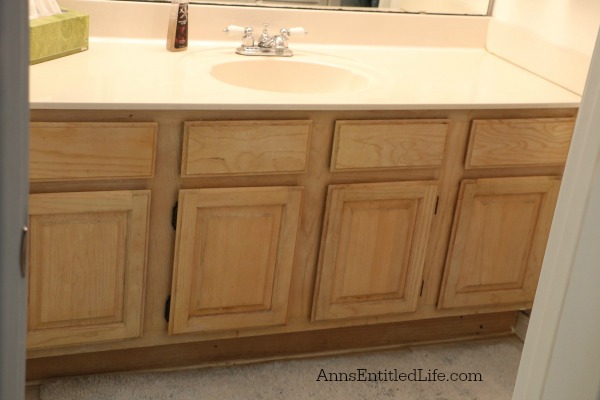
Hubby and I had talked a lot about ripping out the vanities, countertops, etc in our Florida condo. They were in rough shape, and original to the condo. But, we started talking about how long we plan on owning the unit, if we’d ever get the money back on those upgrades, and whether or not we wanted to go through the brain damage of ripping out and replacing the units.
In the end, we decided that, for now, it wasn’t something we wanted to go forward with as a large project.
We did however, want to do something about the cabinets, faucets, and mirrors in the unit. We plan on upgrading the faucets, and framing the frameless mirrors. Hubby also wants to update the light fixers. I actually like them. They are the open bulb bathroom light units that look like this, but they give off gobs of light! Still, I am not opposed to an upgrade.
The cabinets looked beat. While I am usually opposed to painting wood (I’ve stripped enough wood furniture and molding in my time), that seemed the only solution for these boxes.
We looked to the Rust-Oleum Cabinet Transformations but after reading the reviews, and looking at the ingredients, and lack of color choices, we decided to go it on our own.
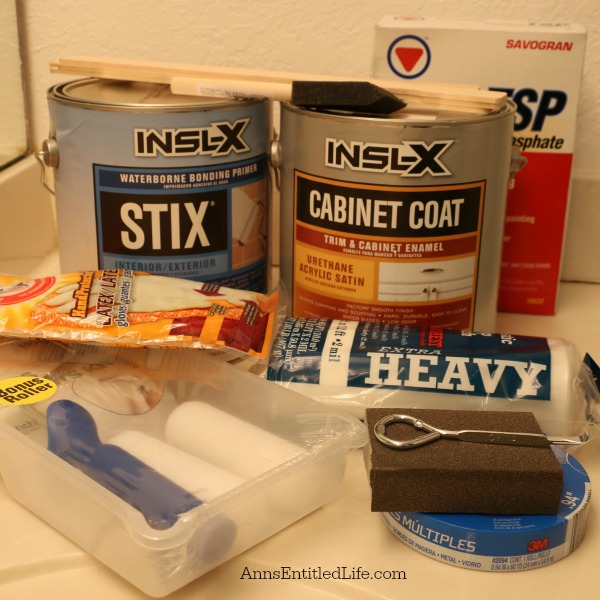
Hubby had used Insl-X Stix on some very tough jobs, and felt it was the product to use for our primer. So off we went to the local Benjamin Moore dealer to pick up a gallon.
While there, we also picked up a gallon of Cabinet Coat paint that we had tinted Hawaiian Breeze. Eight years ago we had the kitchen cabinets at our house in New York State painted with Cabinet Coat, and they still look great today! We decided to go with a paint we had used and trusted.
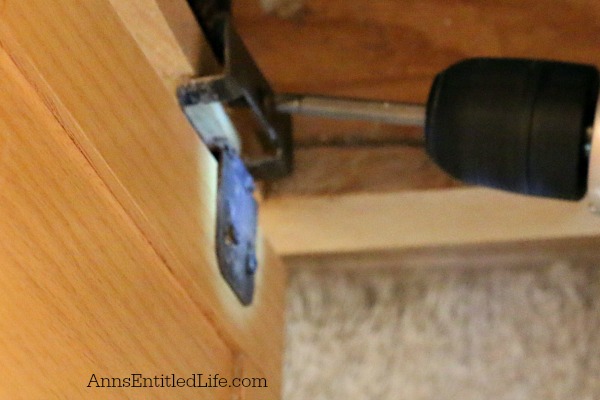
Hubby removed the doors from the cabinets, and the removable drawers too. After he took the hinges off, I cleaned the hinges well using this method. I TSP-ed the cabinetry to clean it before sanding. I was a bit nervous about this as I was worried that some of the finish had come off leaving bare wood, but in the end it was not an issue.
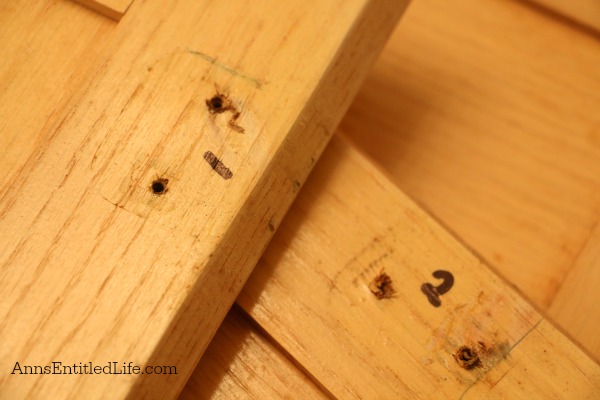
Once the hinges were removed, the doors were marked with a placement number. This was so we knew exactly where they came off the built-in, and could return them to the proper opening.
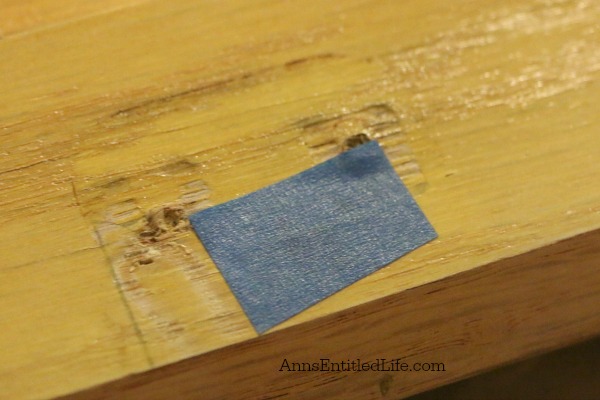
Hubby then covered the number with a piece of paint tape. This was painted over during painting.
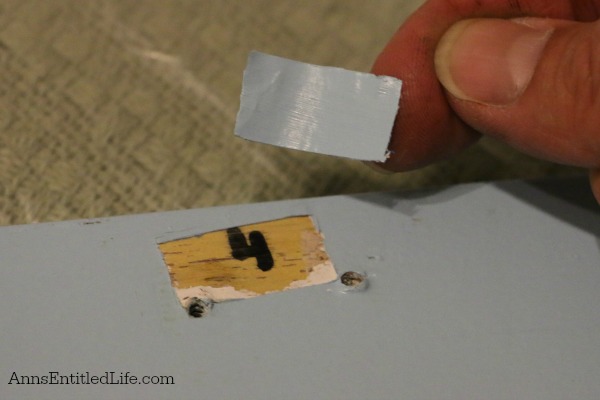
The piece of table was removed after the painting was completed. He then reattached the hinges, and rehung the door in the proper space. The hinge completely covers the small unpainted portion where the number was.
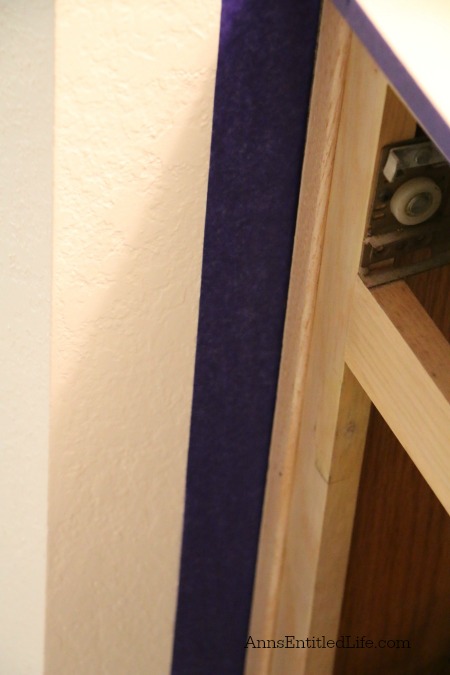
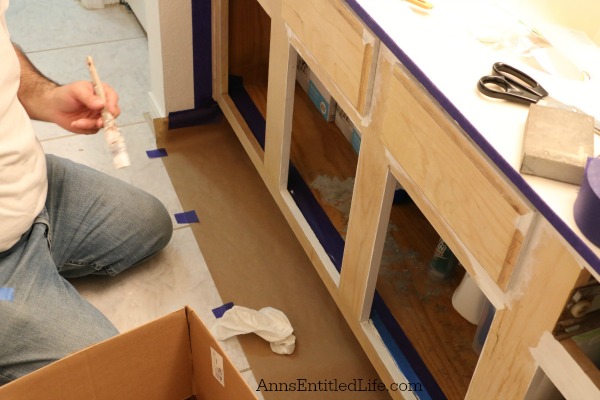
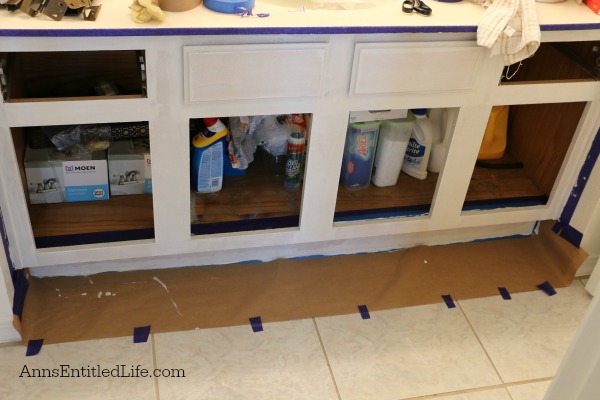
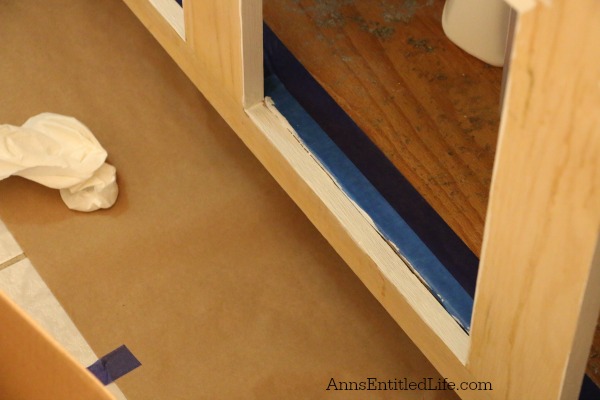
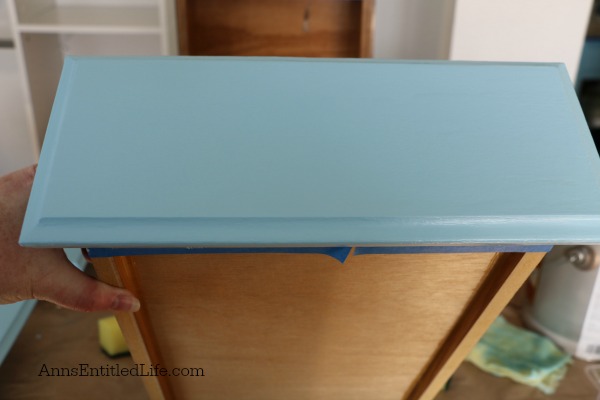
He taped off the edges of the built in cabinets, the floor, the upper part where the cabinets meet countertop, as well as the inside of the cabinet as we were not painted that.
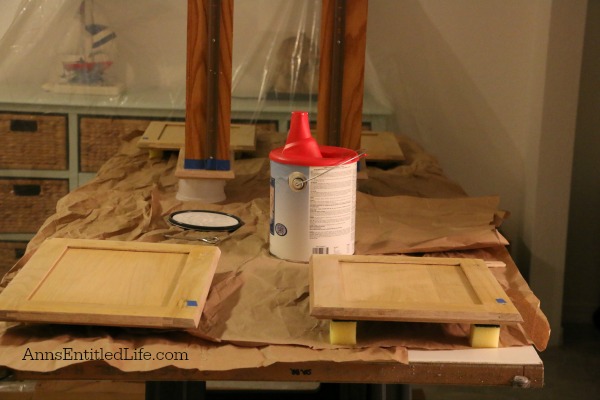
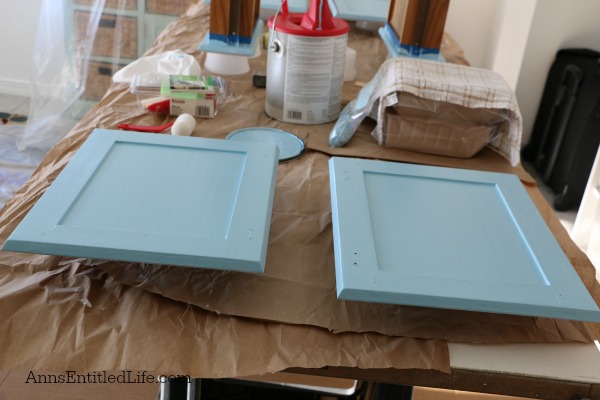
Since we are in a condo, space is tight. Hubby set up in the guest bedroom. We covered all the furniture with drop cloths, as well as the floor. Hubby also cut up some large cardboard boxes to put on top of the plastic drop cloth on the floor so it would not move with our feet. We then used an old door as the paint shelf, laying it across two saw horses.
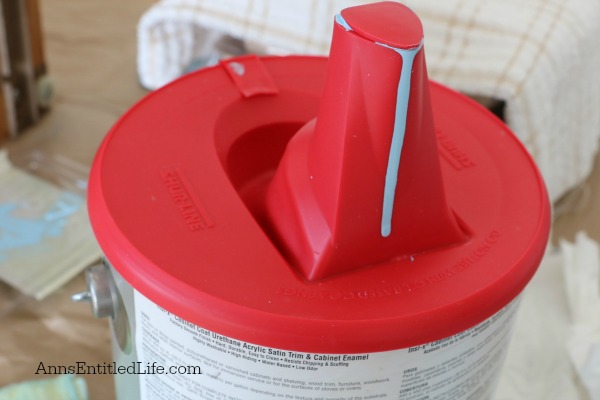
Hubby just loves that Shur-Line Paint Can Lid and Spout he recommends in his 10 Easy Paint Tips.
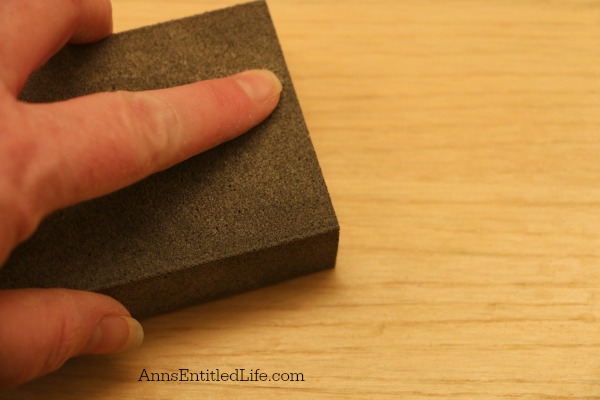
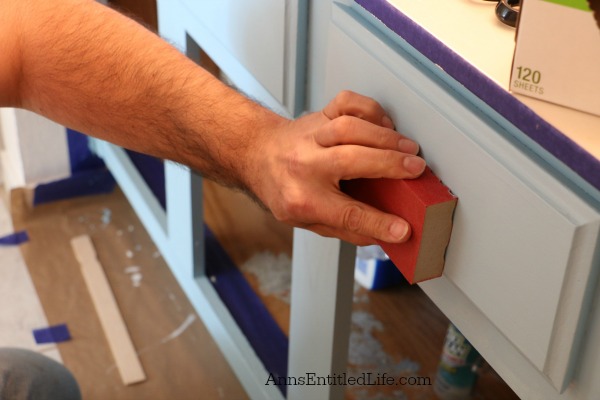
The cabinetry was given a light sanding before any painting started to smooth out any edges (surprisingly few!), and prep the wood for primer.
It was also lightly sanded between the primer and color coat (ok so I was a tad late with this photo).
Hubby gave the cabinet a coat of primer, and both sides of the doors and drawers.
He waited a complete day to put on the first color coat over the primer. It wasn’t due to necessity on the part of the primer, but rather because we had stuff to do.
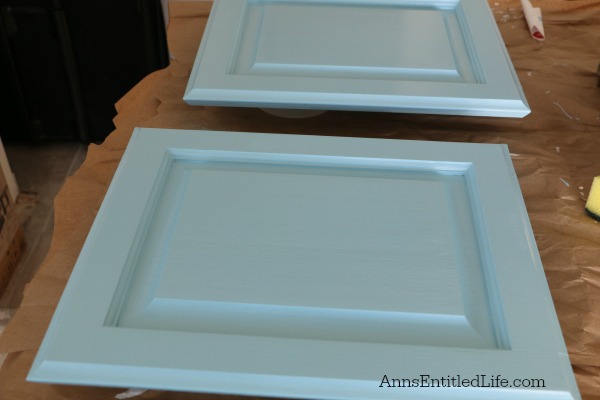
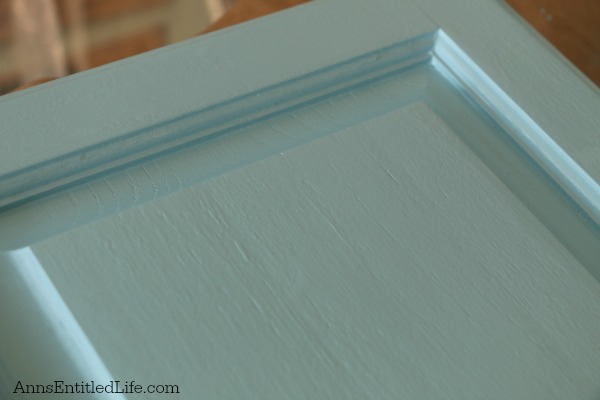
Hubby used two coats of paint color. He waited until each side was dry before turning. I was the eyes looking for drips and splotches. The Cabinet Coat is self-leveling, so the few bubbles evened out, but nothing will even-out a huge drip!
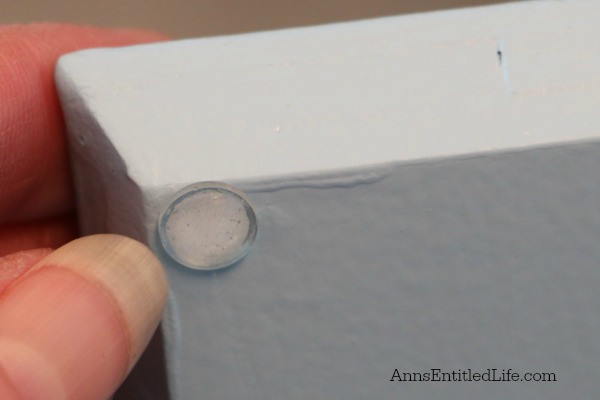
Once he was finished, he reattached the hinges and added plastic bumpers.
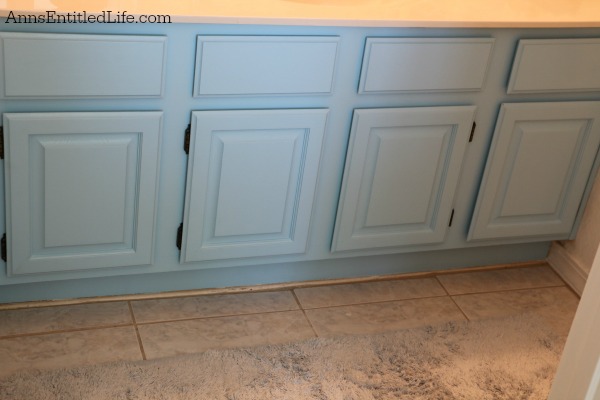
This is the finished product! Unfortunately, the photo does not do the job justice. It is a dark room with no natural light. It does look wonderful in person! The second bathroom received the same color, and it too looks beautiful.
While we purchased a gallon of paint (having two bathrooms and another project in the same color), you really only need a quart of each to do a bathroom vanity. A little goes a long way with both the Insl-X Stix and the Cabinet Coat.
The entire project took Hubby five days as …. we had other stuff to do. If you wanted to do the same project and just allowed for time in between coats to dry, this could definitely be done in a weekend.
● For more Renovation posts on Ann’s Entitled Life, click here.
● If you enjoyed this post, be sure to sign up for the Ann’s Entitled Life weekly newsletter, and never miss another article!
● Disclosure: the links in this post may be affiliate links.
Julie@FrugallyBlonde says
They look great! I have never seen a pour spout for a paint can like that. I can’t wait to order one for next time we paint.
Ann says
Julie it keeps things clean, and the spout clean up is just peel-paint-when-dry! So easy.
Ann
Anne says
In our park model we have the cabinets that are kind of coated with a “wood photo paper” (?) if you know what a mean. I don’t know what this is called. Do you think these paint products cold be used to cover this finish? I’ve never liked the look of the cabinets and replacing them would be to costly.
Ann says
Anne, I asked Hubby your question and he said that the Insl-X Stix should stick, but try and “scuff up” your overlay first. Once you use the Insl-X Stix, you should be able to paint it with anything.
Now from me… I would buy a quart of Insl-X Stix, paint an INSIDE of one cabinet, and then paint that inside over the Insl-X Stix. If it works out, then I would go for it.
I am MUCH more cautious than Hubby though. We did this process on the bathrooms as a test. Hubby was certain there would be no issues (he has rental properties and has used the Insl-X Stix frequently), but to me, seeing is believing.
Ann
Barb says
Very interesting and great photo’s. The vanity looks wonderful.
Ann says
Thanks Barb!
Ann
gina says
Whats wrong with beautiful wood grain and a light stain followed be a satin (cleanable) finish. Those cabinets might as well be plastic or composite wood. Color can be obtained with textiles like towels, and shower curtains, all of which can be changed much easier than painted cabinets.
Ann says
Well, if you read the post Gina, you would know what was wrong with them, and why they were painted.
Ann