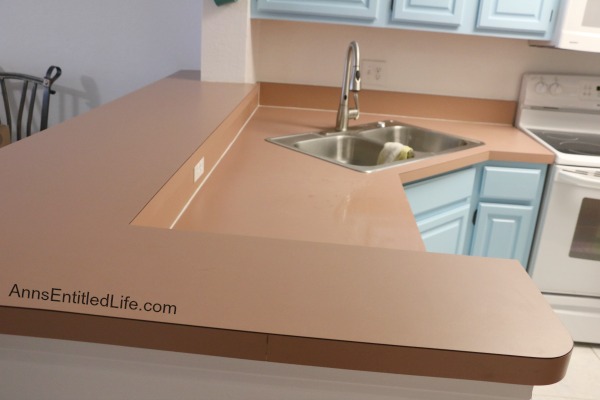
The kitchen countertop in our condo in Florida was in sad shape. It was stained, pink (that was the original color choice 20 years ago) and just plain ugly! Hubby and I had looked to re-laminating, or replacing the countertop this year. The condo across from us had a nice cosmetic lift prior to sale last year. The man who did the work did an excellent job re-laminating the neighbor’s kitchen countertop, so we asked for his name and telephone number, and said we’d call him “next year”.
Well, when we arrived in January one of the first things I did was look for that man’s name and phone number. You can probably guess what happened. After looking and looking, and looking (and this place ain’t that big), I came up with nada.
So now it was on to plan B which was either find a fabricator and have them make a new laminate countertop, or replace with quartz or granite.
When we purchased this condo we knew we needed a new countertop, sink and faucet. The faucet we installed last year had 3 months of actual use and was going to be transferred to any new sink we purchased.
The quartz option was immediately discarded; at $65/sq ft to start, it did not make sense in this condo. The view is the main draw to this place, it is not upscale in any way.
Starter granite looked fine for our purposes, but the cost worked out to approximately $2800 for our small countertop. While that did include an undermount sink, it did not include the plumbing to reconnect the dishwasher, garbage disposal and install the facet.
After looking at a ton of granite places (they all start to blur), Hubby finally decided “we” could redo the countertop ourselves with a refinishing product.
He then went on a mission to look for something that would look semi-decent, be usable after a few days, and be durable.
He decided on Daich Coatings. They make a lot of different products for residential and commercial buildings for both countertops and floors.
We decided on Sundance in the mineral collection. Warning: our finished color looked nothing like the color on the website. Hubby also chose to get the two part epoxy instead of using the one part clear coat that came with the kit.
Our kitchen countertop is approximately 45 square feet. The coverage listed on the website is: Coverage Area: Kit covers 30 – 35 sq.ft. of countertop or table surface, so we ordered two kits.
And now Hubby has a second kit to bring home and use on a rental.
One kit more than covered our countertop, applying two coats of well, everything.
If you order from the website and are in a hurry, you may want to call first to see the ship time. This is a Canadian company, so it needs to clear customs. In some real irony, they ship out of Buffalo. Well, looks like that second kit is returning home.
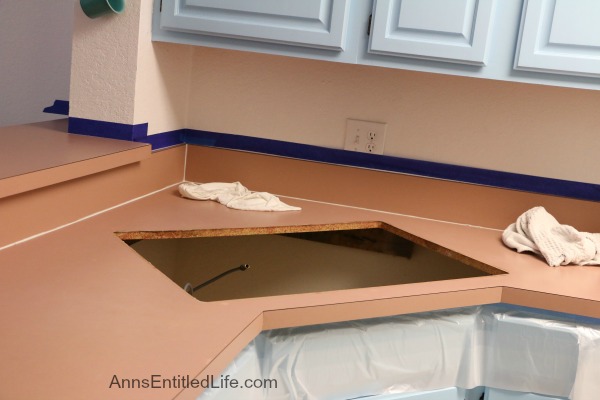
Before Hubby started, he taped off all the areas where countertop met wall. He removed the sink as we were replacing it when the countertop restoration was finished. The suggestion from the Diach coating was to cover all the cabinets too. Hubby took that suggestion to heart, and used Tape’n Drape.
This turned out to be a very smart move as the product did splatter a bit, and there was paint and clear coat on the Tape’n Drape when Hubby removed it.
If you have any gashes or tears in your laminate, now is the time to “repair” them. We did not (it was just stained and ugly), so Hubby went on to the sanding.
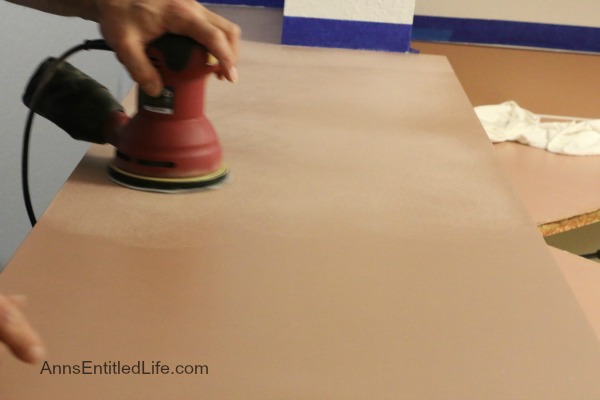
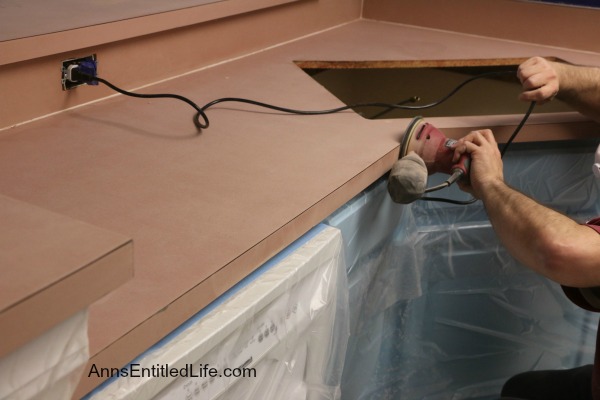
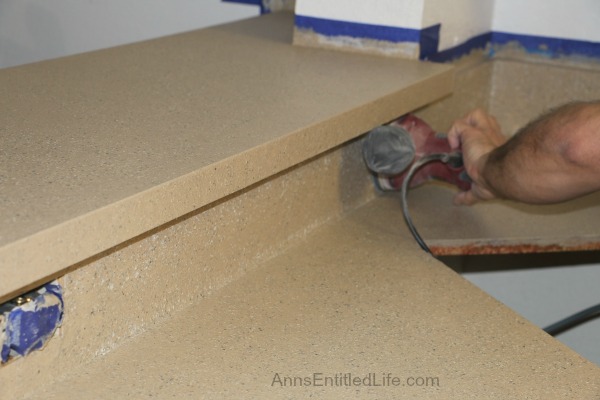
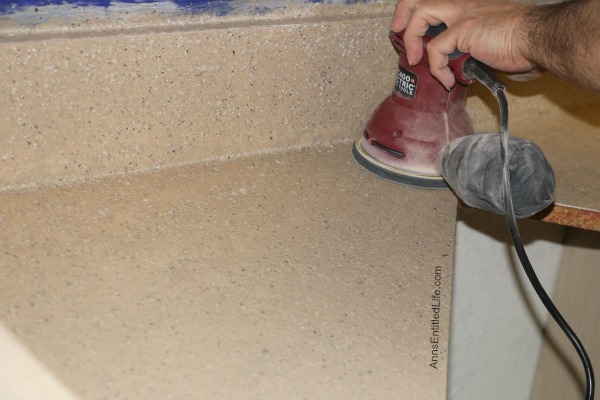
He used an orbital sander (80 grit) for the large, flat parts, and hand sanded the backsplash and edges using 80 grit sandpaper.
Next up was the primer coat. He put on one coat in the evening, allowed it to dry completely, then put on a second coat the next morning.
Next up was the color coat. The color coat is premixed, but you stir the speckled granite up from the bottom. Hubby said stir well so that it really mixed up.
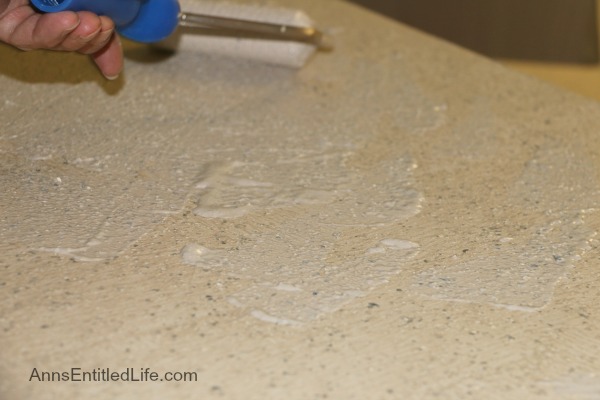
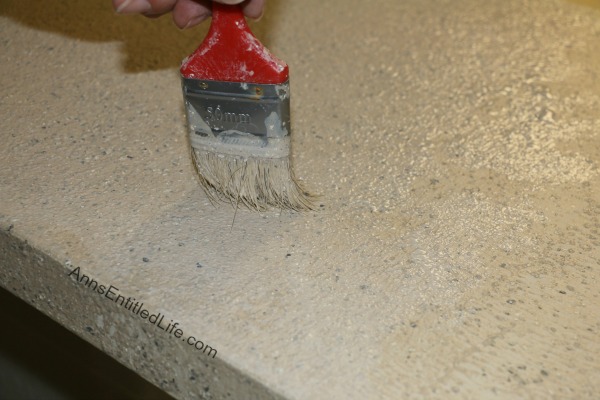
He followed the directions on painting, and said the roller that is included in the package is garbage. What he ended up doing on the second coat was rolling out the color, and then stippling the paint with a decent brush. Stippling is basically bouncing your brush up and down to paint, instead of moving it side to side.
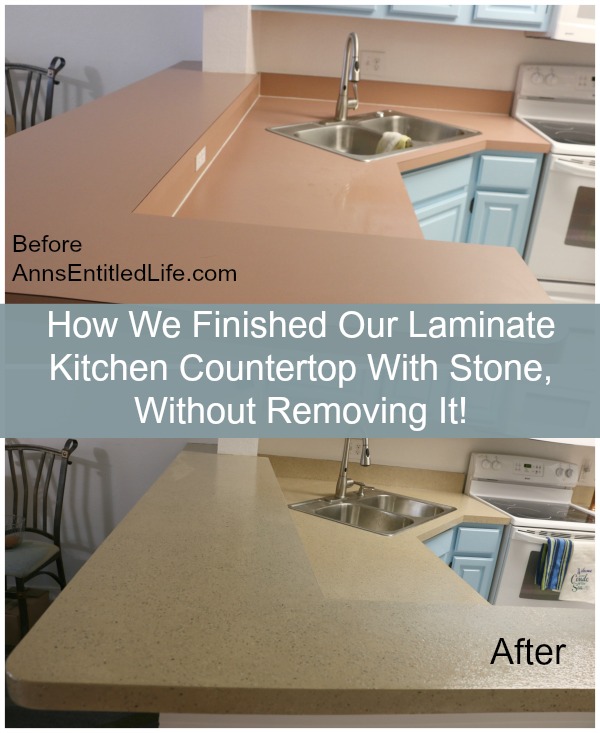
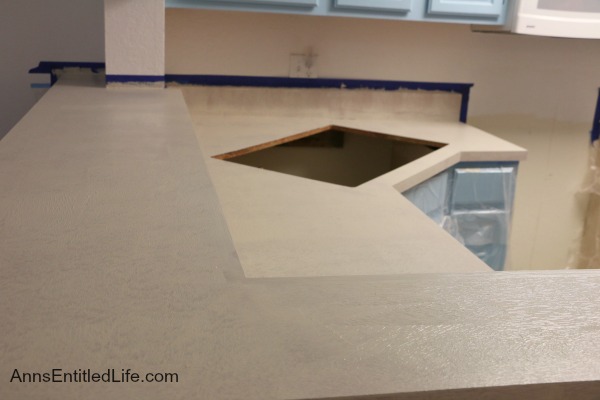
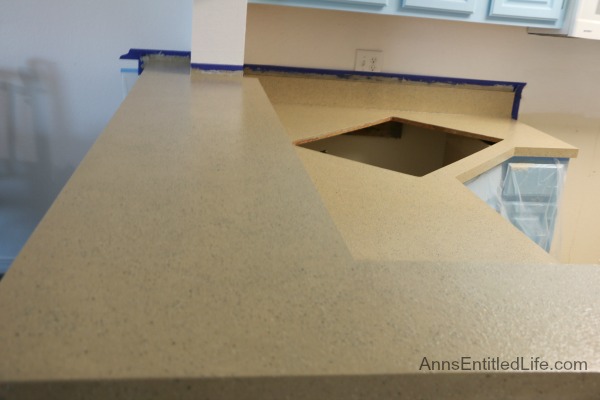
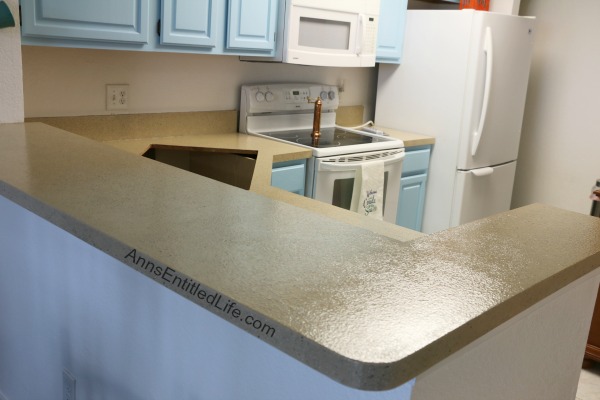
This is what the SpreadStone Mineral Select Countertop looked like after the second coat. Already it was a huge improvement, and Hubby had not even sealed it yet.
After the paint coat, Hubby sanded twice; first with 120 grit, then with 220 grit. He vacuumed between sanding, and used a tack cloth in between sanding grits, as well as at the end of sanding.
He said if he had to do it again (and he will be at a rental), he’d get an even finer grit for a third sanding pass.
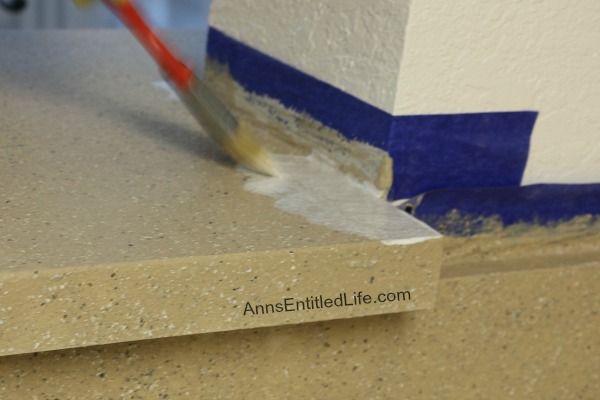
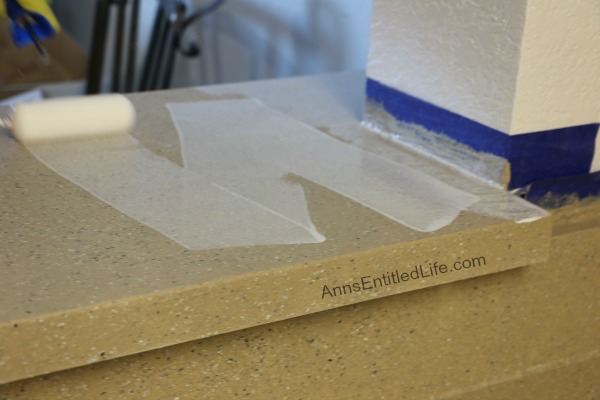
Hubby chose to go with the two part epoxy instead of the one part that came with the kit. You had to stir a long time to combine (3 minutes), and the epoxy went a long, long way. The first coat he applied, he mixed the recommended amount and had a ton leftover. This goes on quite thin. He halved that amount for the second coat, and had a bit leftover (but not a ton).
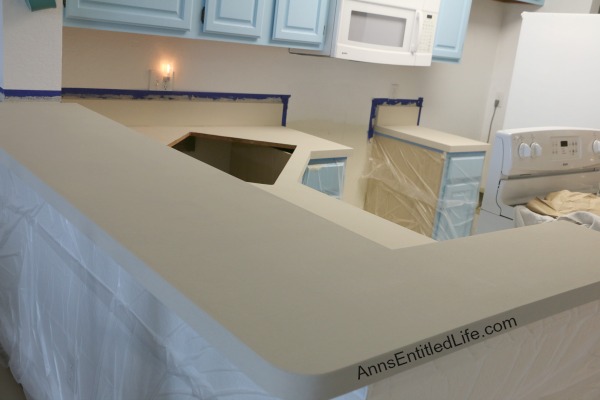
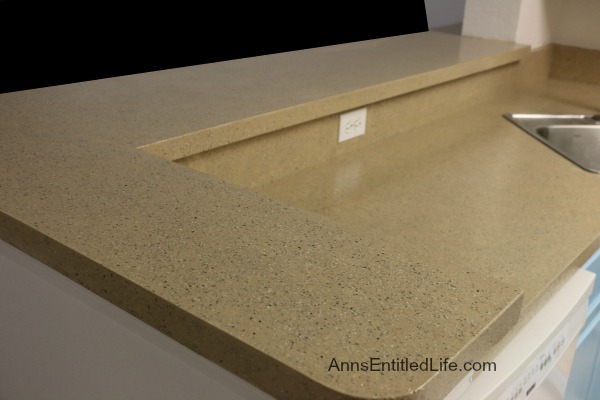
This is what it looked like the morning after the second coat.
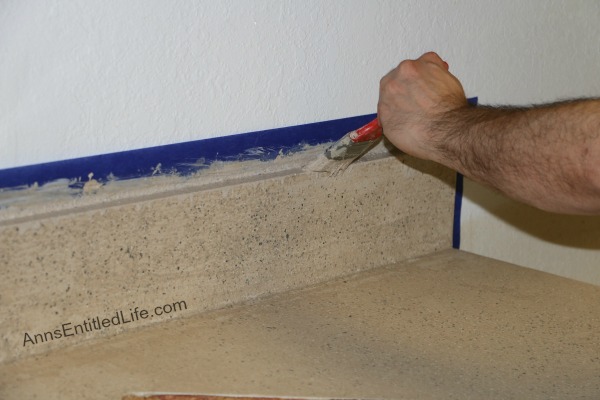
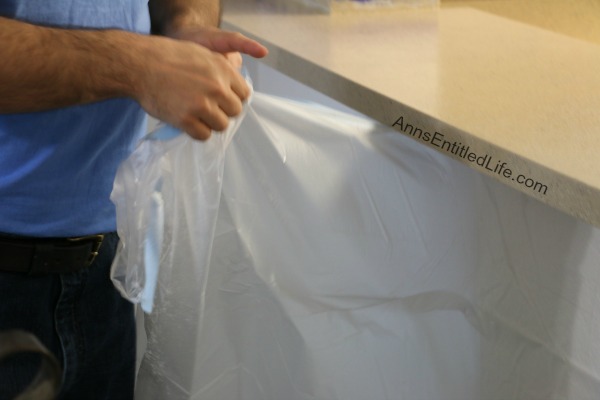
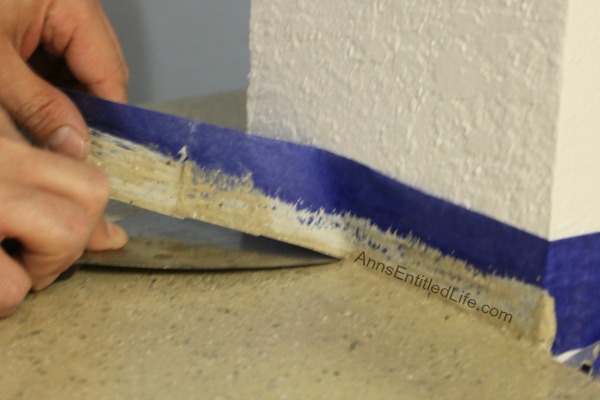
Removing the Tape’n Drape. was simple, removing the painter’s tape took some finesse. First he cut the edge where the tape abutted the wall, then he used a spackling knife
for pressure so none of the coating came up with the tape.
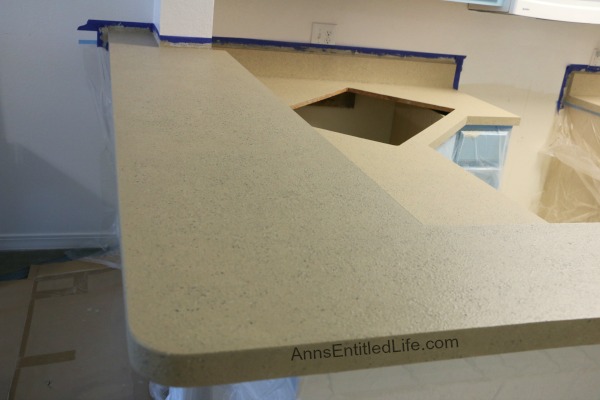
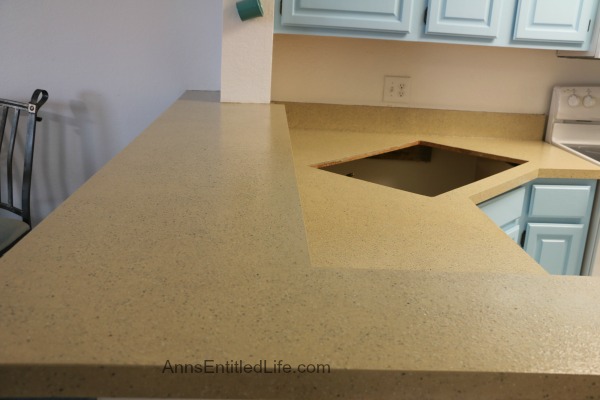
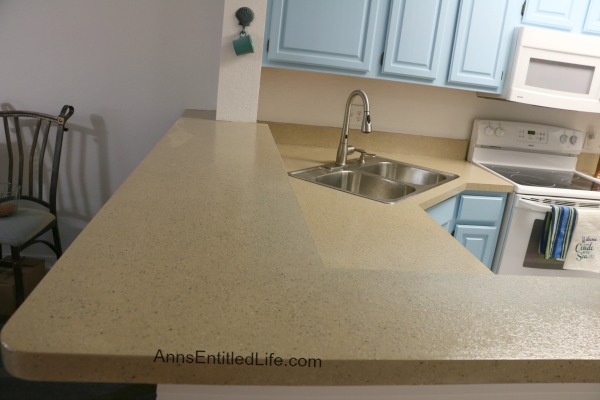
This is the finished product.
And this is our kitchen put back together. In all, this project took four days from start to finish.
When Hubby suggested this idea, I was a bit wishy-washy about it. On the one hand the price was right. Two kits (we only needed one) and the two part epoxy and we were in for about $250, significantly less than the $2800 for granite. I figured for a bit less than 10% of the cost, we could give it a go. Worse comes to worst, we installed granite anyway and were out $250.
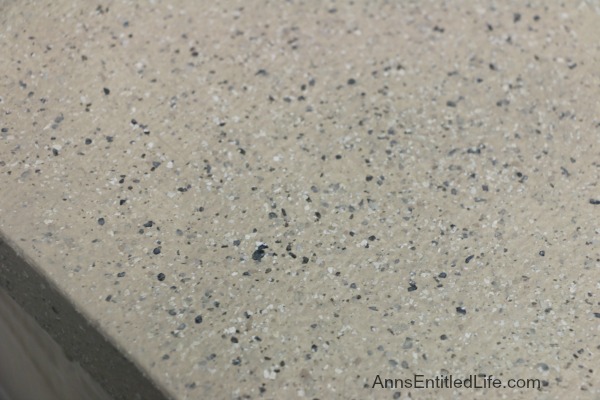
In the end, this was the right decision for our condo. It looks fabulous! No, no one will ever mistake it for granite but the stone is attractive. The surface is rougher than Hubby would like (and why he’s do a third sanding pass with a finer grit), but I rather like the roughness. Clean-up is a breeze. My chief complaint is the color is nothing like I expected. For us, that did not matter much. We painted the kitchen cabinets the same blue we used on the bathroom vanity make-over so the tan-ish color and blue specs work well. Someone else might not be as happy with the color deviation.
All-in-all I would recommend the SpreadStone Mineral Select Countertop in all but higher end homes. It looks good, and the process was pretty straightforward and very easy to do.
● Disclosure the links in this post may be affiliate links.
● For more Renovation posts on Ann’s Entitled Life, click here.
● If you enjoyed this post, be sure to sign up for the Ann’s Entitled Life weekly newsletter, and never miss another article!

Marie says
Ooooh, pretty. I would have at least 2 of the 4 cats jump up on the counter to see what’s going on.
Ann says
LOL Marie. Yeah cats might be an issue…
Ann
Jamie Robe says
Yeah, just did the stone coat (onyx fog) last night and forgot about our Cats! No prints on the counter but found a short trail on the floor LOL. learned my lesson and keeping them on the porch at each step 🙂
Great article – I love our counters so far and I haven’t even sanded yet. Will take the advice and get some finer sand paper too.
Thanks,
Jamie
barbara t says
That’s freakin’ awesome! What a difference! I’m going to show my husband right away. Thank you.
Ann says
Thanks Barbara. It really is night and day. If you decide to do it, and have questions, just ask!
Ann
T says
Just curious, do you have a sense of durability for this? Unknown to us when we bought our house, the previous owner had ‘painted’ the counters. The counter around the sink where its often damp, began peeling and now has gaping holes where the old surface is exposed. While we would like new counters, realistically we will probably just resurface them as you did. Does your surface have any kind of guarantee or warranty? It will be interesting to follow your project and see how it wears, especially in the rental. I hope it works out as good as it looks. You and your dh make it look easy. Nicely photographed and explained.
Ann says
Thanks, T!
As far as durability… that is the exact reason Hubby went with the two part epoxy – added durability. It goes on so thin I’d wonder how well the one part would hold up. They do have videos on how to “repair” your countertop before starting this process. We did not have any lifts or tears (it was just ugly and stained), so I can’t comment on that process. I will tell you though, that if you only do the two fine grits after the second stone coat (120 grit, 220 grit), it will have enough texture that whatever you repaired probably will not be seen.
Hubby will probably not be doing this to the rental until June, and then renting out shortly thereafter. I agree though, a rental is an excellent test of durability.
Ann
Nancy says
I used the Daich Mineral Select on a very hard, non porous synthetic countertop. Here are my tips to make sure the job gives fantastic results that will last a long time: 1) because our surface was very hard and non porous, we used a more adherent primer than the one provided. We opted for two coats of INSL-X . Then, we topped with the Daich primer, to have the right under color, and followed the instructions for the stone paint. We used the roller provided, plus a small brush with tight spaces, and it did a great job. 2) Lift or remove the sink from the counter so that the the primer, the stone paint and the epoxy can be applied completely under where the sink normally sits. This removes the point of entry from water to make the paint lift and peel. This is an essential step. 3) when it comes to sanding, we did several passes, from 120, 220, 400, and ending with wet sanding and 000 steel wool. This made the countertop look like Corian! 4) we purchased a two-part epoxy that is self-leveling, to avoid the orange-peel look that comes with Daich epoxy clear coat, so as to keep the high-end look of our countertop. We opted for the Pro Marine kit that is available on Amazon. We applied a seal coat with a foam brush, then a flood coat that was poured on the counter and levelled with a squeegee. The results are amazing! Entirely worth all the work, at a fraction of the cost!
Ann says
I am so glad you liked your results, Nancy. And thanks for the tips!!
Ann
RNBzie says
What two part epoxy did your husband use? Im actually doing this now and would rather put a epoxy than the stuff that came with it.
RNBzie
Ann says
We used the two part epoxy that Daich makes.
Ann
Kitchen Remodeler says
Hey Ann, very good solution and thanks for the play by play of your process. Now that it has been a couple of months, how is the counter and epoxy holding up? I may be using this solution for a client for their rental condo. But I don’t want to have to come back and repair my repair work in 6 months!
Ann says
Well, we left Florida in April, so it hasn’t had much wear and tear. It looked lovely when we left, but I can’t answer to how it will hold up to abuse. I will tell you that Hubby plans on doing this in one of his rentals. I’ll be able to answer the abuse question in a year! LOL
Ann
Kitchen Remodeler says
LOL ok. Well, I may give it a try anyway. Thanks!
Grant says
Hey Ann,
So it has now been a year! I was curious to know if you have had any problems with the counter top holding up? Any durability issues? Any problems with scorching or staining? Thanks for your original post. It has me excited to finish mine!
Ann says
Hi Grant,
First thing to remember is we only use this when we showbird in Florida. So, while it has been a year, we have only had 5 months of use of it. (Last year and this year combined.)
When we arrived in Florida, we take in the entire condo. It is amazing how much you forget or mis-remember in 8-9 months! I did immediately notice how wonderful the counter top looked. I definitely didn’t forget the old pink number 😛 and this looks 1000x better. It has yet to stain. It has not cracked or peeled. It truly looks wonderful.
Again, no one would ever mistake this for granite or Corian or anything like that, but it does look great and we are definitely happy with the results.
Ann
Nancy Williams says
Hi Ann,
How much Epoxy did your husband use on your cabinets in Florida? Did he order 1 or 2 kits?
Thanks, Nancy
Ann says
Hi Nancy,
I had Hubby check his email. He ordered 2 kits and 3 quarts of epoxy. For our counter-top (shown above) we only needed 1 kit and 1 quart epoxy. We really overbought!
Ann
Nancy Williams says
I think my email was wrong on the previous post.
Thanks, Nancy
Janet Jones says
Hi Ann,
Thank you for your detailed review…now that you are back in Florida…how is the counter holding up with your coffee pot moving etc. Will be doing this on our old laminate countertops
Thanks, Janet
Ann says
Hi Janet,
We were down in Florida earlier this year, and the countertop looked beautiful and had held up very well. We are not there full time though, so it does not get hard use.
Ann
Amanda says
Hi Ann- I am planning to do this to my townhome as a temp fix until I can afford to put in marble. I have read some great reviews of Daich. What have not seen much of are hacks/DIY. Would love to see what people might try to add to the finish. I have seen someone note that after the expoxy/clear coat- they wet sanded to give it a more dulled finish (less shiny). Also read something about waxing, but the long term use for wax seemed unfavorable (actually caused water to sink into finish. My question: What color did it actually achieve? I’m shooting for white/off white. I cannot do a sand color in my current kitchen.
Ann says
Amanda, the color we used (Sundance) is definitely sandy. (We are down in Florida now, and I am looking at it). They do offer Natural White as an option, however.
As far as marble in your kitchen – just remember you cannot clean marble with much. Simply water, or very mild soap with water. Vinegar will eat it. We have marble flooring in our foyer + one bathroom it flows into, and we had to replace the floor a few years ago because the prior owners just used anything on it to clean it. We did have it sealed when it was installed, but it is only vacuumed and water for clean up (kinda off putting in the bathroom, but it is what it is). NOTHING beats marble for beauty, IMO. It is just the lack of cleaning supplies that can be used on marble that gets me.
Best wishes –
Ann
Amanda says
Thank you, Ann! Yes, I’ve heard not so great things about marble…the Daich fix should give me enough time to mull over options. Thank you for sharing your experience. I had not read anyone note color variation fro, what I’ve read, so that’s great to know.
Brikena says
Hi 😊 I’m thinking of using this product and the Epoxy top coat for my countertops. I use my kitchen a lot so I was wondering how yours have been holding up? Thank you
Ann says
Brikena, we sold the condo last spring. At that point, it had held up well.
Hubby used the epoxy that came with the kit (instead of the two-part epoxy I showed in this tutorial) on one of his rentals. He MUCH prefers the two-part epoxy we used in Florida (in this tutorial).
Ann
Sarah says
Just ordered a kit for our kitchen counters and will be doing this in about ten days! I’m so excited to make this change. I really appreciate your tips on the process. I am quite worried about the color because it looks different in every video, swatch, or sample I see. 🙄 Hope we are happy with it….
I’m writing to ask what, specifically, your husband was happier with about the epoxy coating. Was it glossier? I hear that the kit finish is more of and orange peel look which I think will be ok, but I may want to do the epoxy for a smoother feel. Just trying to make that decision now. And is the epoxy higher in VOCs than the kit product? Smellier, in other words?
Thanks so much!
Ann says
Hi Sarah,
I asked Hubby your questions:
1) The purchased epoxy (not the kit epoxy) was clear. There was a lumpy feel to the countertop when dry… IOW it was not totally smooth. That is why Hubby suggested a third sanding if people want totally smooth.
2) It honestly did not smell terrible. We stayed there the entire time, I have an excellent sniffer, and never felt it was cloying, did not get headaches, and did not notice a horrible smell.
Remember though, after reading up on what came with the kit, Hubby made the decision to go with the clearer product as we too read the negatives and wanted no part of those.
Ann
Joy says
Just st find shed ours in Onyx fog.
Joy says
Finished
Ann says
Joy, how did it go? Did you find the process reasonably easy? How does the before and after compare?
Ann
Joy says
The counters look good. Better than I expected. Definitely better than the avacado green ones that was there.A palm sander is a must to do the countertops or your arms would fall off from sanding. Don’t expect a smooth counter it has a little texture. Mine looks like polished concrete with flecks of Black white bronze in it.
Jamie Robe says
One trick is to buy an adapter for an orbital sander, and hook it to a wetvac. If you do this for all sanding, you keep the amount of dust to a minimum 🙂