Step by step instructions and tutorial photographs to refinish a circular staircase!
How to Refinish a Circular Staircase
We’ve had a lot of renovation work done to the Ann’s Entitled Life New York State home this past year. My 2014 Renovations List indicated we were having the banister redone.
We decided to have the work on the banister and circular staircase treads done while we were in Florida. Since our bedrooms are on the second floor, it would be very inconvenient to have the work done while we were home as only the one staircase leads to the second floor.
We also have used both men that did/are doing the work for other projects, and were not only comfortable allowing them access to our house while we were not at home, but comfortable with the level of work we knew would be done even if we were not there to check the progress. Any of you that have had contractors work on your home know that isn’t the always the case, so we are very fortunate to have these men doing this work for us.
Today I will show you the before and after pictures of our stair treads. Joe Perrelli of Perrelli Wood Floor Refinishing did the treads. He’s done work for Hubby at his rentals, for my parents, my brother, my uncle and now our house. Sooooo needless to say, if you are in western New York and looking for a wood floor refinisher, email me, and I can hook you up with Joe.
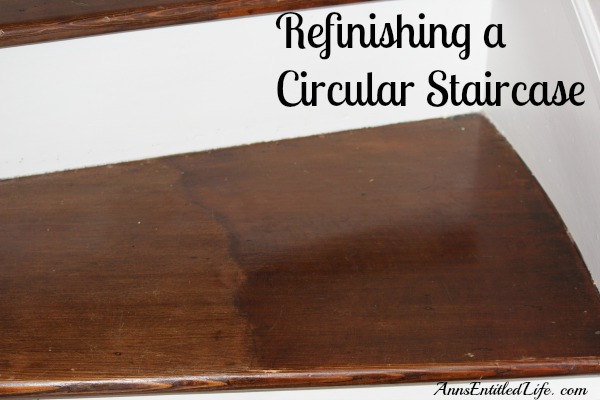
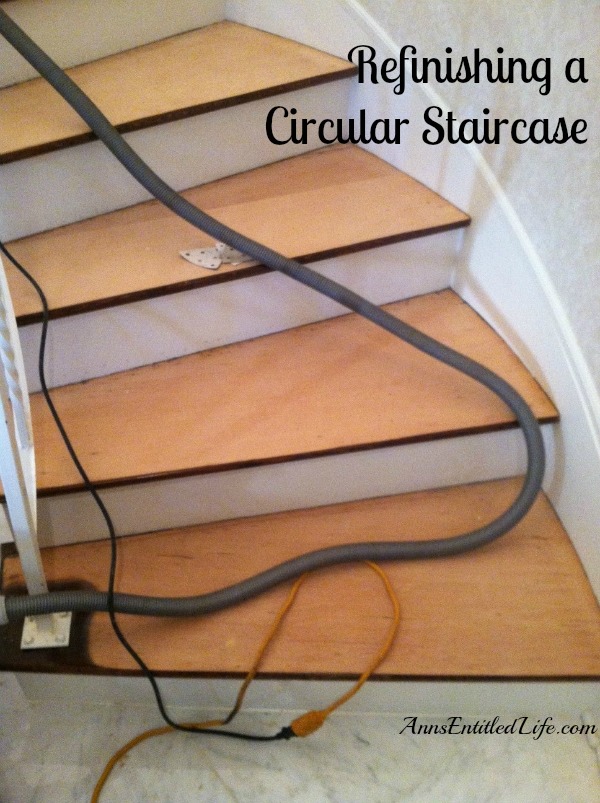
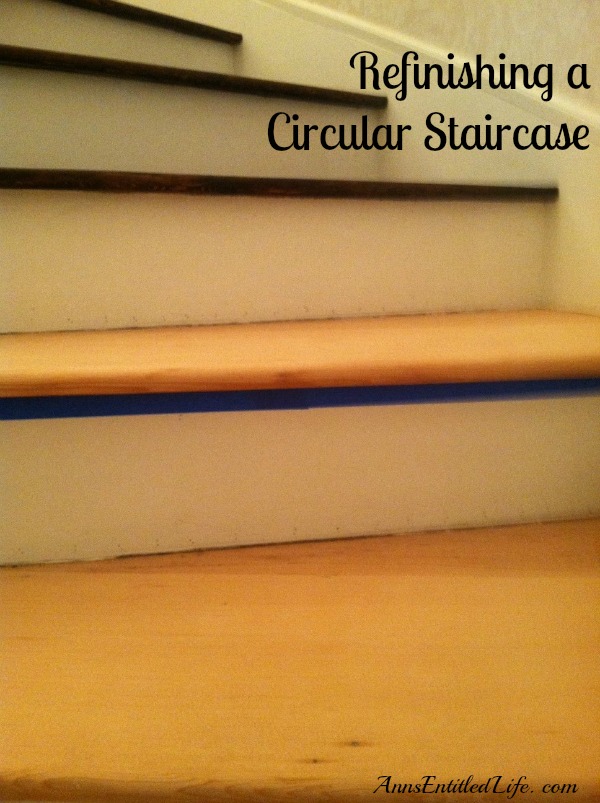
You can see from the picture above the nicks in the wood. When we purchased the house, there was a beautiful Berber white runner that lasted about two years. The ends were disgusting and couldn’t be cleaned after a very short while. I pulled off the runner, and discovered the terrible job of several stain colors and unidentified finishes. It looked bad. The nicks may have developed over the years when I brought a full suitcase or two down those stairs.
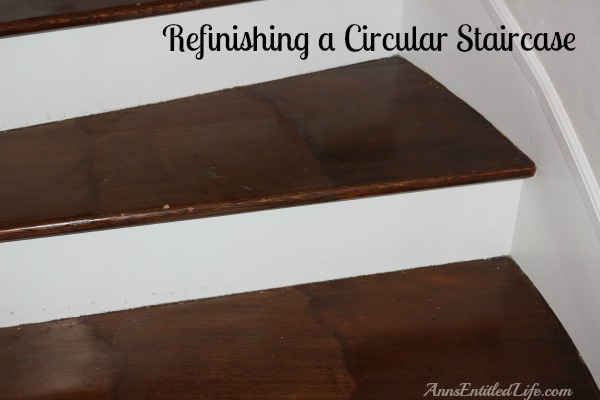
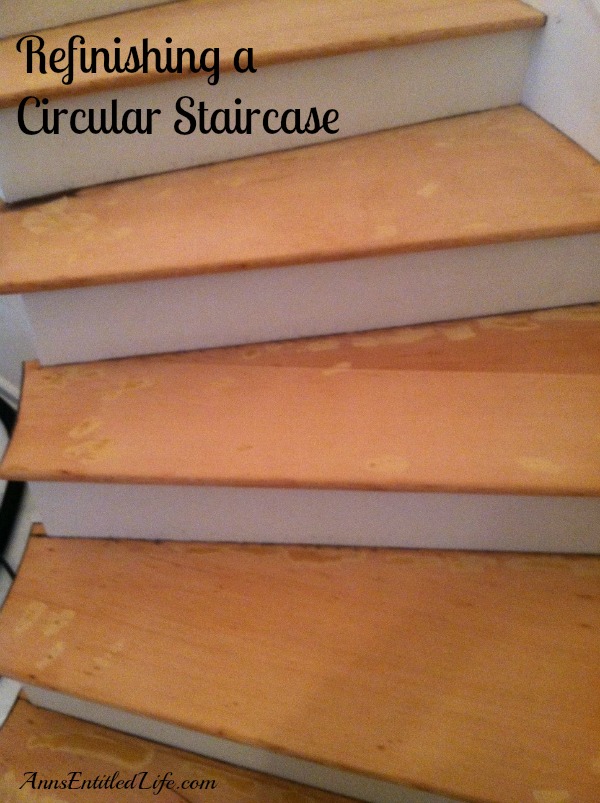
That is a close-up of what the stairs looked like before refinishing. Not even my grandfather could figure out what the heck some of the finishes were. We knew that the staircase would eventually have to be stripped down to bare wood, restained and refinished.
Joe Perrelli was good enough to email pictures of that he did in intervals. The pictures below are courtesy of him!
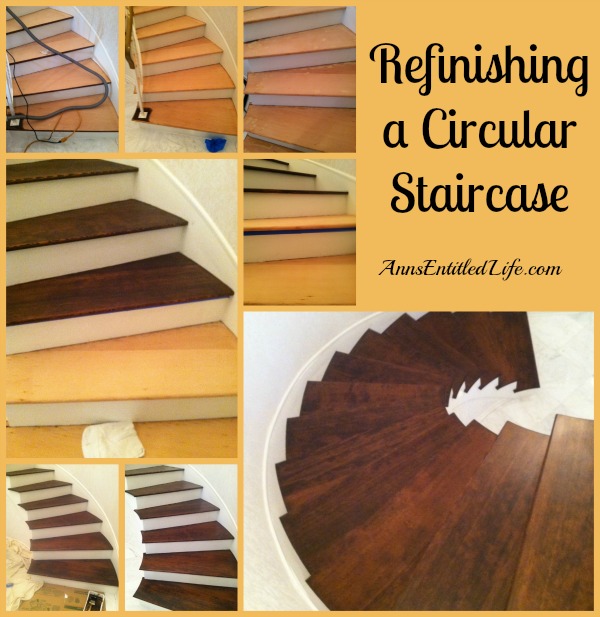
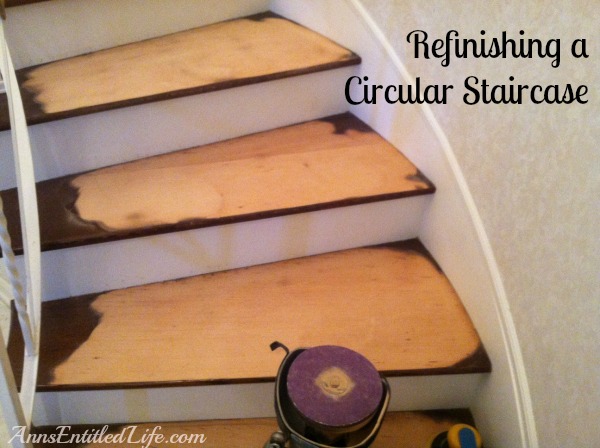
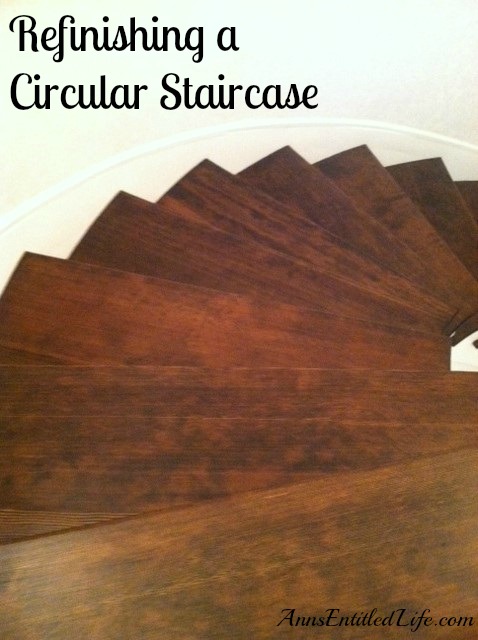
When Joe began the stairs, the railings had not yet been removed. He sanded to the ends, and came back after the railings had been removed to finish the sanding, staining, filling and polyurethaning.
He filled in the analgesicstaple and nail holes, along with a few of the cracks in the stairs. He then sanded to 120 grit.
He water popped the stairs – dampening the finish sanded wood evenly with water to “pop” the grain. Water popping causes the wood’s cellular structure to swell a tad at the very surface. When the wood dries in a few hours, the wood (floors, stairs, rails, etc) will be slightly rougher allowing it to absorb more stain. This is very helpful on dark stained floors where a deeper, more uniform color is desired.
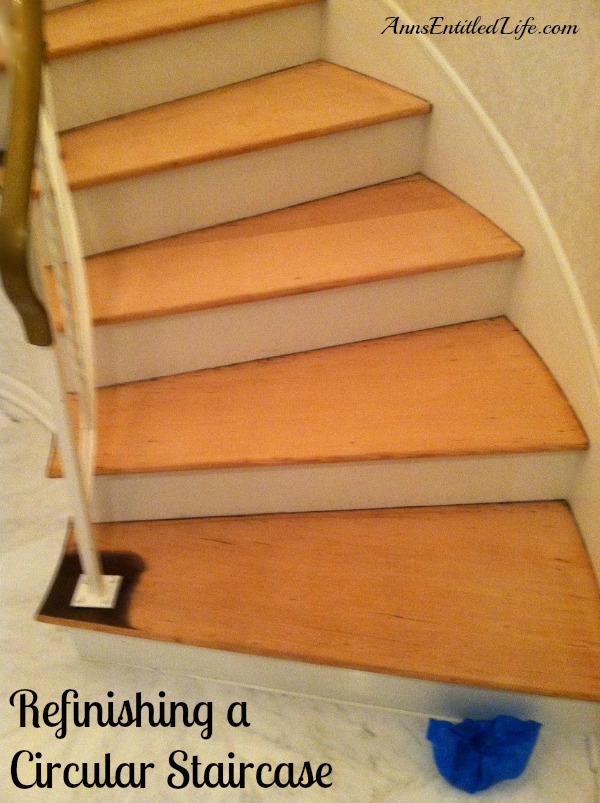
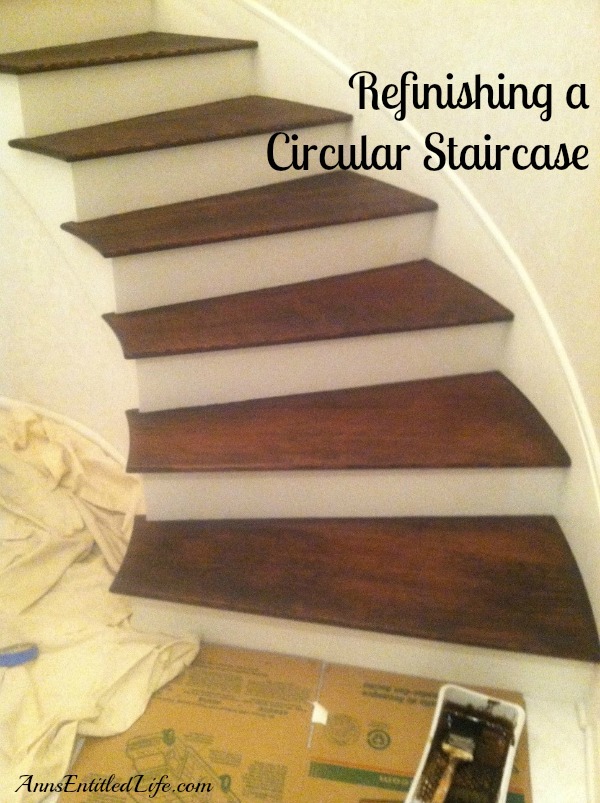
He taped off so the stain wouldn’t seep into the painted risers.
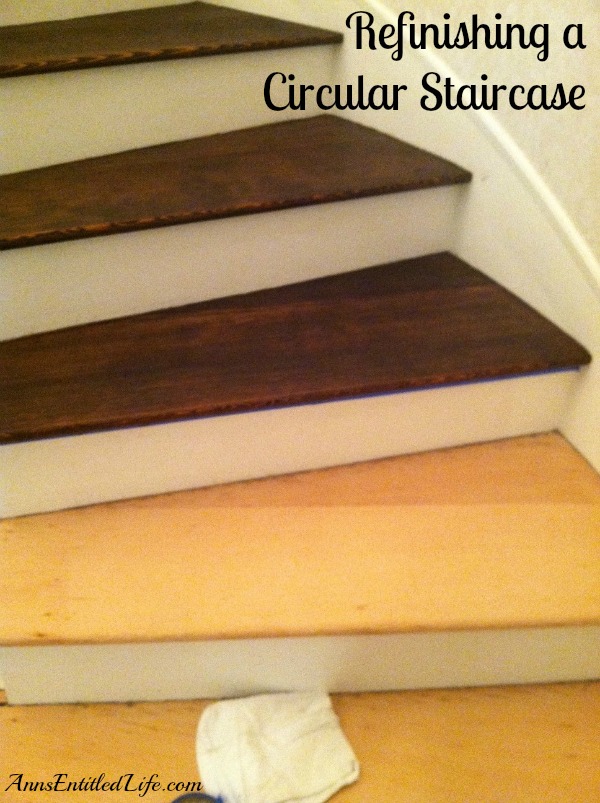
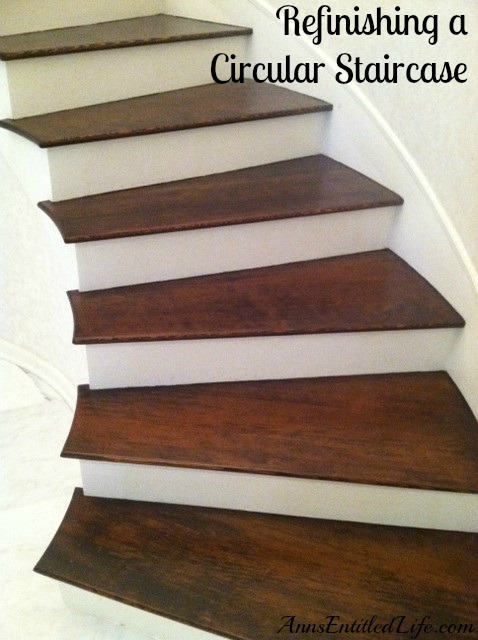
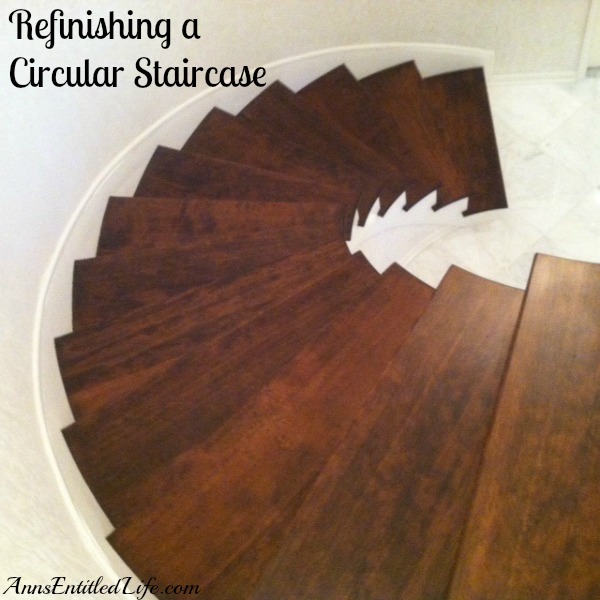
He applied dark walnut duraseal quick coat penetrating stain. I specifically wanted dark to contrast with the white of the risers and the marble foyer floor.
And ployurethaned. Three coats of satin finish polyurethane were used, a day in between to dry. A light sand with 220 grit paper in between coats.
The finished stairs.
For the finished product, check out my post on Installing a New Banister. The results are simply amazing!!!
● Disclosure the links in this post may be affiliate links.
● For more Renovations on Ann’s Entitled Life, click here.
● If you enjoyed this post, be sure to sign up for the Ann’s Entitled Life weekly newsletter, and never miss another article!
Leave a Reply