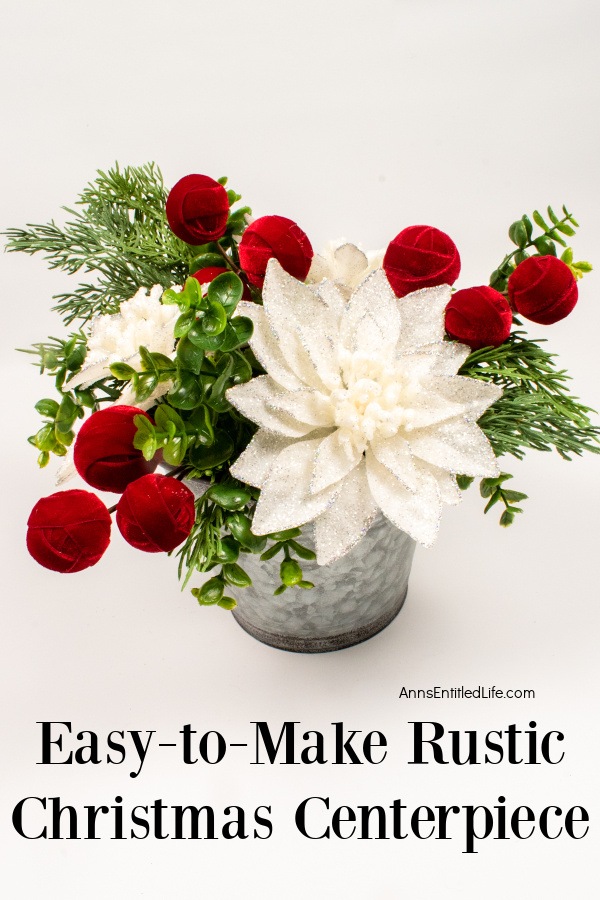
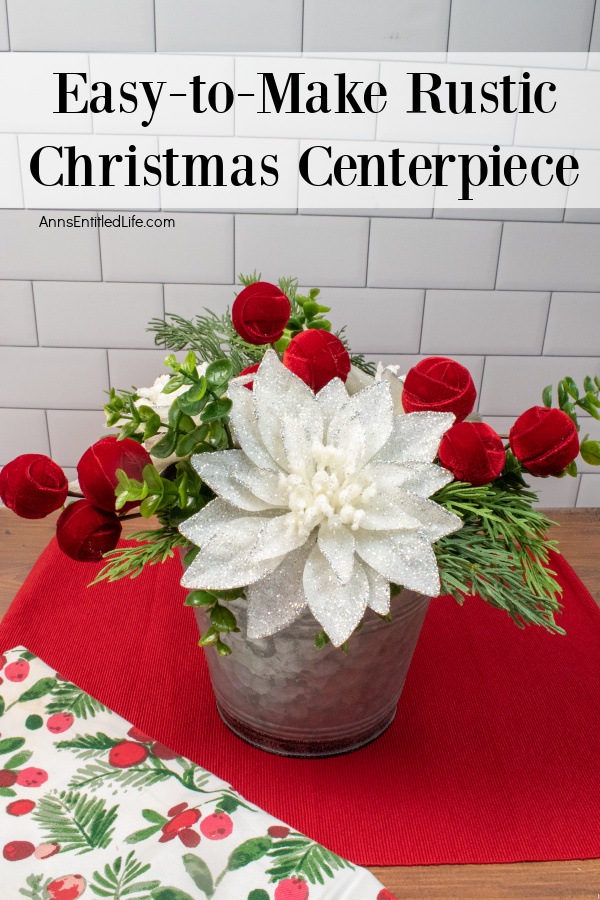
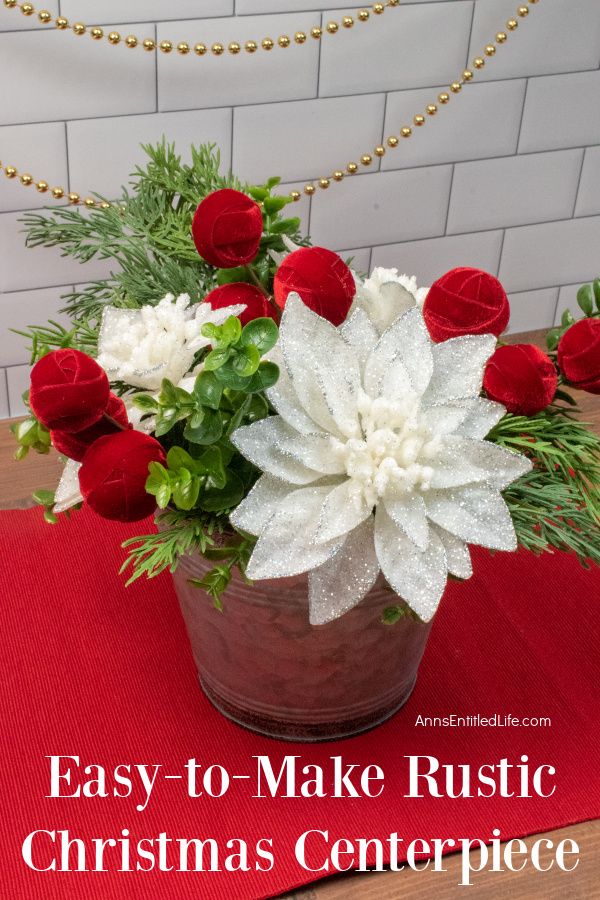
Craft a cozy holiday ambiance with a simple DIY rustic Christmas centerpiece. Bring warmth to your celebrations with this easy-to-make decor.
Transform your holiday table by making this easy Christmas centerpiece. Learn DIY magic and create festive decorations to make your celebrations sparkle. It is easier than you think to make your own rustic Christmas centerpiece for your holiday table. You can make this festive farmhouse style Christmas centerpiece this holiday season with just a few materials and in no-time flat!
Easy-to-Make Rustic Christmas Centerpiece
You can fully customize any faux floral centerpiece by switching colors. White flowers do not work for your dining room table setting? Buy red, blue, or pink! Same for any greenery or accent foliage: shades of green, red ribbon, candy canes on a pick, pine cones – whatever you want to add to your DIY centerpiece will work! It is all good. This step-by-step guide is simply a starting point. If you want the same color schemes as your place settings, do that! If this is for a side table and you would like to match the holiday decor in that room, match the floral colors to that room.
You can order a floral arrangement from a florist, pick up greenery at your local greenhouse, or make your own Christmas table centerpiece. Holiday centerpieces with festive flowers, pine branches, and candle centerpieces are truly beautiful. Some can be very costly, however. This beautiful rustic centerpiece is a great way to add holiday cheer to your table without breaking the bank.
The holiday season is here, and what better way to deck the halls for your holiday celebrations than with a homey DIY Christmas centerpiece that steals the show? Whether you are a seasoned crafter or a novice decorator, this festive holiday centerpiece will add a touch of magic to your holiday table.
Tips and variations for making this Easy-to-Make Rustic Christmas Centerpiece:
● When selecting faux flowers, bushier flowers will be better for filling in “holes.”
● When choosing silk flowers, stay in the same theme (fall flowers, spring flowers, wedding flowers, Christmas season, etc.) and do not be overly “matchy.” The key to a nice arrangement is height differential.
● This uses a small tin bucket that you can easily purchase at Michaels, Joann, or Hobby Lobby.
● The size of your container dictates how much faux foliage you will need.
● If you purchase your floral at your local dollar store, check it over carefully to make sure all the blooms are on the bush(es) you purchase. You may want to add a dot of glue between the flower head and stem to secure it further.
● Also, if you want a full centerpiece, you will add more faux foliage. If you would like a sparse centerpiece, less foliage is required.
● Do not work on one side at a time; try to work the whole arrangement. It will help with balance. This is a three-dimensional arrangement, so be conscious of the space. Turn and work to fill in the foam in the tin. Since this is a centerpiece, make certain you turn your centerpiece 360 while working on it. You want to be certain you have filled any holes, and one area is not fuller than another area.
If you want a Christmas ribbon around your container:
● Wrap a piece of wire-edged ribbon around the tin (for length), plus at least ½ an inch. Cut.
● Lay the length of ribbon out good side down and fold over that excess ½”. Hot glue it in place (see above). This will help prevent fraying.
● Hot glue the ribbon to the outside of the tin.
● You may have to form darts at the ends so that the ribbon will lay flat.
Here are some other DIY centerpieces you might enjoy:
● Vintage Copper Jello Mold Centerpiece
● Winter Pear and Floral Table Centerpiece
● Dollar Store Craft: Lighted Thanksgiving Centerpiece
● Rustic Fall Centerpiece
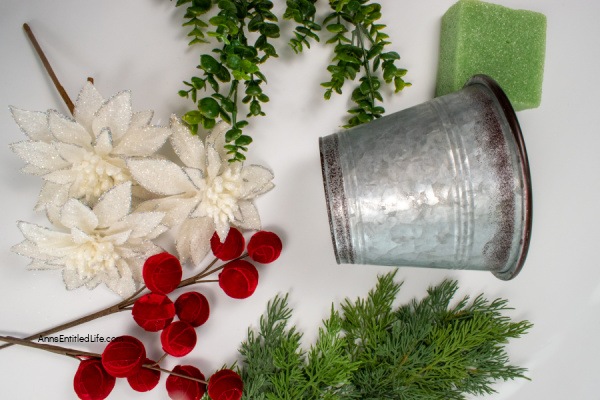
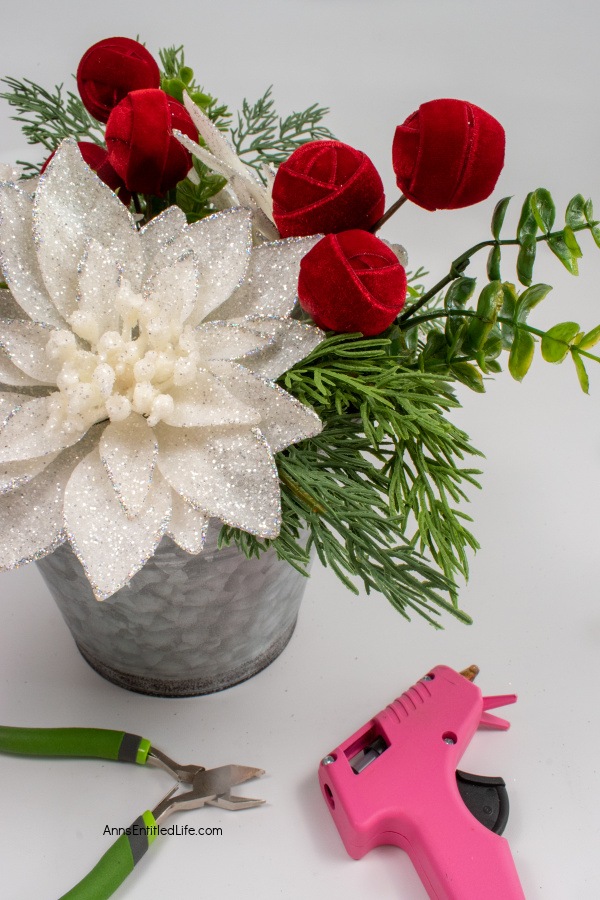
Rustic Christmas Centerpiece Materials Needed:
● Hot Glue Sticks
● Tin Bucket
● Floral Foam
● Cedar Bush
● Accent Greenery Bush
● White Poinsettia Picks
● Red Accent Picks
Tools Needed to Make this Rustic Christmas Centerpiece:
● Wire Cutters
● Scissors
● Hot Glue Gun
Easy-to-Make Rustic Christmas Centerpiece Directions:
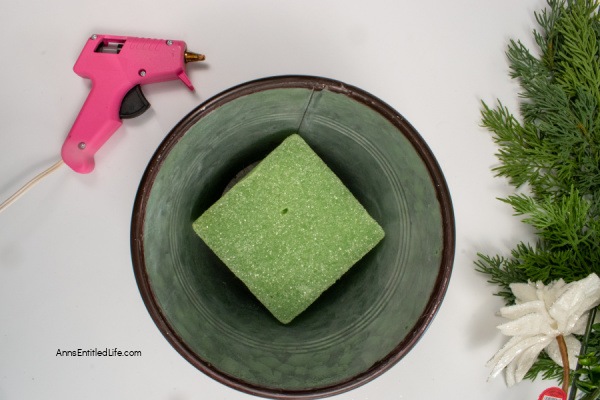
1. Cut your floral foam to fit in the bottom of your tin bucket.
2. Liberally run hot glue over your foam.
3. Inset the floral foam into the bucket. Hold in place until the glue cools and hardens.
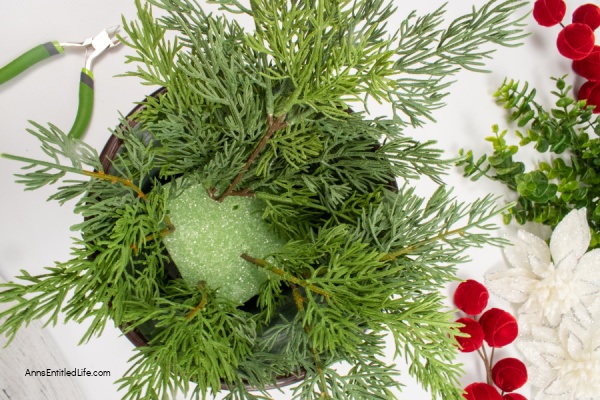
4. Trim the cedar bush into separate branches and glue it into the foam to create a border around the edge of the bucket. Be sure to leave some gaps for other stems in between. You can choose to glue these stems in place by dotting the end of the stem with hot glue and inserting it into the floral foam. Hold until the glue cools and hardens. Before gluing in, check for placement to make certain that is where you would like the floral to be in your arrangement.
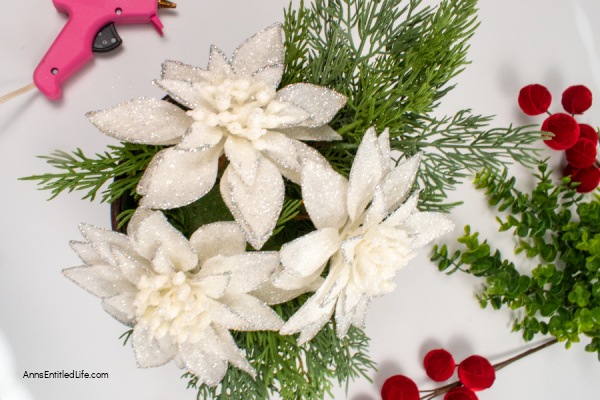
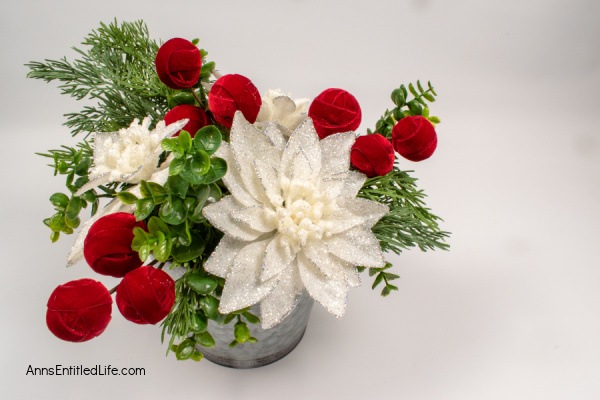
5. Forming a triangle with the poinsettias, glue the three poinsettias in place in the foam by placing a dot of hot glue at the end of each stem. Again, be certain of your placement before gluing. Hold until the glue cools and hardens.
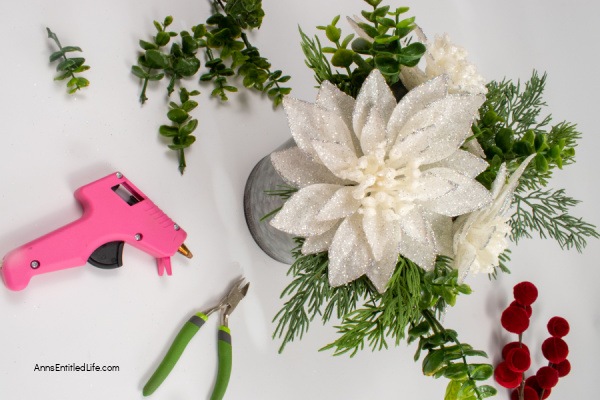
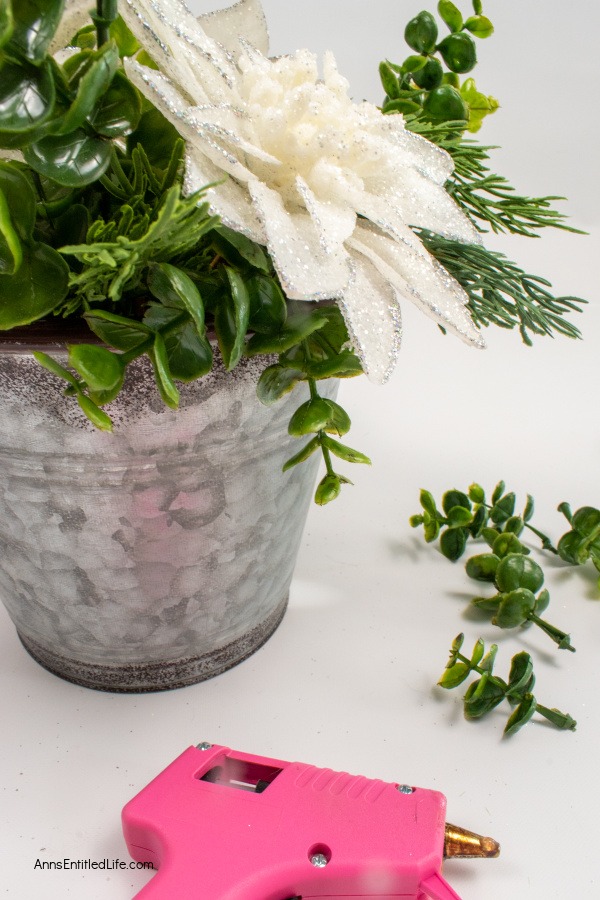
6. Fill out the arrangement with stems from your accent greenery. Glue a few small pieces just inside the top of the bucket so they hang down under the poinsettias. This creates some contrast between the flowers and buckets and makes the white stand out more. Hold until the glue cools and hardens.
7. Glue your red accents in place around the flowers. Hold until the glue cools and hardens.
8. Display as desired.
Easy-to-Make Rustic Christmas Centerpiece

Easy-to-Make Rustic Christmas Centerpiece. Craft a cozy holiday ambiance with a simple DIY rustic Christmas centerpiece. Bring warmth to your celebrations with this easy-to-make decor.
Materials
- Hot Glue Sticks
- Tin Bucket
- Floral Foam
- Cedar Bush
- Accent Greenery Bush
- White Poinsettia Picks
- Red Accent Picks
Tools
- Wire Cutters
- Scissors
- Hot Glue Gun
Instructions
- Cut your floral foam to fit in the bottom of your tin bucket.
- Liberally run hot glue over your foam.
- . Inset the floral foam into the bucket. Hold in place until the glue cools and hardens.
- Trim the cedar bush into separate branches and glue it into the foam to create a border around the edge of the bucket. Be sure to leave some gaps for other stems in between. You can choose to glue these stems in place by dotting the end of the stem with hot glue and inserting it into the floral foam. Hold until the glue cools and hardens. Before gluing in, check for placement to make certain that is where you would like the floral to be in your arrangement.
- Forming a triangle with the poinsettias, glue the three poinsettias in the foam by placing a dot of hot glue at the end of each stem. Again, be sure of your placement before gluing. Hold until the glue cools and hardens.
- Fill out the arrangement with stems from your accent greenery. Glue a few small pieces just inside the top of the bucket so they hang down under the poinsettias. This creates some contrast between the flowers and buckets and makes the white stand out more. Hold until the glue cools and hardens.
- Glue your red accents in place around the flowers. Hold until the glue cools and hardens.
- Display as desired.
Recommended Products
As an Amazon Associate and member of other affiliate programs, I earn from qualifying purchases.
● For more crafts on Ann’s Entitled Life, click here.
● If you enjoyed this post, be sure to sign up for the Ann’s Entitled Life weekly newsletter, and never miss another article!


Carol says
My favorite combination. Pretty and rustic. I love it. Featuring when my party opens. Thanks for sharing!