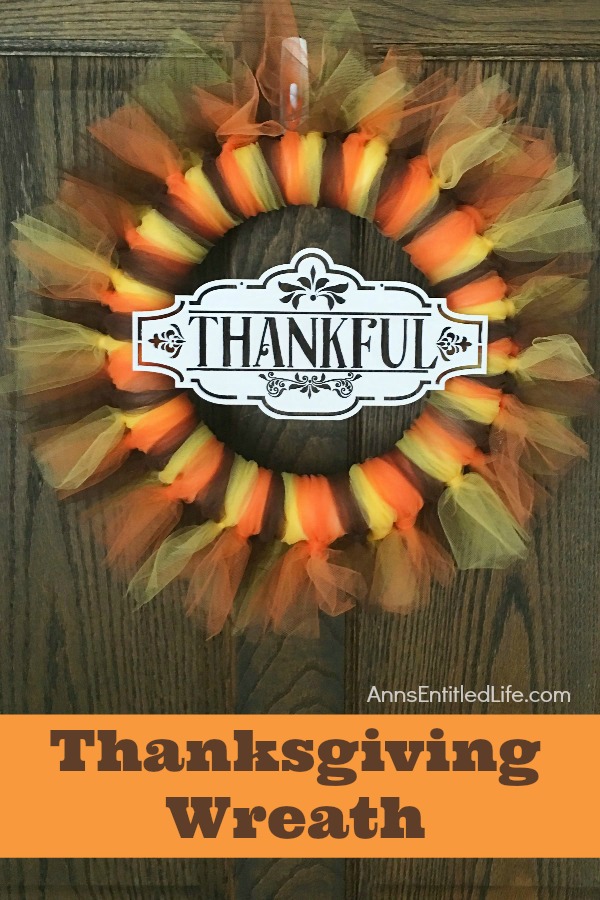
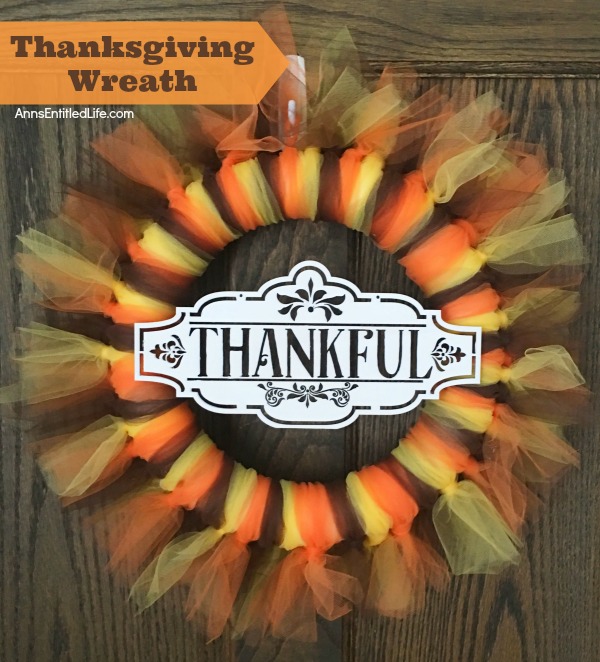
Make this simple yet pretty and easy Thanksgiving Wreath DIY for the holidays. The colors and sentiment are completely customizable. In under an hour you can have festive Thanksgiving decor!
Looking for some sweet Thanksgiving decor? How about this Thanksgiving wreath? It is a quick craft you can hang on your front door, or up the scale and hang it over your fireplace mantel, on a wall where you’ve removed a picture, or make it smaller and hang in a kitchen.
Thanksgiving seems to be the forgotten holiday in the US these days. And Thanksgiving decor, especially DIY home decor Thanksgiving crafts are difficult to find. However, this adorable Thanksgiving Wreath are the perfect, fun Thanksgiving craft decor!
If you are interested in other Thanksgiving decor ideas, check out these Turkey Wine Glass DIY or this Thanksgiving Tablescape!
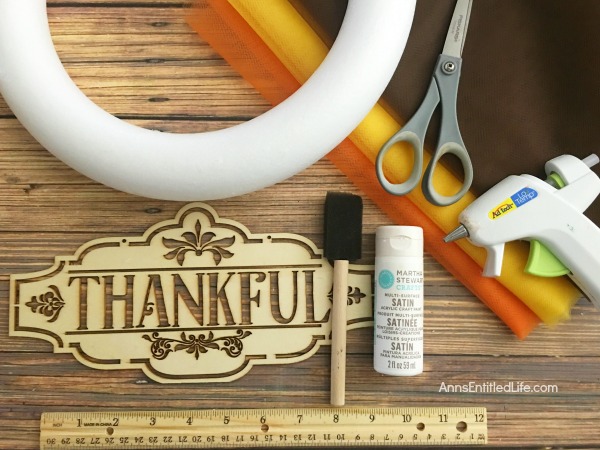
Thanksgiving Wreath Materials:
● 2 yards Yellow Tulle
● 2 yards Orange Tulle
● 2 yards Brown Tulle
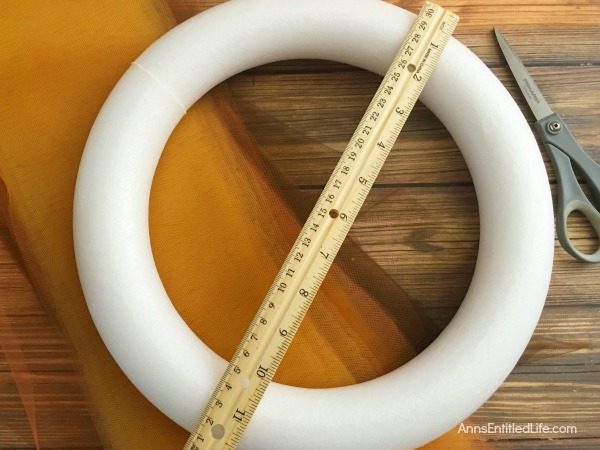
● 10″ or 12″ White Styrofoam Wreath – the wreath in this tutorial is on a 12″ form
● Scissors
● Ruler
● White Paint
● Laser Cut Sign – The “thankful” used in this tutorial was purchased at JoAnn’s but truly any sign that is thin and flat will work… Happy Thanksgiving, Gather, Blessings, etc.
● Paint Brush or Foam Paint Brush
● Glue Gun
● Glue Sticks
Thanksgiving Wreath Directions:
● Cut all the Yellow Tulle into 5″ x 21″ strips.
● Cut all the Orange Tulle into 5″ x 21″ strips.
● Cut all the Brown Tulle into 5″ x 21″ strips.
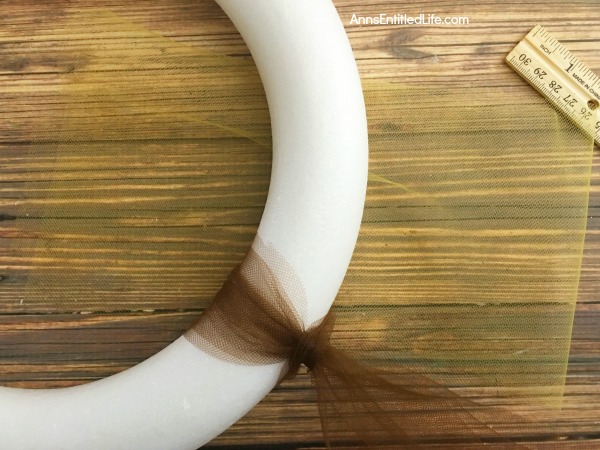
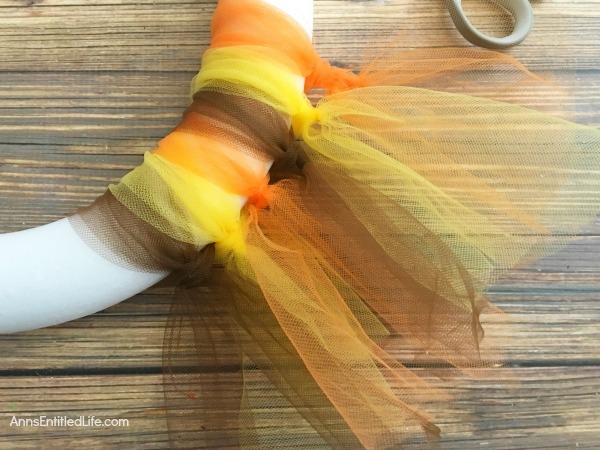
● Fold one piece of Brown Tulle in half and wrap around the wreath form by tying a slip knot. Simply fold the piece of material in half top to bottom so that you make a loop and put it around the wreath body with the loop side down. Pull the other end down through the loop and pull it tight so it doesn’t slip out. Make certain the tails of the tulle knot are facing out.
● Fold one piece of Orange Tulle in half and wrap around the wreath form by tying a slip knot. Simply fold the piece of material in half top to bottom so that you make a loop and put it around the wreath body with the loop side down. Pull the other end down through the loop and pull it tight so it doesn’t slip out. Make certain the tails of the tulle knot are facing out.
● Fold one piece of Yellow Tulle in half and wrap around the wreath form by tying a slip knot. Simply fold the piece of material in half top to bottom so that you make a loop and put it around the wreath body with the loop side down. Pull the other end down through the loop and pull it tight so it doesn’t slip out. Make certain the tails of the tulle knot are facing out.
● Push the pieces together so there is not a gap of white wreath showing.
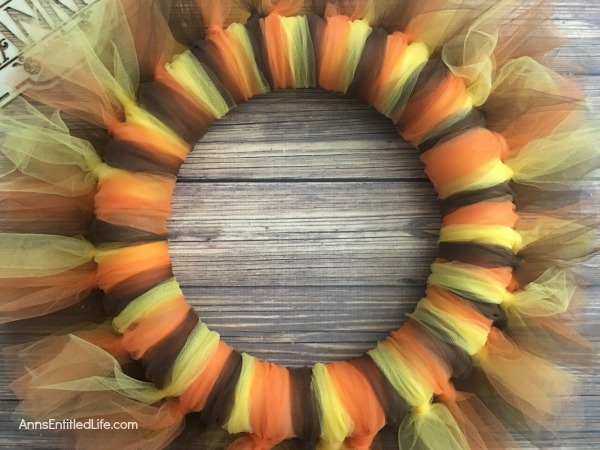
● Repeat the three colors, one brown, one orange, one yellow, all the way around the wreath form until the wreath is full.
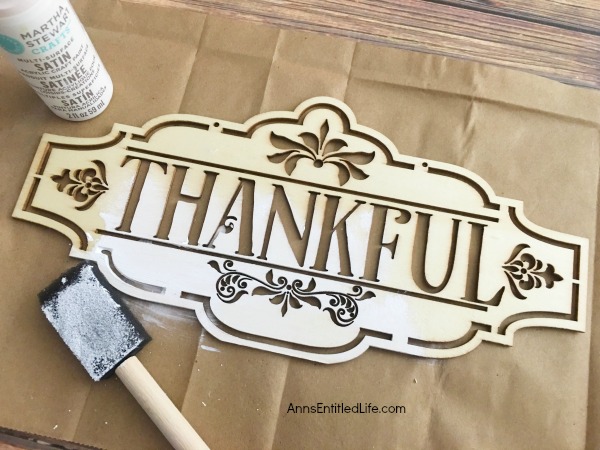
● Place your thankful sign (or any other plain wood sign you chose) on a covered surface and paint it white.
● Allow to dry.
● Paint a second coat if bare spots show through.
● Allow to dry.
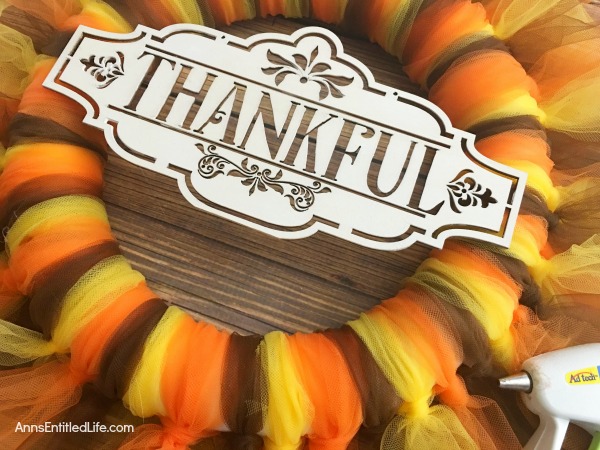
● Place your sign in the middle of the wreath to center it.
● Dab hot glue on the back sides of the sign to attach it to the wreath.
● Add a piece of string or hanging device to the back to hang (or simply hook the form on a wreath hanger).
● Hang where desired!
● To print the Thanksgiving Wreath Instructions, click here.
● Disclosure: the links in this post may be affiliate links.
● For more Holiday posts on Ann’s Entitled Life, click here.
● For more Craft posts on Ann’s Entitled Life, click here.
● If you enjoyed this post, be sure to sign up for the Ann’s Entitled Life weekly newsletter, and never miss another article!
Leave a Reply